2013 FORD F250 display
[x] Cancel search: displayPage 154 of 577
Manual Climate Systems
In hot weather, the climate control system is set to MAX A/C.
In moderate weather, the system either heats or cools (based on
previous settings). The rear defroster and heated mirrors are not
automatically turned on.
In cold weather, maximum heat is provided in floor/defrost mode. The
rear defroster and heated mirrors are automatically turned on. If your
vehicle is equipped with a diesel engine and a supplemental heater, the
supplemental heater also turns on.
Automatic Climate Systems
Automatic Settings
The climate control system automatically sets the interior temperature to
72°F (22°C).
In hot weather, the system is set to 72°F (22°C). Cooled seats are set to
high (if available, and selected to AUTO in the information display).
In moderate weather, the system either heats or cools (based on
previous settings). The rear defroster, heated mirrors and heated/cooled
seats are not automatically turned on.
In cold weather, the system is set to 72°F (22°C). The heated seats and
heated steering wheel (if equipped) are set to high. The rear defroster
and heated mirrors are automatically turned on.
Heated and Cooled Devices
The climate control system controls other heated and cooled devices
inside the vehicle. These devices (if equipped) may also be switched
on during remote start. Heated devices are typically switched on during
cold weather, and cooled devices during hot weather. If your vehicle
is equipped with a diesel engine and a supplemental heater, the
supplemental heater also turns on.
Climate Control153
2013 F-250/350/450/550(f23)
Owners Guide gf, 3rd Printing, December 2012
USA(fus)
Page 161 of 577
MEMORY FUNCTION (IF EQUIPPED)
This system allows automatic positioning of the driver seat, power
mirrors, and adjustable pedals to two programmable positions.
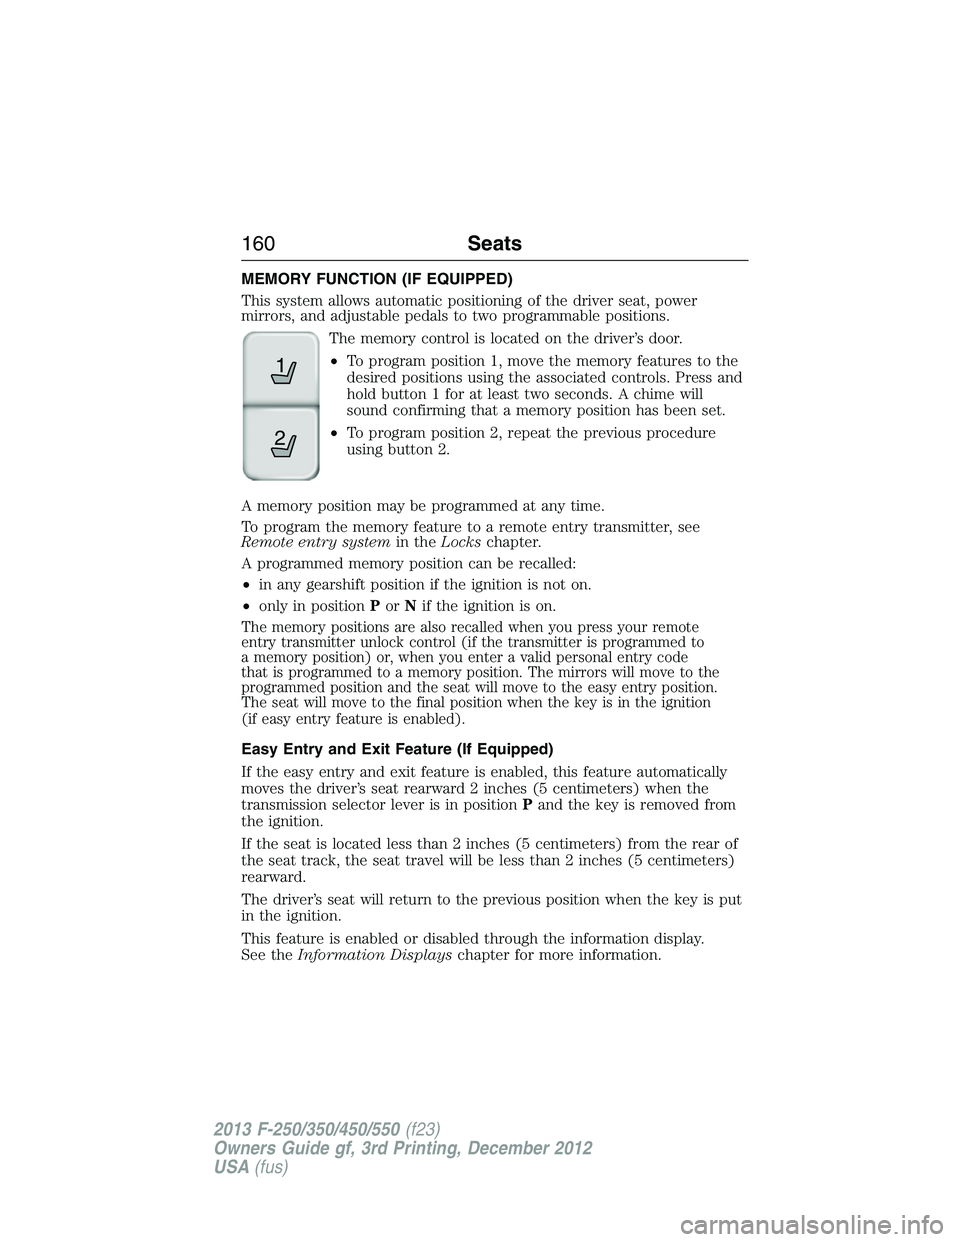
The memory control is located on the driver’s door.
•To program position 1, move the memory features to the
desired positions using the associated controls. Press and
hold button 1 for at least two seconds. A chime will
sound confirming that a memory position has been set.
•To program position 2, repeat the previous procedure
using button 2.
A memory position may be programmed at any time.
To program the memory feature to a remote entry transmitter, see
Remote entry systemin theLockschapter.
A programmed memory position can be recalled:
•in any gearshift position if the ignition is not on.
•only in positionPorNif the ignition is on.
The memory positions are also recalled when you press your remote
entry transmitter unlock control (if the transmitter is programmed to
a memory position) or, when you enter a valid personal entry code
that is programmed to a memory position. The mirrors will move to the
programmed position and the seat will move to the easy entry position.
The seat will move to the final position when the key is in the ignition
(if easy entry feature is enabled).
Easy Entry and Exit Feature (If Equipped)
If the easy entry and exit feature is enabled, this feature automatically
moves the driver’s seat rearward 2 inches (5 centimeters) when the
transmission selector lever is in positionPand the key is removed from
the ignition.
If the seat is located less than 2 inches (5 centimeters) from the rear of
the seat track, the seat travel will be less than 2 inches (5 centimeters)
rearward.
The driver’s seat will return to the previous position when the key is put
in the ignition.
This feature is enabled or disabled through the information display.
See theInformation Displayschapter for more information.
21
160Seats
2013 F-250/350/450/550(f23)
Owners Guide gf, 3rd Printing, December 2012
USA(fus)
Page 177 of 577
1. Press and hold one of the buttons on the hand-held transmitter for
10 seconds. The LED light will change from green to green and red.
2. Press the same button twice to confirm the change to Programming
mode. If done properly the LED light will appear red.
3. Hold the transmitter within 1–3 inches (2–8 centimeters) of the
button on the sun visor you want to program.
4. Press and hold both the programmed Genie button on the hand-held
transmitter and the button on the sun visor you want to program. The
indicator light on the sun visor will flash rapidly when the programming
is successful.
Note:the Genie transmitter will transmit for up to 30 seconds.
If HomeLink does not program within 30 seconds the Genie transmitter
will need to be pressed again. If the Genie transmitter LED displays
green and red, release the button until the LED turns off before pressing
the button again.
Once HomeLink has been programmed successfully, the Genie
transmitter must be changed out of program mode. To do this:
1. Press and hold the previously programmed Genie button on the
hand-held transmitter for 10 seconds. The indicator light will change
from red to red and green.
2. Press the same button twice to confirm the change. If done correctly
the LED will turn green.
Programming HomeLink to the Genie Intellicode garage door
opener motor
Note:You may need a ladder to access the garage door opener motor.
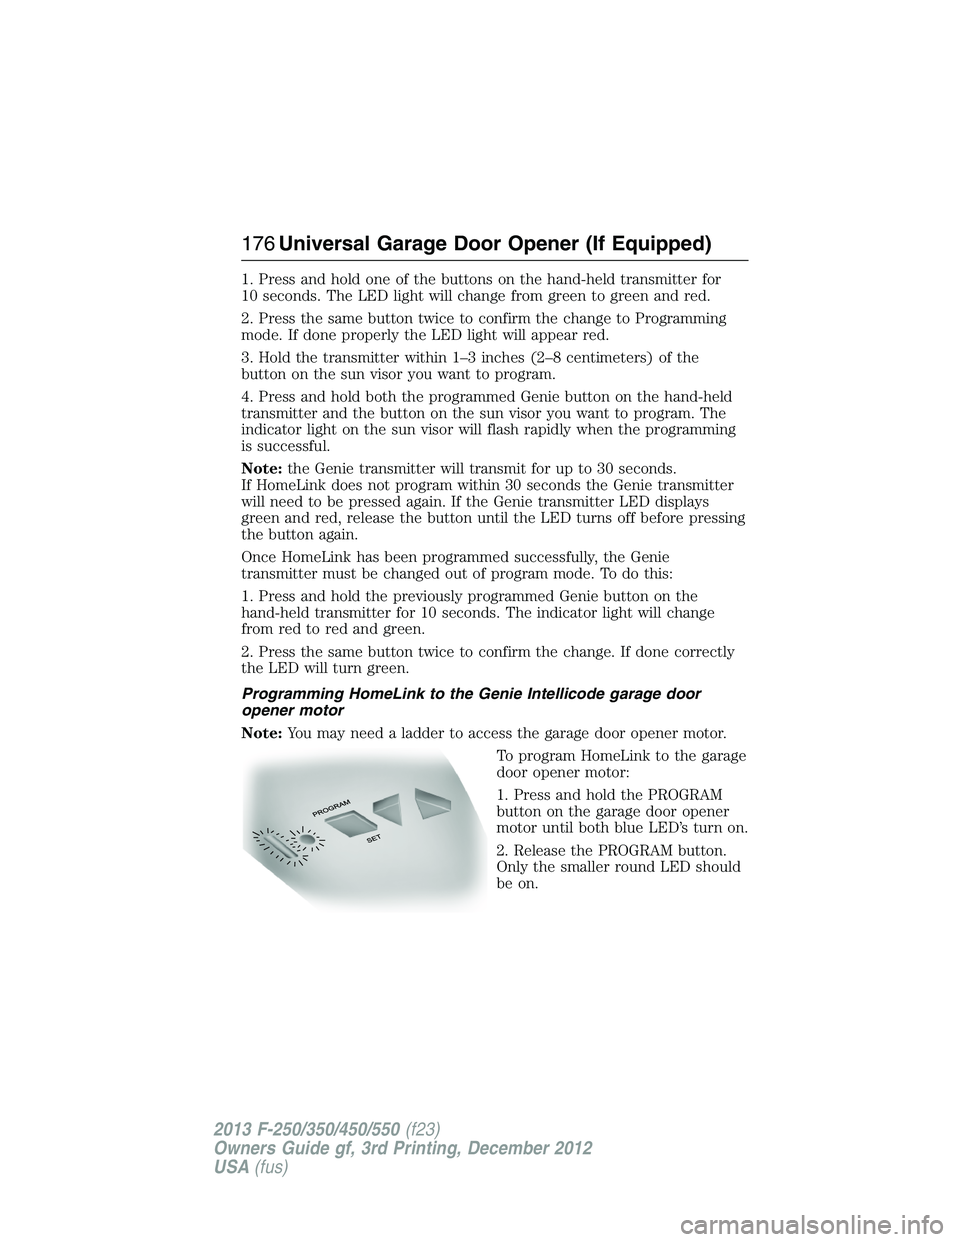
To program HomeLink to the garage
door opener motor:
1. Press and hold the PROGRAM
button on the garage door opener
motor until both blue LED’s turn on.
2. Release the PROGRAM button.
Only the smaller round LED should
be on.
176Universal Garage Door Opener (If Equipped)
2013 F-250/350/450/550(f23)
Owners Guide gf, 3rd Printing, December 2012
USA(fus)
Page 205 of 577
Forced downshifts
•Allowed in D (Overdrive).
•Press the accelerator to the floor.
•Allows transmission to select an appropriate gear.
Understanding your SelectShift Automatic® transmission
This vehicle is equipped with a SelectShift Automatic™ transmission
gearshift lever. SelectShift Automatic™ transmission gives you the ability
to change gears up or down (without a clutch) as desired.
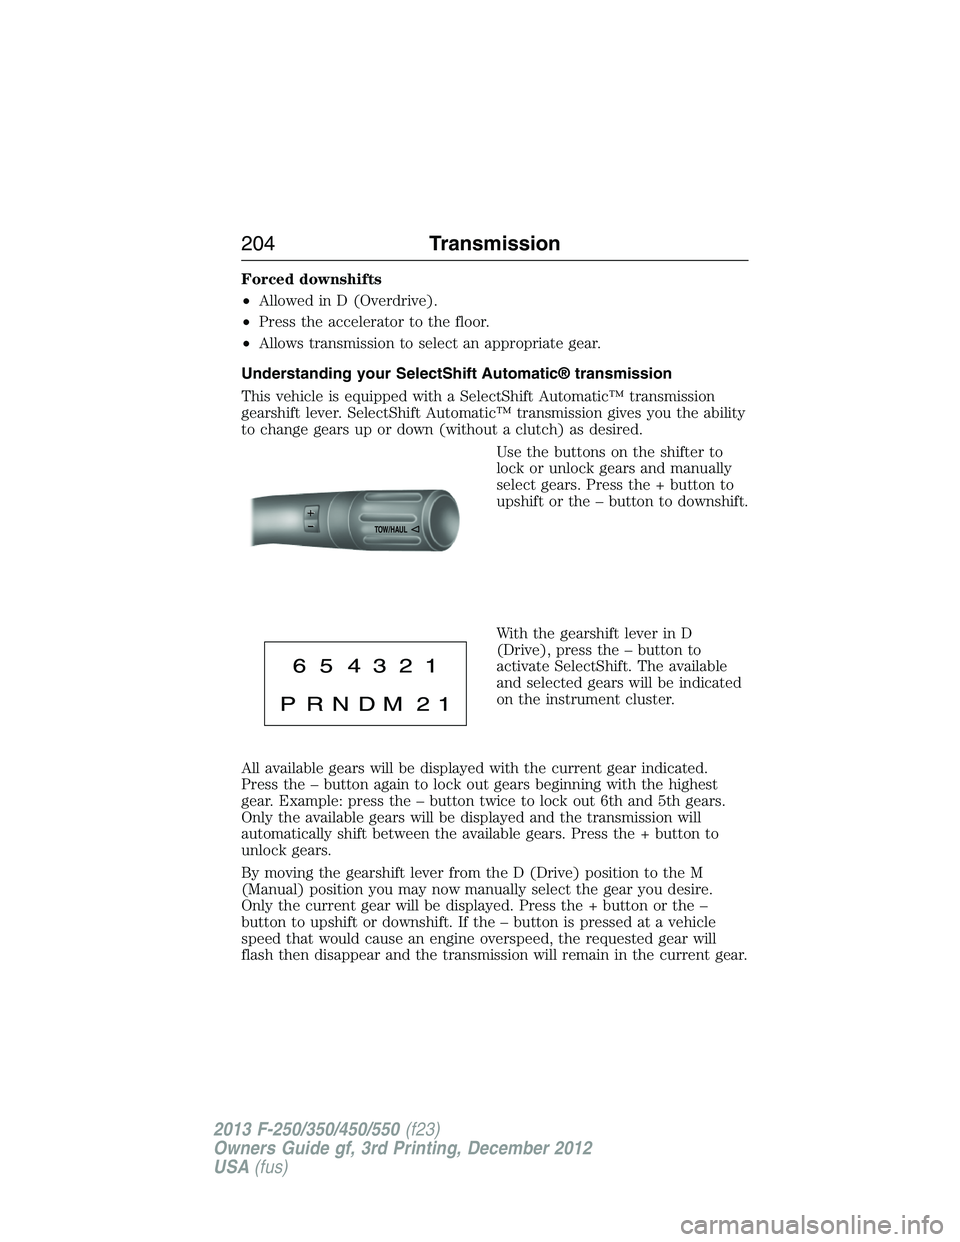
Use the buttons on the shifter to
lock or unlock gears and manually
select gears. Press the + button to
upshift or the – button to downshift.
With the gearshift lever in D
(Drive), press the – button to
activate SelectShift. The available
and selected gears will be indicated
on the instrument cluster.
All available gears will be displayed with the current gear indicated.
Press the – button again to lock out gears beginning with the highest
gear. Example: press the – button twice to lock out 6th and 5th gears.
Only the available gears will be displayed and the transmission will
automatically shift between the available gears. Press the + button to
unlock gears.
By moving the gearshift lever from the D (Drive) position to the M
(Manual) position you may now manually select the gear you desire.
Only the current gear will be displayed. Press the + button or the –
button to upshift or downshift. If the – button is pressed at a vehicle
speed that would cause an engine overspeed, the requested gear will
flash then disappear and the transmission will remain in the current gear.
TOW/H
AUL
204Transmission
2013 F-250/350/450/550(f23)
Owners Guide gf, 3rd Printing, December 2012
USA(fus)
Page 211 of 577
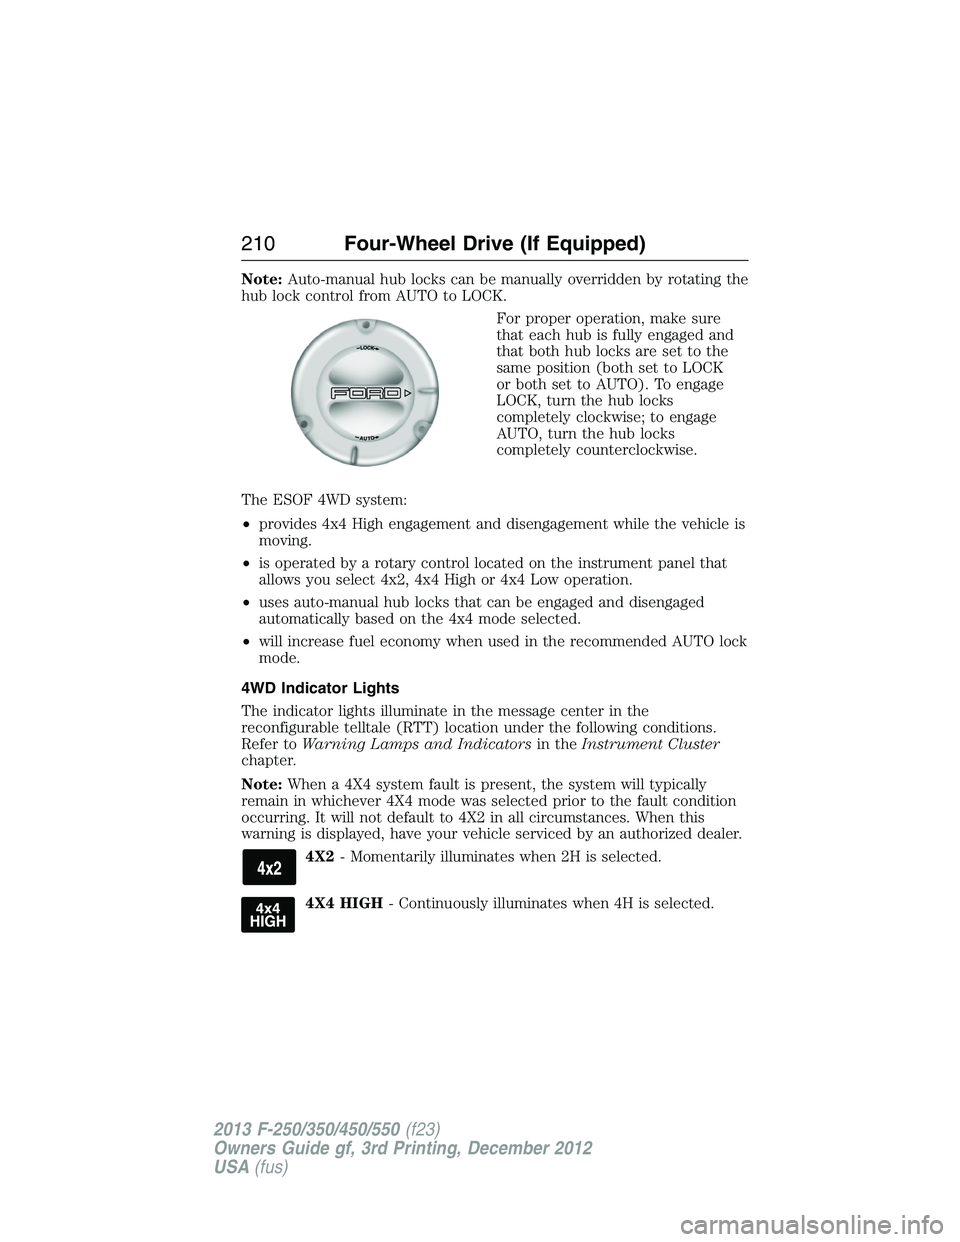
Note:Auto-manual hub locks can be manually overridden by rotating the
hub lock control from AUTO to LOCK.
For proper operation, make sure
that each hub is fully engaged and
that both hub locks are set to the
same position (both set to LOCK
or both set to AUTO). To engage
LOCK, turn the hub locks
completely clockwise; to engage
AUTO, turn the hub locks
completely counterclockwise.
The ESOF 4WD system:
•provides 4x4 High engagement and disengagement while the vehicle is
moving.
•is operated by a rotary control located on the instrument panel that
allows you select 4x2, 4x4 High or 4x4 Low operation.
•uses auto-manual hub locks that can be engaged and disengaged
automatically based on the 4x4 mode selected.
•will increase fuel economy when used in the recommended AUTO lock
mode.
4WD Indicator Lights
The indicator lights illuminate in the message center in the
reconfigurable telltale (RTT) location under the following conditions.
Refer toWarning Lamps and Indicatorsin theInstrument Cluster
chapter.
Note:When a 4X4 system fault is present, the system will typically
remain in whichever 4X4 mode was selected prior to the fault condition
occurring. It will not default to 4X2 in all circumstances. When this
warning is displayed, have your vehicle serviced by an authorized dealer.
4X2- Momentarily illuminates when 2H is selected.
4X4 HIGH- Continuously illuminates when 4H is selected.
210Four-Wheel Drive (If Equipped)
2013 F-250/350/450/550(f23)
Owners Guide gf, 3rd Printing, December 2012
USA(fus)
Page 212 of 577
4X4 LOW- Continuously illuminates when 4L is selected.
CHECK 4X4- Displays when a 4X4 fault is present.
Using a Manual Shift On Stop (MSOS) 4wd system (if equipped)
Note:High shift efforts may be encountered when attempting to shift
into and out of 4x4 modes. It is recommended to allow the vehicle to roll
at a speed below 3 mph (5 km/h) when shifting between modes.
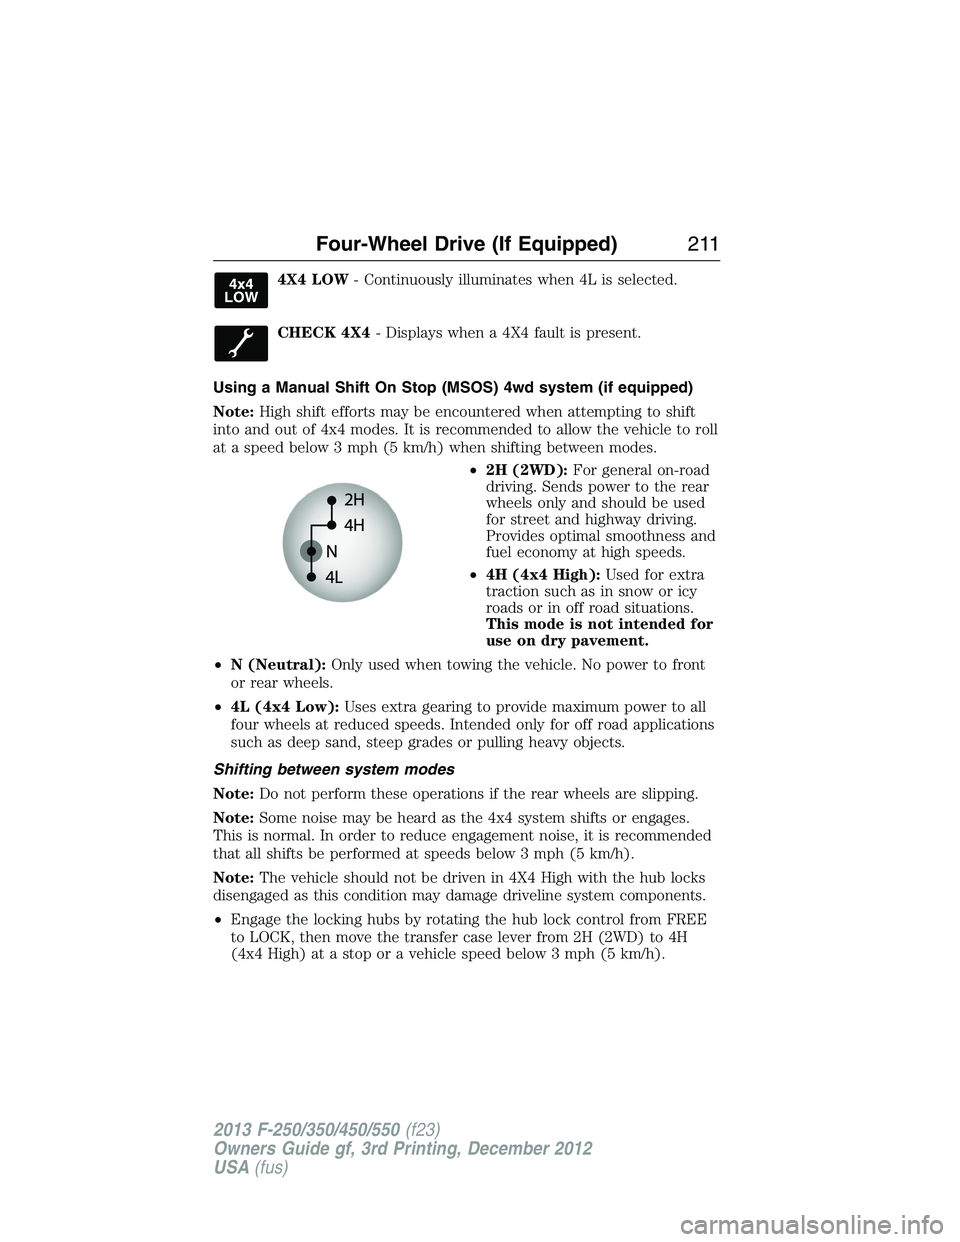
•2H (2WD):For general on-road
driving. Sends power to the rear
wheels only and should be used
for street and highway driving.
Provides optimal smoothness and
fuel economy at high speeds.
•4H (4x4 High):Used for extra
traction such as in snow or icy
roads or in off road situations.
This mode is not intended for
use on dry pavement.
•N (Neutral):Only used when towing the vehicle. No power to front
or rear wheels.
•4L (4x4 Low):Uses extra gearing to provide maximum power to all
four wheels at reduced speeds. Intended only for off road applications
such as deep sand, steep grades or pulling heavy objects.
Shifting between system modes
Note:Do not perform these operations if the rear wheels are slipping.
Note:Some noise may be heard as the 4x4 system shifts or engages.
This is normal. In order to reduce engagement noise, it is recommended
that all shifts be performed at speeds below 3 mph (5 km/h).
Note:The vehicle should not be driven in 4X4 High with the hub locks
disengaged as this condition may damage driveline system components.
•Engage the locking hubs by rotating the hub lock control from FREE
to LOCK, then move the transfer case lever from 2H (2WD) to 4H
(4x4 High) at a stop or a vehicle speed below 3 mph (5 km/h).
Four-Wheel Drive (If Equipped)211
2013 F-250/350/450/550(f23)
Owners Guide gf, 3rd Printing, December 2012
USA(fus)
Page 214 of 577
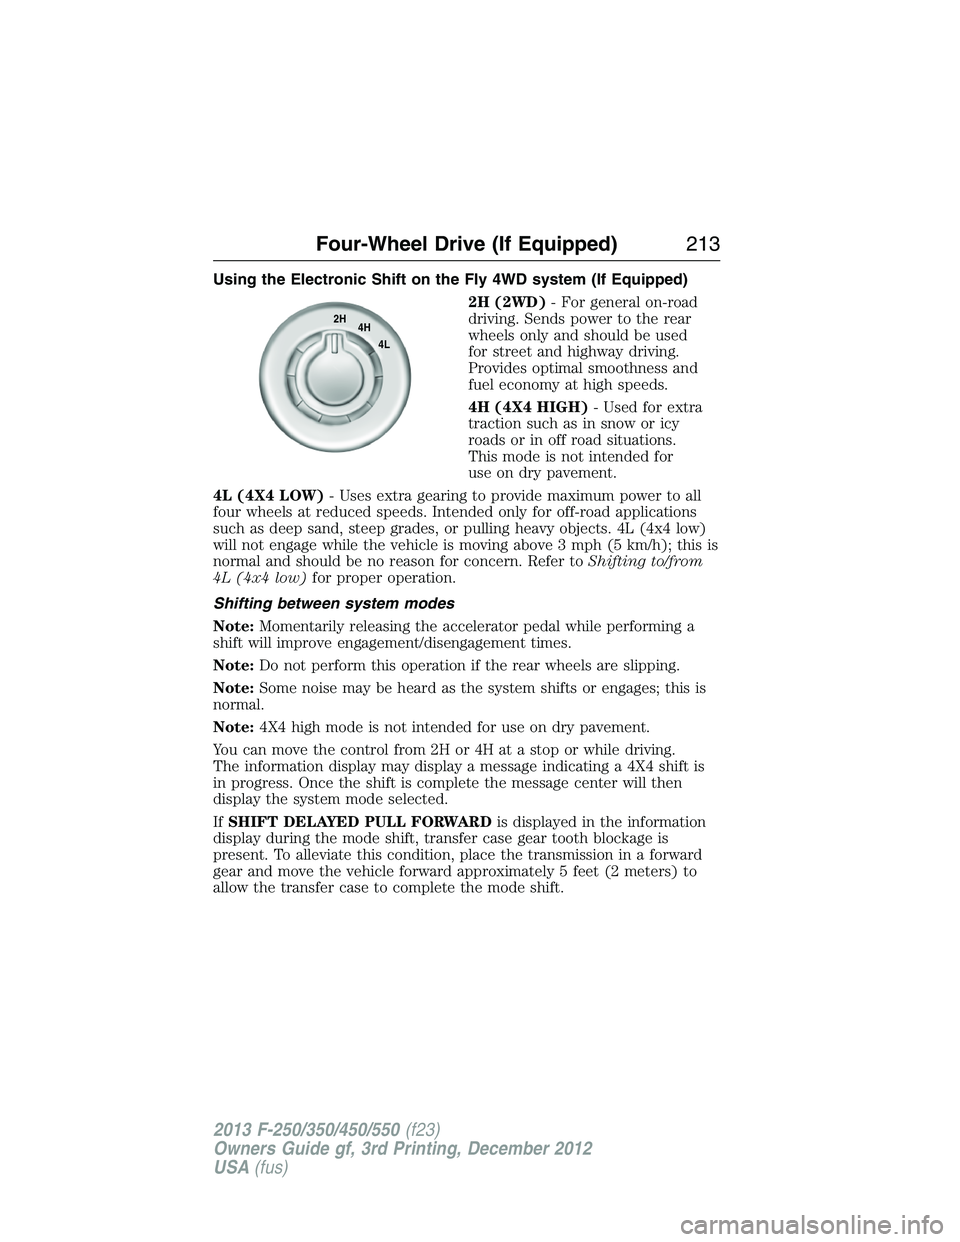
Using the Electronic Shift on the Fly 4WD system (If Equipped)
2H (2WD)- For general on-road
driving. Sends power to the rear
wheels only and should be used
for street and highway driving.
Provides optimal smoothness and
fuel economy at high speeds.
4H (4X4 HIGH)- Used for extra
traction such as in snow or icy
roads or in off road situations.
This mode is not intended for
use on dry pavement.
4L (4X4 LOW)- Uses extra gearing to provide maximum power to all
four wheels at reduced speeds. Intended only for off-road applications
such as deep sand, steep grades, or pulling heavy objects. 4L (4x4 low)
will not engage while the vehicle is moving above 3 mph (5 km/h); this is
normal and should be no reason for concern. Refer toShifting to/from
4L (4x4 low)for proper operation.
Shifting between system modes
Note:Momentarily releasing the accelerator pedal while performing a
shift will improve engagement/disengagement times.
Note:Do not perform this operation if the rear wheels are slipping.
Note:Some noise may be heard as the system shifts or engages; this is
normal.
Note:4X4 high mode is not intended for use on dry pavement.
You can move the control from 2H or 4H at a stop or while driving.
The information display may display a message indicating a 4X4 shift is
in progress. Once the shift is complete the message center will then
display the system mode selected.
IfSHIFT DELAYED PULL FORWARDis displayed in the information
display during the mode shift, transfer case gear tooth blockage is
present. To alleviate this condition, place the transmission in a forward
gear and move the vehicle forward approximately 5 feet (2 meters) to
allow the transfer case to complete the mode shift.
2H
4H
4L
Four-Wheel Drive (If Equipped)213
2013 F-250/350/450/550(f23)
Owners Guide gf, 3rd Printing, December 2012
USA(fus)
Page 215 of 577
Shifting to/from 4L (4X4 low)
Note:Some noise may be heard as the system shifts or engages; this is
normal.
Note:4x4 low mode is not intended for use on dry pavement.
1. Bring the vehicle to a speed of 3 mph (5 km/h) or less.
2. Place the transmission in N (Neutral).
3. Move the 4WD control to the desired position.
The information display will display a message indicating a 4X4 shift is
in progress. The information display will then display the system mode
selected. If any of the above shift conditions are not met, the shift will
not occur and the information display will display information guiding the
driver through the proper shifting procedures.
IfSHIFT DELAYED PULL FORWARDis displayed in the information
display, transfer case gear tooth blockage is present. To alleviate this
condition, place the transmission in a forward gear, move the vehicle
forward approximately 5 feet (1.5 m), and shift the transmission back
to neutral to allow the transfer case to complete the range shift.
Electronic Locking Differential (ELD) (If Equipped)
Note:The ELD is designed for off-road use only and is not intended for
use on dry pavement. Using the ELD on dry pavement will result in
increased tire wear, noise and vibration.
The electronic locking differential (ELD) is a device housed in the rear
axle which allows both rear wheels to turn at the same speed. It provides
added traction on slippery and/or off road surfaces, particularly when
one wheel is on a poor traction surface. The ELD may be locked or
unlocked by the vehicle operator and can be engaged or disengaged on
the fly. When the axle is unlocked it will function like a standard rear
axle. When the axle is locked it will not allow the rear wheels to rotate
at different speeds when turning.
The ELD is affected by the following conditions:
•
On 2WD vehicles and 4WD vehicles in 2H (4X2) or 4H (4X4 High), the
ELD will not engage if the vehicle speed is above 20 mph (32 km/h).
•On 2WD vehicles and 4WD vehicles in 2H (4X2) or 4H (4X4 High), the
ELD will automatically disengage at speeds above 25 mph (40 km/h) and
will automatically reengage at speeds below 20 mph (32 km/h).
•On 4WD vehicles in 4L (4X4 Low), the ELD can be engaged at any
speed and will not automatically disengage.
214Four-Wheel Drive (If Equipped)
2013 F-250/350/450/550(f23)
Owners Guide gf, 3rd Printing, December 2012
USA(fus)