Page 183 of 576
Third row seat exit (manual and power fold and tumble seat )
Note:You may have to lower the center head restraint (if equipped) if
needed. SeeHead restraintsearlier.
1. Fold the outboard head restraint by
pulling the head restraint release strap.
2. Pull on the strap located on the
back of the second row seat. This
will fold the seatback forward. Pull
the strap a second time to tumble
the seat forward, allowing easy exit
from the 3rd row seat.
3. To return the seatback to the floor from tumbled
position, rotate the seat down until you hear it
latching to the floor.
Seats183
2013 Explorer(exp)
Owners Guide gf, 1st Printing
USA(fus)
Page 184 of 576
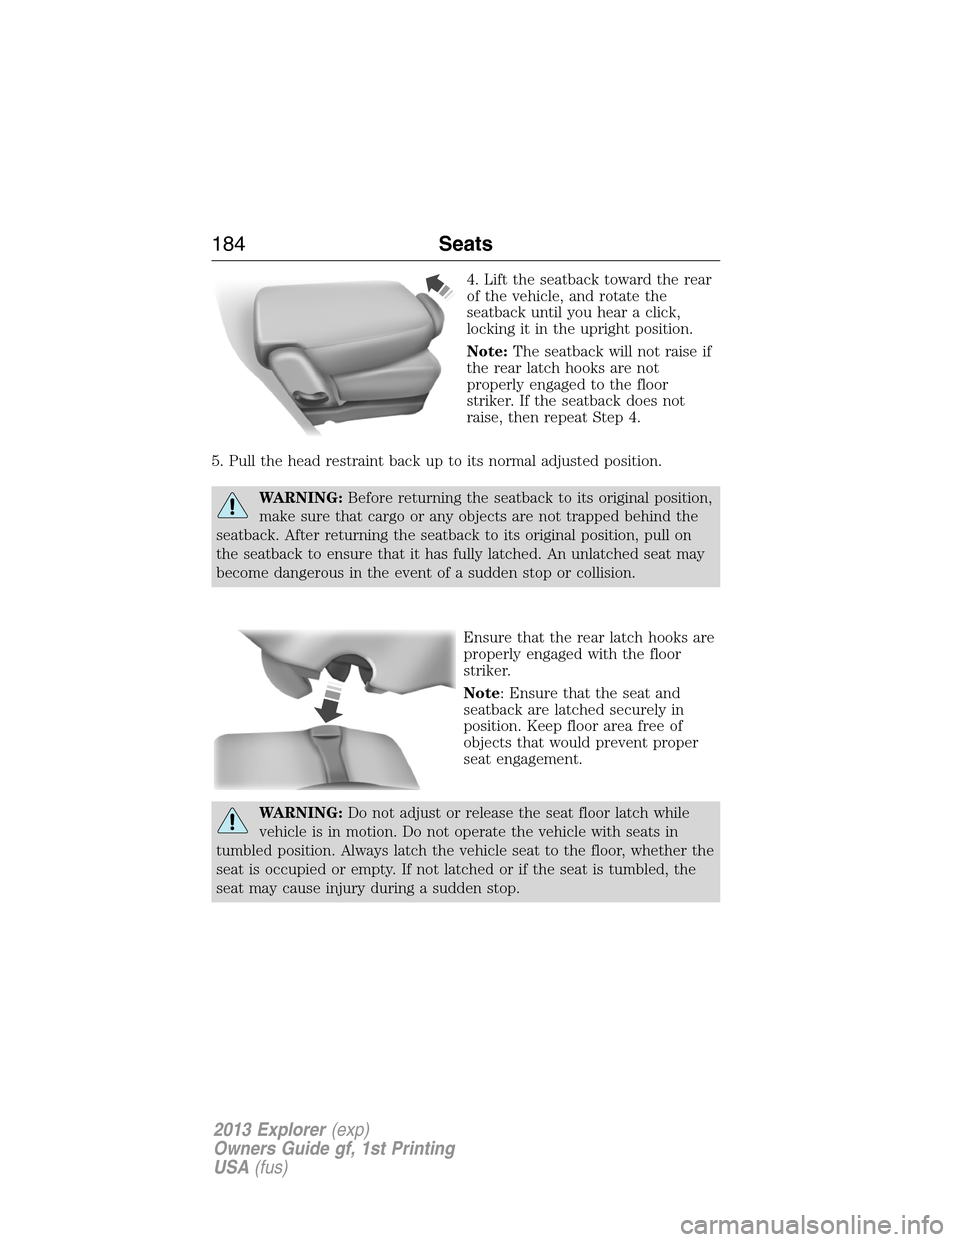
4. Lift the seatback toward the rear
of the vehicle, and rotate the
seatback until you hear a click,
locking it in the upright position.
Note:The seatback will not raise if
the rear latch hooks are not
properly engaged to the floor
striker. If the seatback does not
raise, then repeat Step 4.
5. Pull the head restraint back up to its normal adjusted position.
WARNING:Before returning the seatback to its original position,
make sure that cargo or any objects are not trapped behind the
seatback. After returning the seatback to its original position, pull on
the seatback to ensure that it has fully latched. An unlatched seat may
become dangerous in the event of a sudden stop or collision.
Ensure that the rear latch hooks are
properly engaged with the floor
striker.
Note: Ensure that the seat and
seatback are latched securely in
position. Keep floor area free of
objects that would prevent proper
seat engagement.
WARNING:Do not adjust or release the seat floor latch while
vehicle is in motion. Do not operate the vehicle with seats in
tumbled position. Always latch the vehicle seat to the floor, whether the
seat is occupied or empty. If not latched or if the seat is tumbled, the
seat may cause injury during a sudden stop.
184Seats
2013 Explorer(exp)
Owners Guide gf, 1st Printing
USA(fus)
Page 185 of 576
Folding the third row manual seat
1. Remove all objects from the seat and stowage tub.
2. Fold the outboard head restraint
by pulling the head restraint release
strap.
3. From the rear of the vehicle, fold
the seatback by pulling and holding
the number 1 strap while pushing
the seatback forward. Release strap
once seatback starts rotating
forward.
4. Release the cushion latches by pulling the
number 2 strap while pulling on the strap
located at the top of the seatback to tumble
the seat all the way into the tub in the floor.
Note:Do not use the seat anchors as cargo tie downs.
1
Seats185
2013 Explorer(exp)
Owners Guide gf, 1st Printing
USA(fus)
Page 186 of 576
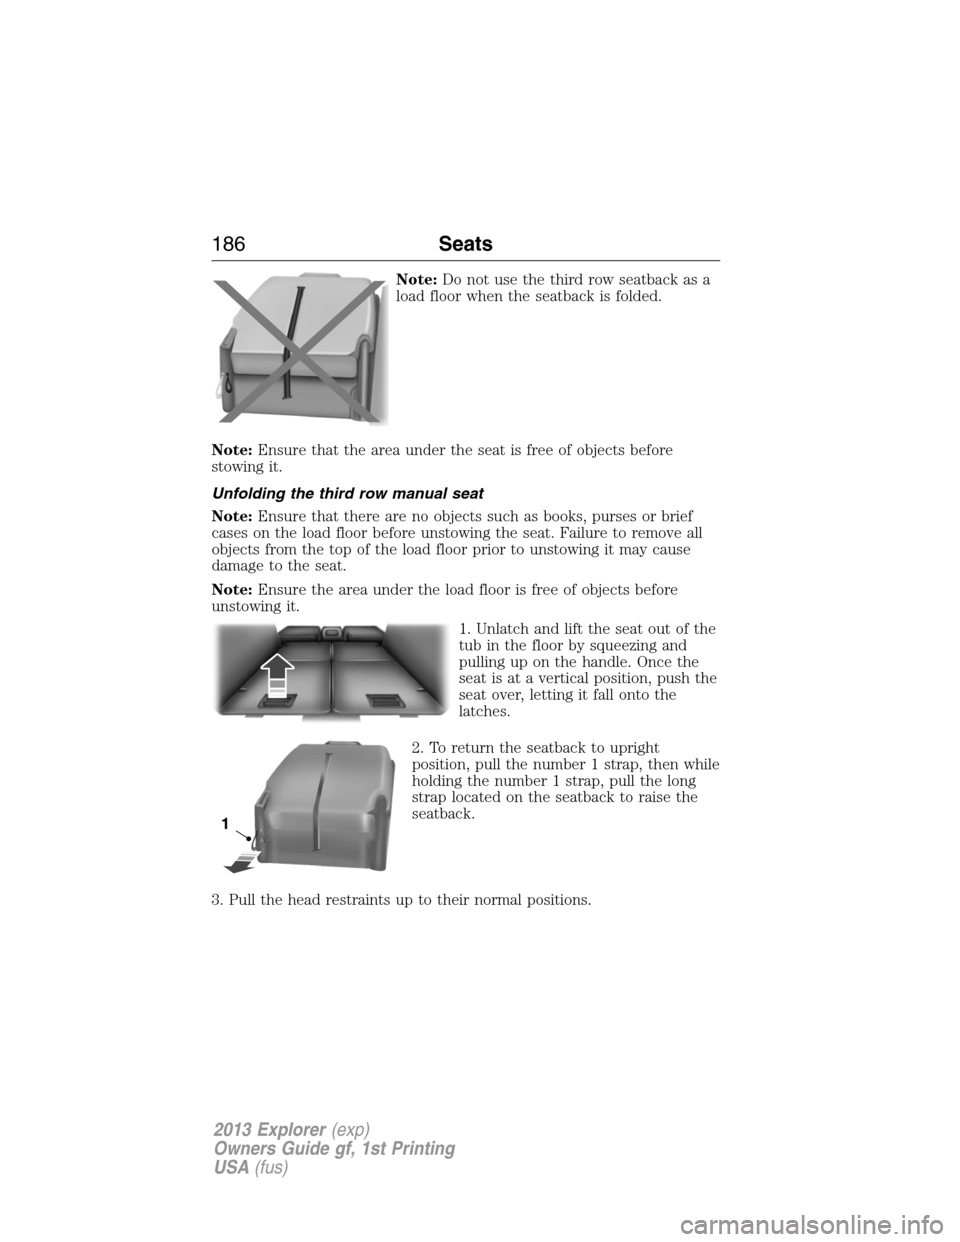
Note:Do not use the third row seatback as a
load floor when the seatback is folded.
Note:Ensure that the area under the seat is free of objects before
stowing it.
Unfolding the third row manual seat
Note:Ensure that there are no objects such as books, purses or brief
cases on the load floor before unstowing the seat. Failure to remove all
objects from the top of the load floor prior to unstowing it may cause
damage to the seat.
Note:Ensure the area under the load floor is free of objects before
unstowing it.
1. Unlatch and lift the seat out of the
tub in the floor by squeezing and
pulling up on the handle. Once the
seat is at a vertical position, push the
seat over, letting it fall onto the
latches.
2. To return the seatback to upright
position, pull the number 1 strap, then while
holding the number 1 strap, pull the long
strap located on the seatback to raise the
seatback.
3. Pull the head restraints up to their normal positions.
186Seats
2013 Explorer(exp)
Owners Guide gf, 1st Printing
USA(fus)
Page 187 of 576
WARNING:Ensure seat is latched to vehicle floor by
pushing/pulling on seat. If not latched, the seat may cause injury
during a sudden stop.
WARNING:Before returning the seatback to its original position,
make sure that cargo or any objects are not trapped behind the
seatback. After returning the seatback to its original position, pull on
the seatback to ensure that it has fully latched. An unlatched seat may
become dangerous in the event of a sudden stop or collision.
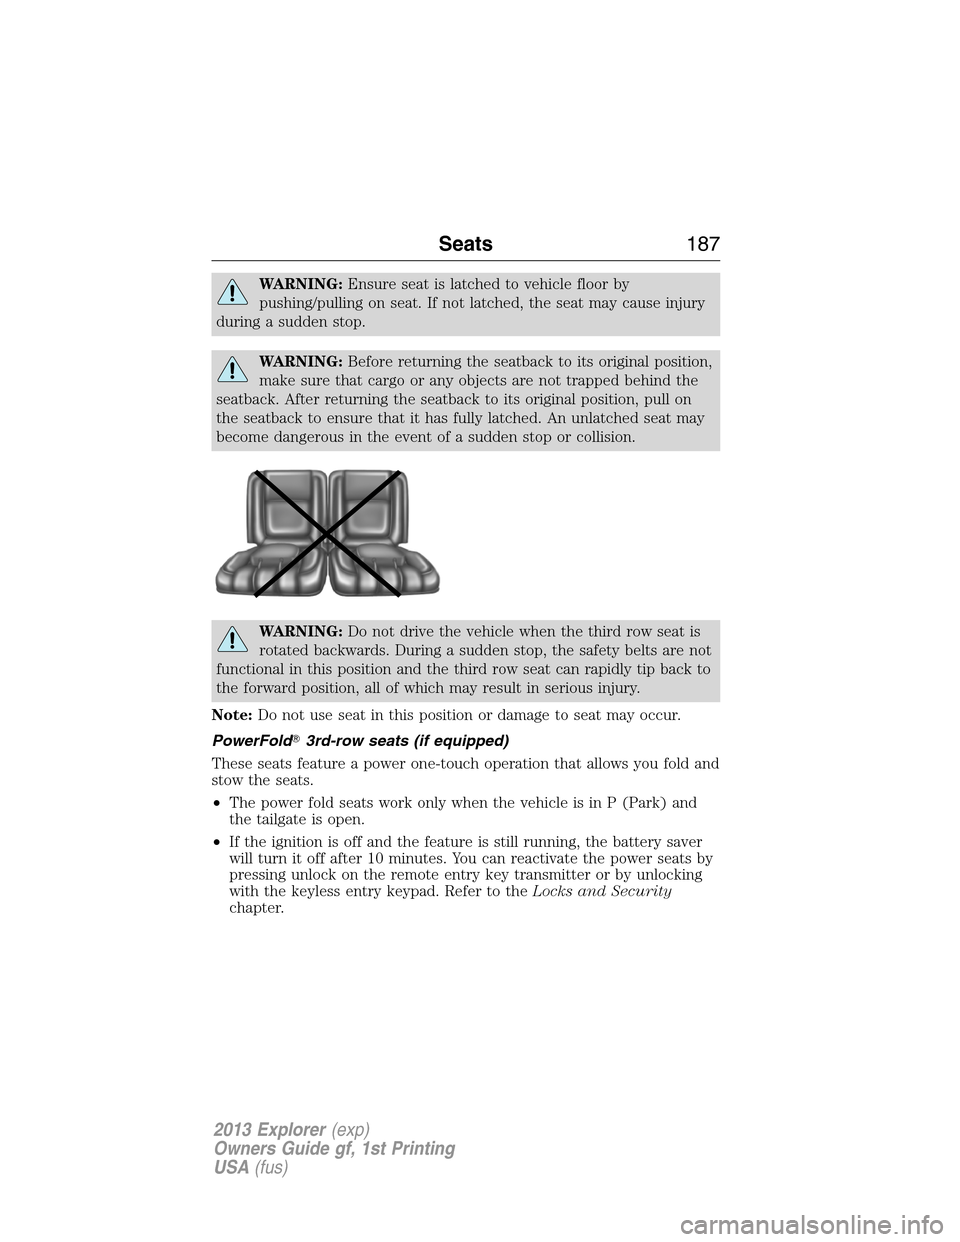
WARNING:Do not drive the vehicle when the third row seat is
rotated backwards. During a sudden stop, the safety belts are not
functional in this position and the third row seat can rapidly tip back to
the forward position, all of which may result in serious injury.
Note:Do not use seat in this position or damage to seat may occur.
PowerFold�3rd-row seats (if equipped)
These seats feature a power one-touch operation that allows you fold and
stow the seats.
•The power fold seats work only when the vehicle is in P (Park) and
the tailgate is open.
•If the ignition is off and the feature is still running, the battery saver
will turn it off after 10 minutes. You can reactivate the power seats by
pressing unlock on the remote entry key transmitter or by unlocking
with the keyless entry keypad. Refer to theLocks and Security
chapter.
Seats187
2013 Explorer(exp)
Owners Guide gf, 1st Printing
USA(fus)
Page 188 of 576
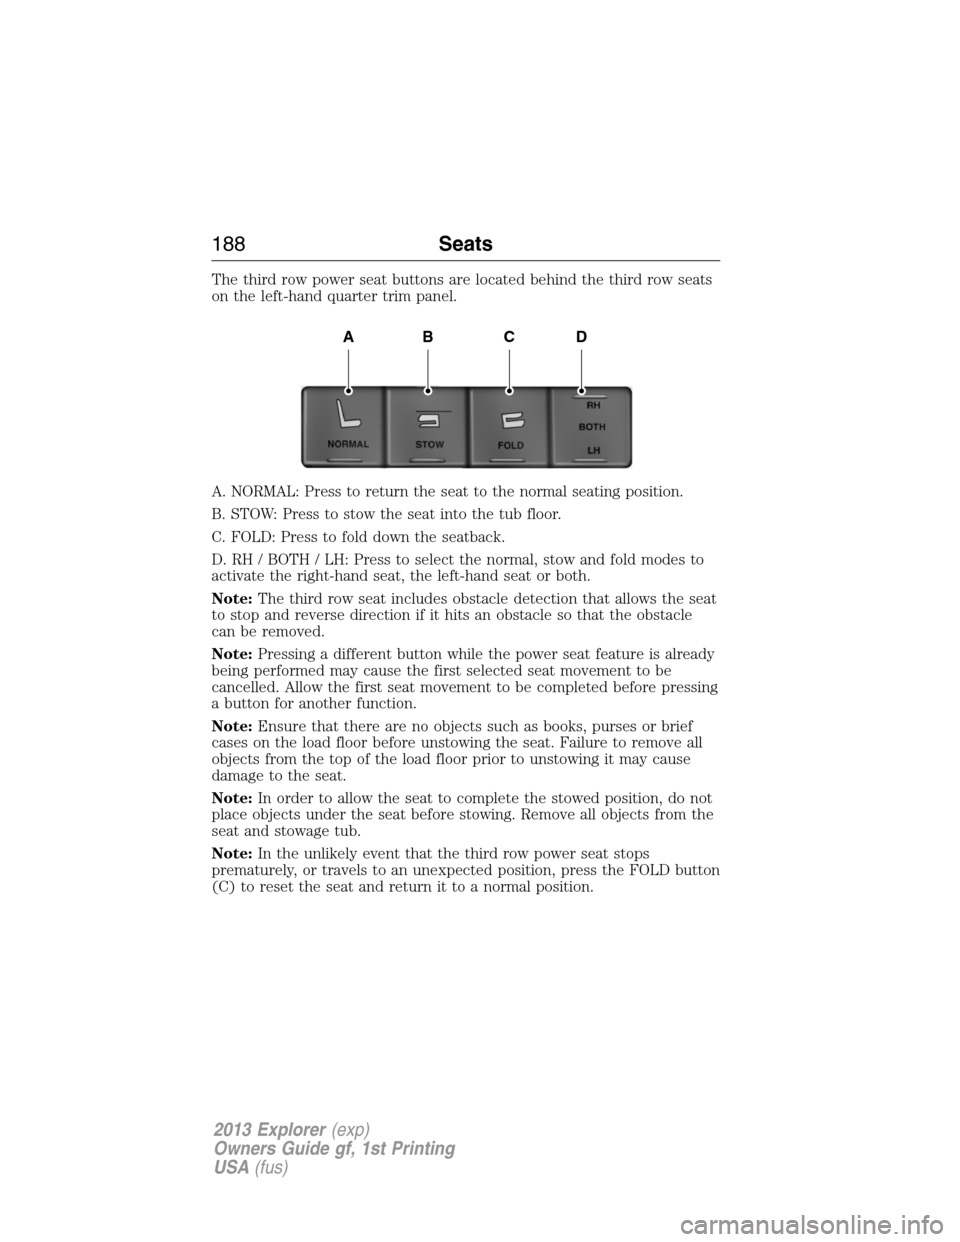
The third row power seat buttons are located behind the third row seats
on the left-hand quarter trim panel.
A. NORMAL: Press to return the seat to the normal seating position.
B. STOW: Press to stow the seat into the tub floor.
C. FOLD: Press to fold down the seatback.
D. RH / BOTH / LH: Press to select the normal, stow and fold modes to
activate the right-hand seat, the left-hand seat or both.
Note:The third row seat includes obstacle detection that allows the seat
to stop and reverse direction if it hits an obstacle so that the obstacle
can be removed.
Note:Pressing a different button while the power seat feature is already
being performed may cause the first selected seat movement to be
cancelled. Allow the first seat movement to be completed before pressing
a button for another function.
Note:Ensure that there are no objects such as books, purses or brief
cases on the load floor before unstowing the seat. Failure to remove all
objects from the top of the load floor prior to unstowing it may cause
damage to the seat.
Note:In order to allow the seat to complete the stowed position, do not
place objects under the seat before stowing. Remove all objects from the
seat and stowage tub.
Note:In the unlikely event that the third row power seat stops
prematurely, or travels to an unexpected position, press the FOLD button
(C) to reset the seat and return it to a normal position.
ABCD
188Seats
2013 Explorer(exp)
Owners Guide gf, 1st Printing
USA(fus)
Page 199 of 576
AUXILIARY POWER POINTS
WARNING:Do not plug optional electrical accessories into the
cigarette lighter socket (if equipped). Improper use of the lighter
can cause damage not covered by your warranty, and can result in fire
or serious injury.
Note:Do not insert objects other than an accessory plug into the power
point. This will damage the outlet and blow the fuse.
Note:Do not hang any type of accessory or accessory bracket from the
plug.
Note:Do not use the power point over the vehicle capacity of 12 volts
DC/180 watts or a fuse may blow.
Note:Do not use the power point for operating a cigarette lighter
element.
Note:Improper use of the power outlet can cause damage not covered
by your warranty.
Note:Always keep the power point caps closed when not being used.
Run the engine for full capacity use of the power point . To prevent the
battery from being discharged:
•Do not use the power point longer than necessary when the engine is
not running.
•Do not leave devices plugged in overnight or when the vehicle is
parked for extended periods.
Locations
Power points may be found:
•on the front of the center console
•inside the utility compartment
•on the rear of the console, accessible from the rear seats
•in the cargo area.
Auxiliary Power Points199
2013 Explorer(exp)
Owners Guide gf, 1st Printing
USA(fus)
Page 237 of 576

PRINCIPLES OF OPERATION
WARNING:Vehicle modifications involving braking system,
aftermarket roof racks, suspension, steering system, tire
construction and/or wheel/tire size may change the handling
characteristics of the vehicle and may adversely affect the performance
of the AdvanceTrac�system. In addition, installing any stereo
loudspeakers may interfere with and adversely affect the AdvanceTrac�
system. Install any aftermarket stereo loudspeaker as far as possible
from the front center console, the tunnel, and the front seats in order
to minimize the risk of interfering with the AdvanceTrac�sensors.
Reducing the effectiveness of the AdvanceTrac�system could lead to
an increased risk of loss of vehicle control, vehicle rollover, personal
injury and death.
WARNING:Remember that even advanced technology cannot
defy the laws of physics. It’s always possible to lose control of a
vehicle due to inappropriate driver input for the conditions. Aggressive
driving on any road condition can cause you to lose control of your
vehicle increasing the risk of personal injury or property damage.
Activation of the AdvanceTrac�system is an indication that at least
some of the tires have exceeded their ability to grip the road; this could
reduce the operator’s ability to control the vehicle potentially resulting
in a loss of vehicle control, vehicle rollover, personal injury and death. If
your AdvanceTrac�system activates, SLOW DOWN.
The AdvanceTrac�with Roll Stability Control™ (RSC�) system helps you
keep control of your vehicle when on a slippery surface. The electronic
stability control (ESC) portion of the system helps avoid skids and lateral
slides, curve control assists in vehicle handling in following the road
during adverse maneuvering and roll stability control helps avoid a
vehicle rollover. The traction control system (TCS) helps avoid drive
wheel spin and loss of traction. (For details on TCS operation, see the
Traction Controlchapter.)
Stability Control237
2013 Explorer(exp)
Owners Guide gf, 1st Printing
USA(fus)