Page 321 of 576

Fuse/Relay
NumberFuse Amp
RatingProtected Components
19 20A Memory seat power
20 20A Locks
21 10A Intelligent access (IA), Keypad
22 20A Horn relay
23 15A Steering wheel control module,
IA, Headlamp switch
24 15A Datalink connector, Steering
wheel control module
25 15A Liftgate release
26 5A Radio frequency module
27 20A IA module
28 15A Ignition switch, Push button start
switch
29 20A Radio, Global positioning system
module
30 15A Front park lamps
31 5A Trailer tow brake controller
32 15A 110V AC power point, Power
folding mirror, Power mirrors, One
touch up/down front windows,
Door lock illumination, Memory
switch illumination
33 10A Occupant classification sensor
34 10A Blind spot monitor, Rearview
camera, Reverse sensing system,
Lane departure warning module
35 5A Heads-up display, Climate control
humidity sensor, Terrain
management system, Hill descent
switch, Headlamp switch IGN
sense
36 10A Heated steering wheel
Fuses321
2013 Explorer(exp)
Owners Guide gf, 1st Printing
USA(fus)
Page 322 of 576
Fuse/Relay
NumberFuse Amp
RatingProtected Components
37 10A Restraints control module
38 10A Auto-dimming rear view mirror,
Moon roof
39 15A High beam headlamp shutters
40 10A Rear park lamps, License plate
lamps, TT park lamps
41 7.5A Overdrive cancel, Tow/haul
42 5A Not used (spare)
43 10A Not used (spare)
44 10A Not used (spare)
45 5A Not used (spare)
46 10A Climate control module
47 15A Fog lamps, left and right turn
signal mirror feed
48 30A Circuit
BreakerRear power windows, Passenger
power window, One touch down
(driver side only), Driver window
switch
49 Delayed
accessory relayBody control module
322Fuses
2013 Explorer(exp)
Owners Guide gf, 1st Printing
USA(fus)
Page 342 of 576

6. Replace the air filter housing cover and secure the
clamps. Be sure that the air cleaner cover tabs are
engaged into the slots of the air cleaner housing.
ADJUSTING THE HEADLAMPS
The headlamps on your vehicle are properly aimed at the assembly plant.
If your vehicle has been in an accident, the alignment of your headlamps
should be checked by your authorized dealer.
Vertical aim adjustment
The headlamps on your vehicle can only be vertically adjusted. Your
vehicle does not require horizontal aim adjustments.
To adjust the headlamps:
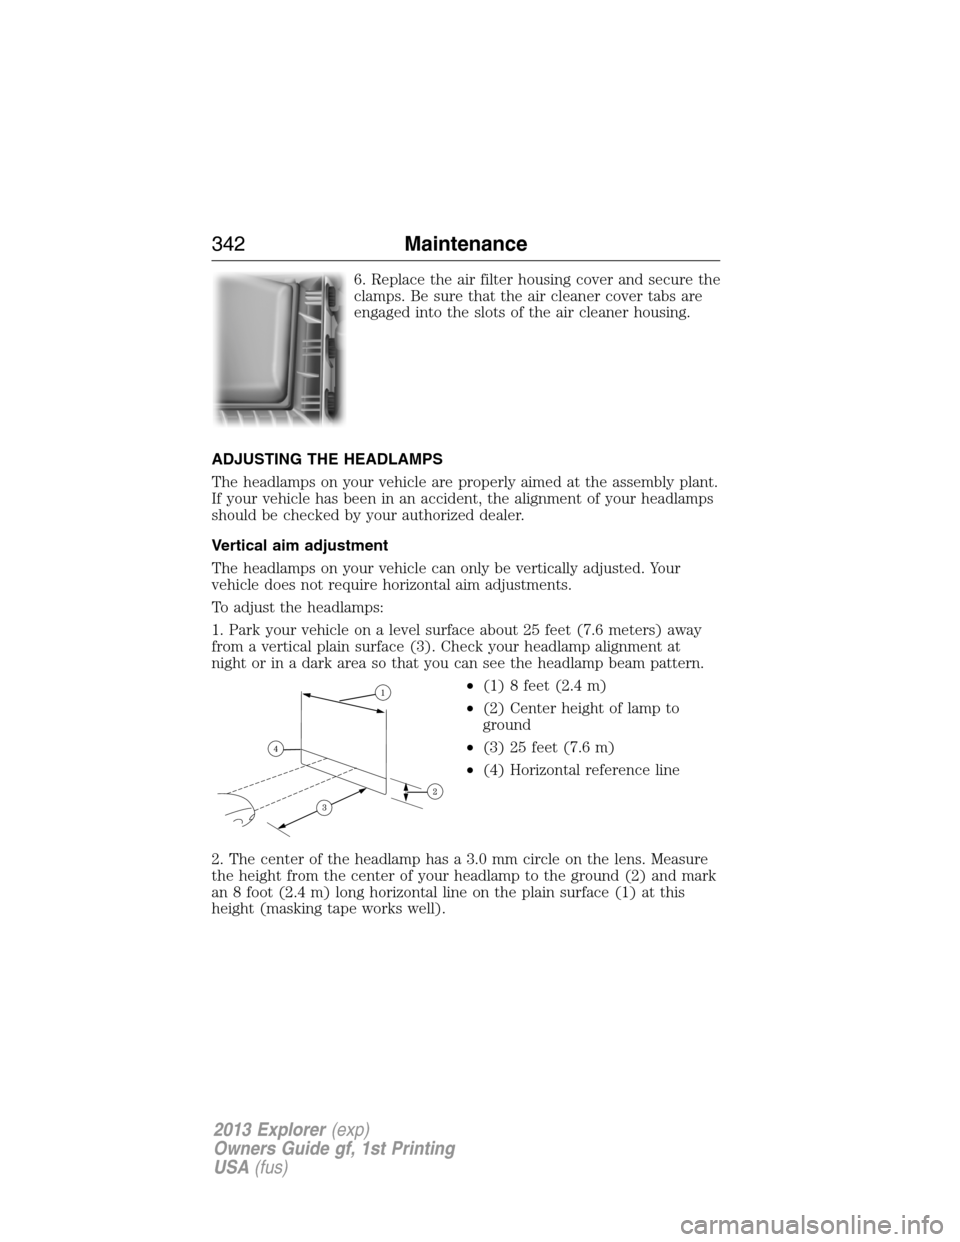
1. Park your vehicle on a level surface about 25 feet (7.6 meters) away
from a vertical plain surface (3). Check your headlamp alignment at
night or in a dark area so that you can see the headlamp beam pattern.
•(1) 8 feet (2.4 m)
•(2) Center height of lamp to
ground
•(3) 25 feet (7.6 m)
•(4) Horizontal reference line
2. The center of the headlamp has a 3.0 mm circle on the lens. Measure
the height from the center of your headlamp to the ground (2) and mark
an 8 foot (2.4 m) long horizontal line on the plain surface (1) at this
height (masking tape works well).
342Maintenance
2013 Explorer(exp)
Owners Guide gf, 1st Printing
USA(fus)
Page 343 of 576

3. Turn on the low beam headlamps to illuminate the wall or screen and
open the hood. To see a clearer light pattern for adjusting, block the light
from one headlamp while adjusting the other.
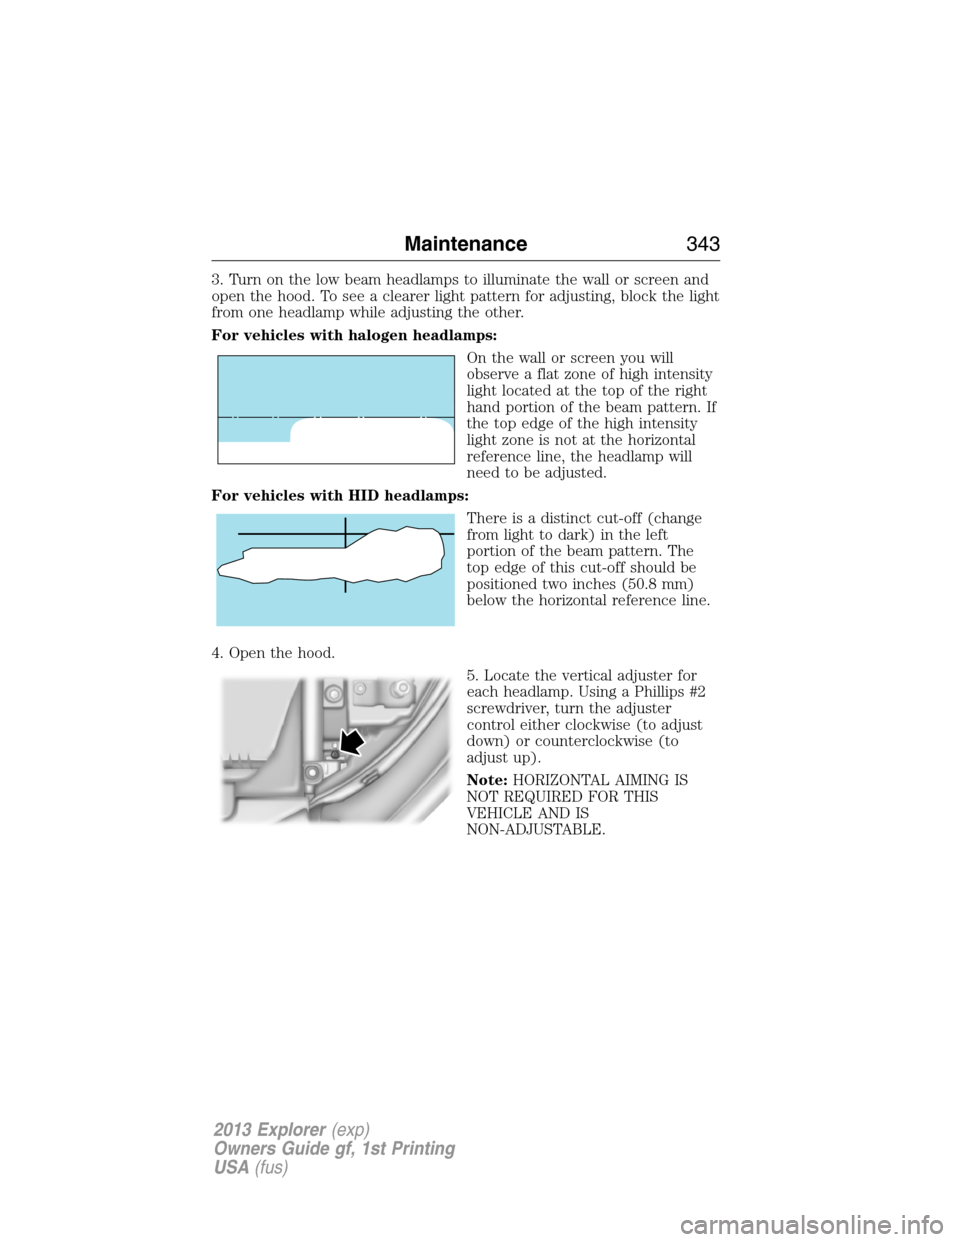
For vehicles with halogen headlamps:
On the wall or screen you will
observe a flat zone of high intensity
light located at the top of the right
hand portion of the beam pattern. If
the top edge of the high intensity
light zone is not at the horizontal
reference line, the headlamp will
need to be adjusted.
For vehicles with HID headlamps:
There is a distinct cut-off (change
from light to dark) in the left
portion of the beam pattern. The
top edge of this cut-off should be
positioned two inches (50.8 mm)
below the horizontal reference line.
4. Open the hood.
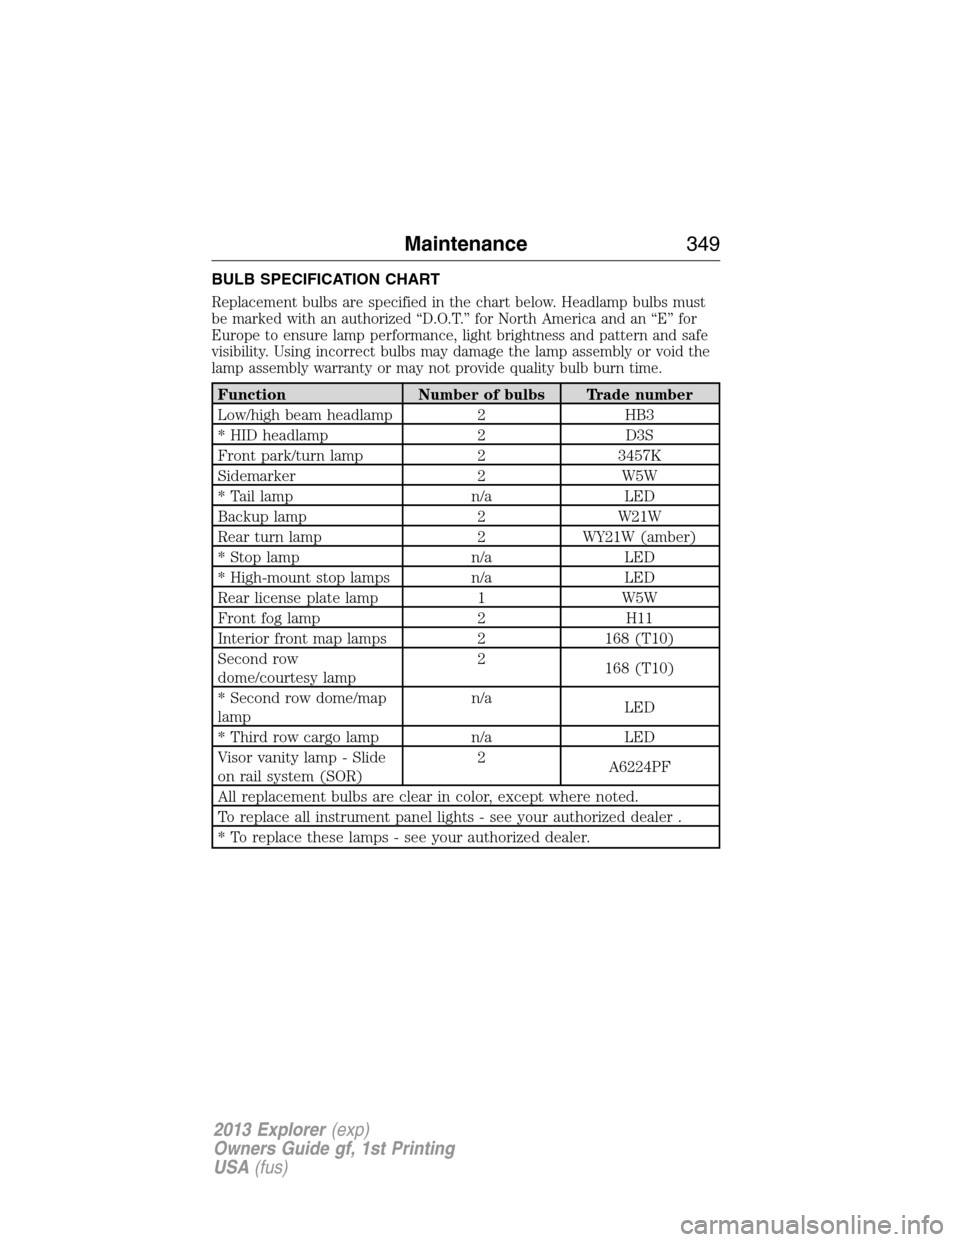
5. Locate the vertical adjuster for
each headlamp. Using a Phillips #2
screwdriver, turn the adjuster
control either clockwise (to adjust
down) or counterclockwise (to
adjust up).
Note:HORIZONTAL AIMING IS
NOT REQUIRED FOR THIS
VEHICLE AND IS
NON-ADJUSTABLE.
Maintenance343
2013 Explorer(exp)
Owners Guide gf, 1st Printing
USA(fus)
Page 345 of 576
Replacing headlamp bulbs
WARNING:Handle a halogen headlamp bulb carefully and keep
out of children’s reach. Grasp the bulb only by its plastic base and
do not touch the glass. The oil from your hand could cause the bulb to
break the next time the headlamps are operated.
Note:If the bulb is accidentally touched, it should be cleaned with
rubbing alcohol before being used.
1. Make sure that the headlamp control is in the off position.
2. Open the hood.
3. Remove the bulb cover.
4. Turn the bulb base counterclockwise and remove
it.
5. Disconnect the electrical connector.
Reverse steps to reinstall bulb(s).
Replacing HID headlamp bulbs (if equipped)
The headlamps on your vehicle use a “high intensity discharge” source.
These lamps operate at a high voltage. When the bulb is burned out, the
bulb and starter capsule assembly must be replaced by your authorized
dealer.
Maintenance345
2013 Explorer(exp)
Owners Guide gf, 1st Printing
USA(fus)
Page 346 of 576
Front parking lamp/turn signal and sidemarker bulbs
1. Make sure that the headlamp control is
in the off position.
2. Open the hood.
3. Remove the hood overslam bumper
tower to service park/turn or sidemarker
bulbs (if needed).
Replacing front parking lamp/turn signal bulbs
1. Rotate the bulb socket
counterclockwise and remove it from
the lamp assembly.
2. Pull the bulb straight out of the
socket.
Reverse steps to reinstall bulb(s).
Replacing sidemarker bulbs
1. Rotate the bulb socket
counterclockwise and remove it from
the lamp assembly.
2. Pull the bulb straight out of the
socket.
Reverse steps to reinstall bulb(s).
346Maintenance
2013 Explorer(exp)
Owners Guide gf, 1st Printing
USA(fus)
Page 347 of 576
Replacing fog lamp bulbs
1. Make sure the headlamp switch is off.
1. Make sure that the fog lamp switch
is in the off position.
2. Remove the bulb socket from the
fog lamp by turning it
counterclockwise.
3. Disconnect the electrical connector.
Reverse steps to reinstall bulb(s).
Replacing turn/backup lamp bulbs
The turn/backup lamp bulbs are located in the same area of the tail lamp
assembly, one below the other. Follow the same steps to replace these
bulbs:
1. Make sure the headlamp switch is in the off
position, then open the liftgate to expose the lamp
assembly bolts.
2. Remove the two bolts covers using a standard flat
tip screwdriver.
3. Remove the two bolts from the lamp assembly.
4. Carefully remove the lamp assembly away from the
vehicle by pulling the assembly straight out to expose
the bulb socket.
5. Remove the bulb socket from the
lamp assembly by turning it
counterclockwise.
Maintenance347
2013 Explorer(exp)
Owners Guide gf, 1st Printing
USA(fus)
Page 349 of 576

BULB SPECIFICATION CHART
Replacement bulbs are specified in the chart below. Headlamp bulbs must
be marked with an authorized “D.O.T.” for North America and an “E” for
Europe to ensure lamp performance, light brightness and pattern and safe
visibility. Using incorrect bulbs may damage the lamp assembly or void the
lamp assembly warranty or may not provide quality bulb burn time.
Function Number of bulbs Trade number
Low/high beam headlamp 2 HB3
* HID headlamp 2 D3S
Front park/turn lamp 2 3457K
Sidemarker 2 W5W
* Tail lamp n/a LED
Backup lamp 2 W21W
Rear turn lamp 2 WY21W (amber)
* Stop lamp n/a LED
* High-mount stop lamps n/a LED
Rear license plate lamp 1 W5W
Front fog lamp 2 H11
Interior front map lamps 2 168 (T10)
Second row
dome/courtesy lamp2
168 (T10)
* Second row dome/map
lampn/a
LED
* Third row cargo lamp n/a LED
Visor vanity lamp - Slide
on rail system (SOR)2
A6224PF
All replacement bulbs are clear in color, except where noted.
To replace all instrument panel lights - see your authorized dealer .
* To replace these lamps - see your authorized dealer.
Maintenance349
2013 Explorer(exp)
Owners Guide gf, 1st Printing
USA(fus)