Page 70 of 350

In order to move your vehicle to the side of the road the
transmission must be in NEUTRAL and the 12 Volt
system must be functional. To place the transmission into
NEUTRAL you must turn the ignition OFF and then back
to the RUN position (cycle the ignition) then press the
NEUTRAL button.
NOTE:The high voltage battery will remain disabled
after an Enhanced Accident Response Event and must be
reset by your authorized studio.
If A Deployment Occurs
The Advanced Front Air Bags are designed to deflate
immediately after deployment.
NOTE: Front and/or side air bags will not deploy in all
collisions. This does not mean something is wrong with
the air bag system. If you do have a collision which deploys the air bags, any
or all of the following may occur:
•
The nylon air bag material may sometimes cause
abrasions and/or skin reddening to the driver and
front passenger as the air bags deploy and unfold. The
abrasions are similar to friction rope burns or those
you might get sliding along a carpet or gymnasium
floor. They are not caused by contact with chemicals.
They are not permanent and normally heal quickly.
However, if you haven’t healed significantly within a
few days, or if you have any blistering, see your doctor
immediately.
68 THINGS TO KNOW BEFORE STARTING YOUR VEHICLE
Page 104 of 350

Sun Visors
The driver and passenger sun visors are located on the
headliner, near the front windshield. The sun visor can be
rotated downward or up against the door glass. Both sun
visors are equipped with courtesy mirrors.
BLUE&ME™ HANDS-FREE COMMUNICATION —
IF EQUIPPED
Overview
Windows Mobile™-based FIAT BLUE&ME™ is a per-
sonal telematic system enabling you to use communica-
tion and entertainment applications expressly designed
for use in the car.
The BLUE&ME™ system installed on your car is
equipped with a hands-free kit, message reader and
media player, and it is preset for future installation of
additional services.
The BLUE&ME™ system, fully integrated with voice
commands, buttons on the steering wheel and multifunc-
tion display messages, gives you the possibility of inter-
acting with your Bluetooth® wireless technology mobile
phone (even if you keep it in your pocket or bag) without
having to take your eyes off the road or remove your
hands from the steering wheel. To use voice commands
Sun Visor (Passenger Side Shown)
102 UNDERSTANDING THE FEATURES OF YOUR VEHICLE
Page 115 of 350

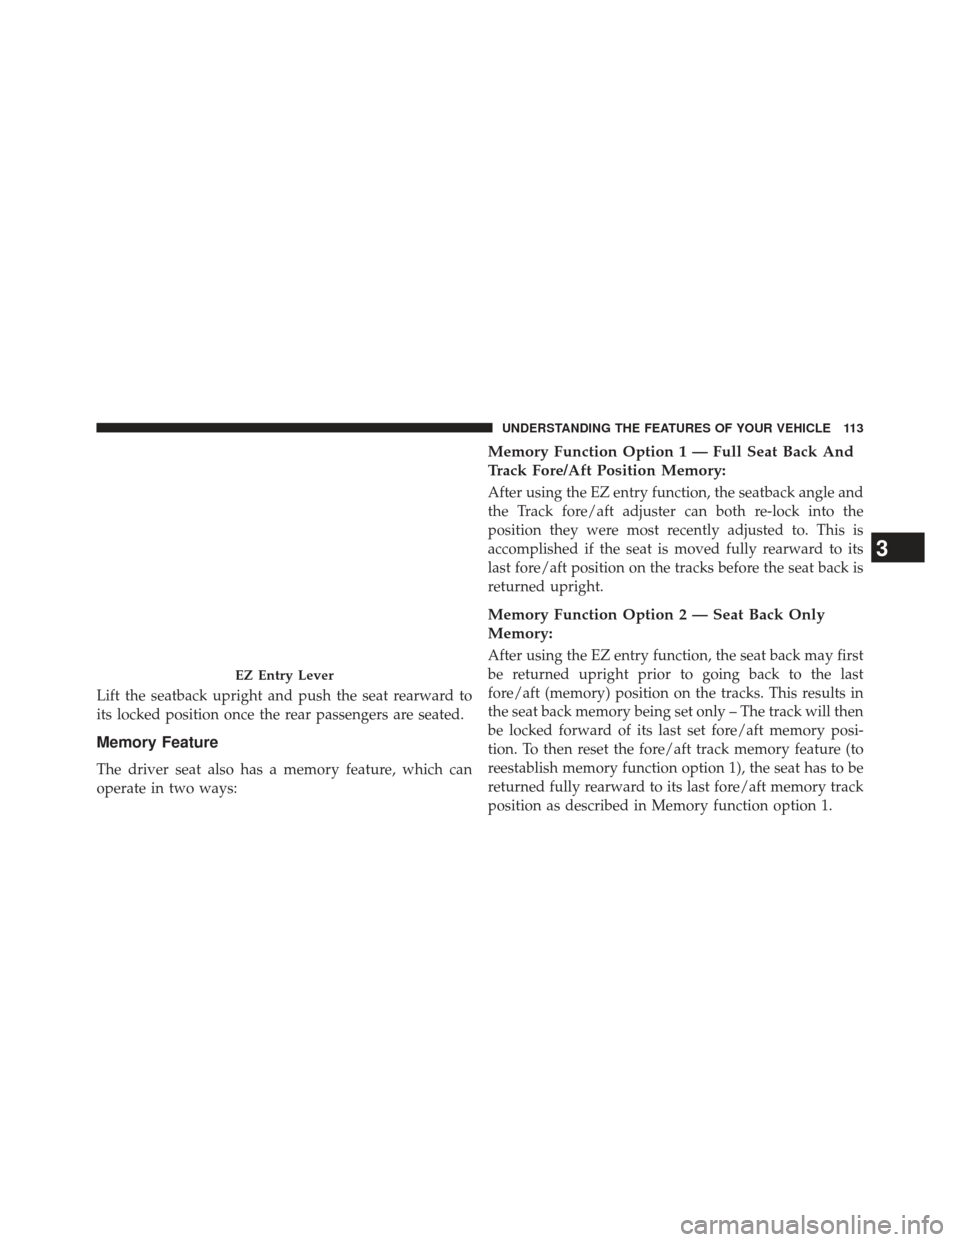
Lift the seatback upright and push the seat rearward to
its locked position once the rear passengers are seated.
Memory Feature
The driver seat also has a memory feature, which can
operate in two ways:
Memory Function Option 1 — Full Seat Back And
Track Fore/Aft Position Memory:
After using the EZ entry function, the seatback angle and
the Track fore/aft adjuster can both re-lock into the
position they were most recently adjusted to. This is
accomplished if the seat is moved fully rearward to its
last fore/aft position on the tracks before the seat back is
returned upright.
Memory Function Option 2 — Seat Back Only
Memory:
After using the EZ entry function, the seat back may first
be returned upright prior to going back to the last
fore/aft (memory) position on the tracks. This results in
the seat back memory being set only – The track will then
be locked forward of its last set fore/aft memory posi-
tion. To then reset the fore/aft track memory feature (to
reestablish memory function option 1), the seat has to be
returned fully rearward to its last fore/aft memory track
position as described in Memory function option 1.
EZ Entry Lever
3
UNDERSTANDING THE FEATURES OF YOUR VEHICLE 113
Page 123 of 350
NOTE:The indicators will automatically turn off when
the turn has been completed and the steering wheel is
returned to a straight position.
Lane Change Assist
Tap the lever up or down once, without moving beyond
the detent, and the turn signal (right or left) will flash
three times then automatically turn off.
Follow Me Home/Headlight Delay
When this feature is selected the driver can choose to
have the headlights remain on for a preset period of time.
Activation
Remove the key or turn the ignition to the OFF/LOCK
position, and pull the multifunction lever toward the
steering wheel, within two minutes. Each time the lever
is pulled, the activation of the lights will be extended by
30 seconds. The activation of the lights can be extended to
a maximum of 210 seconds.
Turn Signal Operation
3
UNDERSTANDING THE FEATURES OF YOUR VEHICLE 121
Page 131 of 350

NOTE:In order to ensure proper operation, the Elec-
tronic Speed Control system has been designed to shut
down if multiple Speed Control functions are operated at
the same time. If this occurs, the Electronic Speed Control
system can be reactivated by pushing the Electronic
Speed Control ON/OFF button and resetting the desired
vehicle set speed.
To Activate
Push the ON/OFF button. The Cruise Indicator Light in
the instrument cluster will illuminate. To turn the system
off, push the ON/OFF button a second time. The Cruise
Indicator Light will turn off. The system should be
turned off when not in use.
WARNING!
Leaving the Electronic Speed Control system on
when not in use is dangerous. You could accidentally
set the system or cause it to go faster than you want.
You could lose control and have an accident. Always
leave the system OFF when you are not using it.
To Set A Desired Speed
Turn the Electronic Speed Control ON. When the vehicle
has reached the desired speed, press the SET (-) button
and release. Release the accelerator and the vehicle will
operate at the selected speed.
NOTE: The vehicle should be traveling at a steady speed
and on level ground before pressing the SET (-) button.
3
UNDERSTANDING THE FEATURES OF YOUR VEHICLE 129
Page 167 of 350
•A short button press scrolls through the user-selectable
information.
• A long button press resets.
The User-Selectable options are:
• Instant Consumption (Kilowatts) •
Trip A
• Trip B
• Tire Pressure
New Trip
To reset:
• Press and hold the TRIP button manually.
• When the “Trip Distance” reaches 999.9 miles/
kilometers or when the “Elapsed Time” reaches 99.59
(99 hours and 59 minutes) the system will reset auto-
matically.Trip Functions
Both trip functions are resettable (reset — start of new
trip).
“Trip A” can be used to display the figures relating to:
• distance
Trip Button
4
UNDERSTANDING YOUR INSTRUMENT PANEL 165
Page 168 of 350
•avg. energy
• avg. speed
• elapsed time (driving time).
“Trip B” can be used to display the figures relating to:
• distance
• avg. energy
• avg. speed
• elapsed time (driving time).
Values Displayed
Range
This indicates the distance which may be travelled with
the remaining battery charge, assuming that driving
conditions will not change. The message “----” will
appear when the system is initializing. NOTE:
The range depends on several factors: driving
style, type of route (freeway, residential, mountain roads,
etc.), conditions of use of the car (load, tire pressure, etc.).
Trip planning must take into account the above notes.
Distance Traveled
This value shows the distance covered since the last reset.
Average Speed
This value shows the vehicle’s average speed as a func-
tion of the overall time elapsed since the last reset.
Elapsed Time
This value shows the time elapsed since the last reset.
166 UNDERSTANDING YOUR INSTRUMENT PANEL
Page 172 of 350
With Alpine Premium Audio system (if equipped):
•Two 165 mm diameter midwoofer speakers.
• Two 11 mm tweeter speakers in the front pillars.
• Two 100 mm full range speakers, one speaker in each
of the rear side panels. •
An amplifier in the trunk on the right-hand side panel.
• Antenna on the car roof.
• Radio with CD/MP3 player.
Quick Guide
Radio Controls
BUTTON GENERAL FUNCTIONSMODE
OnShort button press
Off Short button press
TUNER AM, FM, SAT (if equipped) source
selection Short repeated button press
A-B-C Cycles A, B, C presets for AM, FM,
SAT (if equipped)Short repeated button press
170 UNDERSTANDING YOUR INSTRUMENT PANEL