Page 59 of 100

NOTE:
• For the shortened SiriusXM™ Satellite Radio mode commands to be recognized youmust be in that mode. For example, if you are in SiriusXM™ Satellite Radio mode you
can say “39”, but if you are not in SiriusXM™ mode, you would need to say “Tune to
Satellite Channel 39.”
•
For additional information on available Voice Commands, visit www.driveuconnect.com/
features/entertainment/ and select Voice Commands.
Common Navigation Voice Commands
• To access the navigation voice commands, press the Uconnect™ Voice Command
button while in any mode and say “Navigation.”
• Once in the Navigation feature, you can simply Say What You Seeon the touch-screen
to give a navigation voice command.
• Locating an address can be given as a one shot entry. For example, after saying “Find
Address” and the system is ready, you can say the entire address in one command,
“1234 1st Street, Any Town, Michigan.” If you are searching for a particular address or
Point Of Interest, the available voice commands depend on what is displayed on the
touch-screen.
• When the Voice Command system is ready to be given a command, the green indicator is visible in the right corner of the touch-screen.
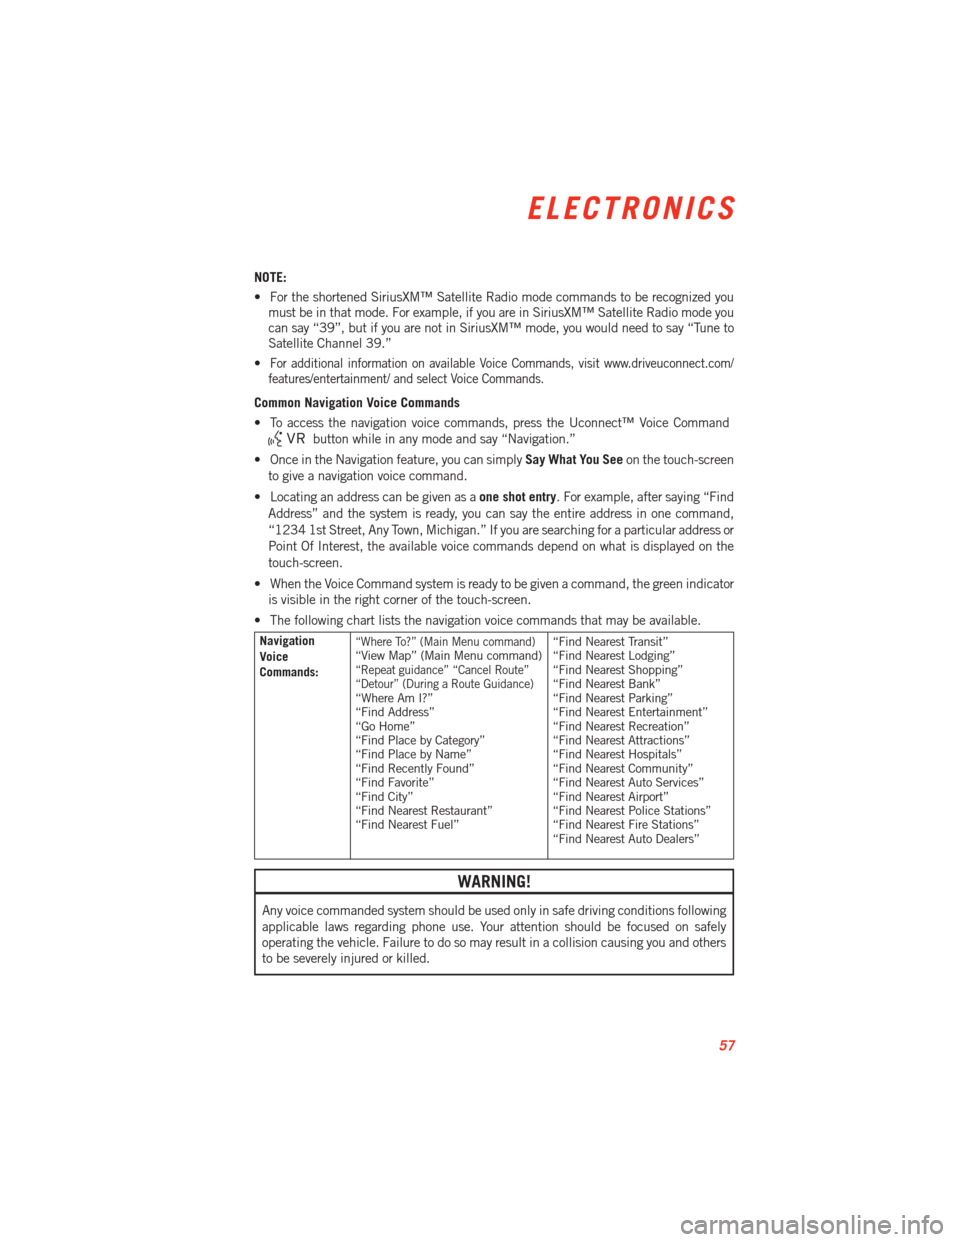
• The following chart lists the navigation voice commands that may be available.
Navigation
Voice
Commands:“Where To?” (Main Menu command)“View Map” (Main Menu command)“Repeat guidance” “Cancel Route”
“Detour” (During a Route Guidance)
“Where Am I?”
“Find Address”
“Go Home”
“Find Place by Category”
“Find Place by Name”
“Find Recently Found”
“Find Favorite”
“Find City”
“Find Nearest Restaurant”
“Find Nearest Fuel” “Find Nearest Transit”
“Find Nearest Lodging”
“Find Nearest Shopping”
“Find Nearest Bank”
“Find Nearest Parking”
“Find Nearest Entertainment”
“Find Nearest Recreation”
“Find Nearest Attractions”
“Find Nearest Hospitals”
“Find Nearest Community”
“Find Nearest Auto Services”
“Find Nearest Airport”
“Find Nearest Police Stations”
“Find Nearest Fire Stations”
“Find Nearest Auto Dealers”
WARNING!
Any voice commanded system should be used only in safe driving conditions following
applicable laws regarding phone use. Your attention should be focused on safely
operating the vehicle. Failure to do so may result in a collision causing you and others
to be severely injured or killed.
ELECTRONICS
57
Page 60 of 100

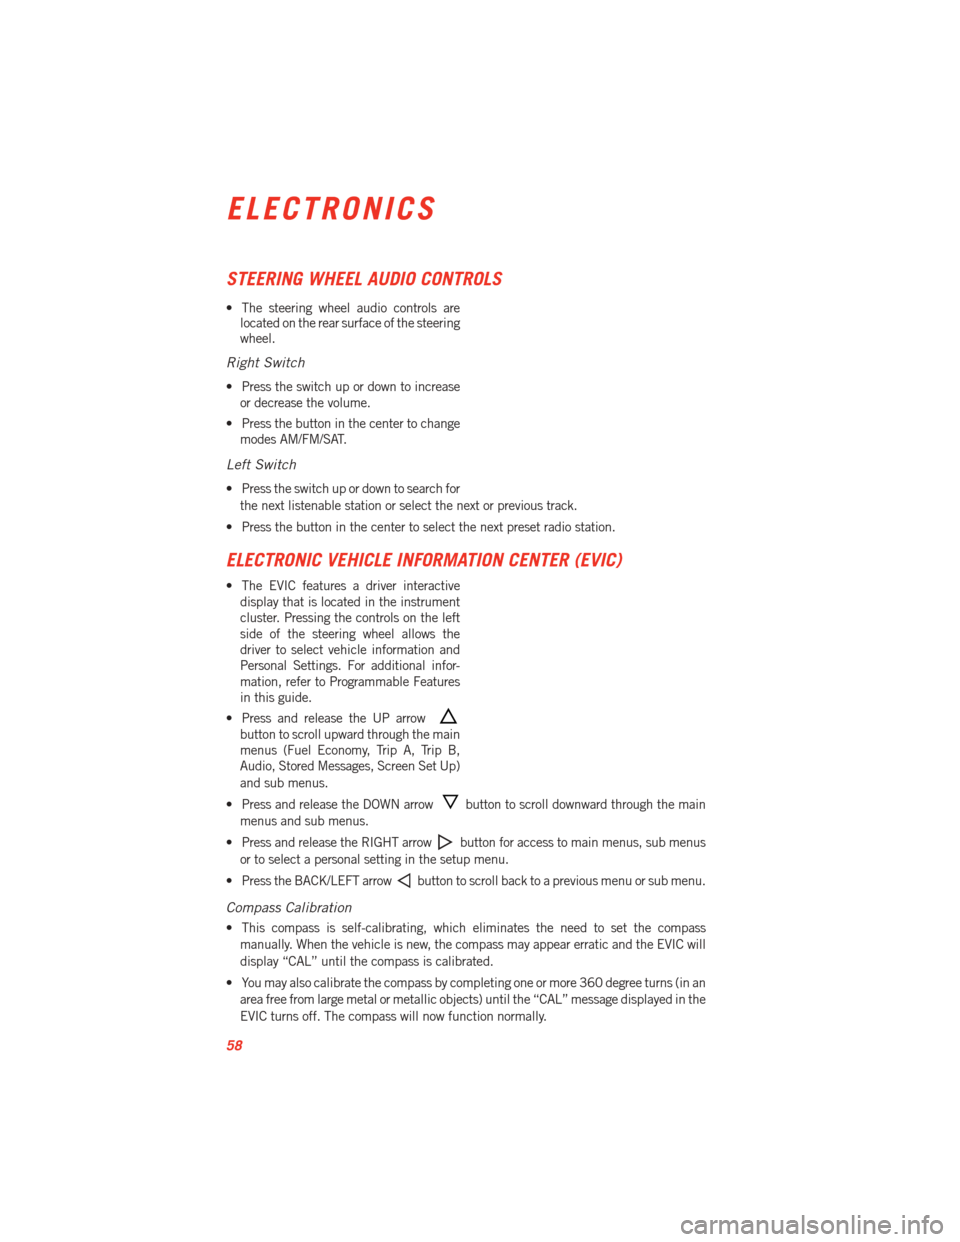
STEERING WHEEL AUDIO CONTROLS
• The steering wheel audio controls arelocated on the rear surface of the steering
wheel.
Right Switch
• Press the switch up or down to increase
or decrease the volume.
• Press the button in the center to change modes AM/FM/SAT.
Left Switch
• Press the switch up or down to search for
the next listenable station or select the next or previous track.
• Press the button in the center to select the next preset radio station.
ELECTRONIC VEHICLE INFORMATION CENTER (EVIC)
• The EVIC features a driver interactive display that is located in the instrument
cluster. Pressing the controls on the left
side of the steering wheel allows the
driver to select vehicle information and
Personal Settings. For additional infor-
mation, refer to Programmable Features
in this guide.
• Press and release the UP arrow
button to scroll upward through the main
menus (Fuel Economy, Trip A, Trip B,
Audio, Stored Messages, Screen Set Up)
and sub menus.
• Press and release the DOWN arrow
button to scroll downward through the main
menus and sub menus.
• Press and release the RIGHT arrow
button for access to main menus, sub menus
or to select a personal setting in the setup menu.
• Press the BACK/LEFT arrow
button to scroll back to a previous menu or sub menu.
Compass Calibration
• This compass is self-calibrating, which eliminates the need to set the compass manually. When the vehicle is new, the compass may appear erratic and the EVIC will
display “CAL” until the compass is calibrated.
• You may also calibrate the compass by completing one or more 360 degree turns (in an area free from large metal or metallic objects) until the “CAL” message displayed in the
EVIC turns off. The compass will now function normally.
ELECTRONICS
58
Page 61 of 100

PROGRAMMABLE FEATURES
Electronic Vehicle Information Center (EVIC)
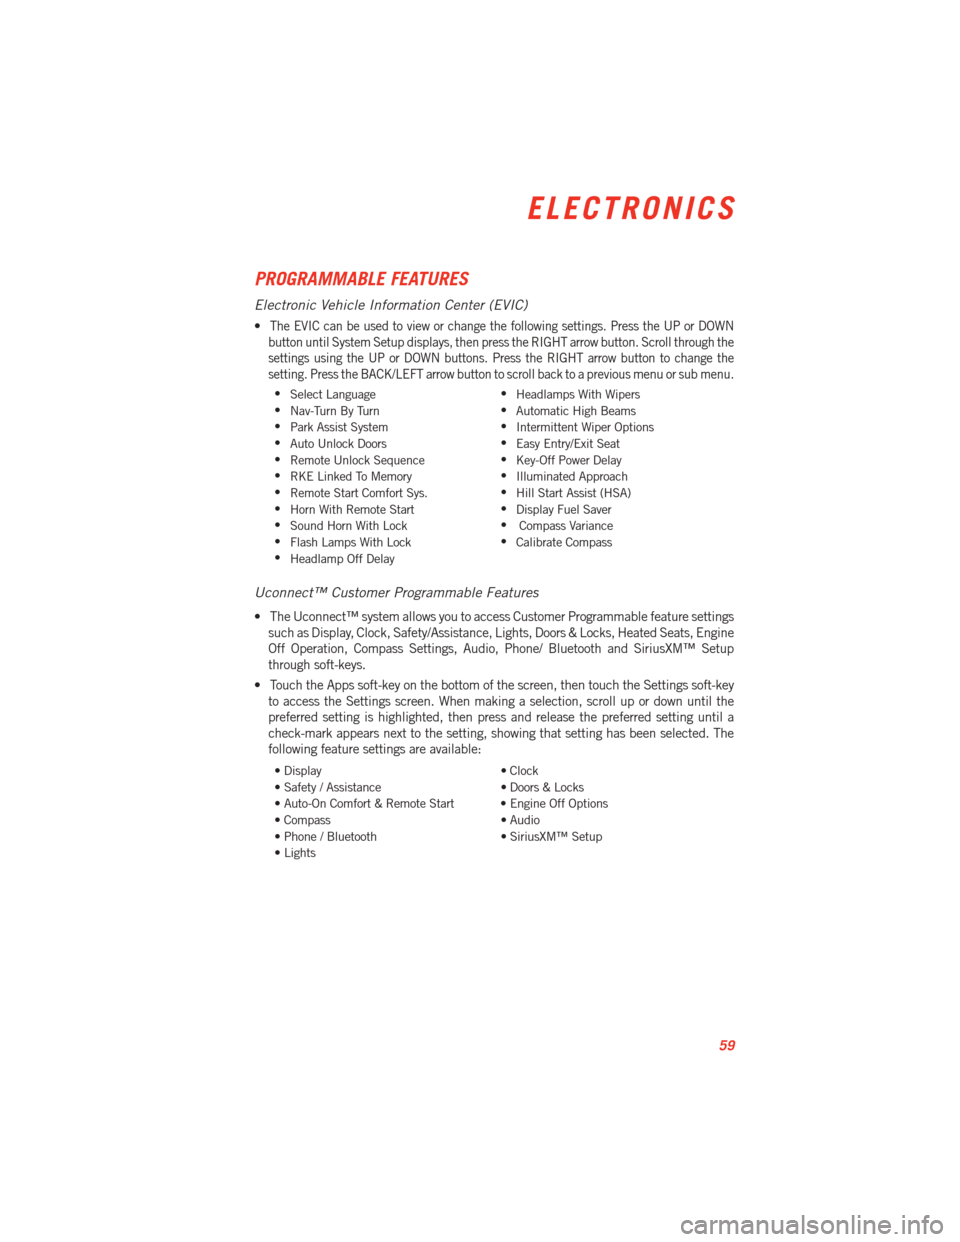
•The EVIC can be used to view or change the following settings. Press the UP or DOWN
button until System Setup displays, then press the RIGHT arrow button. Scroll through the
settings using the UP or DOWN buttons. Press the RIGHT arrow button to change the
setting. Press the BACK/LEFT arrow button to scroll back to a previous menu or sub menu.
• Select Language •
Headlamps With Wipers
• Nav-Turn By Turn •
Automatic High Beams
• Park Assist System •
Intermittent Wiper Options
• Auto Unlock Doors •
Easy Entry/Exit Seat
• Remote Unlock Sequence •
Key-Off Power Delay
• RKE Linked To Memory •
Illuminated Approach
• Remote Start Comfort Sys. •
Hill Start Assist (HSA)
• Horn With Remote Start •
Display Fuel Saver
• Sound Horn With Lock •
Compass Variance
• Flash Lamps With Lock •
Calibrate Compass
• Headlamp Off Delay
Uconnect™ Customer Programmable Features
• The Uconnect™ system allows you to access Customer Programmable feature settings
such as Display, Clock, Safety/Assistance, Lights, Doors & Locks, Heated Seats, Engine
Off Operation, Compass Settings, Audio, Phone/ Bluetooth and SiriusXM™ Setup
through soft-keys.
• Touch the Apps soft-key on the bottom of the screen, then touch the Settings soft-key to access the Settings screen. When making a selection, scroll up or down until the
preferred setting is highlighted, then press and release the preferred setting until a
check-mark appears next to the setting, showing that setting has been selected. The
following feature settings are available:
• Display • Clock
• Safety / Assistance • Doors & Locks
• Auto-On Comfort & Remote Start • Engine Off Options
• Compass • Audio
• Phone / Bluetooth • SiriusXM™ Setup
• Lights
ELECTRONICS
59
Page 69 of 100

PERFORMANCE FEATURES
Electronic Vehicle Information Center (EVIC)
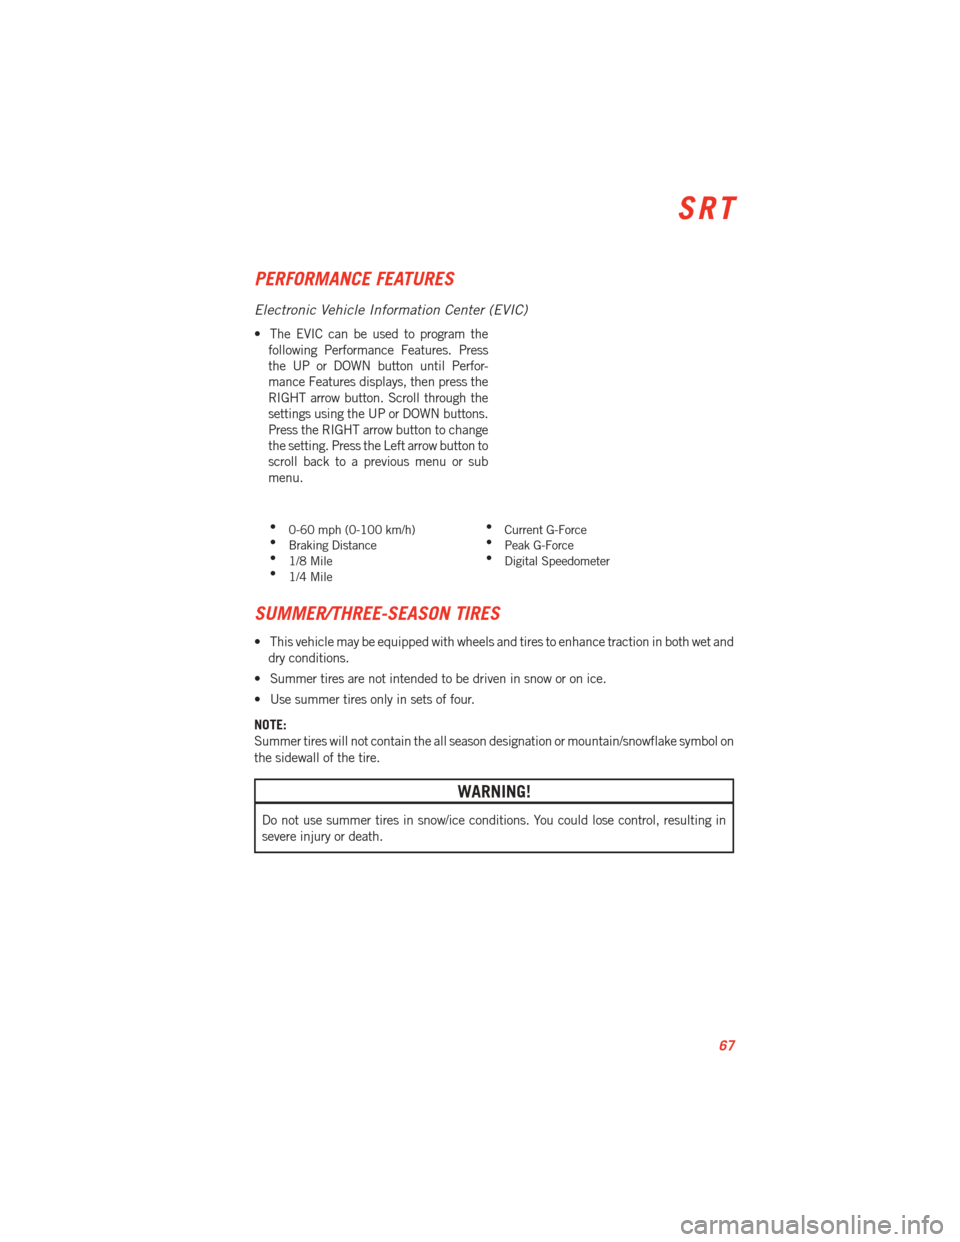
• The EVIC can be used to program thefollowing Performance Features. Press
the UP or DOWN button until Perfor-
mance Features displays, then press the
RIGHT arrow button. Scroll through the
settings using the UP or DOWN buttons.
Press the RIGHT arrow button to change
the setting. Press the Left arrow button to
scroll back to a previous menu or sub
menu.
• 0-60 mph (0-100 km/h) •
Current G-Force
• Braking Distance •
Peak G-Force
• 1/8 Mile •
Digital Speedometer
• 1/4 Mile
SUMMER/THREE-SEASON TIRES
• This vehicle may be equipped with wheels and tires to enhance traction in both wet and
dry conditions.
• Summer tires are not intended to be driven in snow or on ice.
• Use summer tires only in sets of four.
NOTE:
Summer tires will not contain the all season designation or mountain/snowflake symbol on
the sidewall of the tire.
WARNING!
Do not use summer tires in snow/ice conditions. You could lose control, resulting in
severe injury or death.
SRT
67
Page:
< prev 1-8 9-16 17-24