Page 49 of 116
• Dead Reckoning technology uses the speed sensors attached to your vehicle’s drivetrainand a gyroscope to supplement the existing GPS data. The combined data provides
accurate positioning for your vehicle in tunnels, indoor parking garages, urban canyons,
and any other area where GPS signals can become obstructed.
Finding Points of Interest
• From the main Navigation menu, touch Where To?, then touch Points of Interest.
• Select a Category and then a subcategory, if necessary.
• Select your destination and touch Go.
Finding a Place by Spelling the Name
• From the Main Navigation Menu, touch Where to?, then touch Points of Interest and then touch Spell Name.
• Enter the name of your destination.
• Touch Done.
• Select your destination and touch Go.
Entering a Destination Address
• From the main Navigation menu, touch Where To?, then touch Address.
• Follow the on-screen prompts to enter the address and touch Go.
Searching Near Another Location
• From the main Navigation menu, touch Where To?, then touch a destination and then touch Near.
• Select an option from the available choices.
Setting or Changing Your Home Location
• Touch the NAV soft-key in the menu bar to access the Navigation system and the Main Navigation menu.
• Touch Where To?, then touch Go Home.
• You may enter your address directly, use your current location as your home address, or choose from recently found locations.
• To edit your Home location (or other saved locations), touch Where To? from the Main Navigation menu, then touch Favorites, and touch the location you want to edit. After
selecting a location to edit, touch Press for More, then Edit.
Go Home
• A Home location must be saved in the system. From the Main Navigation menu, touch Where To?, then touch Go Home.
ELECTRONICS
47
Page 50 of 116
Following Your Route
•
Your route is marked with a magenta line on the map. If you depart from the original route,
your route is recalculated. A speed limit icon could appear as you travel on major roadways.
• Lane Assist helps you decide which lane to be in at upcoming junctions.
• Junction View gives you an expanded view as junctions approach.
Adding a Via Point
• To add a stop between your current location and your end destination, you must be navigating a route.
• Touch the back arrow multiple times to return to the Main Navigation menu.
• Touch Where To?, then search for the via point. Then select the via point to add from the search results.
• Touch Go, then touch Add as a Via Point.
Taking a Detour
• To take a detour you must be navigating a route
• Touch Detour
NOTE:
If the route you are currently taking is the only reasonable option, the device might not
calculate a detour.
ELECTRONICS
48
Page 51 of 116
SiriusXM TRAVEL LINK (8.4N ONLY)
• SiriusXM Travel Link brings a wealth of useful information into your vehicle and right toyour fingertips.
• To access Travel Link, touch More soft-key, then the Travel Link soft-key
NOTE:
SiriusXM Travel Link requires a subscription, sold separately after the 1 year trial subscrip-
tion included with your vehicle purchase.
1 – Fuel Prices View detailed price information for fuel stations near your current
location.
2 – Movie Listings View information on movies that are playing at theaters near your
current location.
3 – Sports Scores View scores and upcoming events for all major sports.
4 – SiriusXM View subscription information.
5–MyFavorites View and store your favorite location, theater and sport teams for
quick access.
6 – Weather View detailed weather conditions, forecasts and ski/snowboarding
conditions at local resorts.
ELECTRONICS
49
Page 52 of 116
PLAYING iPod®/USB/MP3 DEVICES
• There are many ways to play music from iPod®/MP3 players or USB devices through yourvehicles sound system.
Audio Jack (AUX)
• The Audio Jack, located in the center console, allows a portable device, such as an MP3 player or an iPod, to be plugged into the radio and utilize the vehicles sound system,
using a 3.5 mm audio cable, to amplify the source and play through the vehicle speakers.
• Touching the Player soft-key then choose AUX source will change the mode to auxiliary device if the Audio Jack is connected, allowing the music from your portable device to be
heard through the vehicles speakers.
• The functions of the portable device are controlled using the device buttons. The volume may be controlled using the radio or portable device.
• To route the audio cable out of the center console, use the access cut out in the front of the console.
USB Port
• Connect your iPod® or compatible device using a USB cable into the USB Port. The USB Port is contained within the center console. USB Memory sticks with audio files can also
be used. Then, audio from the device can be played on the vehicles sound system while
providing metadata (artist, track title, album, etc.) information on the radio display.
• When connected, the iPod®/compatible USB device can be controlled using the radio or Steering Wheel Audio Controls to play, skip to the next or previous track, browse, and list
the contents.
• The iPod® battery charges when plugged into the USB port (if supported by the specific device).
• To route the USB/iPod® cable out of the center console, use the access cut out in the front of the console.
NOTE:
• When connecting your iPod® device for the first time, the system may take several minutes to read your music, depending on the number of files. For example, the system
will take approximately five minutes for every 1000 songs loaded on the device. Also
during the reading process, the Shuffle and Browse functions will be disabled. This
process is needed to ensure the full use of your iPod® features and only happens the first
time it is connected. After the first time, the reading process of your iPod® will take
considerably less time unless changes are made or new songs are added to the playlist.
• The USB port supports certain Mini, Classic, Nano, Touch, and iPhone® devices. The USB port also supports playing music from compatible external USB Mass Storage Class
memory devices. Some iPod® software versions may not fully support the USB port
features. Please visit Apple’s website for iPod® software updates.
ELECTRONICS
50
Page 53 of 116
SD Card (8.4 & 8.4N Only)
• Play songs stored on an SD card inserted into the SD card slot, located on the radiofaceplate.
• Song playback can be controlled using the radio or Steering Wheel Audio Controls to play, skip to the next or previous track, browse, and list the contents.
Bluetooth® Streaming Audio
• If equipped with Uconnect® Voice Command, your Bluetooth® - equipped iPod® devices, cell phones or other media players, may also be able to stream music to your vehicles
sound system. Your connected device must be Bluetooth® - compatible, and paired with
your Uconnect® system (see Uconnect® Phone for pairing instructions). You can access
the music from your connected Bluetooth® device by touching the Source soft-key while
in Player mode.
Uconnect® Phone (Bluetooth® HANDS FREE CALLING)
• If the Uconnect® Phone Buttonexists on your steering wheel, then you have the
Uconnect® Phone features.
• The Uconnect® Phone is a voice-activated, hands-free, in-vehicle communications system with Voice Command Capability (see Voice Command section).
• The Uconnect® Phone allows you to dial a phone number with your mobile phone using simple voice commands or using screen soft-keys.
• Refer to the Understand The Features Of Your Vehicle section of your vehicle's Owner's Manual on the DVD for further details.
NOTE:
The Uconnect® Phone requires a mobile phone equipped with the Bluetooth® Hands-Free
Profile, Version 1.0 or higher. For Uconnect® customer support: U.S. residents - visit
www.UconnectPhone.com or call 1–877–855–8400. Canadian Residents - call 1-800-465–
2001 (English) or 1-800-387-9983 (French).
ELECTRONICS
51
Page 54 of 116
Pairing a Phone
• To use the Uconnect® Phone feature, you must first pair your Bluetooth® phone with theUconnect® system.
Start pairing procedure on the radio
• Models 8.4, 8.4N: Touch the Phone soft-key and then the Settings soft-key. Next, touch Add Device.
• Models 4.3, 4.3S: Press the More hard-key, then touch the Phone soft-key. Next, touch the settings soft-key and then Add Device.
• Uconnect® Phone will display an “In progress” screen while the system is connecting.
Models 4.3 & 4.3S
Models 8.4 & 8.4N
ELECTRONICS
52
Page 55 of 116
Start pairing procedure on mobile phone
•
Search for available devices on your Bluetooth® enabled mobile phone. This is usually within
Settings or Options under “Bluetooth”. See your mobile phone’s manual for details.
• When your phone finds the system, select “Uconnect” as the paired device.
Complete the pairing procedure
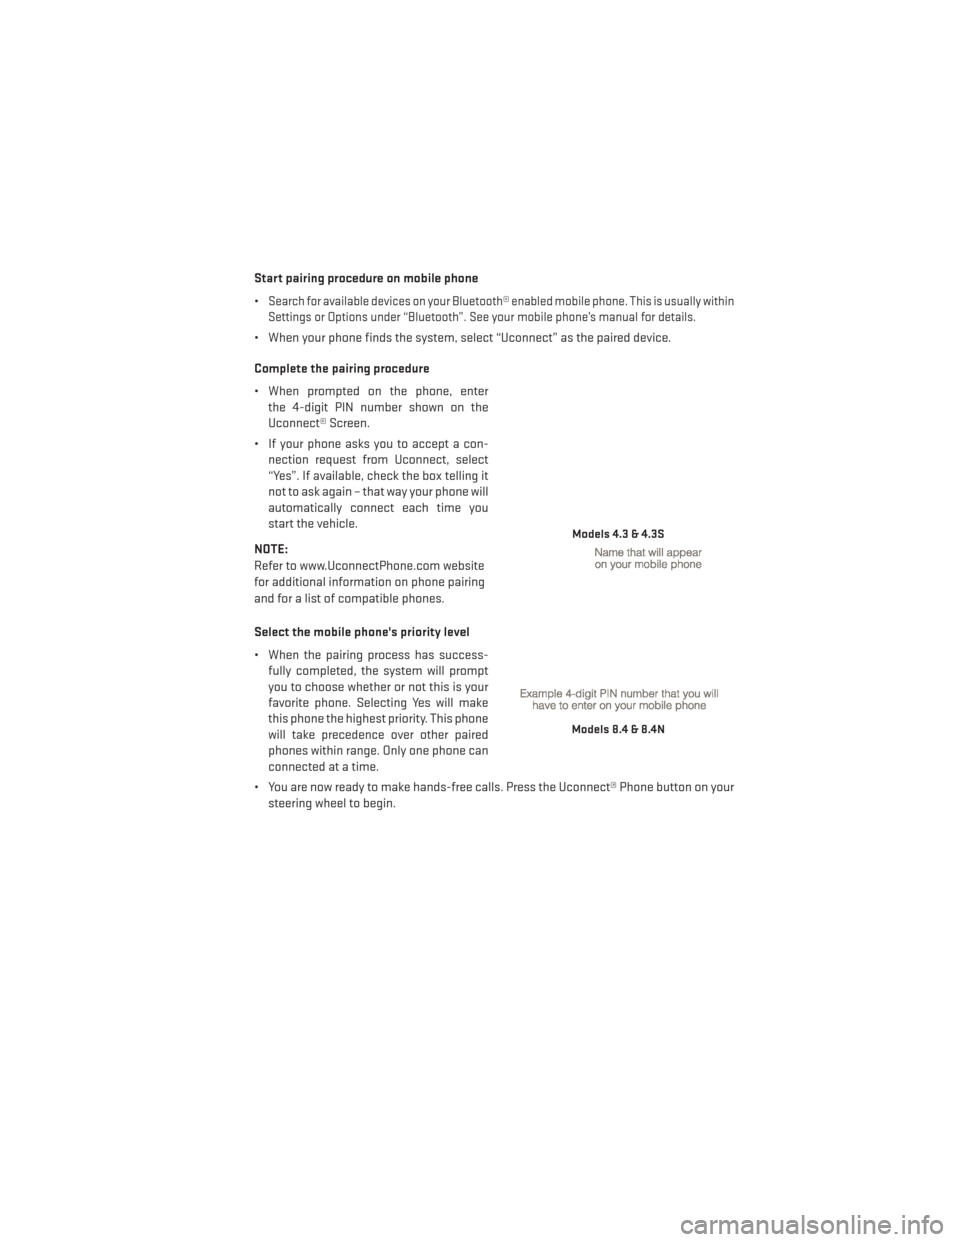
• When prompted on the phone, enter the 4-digit PIN number shown on the
Uconnect® Screen.
• If your phone asks you to accept a con- nection request from Uconnect, select
“Yes”. If available, check the box telling it
not to ask again – that way your phone will
automatically connect each time you
start the vehicle.
NOTE:
Refer to www.UconnectPhone.com website
for additional information on phone pairing
and for a list of compatible phones.
Select the mobile phone's priority level
• When the pairing process has success- fully completed, the system will prompt
you to choose whether or not this is your
favorite phone. Selecting Yes will make
this phone the highest priority. This phone
will take precedence over other paired
phones within range. Only one phone can
connected at a time.
• You are now ready to make hands-free calls. Press the Uconnect® Phone button on your steering wheel to begin.
Models 4.3 & 4.3S
Models 8.4 & 8.4N
ELECTRONICS
53
Page 56 of 116
Phone Menu Screen – Models 4.3 & 4.3S
Phone Menu Screen – Models 8.4 & 8.4N
ELECTRONICS
54
 1
1 2
2 3
3 4
4 5
5 6
6 7
7 8
8 9
9 10
10 11
11 12
12 13
13 14
14 15
15 16
16 17
17 18
18 19
19 20
20 21
21 22
22 23
23 24
24 25
25 26
26 27
27 28
28 29
29 30
30 31
31 32
32 33
33 34
34 35
35 36
36 37
37 38
38 39
39 40
40 41
41 42
42 43
43 44
44 45
45 46
46 47
47 48
48 49
49 50
50 51
51 52
52 53
53 54
54 55
55 56
56 57
57 58
58 59
59 60
60 61
61 62
62 63
63 64
64 65
65 66
66 67
67 68
68 69
69 70
70 71
71 72
72 73
73 74
74 75
75 76
76 77
77 78
78 79
79 80
80 81
81 82
82 83
83 84
84 85
85 86
86 87
87 88
88 89
89 90
90 91
91 92
92 93
93 94
94 95
95 96
96 97
97 98
98 99
99 100
100 101
101 102
102 103
103 104
104 105
105 106
106 107
107 108
108 109
109 110
110 111
111 112
112 113
113 114
114 115
115


