2013 DODGE GRAND CARAVAN mirror
[x] Cancel search: mirrorPage 7 of 132

A. Headlight Switch pg. 24
B. Turn Signal/Wiper/Washer/High BeamsLever (behind steering wheel) pg. 22
C. Electronic Vehicle Information Center (EVIC) Controls pg. 71
D. Electronic Vehicle Information Center (EVIC) Display
E. Instrument Cluster pg. 6
F. Transmission Gear Selector
G. Audio System (touch-screen-radio shown) pg. 34 H. Climate Controls pg. 27
I. SWITCH PANEL
• Fuel Economy (ECON) mode pg. 26
• Hazard Switch
• Power Inverter pg. 75
• Electronic Stability Control (ESC) OFFpg. 82
J. Power Outlets (inside console storage) pg. 76
K. Speed Control pg. 25 L. Hood Release pg. 100
M. Parking Brake Release
N. Power Mirrors
O. Power Windows
P. Power Door Locks
Q. Power Vent Windows
R. Instrument Panel Dimmer pg. 24
CONTROLS AT A GLANCE
5
Page 16 of 132

FRONT SEATS
Power Seat
• The power seat switch controls forward/back, up/down, and tilt adjustment.
• The recline switch, located on the out- board side of the seat, controls seatback
adjustment.
Power Lumbar
• Push the switch forward to increase the lumbar support. Push the switch rearward
to decrease the lumbar support.
Manual Seat Adjustment
Forward/Rearward
• Lift up on the adjusting bar located at the front of the seat near the floor and release
it when the seat is at the desired position.
Then, using body pressure, move forward
and backward on the seat to be sure that
the seat adjusters have latched.
Recliner
• Lift the recliner lever located on the out- board side of the seat, lean back and re-
lease at the desired position.
Memory Seat
•
The memory seat feature allows you to
save two different driver seating positions,
driver's outside mirror, adjustable brake
and accelerator pedals, and radio station
preset settings. The memory seat buttons
are located on the driver's door panel.
• Adjust all memory profile settings, press
the SET button then press 1 or 2 within five
seconds.
• To program a Key Fob to the memory po- sition, press and release the LOCK button
within 10 seconds on the Key Fob to be
programmed.
GETTING STARTED
14
Page 26 of 132

HEADLIGHT SWITCH AND HALO LIGHT SWITCH
Automatic Headlights/Parking
Lights/Headlights
• Rotate the headlight switch, located onthe instrument panel to the left of the
steering wheel, to the first detent for park-
ing lights
and to the second detent
for headlights
.
• With the parking lights or low beam head- lights on, push the headlight switch once
for fog lights.
• Rotate the headlight switch to “AUTO” for AUTO headlights.
• When set to AUTO, the system automati- cally turns the headlights on or off based
on ambient light levels.
SmartBeams™
• The SmartBeam™ system provides increased forward lighting at night by automating high beam control through the use of a digital camera mounted on the inside rearview
mirror. This camera detects vehicle specific light and automatically switches from high
beams to low beams until the approaching vehicle is out of view.
Instrument Panel Dimmer
• Rotate the dimmer control to the extreme bottom position to fully dim the instrument panel lights and prevent the interior lights from illuminating when a door is opened.
• Rotate the dimmer control up to increase the brightness of the instrument panel when the parking lights or headlights are on.
• Rotate the dimmer control up to the next detent position to fully brighten the odometer and radio when the parking lights or headlights are on. Refer to your Uconnect®/Radio
User Manual on the DVD for display dimming.
• Rotate the dimmer control up to the last detent position to turn on the interior lighting.
Overhead (Halo) Light
• To activate the Halo lights, rotate the Halo switch control upward or downward to increase or decrease the lighting.
OPERATING YOUR VEHICLE
24
Page 29 of 132

• When the Fuel Economy (ECON) Mode is engaged, the vehicle control systems will beable to change the following:• The transmission will upshift sooner and downshift later.
• The transmission will skip select gears during shifts to allow the engine to operate at
lower speeds.
• The torque converter clutch will engage sooner (lower engine rpm’s) and remain on longer.
• The engine idle speed will be lower.
• The overall driving performance will be more conservative.
MANUAL CLIMATE CONTROLS
Air Recirculation
• Use Recirculation for maximum A/C operation.
• For window defogging, turn the recirculation button off.
• Recirculation is allowed in floor mode.
• Recirculation is allowed in defrost/floor (mix modes) for approximately five minutes.
Heated Mirrors
• The mirrors are heated to melt frost or ice. This feature is activated whenever you turn on the rear window defroster.
Rear Window Defroster
• Pressing the rear window defroster button will turn on the defroster for approximately 10 minutes. An indicator in the button will illuminate when the rear window defroster is
on. For an additional 10 minutes of operation, press the button a second time.
OPERATING YOUR VEHICLE
27
Page 30 of 132

THREE ZONE MANUAL CLIMATE CONTROLS
Air Recirculation
• Use Recirculation for maximum A/C operation.
• For window defogging, turn the recirculation button off.
• Recirculation is allowed in floor mode.
• Recirculation is allowed in defrost/floor (mix modes) for approximately five minutes.
Heated Mirrors
• The mirrors are heated to melt frost or ice. This feature is activated whenever you turn onthe rear window defroster.
Rear Window Defroster
• Pressing the rear window defroster button will turn on the defroster for approximately 10 minutes. An indicator in the button will illuminate when the rear window defroster is
on. For an additional 10 minutes of operation, press the button a second time.
Activating Rear Passenger Climate Controls
• Rotate the rear blower control, located on the main climate control in the instrument panel to the “REAR” position. This enables the rear passenger climate controls located in
the headliner above the second row seats.
OPERATING YOUR VEHICLE
28
Page 31 of 132

THREE ZONE AUTOMATIC TEMPERATURE CONTROLS (ATC)
Automatic Operation
• Push the AUTO mode button to activate the ATC system.
• Select the desired temperature by pressing the temperature control buttons for thedriver or passenger.
• The system will maintain the set temperature automatically.
Air Conditioning (A/C)
• If the air conditioning button is pressed while in AUTO mode, the system will exit AUTO mode and stay in A/C. The mode and blower will go to the previous user setting.
SYNC Temperature Button
• Push the SYNC button once to control driver and passenger temperatures simultane- ously. Push the SYNC button a second time to control the temperatures individually.
Air Recirculation
• Use Recirculation for maximum A/C operation.
• For window defogging, turn the recirculation button off.
• If the Recirculation button is pressed when the system is in Defrost mode the Recircu- lation LED indicator will flash three times to indicate Recirculation mode is not allowed.
Heated Mirrors
• The mirrors are heated to melt frost or ice. This feature is activated whenever you turn on the rear window defroster.
Rear Window Defroster
• Pressing the rear window defroster button will turn on the defroster for approximately 10 minutes. An indicator in the button will illuminate when the rear window defroster is
on. For an additional 10 minutes of operation, press the button a second time.
OPERATING YOUR VEHICLE
29
Page 33 of 132

BLIND SPOT MONITORING WITH REAR CROSS PATH
• The Blind Spot Monitoring (BSM) system uses two radar-based sensors, located insidethe rear bumper fascia, to detect Highway licensable vehicles (automobiles, trucks,
motorcycles etc.) that enter the blind spot zones from the rear/front/side of the vehicle.
• The Blind Spot Monitoring (BSM) system warning light, located in the outside mirrors, will illuminate if a vehicle moves into a blind spot zone.
• The BSM system can also be configured to sound an audible (chime) alert and mute the radio to notify you of objects that have entered the detection zones.
• Refer to your Owner's Manual on the DVD for further details.
POWER SLIDING SIDE DOORS
Automatic/Manual Operation
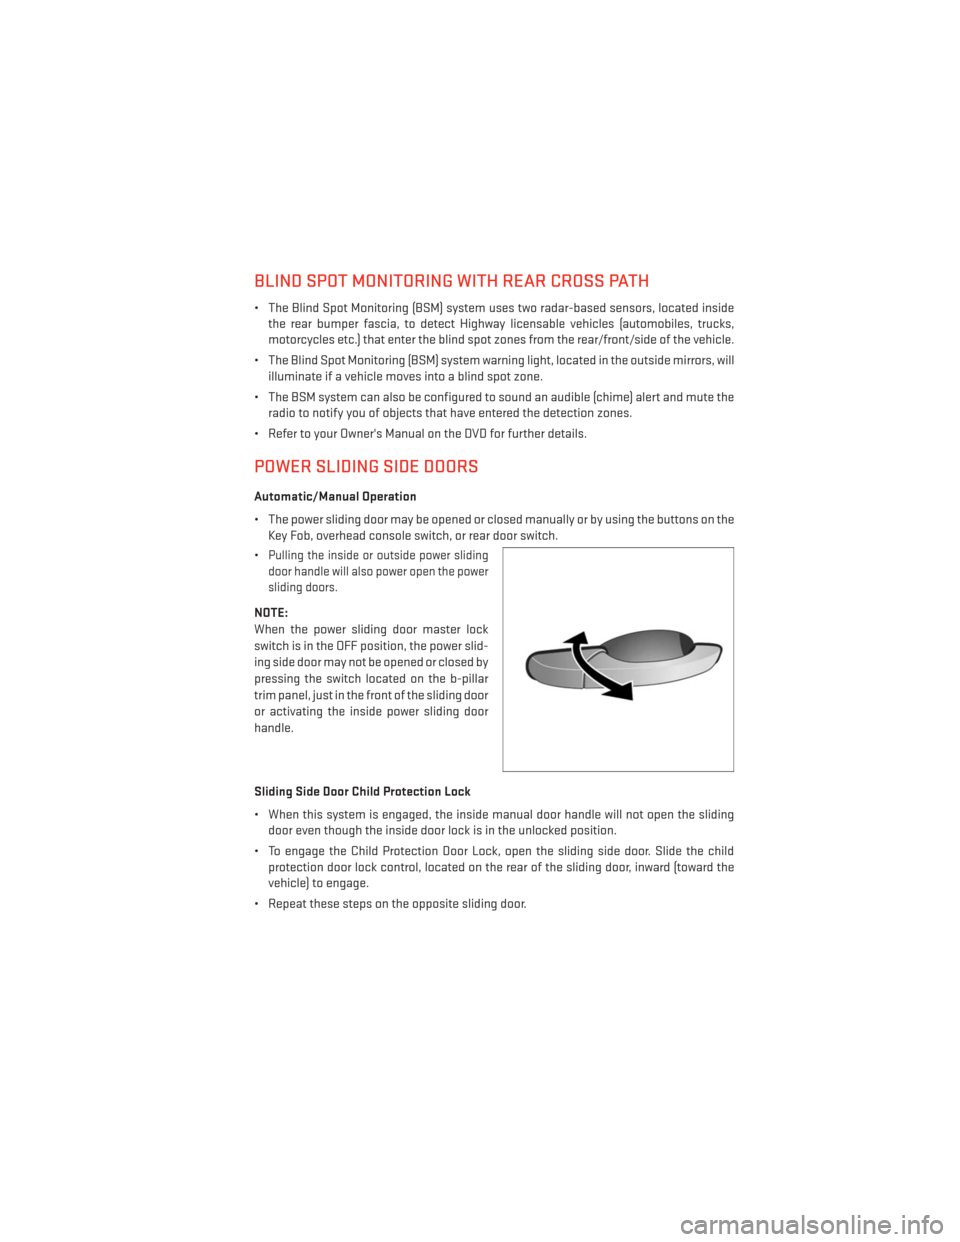
• The power sliding door may be opened or closed manually or by using the buttons on the Key Fob, overhead console switch, or rear door switch.
•
Pulling the inside or outside power sliding
door handle will also power open the power
sliding doors.
NOTE:
When the power sliding door master lock
switch is in the OFF position, the power slid-
ing side door may not be opened or closed by
pressing the switch located on the b-pillar
trim panel, just in the front of the sliding door
or activating the inside power sliding door
handle.
Sliding Side Door Child Protection Lock
• When this system is engaged, the inside manual door handle will not open the sliding door even though the inside door lock is in the unlocked position.
• To engage the Child Protection Door Lock, open the sliding side door. Slide the child protection door lock control, located on the rear of the sliding door, inward (toward the
vehicle) to engage.
• Repeat these steps on the opposite sliding door.
OPERATING YOUR VEHICLE
31
Page 74 of 132

PROGRAMMABLE FEATURES
Electronic Vehicle Information Center (EVIC) – If Equipped
• The EVIC can be used to program the following Personal Settings. Press and releasethe MENU button until Personal Settings displays, then press the DOWN button
to
scroll through the settings. Press the SELECT button
to change the setting.
• Language • Intermittent Wiper Option
• Nav-Turn By Turn • Rain Sensing Wipers
•
Enable/Disable the Rear Park Assist System• Key-Off Power Delay
• Auto Unlock Doors • Illuminated Approach
• Remote Unlock Sequence • Flashers with Sliding Door
• RKE Linked To Memory • Hill Start Assist (HSA)
• Remote Start Comfort Sys. • Keyless Enter-N-Go™ (Passive Entry)
• Horn With Remote Lock • Easy Exit Seat
• Horn With Remote Start • Tilt Mirror In Reverse
• Flash Lamps With Lock • Blind Spot Alert
• Automatic High Beams • Calibrate Compass
• Headlamp Off Delay • Compass Variance
• Headlamps with Wipers (Available with Auto Headlights Only) • Turn Menu Off
Key Fob Programmable Features
• The following features may also be programmed by using the Key Fob transmitter or the
ignition switch and driver's door lock switch.
NOTE:
Pressing the LOCK button while you are inside the vehicle will activate the Vehicle Security
Alarm. Opening a door with the Vehicle Security Alarm activated will cause the alarm to
sound. Press the UNLOCK button to deactivate the Vehicle Security Alarm.
Unlock On First Press
• To unlock either the driver's side, or all doors, on the first press of the UNLOCK button: •
Press and hold the LOCK button for at least four seconds, but no longer than 10 seconds.
Then, press and hold the UNLOCK button while still holding the LOCK button.
• Release both buttons at the same time.
Auto Unlock Doors On Exit
• To have all of the vehicle doors unlock when any door is opened:• Enter your vehicle and close all the doors, and fasten your seat belt.
• Cycle the ignition switch between the LOCK and ON position four times, ending in the
LOCK position (do not start the engine).
• Press the power door UNLOCK switch to unlock the doors. A single chime will indicate that programming is complete.
ELECTRONICS
72