Page 334 of 683

•Loose Gascap Indicator
If the vehicle diagnostic system determines
that the fuel filler cap is loose, improperly
installed, or damaged, a loose gascap indicator
will display in the telltale display area. Tighten
the fuel filler cap properly and press the SELECT button
to turn off the message. If the problem continues, the
message will appear the next time the vehicle is started.
A loose, improperly installed, or damaged fuel filler cap
may also turn on the Malfunction Indicator Light (MIL).
•Windshield Washer Fluid Low Indicator
This light will turn on to indicate the wind-
shield washer fluid is low.EVIC Red Telltale Lights
This area will show reconfigurable red telltales. These
telltales include:
•Door Ajar
This light will turn on to indicate that one or
more doors may be ajar.
•Oil Pressure Warning Light
This light indicates low engine oil pressure. The
light should turn on momentarily when the engine is
started. If the light turns on while driving, stop the vehicle
and shut off the engine as soon as possible. A chime will
sound for four minutes when this light turns on.
Do not operate the vehicle until the cause is corrected.
This light does not show how much oil is in the engine.
The engine oil level must be checked under the hood.
332 UNDERSTANDING YOUR INSTRUMENT PANEL
Page 336 of 683

•Engine Temperature Warning Light
This light warns of an overheated engine condi-
tion. As temperatures rise and the gauge ap-
proachesH,this indicator will illuminate and a single
chime will sound after reaching a set threshold. Further
overheating will cause the temperature gauge to passH,
the indicator will continuously flash and a continuous
chime will occur until the engine is allowed to cool.
If the light turns on while driving, safely pull over and
stop the vehicle. If the A/C system is on, turn it off. Also,
shift the transmission into NEUTRAL and idle the ve-
hicle. If the temperature reading does not return to
normal, turn the engine off immediately and call for
service. Refer to “If Your Engine Overheats” in “What To
Do In Emergencies” for more information.•Transmission Temperature Warning Light
This light indicates that the transmission fluid
temperature is running hot. This may occur
with severe usage, such as trailer towing. If this
light turns on, safely pull over and stop the
vehicle. Then, shift the transmission into NEUTRAL and
run the engine at idle or faster until the light turns off.
CAUTION!
Continuous driving with the Transmission Tempera-
ture Warning Light illuminated will eventually cause
severe transmission damage or transmission failure.
334 UNDERSTANDING YOUR INSTRUMENT PANEL
Page 337 of 683

WARNING!
If you continue operating the vehicle when the
Transmission Temperature Warning Light is illumi-
nated you could cause the fluid to boil over, come in
contact with hot engine or exhaust components and
cause a fire.
Oil Change Required
Your vehicle is equipped with an engine oil change
indicator system. The Oil Change Required message will
flash in the EVIC display for approximately 10 seconds,
after a single chime has sounded, to indicate the next
scheduled oil change interval. The engine oil change
indicator system is duty-cycle based, which means the
engine oil change interval may fluctuate dependent upon
your personal driving style.Unless reset, this message will continue to display each
time you turn the ignition switch to the ON/RUN
position. To turn off the message temporarily, press and
release the Menu button. To reset the oil change indicator
system (after performing the scheduled maintenance),
perform the following steps.
1. Turn the ignition switch to the ON position (do not
start the engine.)
2. Fully depress the accelerator pedal, slowly, three times
within 10 seconds.
3. Turn the ignition switch to the OFF/LOCK position.
NOTE:If the indicator message illuminates when you
start the engine, the oil change indicator system did not
reset. If necessary, repeat these steps.
4
UNDERSTANDING YOUR INSTRUMENT PANEL 335
Page 341 of 683

Units
Press and release the UP or DOWN button until “Units”
displays highlighted in the EVIC and press the SELECT
button. The EVIC, odometer, and navigation system
(if equipped) can be changed between English and Metric
units of measure. To make your selection, scroll up or
down until the preferred setting is highlighted, then
press and release the SELECT button until a check-mark
appears next to the setting, showing that the setting has
been selected.
Vehicle Info (Customer Information Features)
Press and release the UP or DOWN button until “Vehicle
Info” displays in the EVIC and press the SELECT button.
Press the UP and DOWN button to scroll through the
selections below:
•Coolant Temp
Displays the actual coolant temperature.•Oil Temperature
Displays the actual oil temperature.
•Oil Pressure
Displays the actual oil pressure.
•Engine Hours
Displays the number of hours of engine operation.
Messages #
Select from Main Menu using the UP or DOWN buttons.
This feature shows the number of stored warning mes-
sages (in the # place holder). Pressing the SELECT button
will allow you to see what the stored messages are. Press
and release the UP and DOWN buttons if there is more
than one message to step through the remaining stored
messages. Pressing the BACK button takes you back to
the Main Menu.
4
UNDERSTANDING YOUR INSTRUMENT PANEL 339
Page 344 of 683

1. Turn the ignition switch ON.
2. Press the UP or DOWN button until the Setup
(Customer-Programmable Features) menu is reached,
then press the SELECT button.
3. Press the DOWN button until the “Compass Variance”
message is displayed in the EVIC, then press the
SELECT button. The last variance zone number dis-
plays in the EVIC.
4. Press and release the SELECT button until the proper
variance zone is selected, according to the map.
5. Press and release the RETURN button to exit.
Customer-Programmable Features (System Setup)
Personal Settings allows you to set and recall features
when the transmission is in PARK. If the transmission is
out of PARK or the vehicle begins moving, a warningmessageSYSTEM SETUP NOT AVAILABLE VEHICLE
NOT IN PARKdisplays when you try to select “System
Setup” from the main menu.
Press and release the UP or DOWN button until�System
Setup�is highlighted in the main menu of the EVIC. Then
press the SELECT button to enter the System Setup
sub-menu. Press and release the UP or DOWN button to
select a feature form the following choices:
Select Language
When in this display you may select one of five lan-
guages for all display nomenclature, including the trip
functions and the navigation system (if equipped). Press
the UP or DOWN button while in this display and scroll
through the language choices. Press the SELECT button
to select English, Spanish (Español), French (Français).
Then, as you continue, the information will display in the
selected language.
342 UNDERSTANDING YOUR INSTRUMENT PANEL
Page 460 of 683

�POWER STEERING.....................480
▫Power Steering Fluid Check..............481
�PARKING BRAKE......................481
�ANTI-LOCK BRAKE SYSTEM (ABS).........483
▫Anti-Lock Brake Warning Light............485
�ELECTRONIC BRAKE CONTROL SYSTEM. . . .486
▫Traction Control System (TCS)............486
▫Brake Assist System (BAS)...............487
▫Electronic Stability Control (ESC)..........488
▫Trailer Sway Control (TSC)..............492
▫Hill Start Assist (HSA).................493
�TIRE SAFETY INFORMATION.............496
▫Tire Markings........................496▫Tire Identification Number (TIN)...........499
▫Tire Terminology And Definitions..........501
▫Tire Loading And Tire Pressure...........502
�TIRES — GENERAL INFORMATION.........506
▫Tire Pressure........................506
▫Tire Inflation Pressures.................507
▫Tire Pressures For High Speed Operation. . . .509
▫Radial Ply Tires......................509
▫All Season Tires – If Equipped............510
▫Summer Or Three Season Tires – If Equipped. .510
▫Snow Tires..........................510
▫Spare Tire Matching Original Equipped Tire
And Wheel – If Equipped................511
458 STARTING AND OPERATING
Page 481 of 683

CAUTION!(Continued)
•Driving through standing water may cause damage
to your vehicle’s drivetrain components. Always
inspect your vehicle’s fluids (i.e., engine oil, trans-
mission, axle, etc.) for signs of contamination
(i.e., fluid that is milky or foamy in appearance)
after driving through standing water. Do not con-
tinue to operate the vehicle if any fluid appears
contaminated, as this may result in further damage.
Such damage is not covered by the New Vehicle
Limited Warranty.
•Getting water inside your vehicle’s engine can
cause it to lock up and stall out, and cause serious
internal damage to the engine. Such damage is not
covered by the New Vehicle Limited Warranty.
WARNING!
•Driving through standing water limits your vehi-
cle’s traction capabilities. Do not exceed 5 mph
(8 km/h) when driving through standing water.
•Driving through standing water limits your vehi-
cle’s braking capabilities, which increases stopping
distances. Therefore, after driving through stand-
ing water, drive slowly and lightly press on the
brake pedal several times to dry the brakes.
•Getting water inside your vehicle’s engine can
cause it to lock up and stall out, and leave you
stranded.
•Failure to follow these warnings may result in
injuries that are serious or fatal to you, your pas-
sengers, and others around you.
5
STARTING AND OPERATING 479
Page 484 of 683

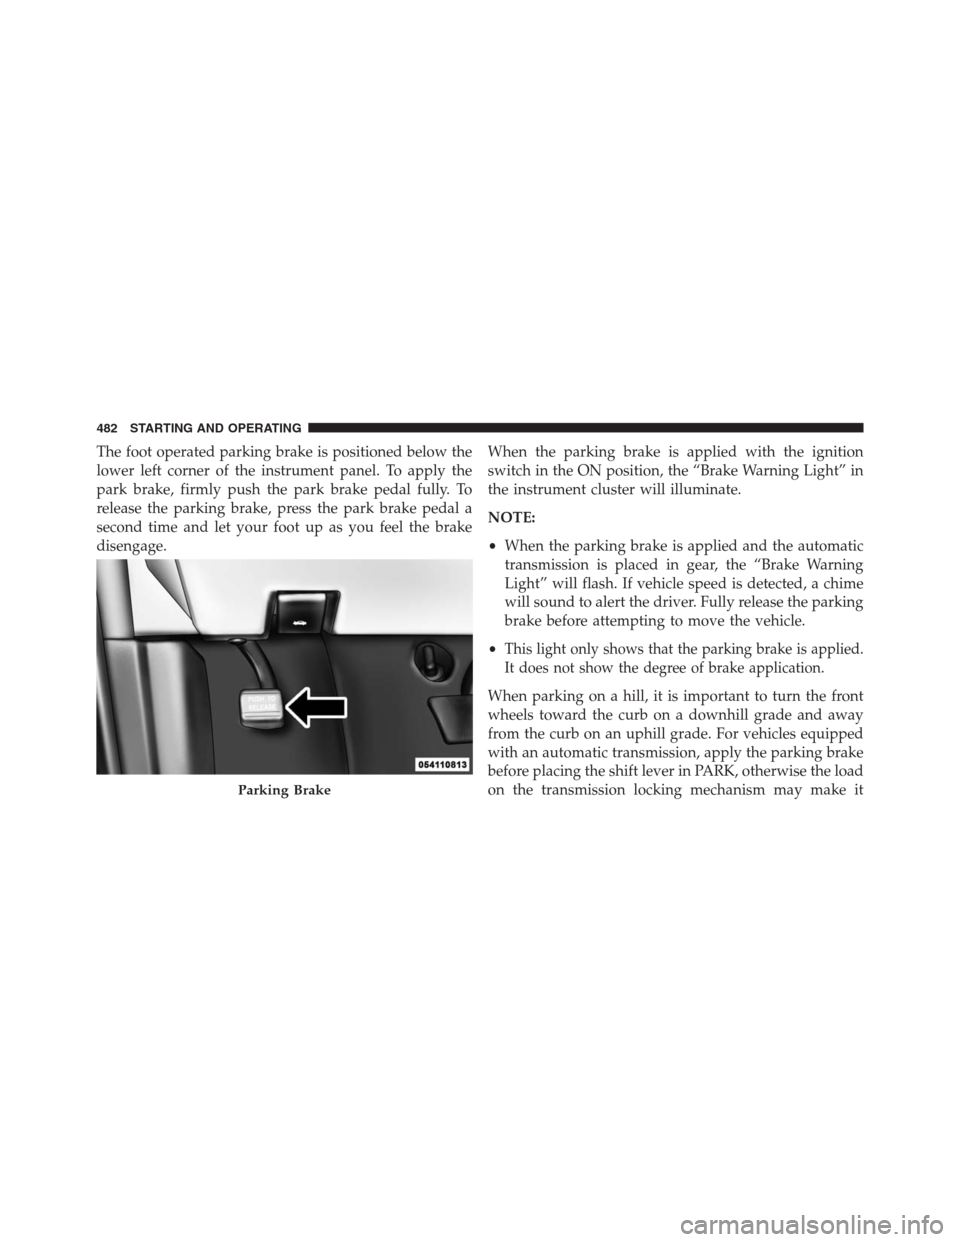
The foot operated parking brake is positioned below the
lower left corner of the instrument panel. To apply the
park brake, firmly push the park brake pedal fully. To
release the parking brake, press the park brake pedal a
second time and let your foot up as you feel the brake
disengage.When the parking brake is applied with the ignition
switch in the ON position, the “Brake Warning Light” in
the instrument cluster will illuminate.
NOTE:
•When the parking brake is applied and the automatic
transmission is placed in gear, the “Brake Warning
Light” will flash. If vehicle speed is detected, a chime
will sound to alert the driver. Fully release the parking
brake before attempting to move the vehicle.
•
This light only shows that the parking brake is applied.
It does not show the degree of brake application.
When parking on a hill, it is important to turn the front
wheels toward the curb on a downhill grade and away
from the curb on an uphill grade. For vehicles equipped
with an automatic transmission, apply the parking brake
before placing the shift lever in PARK, otherwise the load
on the transmission locking mechanism may make it
Parking Brake
482 STARTING AND OPERATING