2013 DODGE DURANGO reset
[x] Cancel search: resetPage 74 of 140

STEERING WHEEL AUDIO CONTROLS
•The steering wheel audio controls are lo-
cated on the rear surface of the steering
wheel.
Right Switch
• Press the switch up or down to increase or decrease the volume.
• Press the button in the center to change modes AM/FM/CD/SAT.
Left Switch
• Press the switch up or down to search for the next listenable station or select the
next or previous CD track.
• Press the button in the center to select the next preset station (radio) or to change CDs if equipped with a CD Changer.
iPod®/USB/MP3 CONTROL
• There are many ways to play music from iPod®/MP3 players or USB devices through yourvehicle's sound system.
• The remote USB port, located within the center console, allows you to plug an iPod® into the vehicle's sound system.
NOTE:
If equipped with the Uconnect® 730N, the
USB port on the faceplate allows the same
functions as the remote USB port.
•
Non-Touch-Screen Radios:To hear audio
from devices connected to the USB port,
press the “AUX” button on the radio face-
plate.
ELECTRONICS
72
Page 86 of 140

Using HomeLink®
•T
o operate, press and release the programmed HomeLink® button. Activation will now occur
for the programmed device (i.e., garage door opener, gate operator, security system, entry door
lock, home/office lighting, etc.,). The hand-held transmitter of the device may also be used at
any time.
WARNING!
• Your motorized door or gate will open and close while you are programming the
universal transceiver. Do not program the transceiver if people or pets are in the path
of the door or gate.
• Do not run your vehicle in a closed garage or confined area while programming the transceiver. Exhaust gas from your vehicle contains Carbon Monoxide (CO) which is
odorless and colorless. Carbon Monoxide is poisonous when inhaled and can cause
you and others to be severely injured or killed.
POWER INVERTER
• There is a 115 Volt, 150 Watt power inverteroutlet located on the back of the center
console. This outlet can power cellular
phones, electronics and other low power
devices requiring power up to 150 Watts.
• Press the switch located in the switch bank on the lower instrument panel to
turn the power inverter on. The indicator
light will turn on to indicate the inverter is
producing AC power.
•
Press the switch again to turn the power
inverter off. The indicator light will turn off.
NOTE:
The power inverter is designed with built-in
overload protection. If the power rating of
150 Watts is exceeded, the power inverter will
automatically shut down. Once the electrical device has been removed from the outlet, the
inverter should automatically reset. If the power rating exceeds approximately 170 Watts, the
power inverter may have to be reset manually. To reset the inverter manually, unplug the device
and plug it in again. To avoid overloading the circuit, check the power ratings on electrical devices
prior to using the inverter.
ELECTRONICS
84
Page 98 of 140

Fuel Cap/Loose Gas Cap Message
• If a “gas cap” message (shown as Check Gascap) appears, tighten the gas cap until a“clicking” sound is heard.
• If the message continues to appear for more than three days after tightening the gas cap, have the vehicle serviced by an authorized service center immediately.
Oil Change Indicator
• Your vehicle is equipped with an engine oil change indicator system. The “Oil Change Due” message will flash in the EVIC display for approximately 10 seconds after a single
chime has sounded, to indicate the next scheduled oil change interval. The engine oil
change indicator system is duty cycle based, which means the engine oil change interval
may fluctuate, dependent upon your personal driving style
• Unless reset, this message will continue to display each time you turn the ignition switch to the ON/RUN position or cycle the ignition to the ON/RUN position if equipped with
Keyless Enter-N-Go™. To turn off the message temporarily, press and release the MENU
button. To reset the oil change indicator system (after performing the scheduled main-
tenance) refer to the following procedure.
Vehicles Equipped With Keyless Enter-N-Go™
1. Without pressing the brake pedal, cycle the ignition to the ON/RUN position (Do not start the engine).
2. Fully depress the accelerator pedal, slowly, three times within 10 seconds.
3. Cycle the ignition to the OFF/LOCK position.
Vehicles Not Equipped With Keyless Enter-N-Go™
1. Turn the ignition switch to the ON/RUN position (Do not start the engine).
2. Fully depress the accelerator pedal, slowly, three times within 10 seconds.
3. Turn the ignition switch to the OFF/LOCK position.
NOTE:
If the indicator message illuminates when you start the vehicle, the oil change indicator
system did not reset. If necessary, repeat this procedure.
Resetting The Light After Servicing
Vehicles Equipped With Keyless Enter-N-Go™
• Without pressing the brake pedal, push the ENGINE START/STOP button and cycle the ignition to the ON/RUN position (Do not start the engine.)
• Fully depress the accelerator pedal, slowly, three times within 10 seconds.
• Without pressing the brake pedal, push the ENGINE START/STOP button once to return the ignition to the OFF/LOCK position.
WHAT TO DO IN EMERGENCIES
96
Page 99 of 140

Vehicles Not Equipped With Keyless Enter-N-Go™
• Turn the ignition switch to the ON/RUN position (Do not start the engine.)
• Fully depress the accelerator pedal, slowly, three times within 10 seconds.
• Turn the ignition switch to the OFF/LOCK position.
NOTE:
If the indicator message illuminates when you start the vehicle, the oil change indicator
system did not reset. If necessary, repeat this procedure.
IF YOUR ENGINE OVERHEATS
• In any of the following situations, you can reduce the potential for overheating by takingthe appropriate action.
• On the highways — slow down.
• In city traffic — while stopped, place the transmission in NEUTRAL, but do not increase engine idle speed.
NOTE:
There are steps that you can take to slow down an impending overheat condition:
• If your air conditioner (A/C) is on, turn it off. The A/C system adds heat to the engine cooling system and turning the A/C off can help remove this heat.
• You can also turn the temperature control to maximum heat, the mode control to floor and the blower control to high. This allows the heater core to act as a supplement to the
radiator and aids in removing heat from the engine cooling system.
CAUTION!
Driving with a hot cooling system could damage your vehicle. If the temperature gauge
reads HOT (H), pull over and stop the vehicle. Idle the vehicle with the air conditioner turned
off until the pointer drops back into the normal range. If the pointer remains on HOT (H), and
you hear continuous chimes, turn the engine off immediately, and call for service.
WARNING!
You or others can be badly burned by hot engine coolant (antifreeze) or steam from your
radiator. If you see or hear steam coming from under the hood, do not open the hood until
the radiator has had time to cool. Never try to open a cooling system pressure cap when
the radiator or coolant bottle is hot.
WHAT TO DO IN EMERGENCIES
97
Page 122 of 140

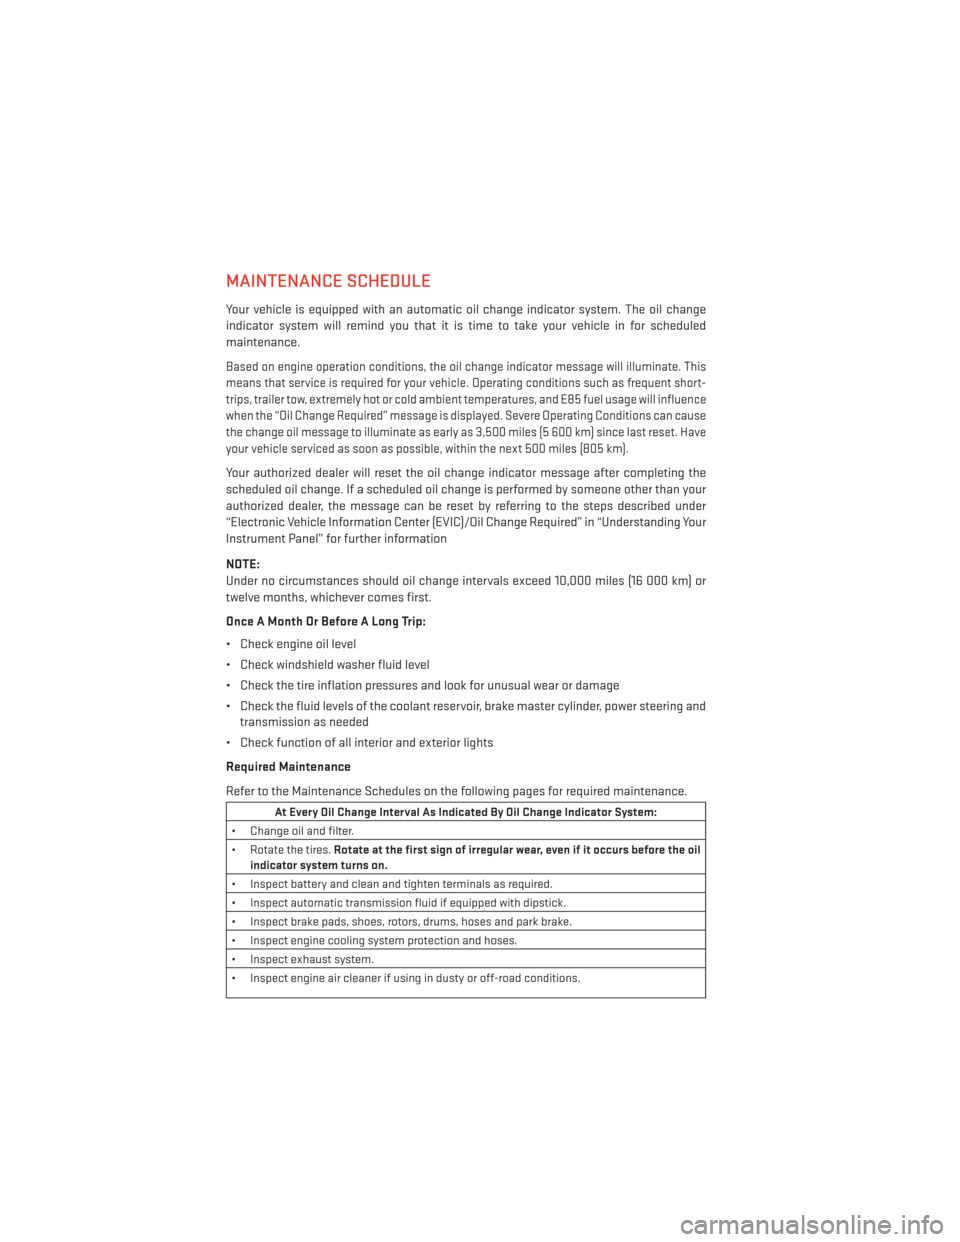
MAINTENANCE SCHEDULE
Your vehicle is equipped with an automatic oil change indicator system. The oil change
indicator system will remind you that it is time to take your vehicle in for scheduled
maintenance.
Based on engine operation conditions, the oil change indicator message will illuminate. This
means that service is required for your vehicle. Operating conditions such as frequent short-
trips, trailer tow, extremely hot or cold ambient temperatures, and E85 fuel usage will influence
when the “Oil Change Required” message is displayed. Severe Operating Conditions can cause
the change oil message to illuminate as early as 3,500 miles (5 600 km) since last reset. Have
your vehicle serviced as soon as possible, within the next 500 miles (805 km).
Your authorized dealer will reset the oil change indicator message after completing the
scheduled oil change. If a scheduled oil change is performed by someone other than your
authorized dealer, the message can be reset by referring to the steps described under
“Electronic Vehicle Information Center (EVIC)/Oil Change Required” in “Understanding Your
Instrument Panel” for further information
NOTE:
Under no circumstances should oil change intervals exceed 10,000 miles (16 000 km) or
twelve months, whichever comes first.
Once A Month Or Before A Long Trip:
• Check engine oil level
• Check windshield washer fluid level
• Check the tire inflation pressures and look for unusual wear or damage
• Check the fluid levels of the coolant reservoir, brake master cylinder, power steering andtransmission as needed
• Check function of all interior and exterior lights
Required Maintenance
Refer to the Maintenance Schedules on the following pages for required maintenance.
At Every Oil Change Interval As Indicated By Oil Change Indicator System:
• Change oil and filter.
• Rotate the tires. Rotate at the first sign of irregular wear, even if it occurs before the oil
indicator system turns on.
• Inspect battery and clean and tighten terminals as required.
• Inspect automatic transmission fluid if equipped with dipstick.
• Inspect brake pads, shoes, rotors, drums, hoses and park brake.
• Inspect engine cooling system protection and hoses.
• Inspect exhaust system.
• Inspect engine air cleaner if using in dusty or off-road conditions.
MAINTAINING YOUR VEHICLE
120
Page 135 of 140

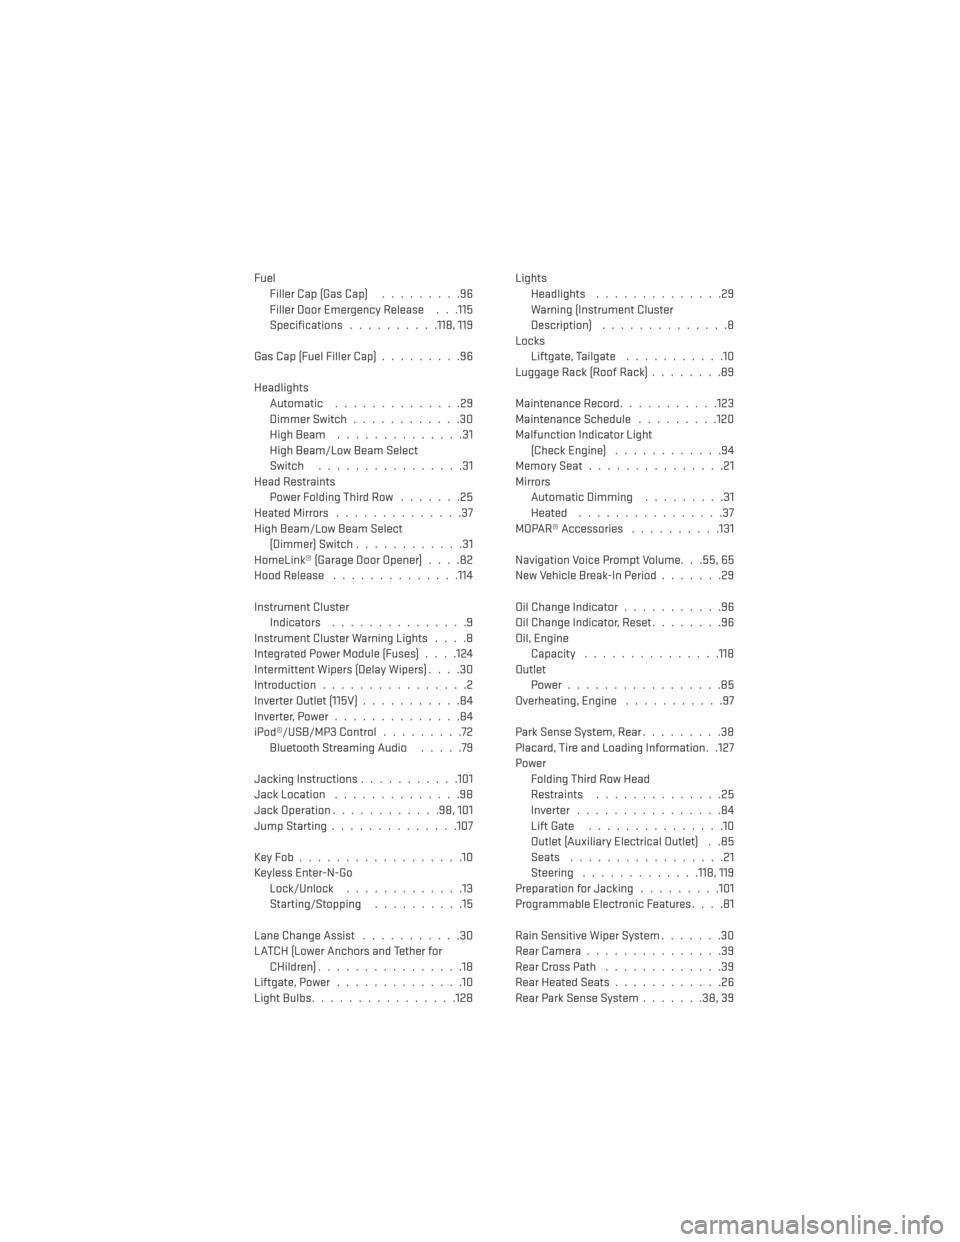
FuelFiller Cap (Gas Cap) .........96
Filler Door Emergency Release . . .115
Specifications ..........118, 119
Gas Cap (Fuel Filler Cap) .........96
Headlights Automatic ..............29
Dimmer Switch ............30
HighBeam ..............31
High Beam/Low Beam Select
Switch ................31
Head Restraints Power Folding Third Row .......25
HeatedMirrors ..............37
High Beam/Low Beam Select (Dimmer) Switch ............31
HomeLink® (Garage Door Opener) ....82
Hood Release ..............114
Instrument Cluster Indicators ...............9
Instrument Cluster Warning Lights ....8
Integrated Power Module (Fuses) . . . .124
Intermittent Wipers (Delay Wipers) ....30
Introduction ................2
Inverter Outlet (115V) ...........84
Inverter,Power..............84
iPod®/USB/MP3 Control .........72
BluetoothStreamingAudio .....79
Jacking Instructions ...........101
Jack Location ..............98
Jack Operation ............98,101
JumpStarting..............107
KeyFob..................10
Keyless Enter-N-Go Lock/Unlock .............13
Starting/Stopping ..........15
Lane Change Assist ...........30
LATCH (Lower Anchors and Tether for CHildren)................18
Liftgate, Power ..............10
LightBulbs................128 Lights
Headlights ..............29
Warning (Instrument Cluster
Description) ..............8
Locks Liftgate, Tailgate ...........10
Luggage Rack (Roof Rack) ........89
Maintenance Record ...........123
Maintenance Schedule .........120
Malfunction Indicator Light (Check Engine) ............94
MemorySeat...............21
Mirrors Automatic Dimming .........31
Heated ................37
MOPAR® Accessories ..........131
Navigation Voice Prompt Volume. . .55, 65
New Vehicle Break-In Period .......29
Oil Change Indicator ...........96
Oil Change Indicator, Reset ........96
Oil, Engine Capacity .............. .118
Outlet Power.................85
Overheating, Engine ...........97
Park Sense System, Rear .........38
Placard, Tire and Loading Information. .127
Power Folding Third Row Head
Restraints ..............
25
Inverter ................84
Lift Gate ...............10
Outlet (Auxiliary Electrical Outlet) . .85
Seats .................21
Steering .............118, 119
Preparation for Jacking .........101
Programmable Electronic Features ....81
Rain Sensitive Wiper System .......30
RearCamera...............39
RearCrossPath .............39
Rear Heated Seats ............26
Rear Park Sense System .......38,39
INDEX
133