Page 261 of 699

WARNING!
Drivers must be careful when backing up even when
using the ParkView�Rear Back Up Camera. Always
check carefully behind your vehicle, and be sure to
check for pedestrians, animals, other vehicles, ob-
structions, or blind spots before backing up. You are
responsible for the safety of your surroundings and
must continue to pay attention while backing up.
Failure to do so can result in serious injury or death.
CAUTION!
• To avoid vehicle damage, ParkView� should only
be used as a parking aid. The ParkView �camera is
unable to view every obstacle or object in your
drive path.
(Continued)
CAUTION! (Continued)
•To avoid vehicle damage, the vehicle must be
driven slowly when using ParkView� to be able to
stop in time when an obstacle is seen. It is recom-
mended that the driver look frequently over his/her
shoulder when using ParkView�.
NOTE: If snow, ice, mud, or any foreign substance
builds up on the camera lens, clean the lens, rinse with
water, and dry with a soft cloth. Do not cover the lens.
Turning ParkView� On Or Off — With
Navigation/Multimedia Radio
1. Press the “menu” hard-key.
2. Select “system setup” soft-key.
3. Press the “camera setup” soft-key.
3
UNDERSTANDING THE FEATURES OF YOUR VEHICLE 259
Page 262 of 699
4. Enable or disable the rear camera feature by selectingthe “enable rear camera in reverse” soft-key.
5. Press the “save” soft-key.
Turning ParkView� On Or Off — Without
Navigation/Multimedia Radio
1. Press the “menu” hard-key.
2. Select “system setup” soft-key.
3. Enable or disable the rear camera feature by selecting “enable rear camera in reverse” soft-key.
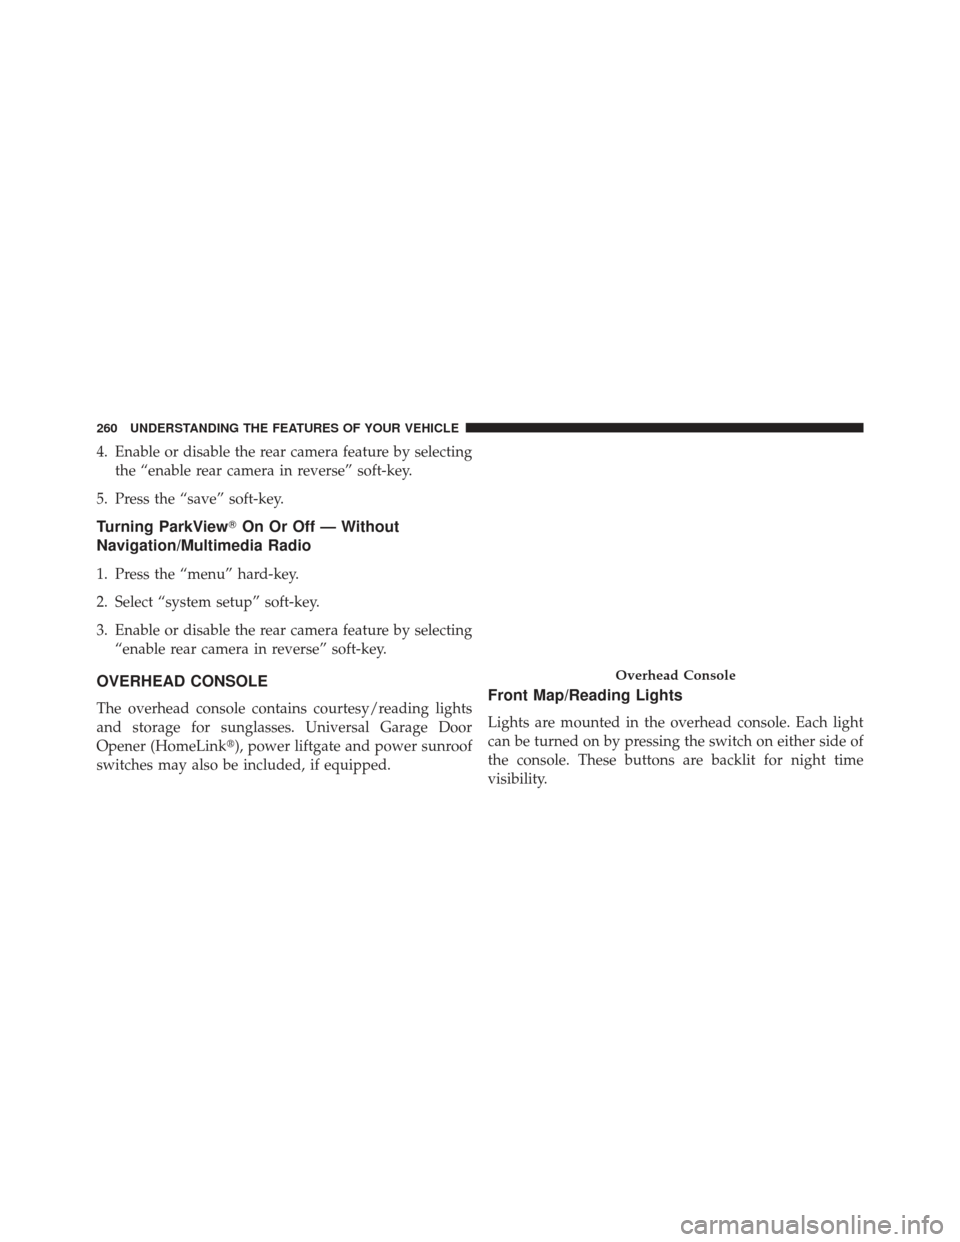
OVERHEAD CONSOLE
The overhead console contains courtesy/reading lights
and storage for sunglasses. Universal Garage Door
Opener (HomeLink�), power liftgate and power sunroof
switches may also be included, if equipped.Front Map/Reading Lights
Lights are mounted in the overhead console. Each light
can be turned on by pressing the switch on either side of
the console. These buttons are backlit for night time
visibility.
Overhead Console
260 UNDERSTANDING THE FEATURES OF YOUR VEHICLE
Page 266 of 699

Before You Begin Programming HomeLink�
Be sure that your vehicle is parked outside of the garage
before you begin programming.
For more efficient programming and accurate transmis-
sion of the radio-frequency signal it is recommended that
a new battery be placed in the hand-held transmitter of
the device that is being programmed to the HomeLink �
system.
Erase all channels before you begin programming. To
erase the channels place the ignition in the ON/RUN
position and press and hold the two outside HomeLink �
buttons (I and III) for up 20 seconds or until the red
indicator flashes. NOTE:
•
Erasing all channels should only be performed when
programming HomeLink� for the first time. Do not
erase channels when programming additional buttons.
• If you have any problems, or require assistance, please
call toll-free 1–800–355–3515 or, on the Internet at
www.HomeLink.com for information or assistance.
Programming A Rolling Code
For programming garage door openers that were manu-
factured after 1995. These garage door openers can be
identified by the “LEARN” or “TRAIN” button located
where the hanging antenna is attached to the garage door
opener. It is NOT the button that is normally used to
open and close the door. The name and color of the
button may vary by manufacturer.
264 UNDERSTANDING THE FEATURES OF YOUR VEHICLE
Page 270 of 699

Canadian/Gate Operator Programming
For programming transmitters in Canada/United States
that require the transmitter signals to “time-out” after
several seconds of transmission.
Canadian radio frequency laws require transmitter sig-
nals to time-out (or quit) after several seconds of trans-
mission – which may not be long enough for HomeLink�
to pick up the signal during programming. Similar to this
Canadian law, some U.S. gate operators are designed to
time-out in the same manner.
It may be helpful to unplug the device during the cycling
process to prevent possible overheating of the garage
door or gate motor.
1. Cycle the ignition to the ON/RUN position.
2.
Place the hand-held transmitter 1 to 3 in (3 to 8 cm)
away from the HomeLink �button you wish to program
while keeping the HomeLink �indicator light in view.
3. Continue to press and hold the HomeLink� button,
while you press and release (“cycle”), your hand-held
transmitter every two seconds until HomeLink �has
successfully accepted the frequency signal. The indi-
cator light will flash slowly and then rapidly when
fully trained.
4. Watch for the HomeLink� indicator to change flash
rates. When it changes, it is programmed. It may take
up to 30 seconds or longer in rare cases. The garage
door may open and close while you are programming.
5. Press and hold the programmed HomeLink� button
and observe the indicator light.
• If the indicator light stays on constantly, program-
ming is complete and the garage door/device should
activate when the HomeLink� button is pressed.
• To program the two remaining HomeLink �buttons,
repeat each step for each remaining button. DO NOT
erase the channels.
268 UNDERSTANDING THE FEATURES OF YOUR VEHICLE
Page 305 of 699
NOTE:
•To help control wind noise, stow the crossbars in the
side rails when they are not in use. •
If any metallic object is placed over the satellite radio
antenna (if equipped), you may experience interrup-
tion of satellite radio reception.
CAUTION!
• To prevent damage to the roof of your vehicle, DO
NOT carry any loads on the roof rack without the
crossbars deployed. The load should be secured
and placed on top of the crossbars, not directly on
the roof. If it is necessary to place the load on the
roof, place a blanket or other protective layer
between the load and the roof surface.
• To avoid damage to the roof rack and vehicle, do
not exceed the maximum roof rack load capacity of
150 lb (68 kg). Always distribute heavy loads as
evenly as possible and secure the load appropri-
ately.
(Continued)
Stowed Crossbars
3
UNDERSTANDING THE FEATURES OF YOUR VEHICLE 303
Page 308 of 699
 ...................... .343
▫ System Status ....................... .352
� UCONNECT� 730N/430/430N CD")
▫Compass / Temperature Display ..........340
▫ Customer-Programmable Features
(System Setup) ...................... .343
▫ System Status ....................... .352
� UCONNECT� 730N/430/430N CD/DVD/HDD/
NAV — IF EQUIPPED ...................354
▫ Operating Instructions
(Voice Command System) — If Equipped .....354
▫ Operating Instructions
(Uconnect� Phone) — If Equipped .........354
� UCONNECT� 130 ..................... .354
▫ Operating Instructions — Radio Mode .......354
▫ Operation Instructions — CD MODE For
CD And MP3 Audio Play ................358 ▫
Notes on Playing MP3 Files ..............360
▫ Operation Instructions - Auxiliary Mode .....362
� Uconnect� 130 WITH SATELLITE RADIO ......363
▫ Operating Instructions — Radio Mode .......363
▫ Operation Instructions — CD MODE for
CD and MP3 Audio Play ................369
▫ Notes On Playing MP3 Files ..............371
▫ LIST Button (CD Mode for MP3 Play) .......374
▫ INFO Button (CD Mode for MP3 Play) ......374
▫ Operating Instructions (Uconnect� Phone) — If
Equipped .......................... .375
▫ Uconnect� Multimedia (Satellite Radio) — If
Equipped .......................... .375
306 UNDERSTANDING YOUR INSTRUMENT PANEL
Page 309 of 699

�iPod�/USB/MP3 CONTROL — IF EQUIPPED . .380
▫ Connecting The iPod� Or External USB
Device ............................ .380
▫ Using This Feature .....................381
▫ Controlling The iPod� Or External USB Device
Using Radio Buttons ...................382
▫ Play Mode ......................... .382
▫ List Or Browse Mode ...................383
▫ Bluetooth Streaming Audio (BTSA) .........385
� UCONNECT� MULTIMEDIA — VIDEO
ENTERTAINMENT SYSTEM (VES)™ — If
Equipped ............................ .386
▫ Getting Started ...................... .386
▫ Single Video Screen ....................387 ▫
Play Video Games .....................391
▫ Listen To An Audio Source On Channel 2 While A
Video Is Playing On Channel 1 ............393
▫ Important Notes For Single Video Screen
System ............................ .395
▫ Play A DVD Using The Touch-Screen Radio . . .396
▫ Remote Control ...................... .398
▫ Remote Control Storage .................401
▫ Locking The Remote Control .............401
▫ Replacing The Remote Control Batteries ......402
▫ Headphones Operation .................402
▫ Controls ........................... .403
▫ Replacing The Headphone Batteries .........404
4
UNDERSTANDING YOUR INSTRUMENT PANEL 307
Page 310 of 699
▫Unwired� Stereo Headphone Lifetime Limited
Warranty .......................... .404
▫ System Information ....................406
� STEERING WHEEL AUDIO CONTROLS — IF
EQUIPPED .......................... .420
▫ Radio Operation ..................... .421
▫ CD Player .......................... .421
� CD/DVD DISC MAINTENANCE ...........422
� RADIO OPERATION AND MOBILE PHONES . .422 �
CLIMATE CONTROLS ...................423
▫ Dual-Zone Automatic Temperature Control (ATC)
— If Equipped ...................... .423
▫ Rear Climate Control — If Equipped .......430
▫ Operating Tips ...................... .432
▫ Window Fogging .....................432
▫ Summer Operation ....................432
▫ Winter Operation ..................... .433
▫ Vacation Storage ..................... .433
▫ Operating Tips Chart ...................434
308 UNDERSTANDING YOUR INSTRUMENT PANEL
, you may experie")
