Page 311 of 604
1. Speedometer (Digital or Analog) (km/h or mph)
2. Main Screen — The inner ring of the display will
illuminate in grey under normal conditions, yellow for
non critical warnings, red for critical warnings and white
for on demand information.3. Selectable Information (Compass, Temp, Range to
Empty, Trip A, Trip B, Average MPG)
4. Menu Titles / Odometer
5. Menu Set (Selectable Icons)
6. Shift Lever Status (PRNDL)
7. Reconfigurable Telltales
8. Audio / Phone Information
9. Sub-menu Current Position — Whenever there are
sub-menus available, the position within the sub-menus
is shown here.
Electronic Vehicle Information Center (EVIC)
Messages
•
Front Seatbelts Unbuckled
•Driver Seatbelt Unbuckled
4
UNDERSTANDING YOUR INSTRUMENT PANEL 309
Page 328 of 604
Hard-Keys
Hard-Keys are located below the Uconnect�system in
the center of the instrument panel. In addition, there is a
Scroll/Enter control knob located on the right side of the
Climate Controls in the center of the instrument panel.
Turn the control knob to scroll through menus and
change settings (i.e., 30, 60, 90), press the center of the
control knob one or more times to select or change a
setting (i.e., ON, OFF).
Soft-Keys
Soft-Keys are accessible on the Uconnect� display.
Customer Programmable Features — Uconnect �
System 8.4 Settings
Press the More soft-key, then press the Settings soft-key
to display the menu setting screen. In this mode the
Uconnect� system allows you to access programmable
features that may be equipped such as Display, Clock,
Safety/Assistance, Lights, Doors & Locks, Auto-On Comfort & Remote Start, Engine Off Operation, Compass
Settings, Audio, Phone/Bluetooth and SIRIUS Setup.
NOTE:
Only one touchscreen area may be selected at a
time.
When making a selection, press the soft-key to enter the
desired mode. Once in the desired mode press and
release the preferred setting until a check-mark appears
next to the setting, showing that setting has been se-
lected.
Once the setting is complete press the Back Arrow
soft-key to return to the previous menu or press the X
soft-key to close out of the settings screen. Pressing the
Up or Down Arrow soft-keys on the right side of the
screen will allow you to toggle up or down through the
available settings.
326 UNDERSTANDING YOUR INSTRUMENT PANEL
Page 337 of 604
Engine Off Options
After pressing the Engine Off Options soft-key the fol-
lowing settings will be available.
•Engine Off Power Delay
When this feature is selected, the power window
switches, radio, Uconnect� phone system (if equipped),
power sunroof (if equipped), and power outlets will
remain active for up to 10 minutes after the ignition is
cycled to OFF. Opening either front door will cancel this
feature. To change the Engine Off Power Delay status
touch the 0 seconds, 45 seconds, 5 minutes or 10 minutes
soft-key. Then touch the arrow back soft-key.
•Headlight Off Delay
When this feature is selected, the driver can choose to
have the headlights remain on for 0, 30, 60, or 90 seconds
when exiting the vehicle. To change the Headlight Off
Delay status touch the + or - soft-key to select your
desired time interval. Touch the back arrow soft-key to
return to the previous menu.
Compass Settings
After pressing the Compass Settings soft-key the follow-
ing settings will be available.
•Variance
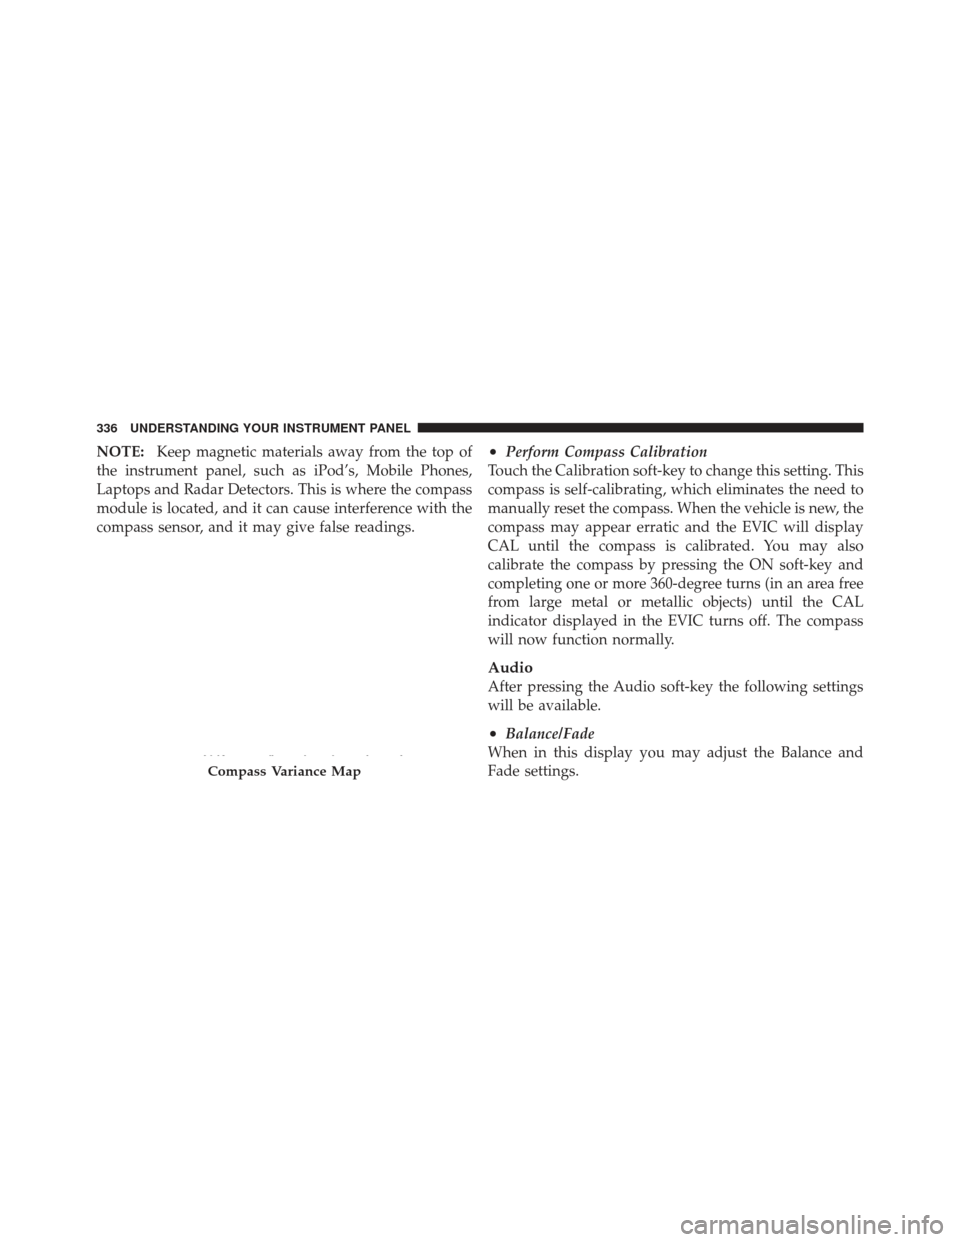
Compass Variance is the difference between Magnetic
North and Geographic North. To compensate for the
differences the variance should be set for the zone where
the vehicle is driven, per the zone map. Once properly
set, the compass will automatically compensate for the
differences, and provide the most accurate compass
heading.
4
UNDERSTANDING YOUR INSTRUMENT PANEL 335
Page 338 of 604
NOTE:Keep magnetic materials away from the top of
the instrument panel, such as iPod’s, Mobile Phones,
Laptops and Radar Detectors. This is where the compass
module is located, and it can cause interference with the
compass sensor, and it may give false readings.•Perform Compass Calibration
Touch the Calibration soft-key to change this setting. This
compass is self-calibrating, which eliminates the need to
manually reset the compass. When the vehicle is new, the
compass may appear erratic and the EVIC will display
CAL until the compass is calibrated. You may also
calibrate the compass by pressing the ON soft-key and
completing one or more 360-degree turns (in an area free
from large metal or metallic objects) until the CAL
indicator displayed in the EVIC turns off. The compass
will now function normally.
Audio
After pressing the Audio soft-key the following settings
will be available.
•Balance/Fade
When in this display you may adjust the Balance and
Fade settings.
Compass Variance Map
336 UNDERSTANDING YOUR INSTRUMENT PANEL
Page 339 of 604
•Equalizer
When in this display you may adjust the Bass, Mid and
Treble settings. Adjust the settings with the + and –
setting soft-keys or by selecting any point on the scale
between the + and – soft-keys. Then touch the arrow back
soft-key.
NOTE: Bass/Mid/Treble allow you to simply slide your
finger up or down to change the setting as well as touch
directly on the desired setting.
•Speed Adjusted Volume
This feature increases or decreases volume relative to
vehicle speed. To change the Speed Adjusted Volume
touch the Off, 1, 2 or 3 soft-key. Then touch the arrow
back soft-key.
•Music Info Cleanup
This feature helps organize music files for optimized
music navigation. To make your selection, touch the
Music Info Cleanup soft-key, select On or Off followed by
pressing the arrow back soft-key.
•Surround Sound
This feature provides simulated surround sound mode.
To make your selection, touch the Surround Sound
soft-key, select On or Off followed by pressing the arrow
back soft-key.
Phone/Bluetooth
After pressing the Phone/Bluetooth soft-key the follow-
ing settings will be available.
•Paired Devices
This feature shows which phones are paired to the
Phone/Bluetooth system. For further information, refer
to the Uconnect� Supplement.
4
UNDERSTANDING YOUR INSTRUMENT PANEL 337
Page 354 of 604
iPod�/USB/MP3 CONTROL WITH Uconnect�
VOICE COMMAND — IF EQUIPPED
This feature allows an iPod� or external USB device to be
plugged into the USB port.
iPod� control supports Mini, 4G, Photo, Nano, 5G iPod�
and iPhone� devices. Some iPod� software versions may
not fully support the iPod� control features. Please visit
Apple’s website for software updates.
If equipped with Uconnect� 8.4, refer to the Uconnect�
User ’s Manual for further details on iPod�, USB, and
MP3 usage.
Connecting The iPod� Or External USB Device
Use the connection cable to connect an iPod� or external
USB device to the vehicle’s USB/AUX connector port
which is located in the center console.
Center Console USB/AUX Connector Port
352 UNDERSTANDING YOUR INSTRUMENT PANEL
Page 359 of 604
CAUTION! (Continued)
•Placing items on the iPod�or external USB device,
or connections to the iPod� or external USB device
in the vehicle, can cause damage to the device
and/or to the connectors.
WARNING!
Do not plug in or remove the iPod� or external USB
device while driving. Failure to follow this warning
could result in an accident.
Bluetooth Streaming Audio (BTSA)
Music can be streamed from your cellular phone to the
Uconnect� phone system.
Controlling BTSA Using Radio Buttons
To get into the BTSA mode, press either “AUX” button on
the radio or press the VR button and say “Bluetooth
Streaming Audio”.
Play Mode
When switched to BTSA mode, some audio devices can
start playing music over the vehicle’s audio system, but
some devices require the music to be initiated on the
device first, then it will get streamed to the Uconnect �
phone system. Seven devices can be paired to the
Uconnect� phone system, but just one can be selected
and played.
Selecting Different Audio Device
1. Press PHONE button to begin.
2. After the �Ready�prompt and the following beep, say
�Setup�, then �Select Audio Devices�.
4
UNDERSTANDING YOUR INSTRUMENT PANEL 357
Page 360 of 604
3. Say the name of the audio device or ask the Uconnect�
phone system to list audio devices.
Next Track
Use the SEEK UP button, or press the VR button on the
radio and say “Next Track” to jump to the next music
track on your cellular phone.
Previous Track
Use the SEEK DOWN button, or press the VR button on
the radio and say “Previous Track” to start at the begin-
ning of the current music track.
Browse
Browsing is not available on a BTSA device. Only the
current song that is playing will display info.
STEERING WHEEL AUDIO CONTROLS
The remote sound system controls are located on the rear
surface of the steering wheel. Reach behind the wheel to
access the switches.The right-hand control is a rocker-type switch with a
pushbutton in the center and controls the volume and
mode of the sound system. Pressing the top of the rocker
switch will increase the volume, and pressing the bottom
of the rocker switch will decrease the volume.
Remote Sound System Controls (Back View Of Steering
Wheel)
358 UNDERSTANDING YOUR INSTRUMENT PANEL