Page 155 of 604
NOTE:For phones which are not made a favorite, the
phone priority is determined by the order in which it was
paired. The latest phone paired will have the higher
priority. You can also use the following VR commands to bring up
the Paired Phone screen from any screen on the radio:
•“Show Paired Phones” or
•“Connect My Phone”
Pair A Bluetooth�
Streaming Audio Device
•
Touch the “Player” soft-key to begin,
•Change the Source to Bluetooth�,
•Touch the “Bluetooth�” soft-key,
•Touch the “Add Device” soft-key,
NOTE: If there is no device currently connected with the
system, a pop-up will appear.
•Search for available devices on your Bluetooth� en-
abled audio device. When prompted on the device,
enter the name and PIN shown on the Uconnect�
screen,
3
UNDERSTANDING THE FEATURES OF YOUR VEHICLE 153
Page 182 of 604

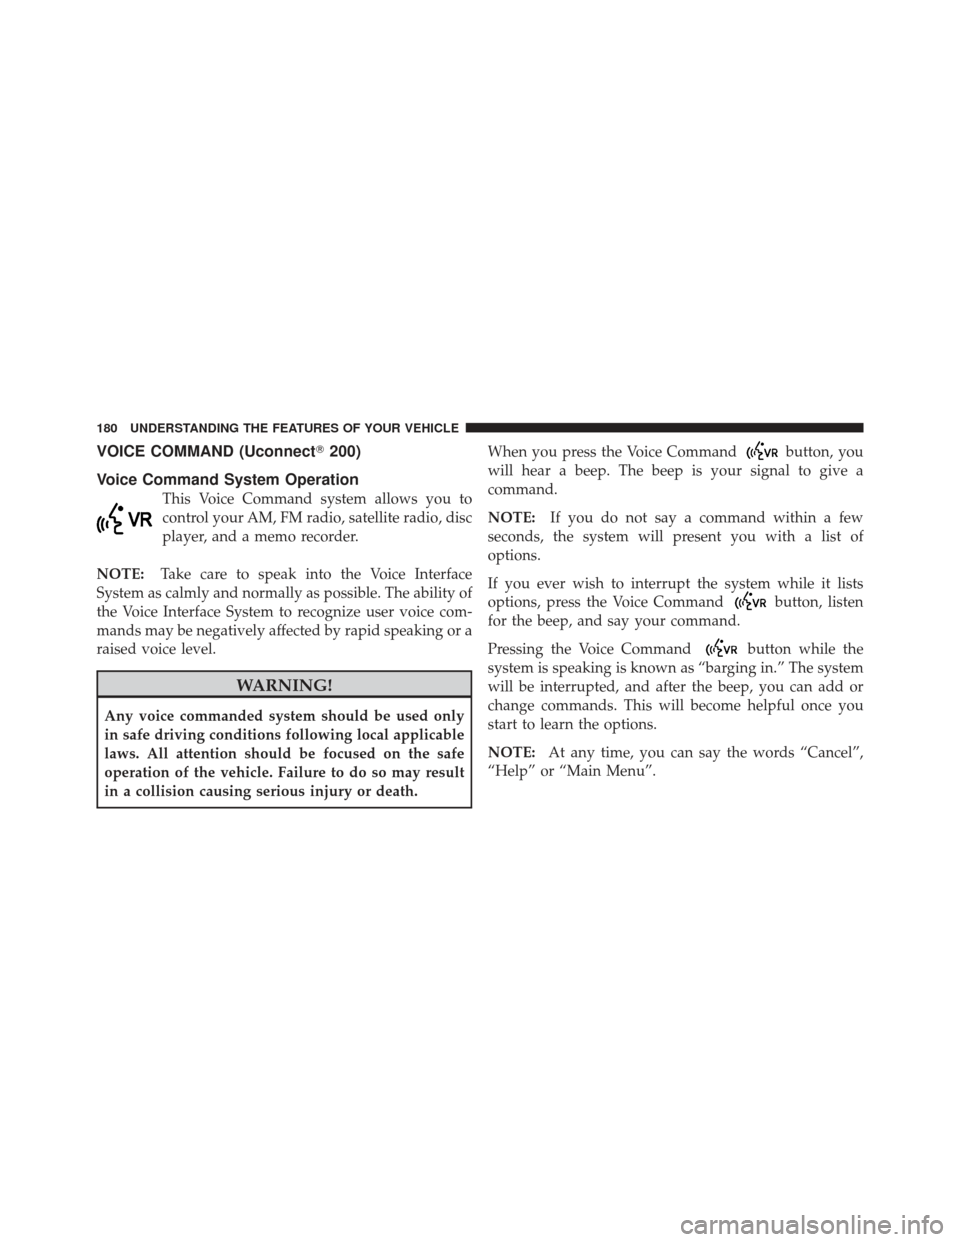
VOICE COMMAND (Uconnect�200)
Voice Command System Operation
This Voice Command system allows you to
control your AM, FM radio, satellite radio, disc
player, and a memo recorder.
NOTE: Take care to speak into the Voice Interface
System as calmly and normally as possible. The ability of
the Voice Interface System to recognize user voice com-
mands may be negatively affected by rapid speaking or a
raised voice level.
WARNING!
Any voice commanded system should be used only
in safe driving conditions following local applicable
laws. All attention should be focused on the safe
operation of the vehicle. Failure to do so may result
in a collision causing serious injury or death. When you press the Voice Command
button, you
will hear a beep. The beep is your signal to give a
command.
NOTE: If you do not say a command within a few
seconds, the system will present you with a list of
options.
If you ever wish to interrupt the system while it lists
options, press the Voice Command
button, listen
for the beep, and say your command.
Pressing the Voice Command
button while the
system is speaking is known as “barging in.” The system
will be interrupted, and after the beep, you can add or
change commands. This will become helpful once you
start to learn the options.
NOTE: At any time, you can say the words “Cancel”,
“Help” or “Main Menu”.
180 UNDERSTANDING THE FEATURES OF YOUR VEHICLE
Page 183 of 604

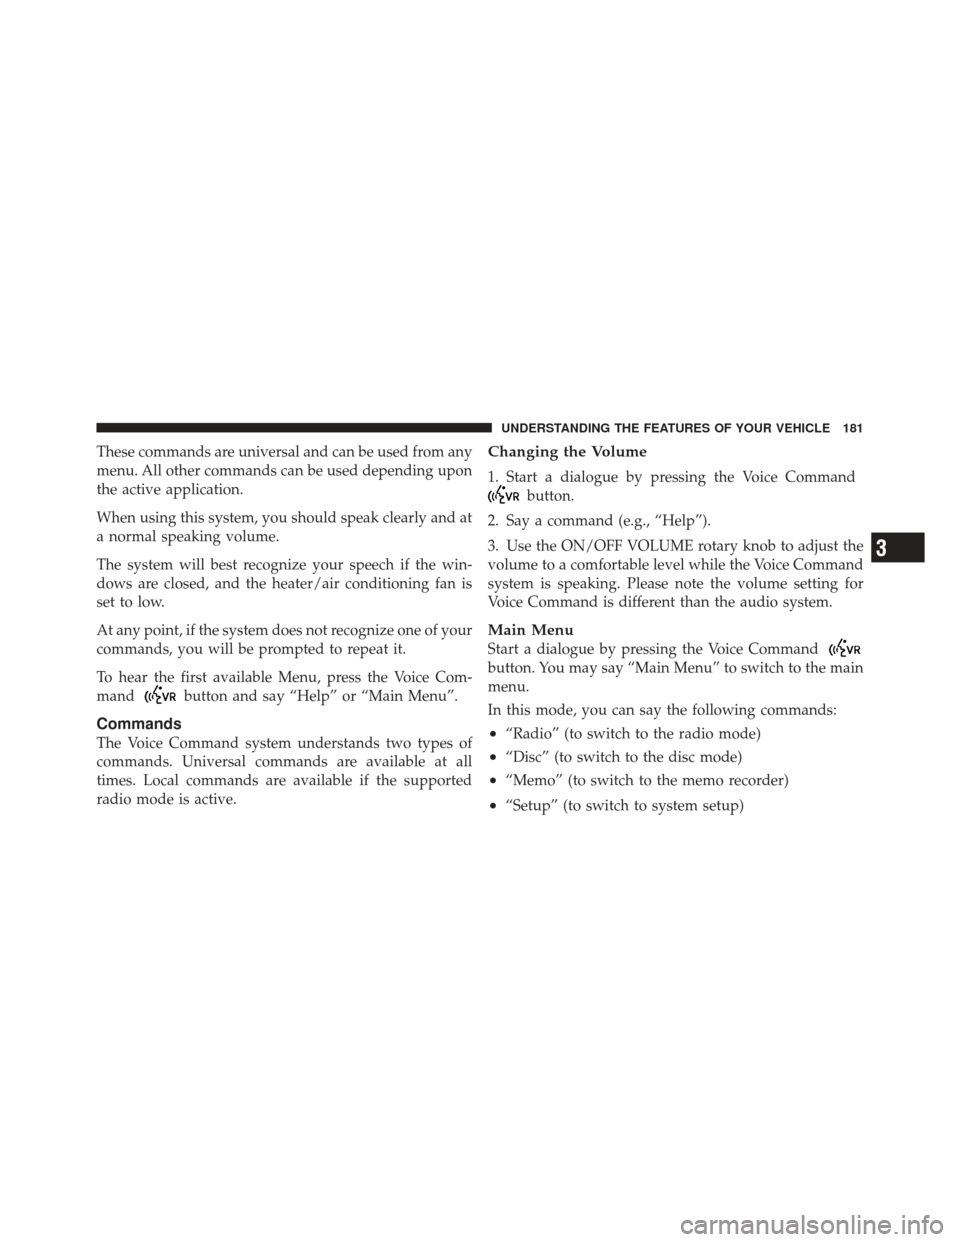
These commands are universal and can be used from any
menu. All other commands can be used depending upon
the active application.
When using this system, you should speak clearly and at
a normal speaking volume.
The system will best recognize your speech if the win-
dows are closed, and the heater/air conditioning fan is
set to low.
At any point, if the system does not recognize one of your
commands, you will be prompted to repeat it.
To hear the first available Menu, press the Voice Com-
mand
button and say “Help” or “Main Menu”.
Commands
The Voice Command system understands two types of
commands. Universal commands are available at all
times. Local commands are available if the supported
radio mode is active.
Changing the Volume
1. Start a dialogue by pressing the Voice Command
button.
2. Say a command (e.g., “Help”).
3. Use the ON/OFF VOLUME rotary knob to adjust the
volume to a comfortable level while the Voice Command
system is speaking. Please note the volume setting for
Voice Command is different than the audio system.
Main Menu
Start a dialogue by pressing the Voice Command
button. You may say “Main Menu” to switch to the main
menu.
In this mode, you can say the following commands:
•“Radio” (to switch to the radio mode)
•“Disc” (to switch to the disc mode)
•“Memo” (to switch to the memo recorder)
•“Setup” (to switch to system setup)
3
UNDERSTANDING THE FEATURES OF YOUR VEHICLE 181
Page 184 of 604

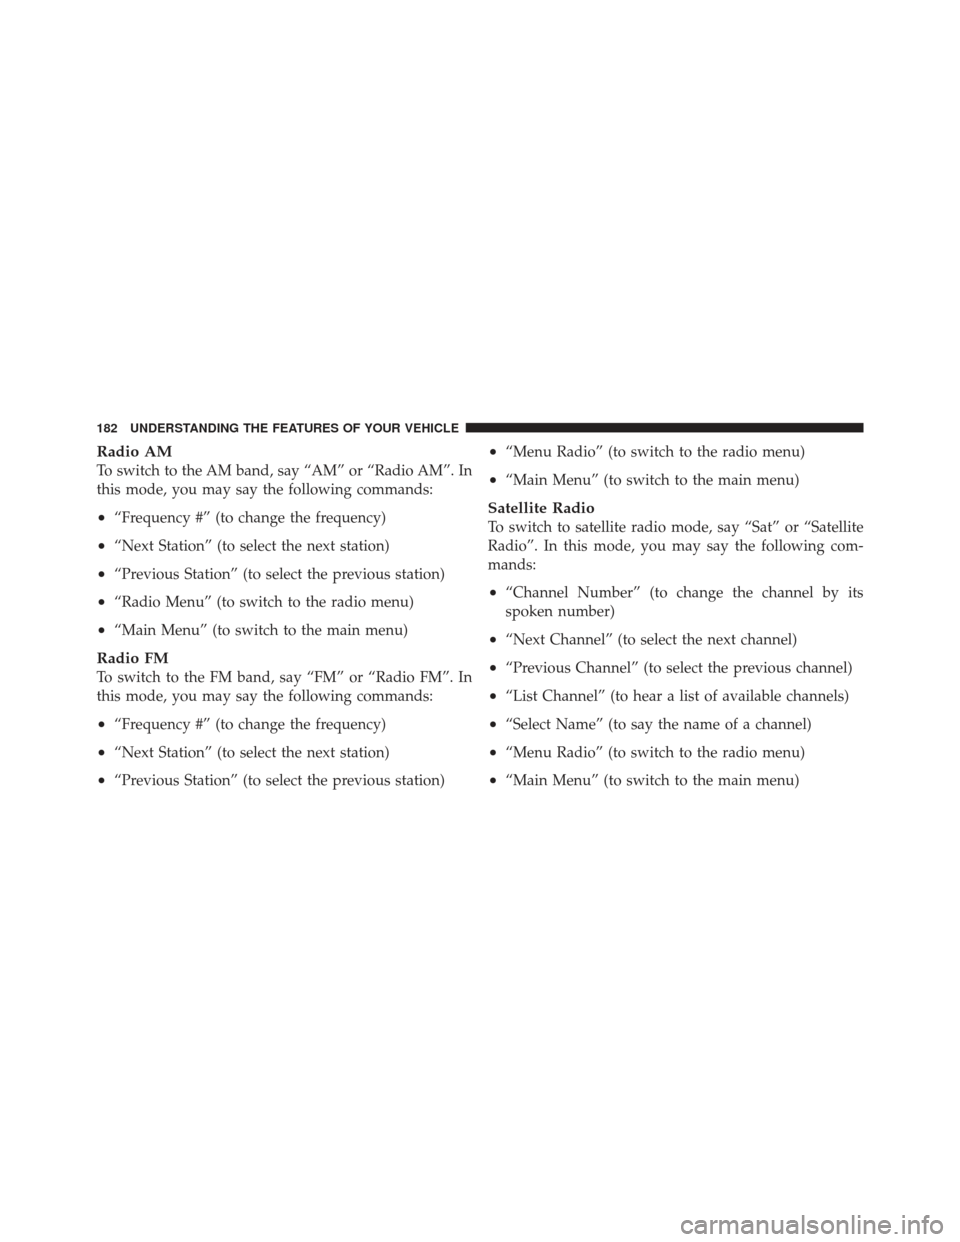
Radio AM
To switch to the AM band, say “AM” or “Radio AM”. In
this mode, you may say the following commands:
•“Frequency #” (to change the frequency)
•“Next Station” (to select the next station)
•“Previous Station” (to select the previous station)
•“Radio Menu” (to switch to the radio menu)
•“Main Menu” (to switch to the main menu)
Radio FM
To switch to the FM band, say “FM” or “Radio FM”. In
this mode, you may say the following commands:
•“Frequency #” (to change the frequency)
•“Next Station” (to select the next station)
•“Previous Station” (to select the previous station)
•“Menu Radio” (to switch to the radio menu)
•“Main Menu” (to switch to the main menu)
Satellite Radio
To switch to satellite radio mode, say “Sat” or “Satellite
Radio”. In this mode, you may say the following com-
mands:
•“Channel Number” (to change the channel by its
spoken number)
•“Next Channel” (to select the next channel)
•“Previous Channel” (to select the previous channel)
•“List Channel” (to hear a list of available channels)
•“Select Name” (to say the name of a channel)
•“Menu Radio” (to switch to the radio menu)
•“Main Menu” (to switch to the main menu)
182 UNDERSTANDING THE FEATURES OF YOUR VEHICLE
Page 187 of 604
VOICE COMMAND
Uconnect�8.4/8.4 Nav
The Uconnect� Voice Command system allows
you to control your AM, FM radio, satellite
radio, disc player, SD Card, USB/iPod and
Sirius Travel Link.
NOTE: Take care to speak into the Voice Command
system as calmly and normally as possible. The ability of
the Voice Command system to recognize user voice
commands may be negatively affected by rapid speaking
or a raised voice level.
WARNING!
Any voice commanded system should be used only
in safe driving conditions following local applicable
laws. All attention should be kept on the roadway
ahead. Failure to do so may result in a collision
causing serious injury or death.
When you press the Uconnect� Voice Command
button, you will hear a beep. The beep is your signal to
give a command.
If no command is spoken the system will say one of two
responses:
•I didn’t understand
•I didn’t get that, etc.,
3
UNDERSTANDING THE FEATURES OF YOUR VEHICLE 185
Page 189 of 604

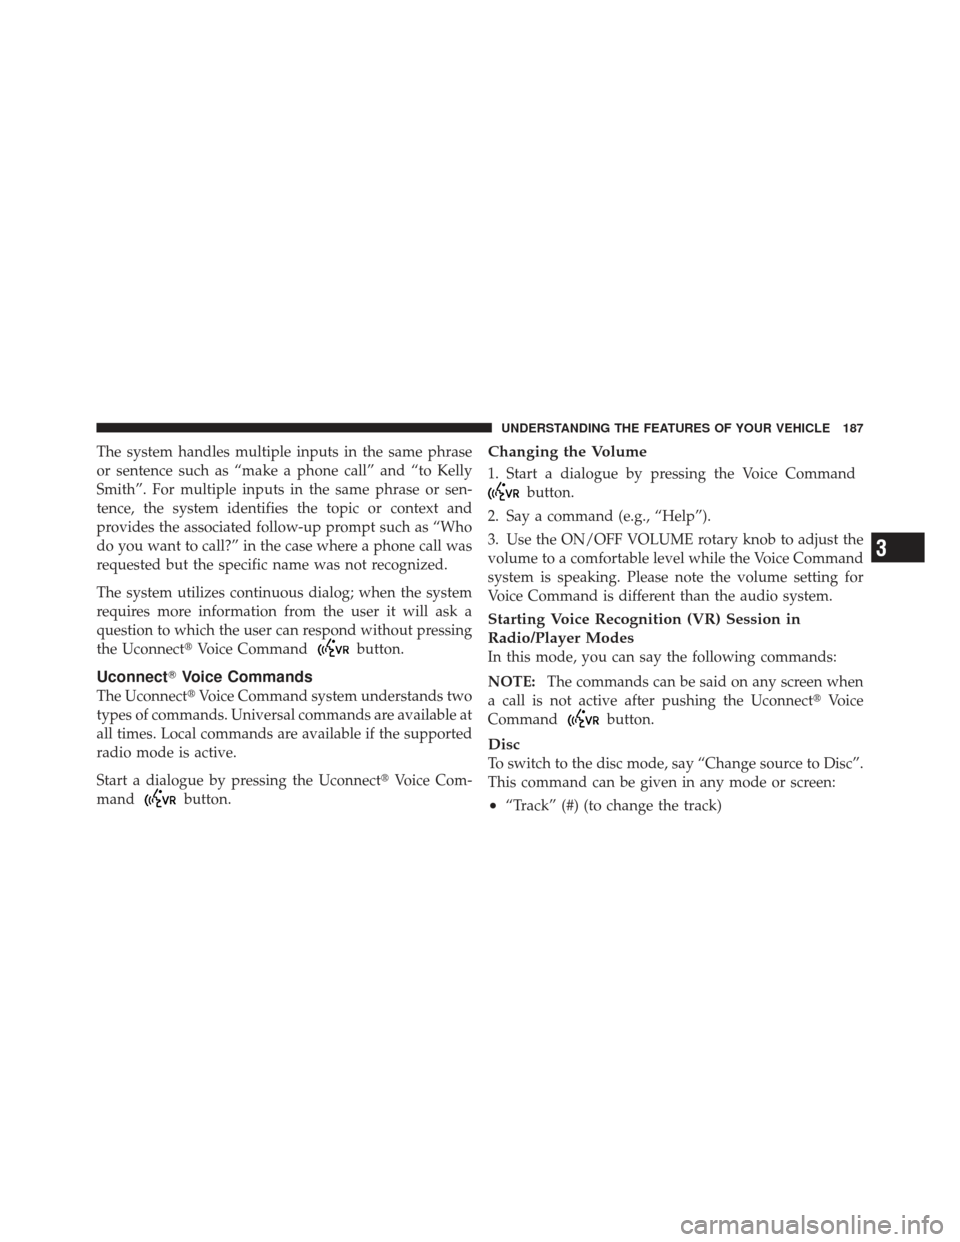
The system handles multiple inputs in the same phrase
or sentence such as “make a phone call” and “to Kelly
Smith”. For multiple inputs in the same phrase or sen-
tence, the system identifies the topic or context and
provides the associated follow-up prompt such as “Who
do you want to call?” in the case where a phone call was
requested but the specific name was not recognized.
The system utilizes continuous dialog; when the system
requires more information from the user it will ask a
question to which the user can respond without pressing
the Uconnect�Voice Command
button.
Uconnect�Voice Commands
The Uconnect� Voice Command system understands two
types of commands. Universal commands are available at
all times. Local commands are available if the supported
radio mode is active.
Start a dialogue by pressing the Uconnect� Voice Com-
mand
button.
Changing the Volume
1. Start a dialogue by pressing the Voice Command
button.
2. Say a command (e.g., “Help”).
3. Use the ON/OFF VOLUME rotary knob to adjust the
volume to a comfortable level while the Voice Command
system is speaking. Please note the volume setting for
Voice Command is different than the audio system.
Starting Voice Recognition (VR) Session in
Radio/Player Modes
In this mode, you can say the following commands:
NOTE: The commands can be said on any screen when
a call is not active after pushing the Uconnect� Voice
Command
button.
Disc
To switch to the disc mode, say “Change source to Disc”.
This command can be given in any mode or screen:
•“Track” (#) (to change the track)
3
UNDERSTANDING THE FEATURES OF YOUR VEHICLE 187
Page 191 of 604
NOTE:
1. You can replace “950 AM” with any other AM or FM
frequency, such as “98.7 FM”.
2. You can replace “80’s on 8” with any other satellite
station name received by the radio.
3. You can replace “8” with any other satellite station
named received by the radio.
4. You can replace “rock” with any of the satellite music
types.
5. Available Voice Commands are shown in bold face
and shaded grey.
3
UNDERSTANDING THE FEATURES OF YOUR VEHICLE 189
Page 197 of 604
NOTE:
1. Only available with Navigation equipped vehicles.
2. You can replace “Player” with “Radio”, “Navigation”,
“Phone”, “Climate”, “More” or “Settings”.
3. Navigation commands only work if equipped with
Navigation.
4. Available Voice Commands are shown in bold face
and shaded grey.
3
UNDERSTANDING THE FEATURES OF YOUR VEHICLE 195