Page 479 of 599

WARNING!
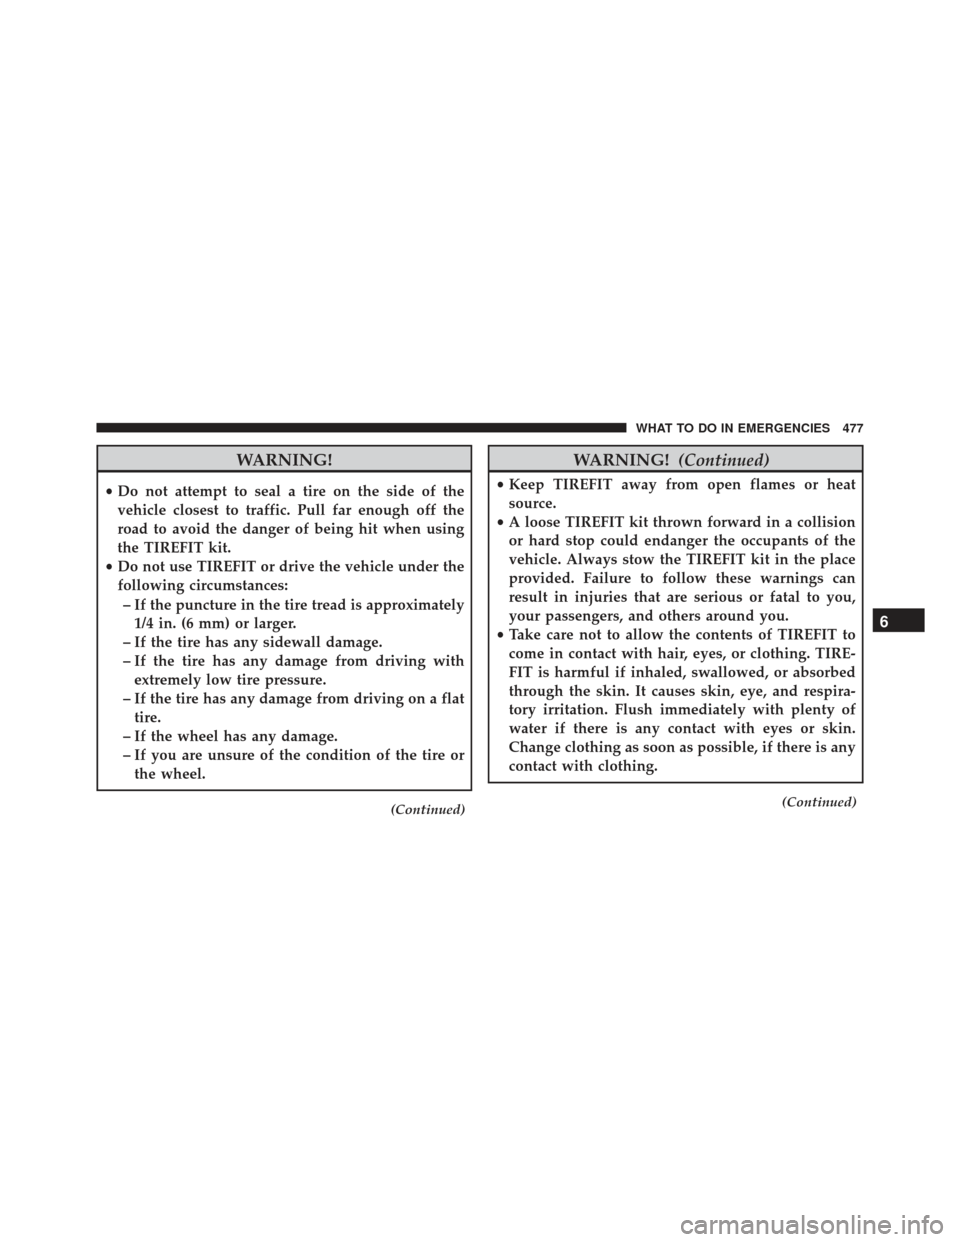
•Do not attempt to seal a tire on the side of the
vehicle closest to traffic. Pull far enough off the
road to avoid the danger of being hit when using
the TIREFIT kit.
• Do not use TIREFIT or drive the vehicle under the
following circumstances:
– If the puncture in the tire tread is approximately 1/4 in. (6 mm) or larger.
– If the tire has any sidewall damage.
– If the tire has any damage from driving with extremely low tire pressure.
– If the tire has any damage from driving on a flat tire.
– If the wheel has any damage.
– If you are unsure of the condition of the tire or the wheel.
(Continued)
WARNING! (Continued)
•Keep TIREFIT away from open flames or heat
source.
• A loose TIREFIT kit thrown forward in a collision
or hard stop could endanger the occupants of the
vehicle. Always stow the TIREFIT kit in the place
provided. Failure to follow these warnings can
result in injuries that are serious or fatal to you,
your passengers, and others around you.
• Take care not to allow the contents of TIREFIT to
come in contact with hair, eyes, or clothing. TIRE-
FIT is harmful if inhaled, swallowed, or absorbed
through the skin. It causes skin, eye, and respira-
tory irritation. Flush immediately with plenty of
water if there is any contact with eyes or skin.
Change clothing as soon as possible, if there is any
contact with clothing.
(Continued)
6
WHAT TO DO IN EMERGENCIES 477
Page 480 of 599

WARNING!(Continued)
•TIREFIT Sealant solution contains latex. In case of
an allergic reaction or rash, consult a physician
immediately. Keep TIREFIT out of reach of children.
If swallowed, rinse mouth immediately with plenty
of water and drink plenty of water. Do not induce
vomiting! Consult a physician immediately.
Sealing A Tire With TIREFIT
(A) Whenever You Stop To Use TIREFIT:
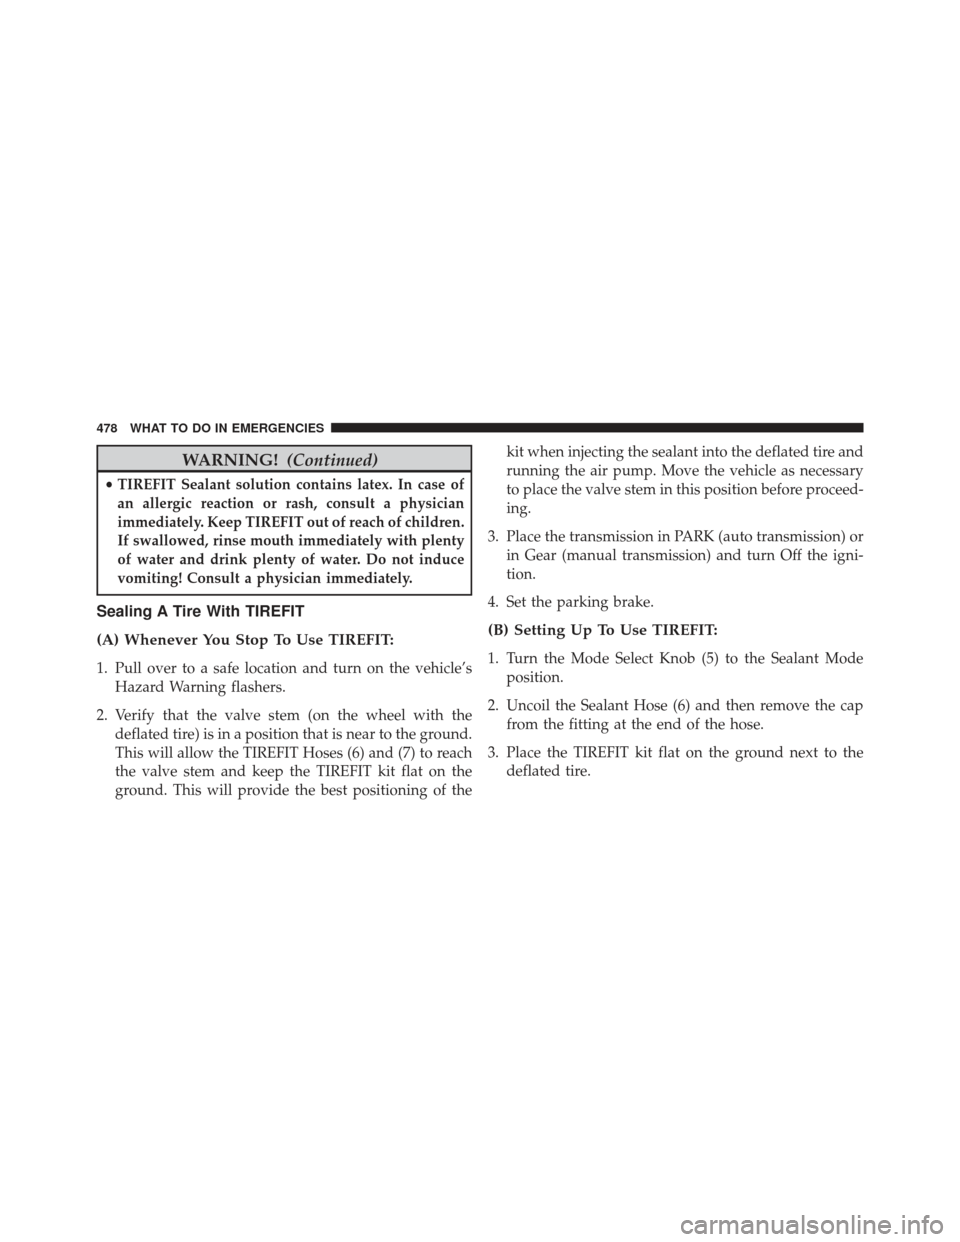
1. Pull over to a safe location and turn on the vehicle’s Hazard Warning flashers.
2. Verify that the valve stem (on the wheel with the deflated tire) is in a position that is near to the ground.
This will allow the TIREFIT Hoses (6) and (7) to reach
the valve stem and keep the TIREFIT kit flat on the
ground. This will provide the best positioning of the kit when injecting the sealant into the deflated tire and
running the air pump. Move the vehicle as necessary
to place the valve stem in this position before proceed-
ing.
3. Place the transmission in PARK (auto transmission) or in Gear (manual transmission) and turn Off the igni-
tion.
4. Set the parking brake.
(B) Setting Up To Use TIREFIT:
1. Turn the Mode Select Knob (5) to the Sealant Mode position.
2. Uncoil the Sealant Hose (6) and then remove the cap from the fitting at the end of the hose.
3. Place the TIREFIT kit flat on the ground next to the deflated tire.
478 WHAT TO DO IN EMERGENCIES
Page 483 of 599

CAUTION!
•The metal end fitting from Power Plug (8) may get
hot after use, so it should be handled carefully.
• Failure to reinstall the cap on the fitting at the end
of the Sealant Hose (6) can result in sealant con-
tacting your skin, clothing, and the vehicle’s inte-
rior. It can also result in sealant contacting internal
TIREFIT kit components which may cause perma-
nent damage to the kit.
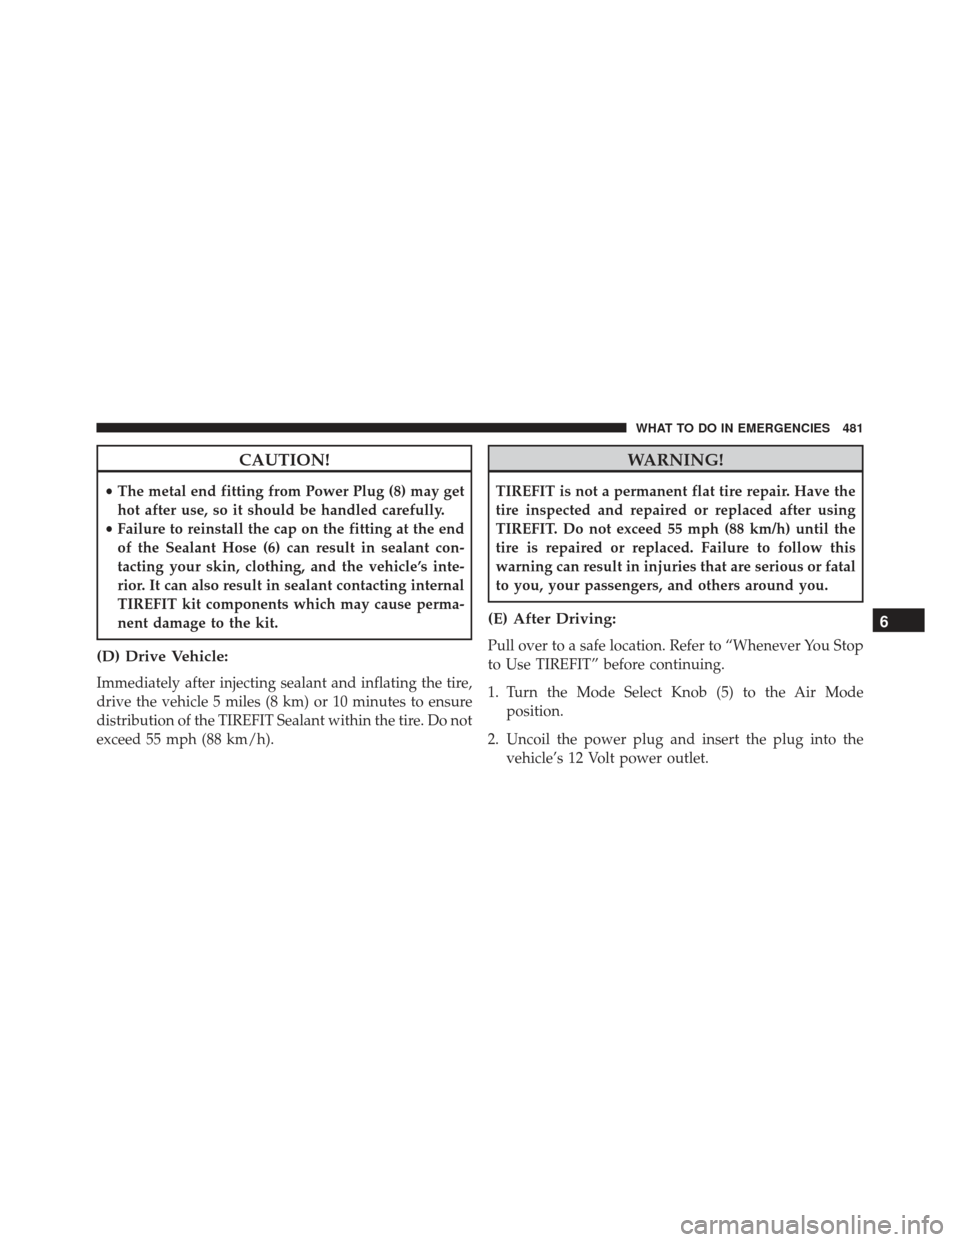
(D) Drive Vehicle:
Immediately after injecting sealant and inflating the tire,
drive the vehicle 5 miles (8 km) or 10 minutes to ensure
distribution of the TIREFIT Sealant within the tire. Do not
exceed 55 mph (88 km/h).
WARNING!
TIREFIT is not a permanent flat tire repair. Have the
tire inspected and repaired or replaced after using
TIREFIT. Do not exceed 55 mph (88 km/h) until the
tire is repaired or replaced. Failure to follow this
warning can result in injuries that are serious or fatal
to you, your passengers, and others around you.
(E) After Driving:
Pull over to a safe location. Refer to “Whenever You Stop
to Use TIREFIT” before continuing.
1. Turn the Mode Select Knob (5) to the Air Mode position.
2. Uncoil the power plug and insert the plug into the vehicle’s 12 Volt power outlet.
6
WHAT TO DO IN EMERGENCIES 481
Page 486 of 599
CAUTION!
Do not use a portable battery booster pack or any
other booster source with a system voltage greater
than 12 Volts or damage to the battery, starter motor,
alternator or electrical system may occur.
WARNING!
Do not attempt jump-starting if the battery is frozen.
It could rupture or explode and cause personal injury.
Preparations For Jump-Start
The battery is stored under an access cover in the trunk.
Remote battery posts are located on the right side of the
engine compartment for jump-starting.NOTE:
The remote battery posts are viewed by standing
on the right side of the vehicle looking over the fender.Remote Battery Posts
1 — Remote Positive (+)Post
2 — Remote Negative (-)Post
484 WHAT TO DO IN EMERGENCIES
Page 487 of 599

WARNING!
•Take care to avoid the radiator cooling fan when-
ever the hood is raised. It can start anytime the
ignition switch is ON. You can be injured by
moving fan blades.
• Remove any metal jewelry such as watch bands or
bracelets that might make an inadvertent electrical
contact. You could be seriously injured.
• Batteries contain sulfuric acid that can burn your
skin or eyes and generate hydrogen gas which is
flammable and explosive. Keep open flames or
sparks away from the battery.
1. Set the parking brake, shift the automatic transmission into PARK and turn the ignition to LOCK.
2. Turn off the heater, radio, and all unnecessary electri- cal accessories. 3. If using another vehicle to jump-start the battery, park
the vehicle within the jumper cables reach, set the
parking brake and make sure the ignition is OFF.
WARNING!
Do not allow vehicles to touch each other as this
could establish a ground connection and personal
injury could result.
Jump-Starting Procedure
WARNING!
Failure to follow this procedure could result in per-
sonal injury or property damage due to battery ex-
plosion.
6
WHAT TO DO IN EMERGENCIES 485
Page 488 of 599

CAUTION!
Failure to follow these procedures could result in
damage to the charging system of the booster vehicle
or the discharged vehicle.
1. Connect the positive (+)end of the jumper cable to the
remote positive (+)post of the discharged vehicle.
2. Connect the opposite end of the positive (+)jumper
cable to the positive (+)post of the booster battery.
3. Connect the negative end (-)of the jumper cable to the
negative (-)post of the booster battery.
4. Connect the opposite end of the negative (-)jumper
cable to the remote negative (-)post of the vehicle with
the discharged battery.
WARNING!
Do not connect the cable to the negative post (-) of the
discharged battery. The resulting electrical spark
could cause the battery to explode and could result in
personal injury.
5.
Start the engine in the vehicle that has the booster
battery, let the engine idle a few minutes, and then start
the engine in the vehicle with the discharged battery.
Once the engine is started, remove the jumper cables in
the reverse sequence:
6. Disconnect the negative (-)jumper cable from the
remote negative (-)post of the vehicle with the dis-
charged battery.
7. Disconnect the negative end (-)of the jumper cable
from the negative (-)post of the booster battery.
486 WHAT TO DO IN EMERGENCIES
Page 490 of 599

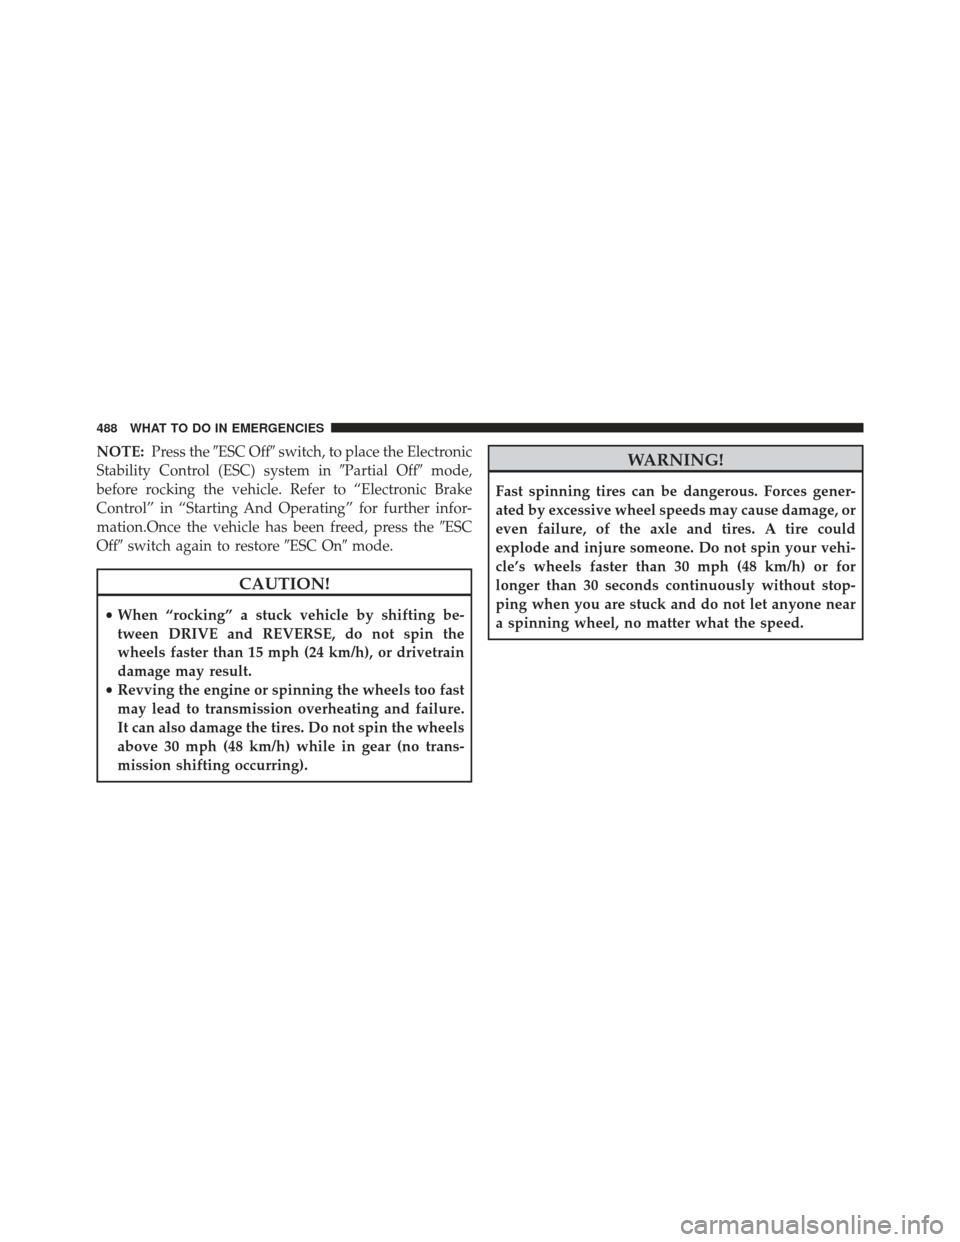
NOTE:Press the �ESC Off� switch, to place the Electronic
Stability Control (ESC) system in �Partial Off�mode,
before rocking the vehicle. Refer to “Electronic Brake
Control” in “Starting And Operating” for further infor-
mation.Once the vehicle has been freed, press the �ESC
Off� switch again to restore �ESC On�mode.
CAUTION!
•When “rocking” a stuck vehicle by shifting be-
tween DRIVE and REVERSE, do not spin the
wheels faster than 15 mph (24 km/h), or drivetrain
damage may result.
• Revving the engine or spinning the wheels too fast
may lead to transmission overheating and failure.
It can also damage the tires. Do not spin the wheels
above 30 mph (48 km/h) while in gear (no trans-
mission shifting occurring).
WARNING!
Fast spinning tires can be dangerous. Forces gener-
ated by excessive wheel speeds may cause damage, or
even failure, of the axle and tires. A tire could
explode and injure someone. Do not spin your vehi-
cle’s wheels faster than 30 mph (48 km/h) or for
longer than 30 seconds continuously without stop-
ping when you are stuck and do not let anyone near
a spinning wheel, no matter what the speed.
488 WHAT TO DO IN EMERGENCIES
Page 500 of 599

vehicle as you normally would in order for your OBD II
system to update. A recheck with the above test routine
may then indicate that the system is now ready.
Regardless of whether your vehicle’s OBD II system is
ready or not, if the MIL is illuminated during normal
vehicle operation you should have your vehicle serviced
before going to the I/M station. The I/M station can fail
your vehicle because the MIL is on with the engine running.
REPLACEMENT PARTS
Use of genuine MOPAR® parts for normal/scheduled
maintenance and repairs is highly recommended to en-
sure the designed performance. Damage or failures
caused by the use of non-MOPAR® parts for mainte-
nance and repairs will not be covered by the manufac-
turer’s warranty.
DEALER SERVICE
Your authorized dealer has the qualified service person-
nel, special tools, and equipment to perform all service
operations in an expert manner. Service Manuals are
available which include detailed service information for
your vehicle. Refer to these Service Manuals before
attempting any procedure yourself.
NOTE:Intentional tampering with emissions control
systems may void your warranty and could result in civil
penalties being assessed against you.
WARNING!
You can be badly injured working on or around a
motor vehicle. Only do service work for which you
have the knowledge and the proper equipment. If you
have any doubt about your ability to perform a service
job, take your vehicle to a competent mechanic.
498 MAINTAINING YOUR VEHICLE