Page 26 of 284

Monitoring
24
Warning lampis onCauseAction / Observations
Front foglampsfixed.The front foglamps are switched on. Turn the ring on the stalk rear wards twice to switch off
the front foglamps.
Rear foglampsfixed.The rear foglamps are switched on. Turn the ring on the stalk rear wards to switch off the
rear foglamps.
Diesel engine pre-heatingfixed.The ignition switch is at the
2nd position (ignition on).Wait until the warning lamp has switched off before starting.
The duration for which the warning lamp is on is determined
by the climatic conditions.
Parking brakefixed.The parking brake is applied or not properly released.Release the parking brake to switch off the warninglamp, keeping your foot on the brake pedal.
Obser ve the safety recommendations.
For further information on the parking brake, refer to
the "Parking brake" section.
Engine coolanttemperaturefixed blueOn starting the engine, it indicates
that the engine is cold. After a few minutes driving, it swiches off to indicate
that the engine temperature is normal. In order to protect your engine, avoid driving too hard
until the warning lamp has switched off.
Stop & Startfixed. When the vehicle stops (red lights,
traffic jams, ...) the Stop & Start system has put the engine into STOP mode.The warnin
g lamp goes off and the engine restarts
automatically in START mode, as soon as you want tomove off.
fl
ashes for afew seconds, then goes off. ST
OP mode is temporarily unavailable. or STA R T m o d e i s i n v o ke dautomatically. For more information on special cases with ST
OP mode and START mode, refer to the "Stop & Start"section.
Page 36 of 284

Monitoring
34
Total distance recorder Lighting dimmer
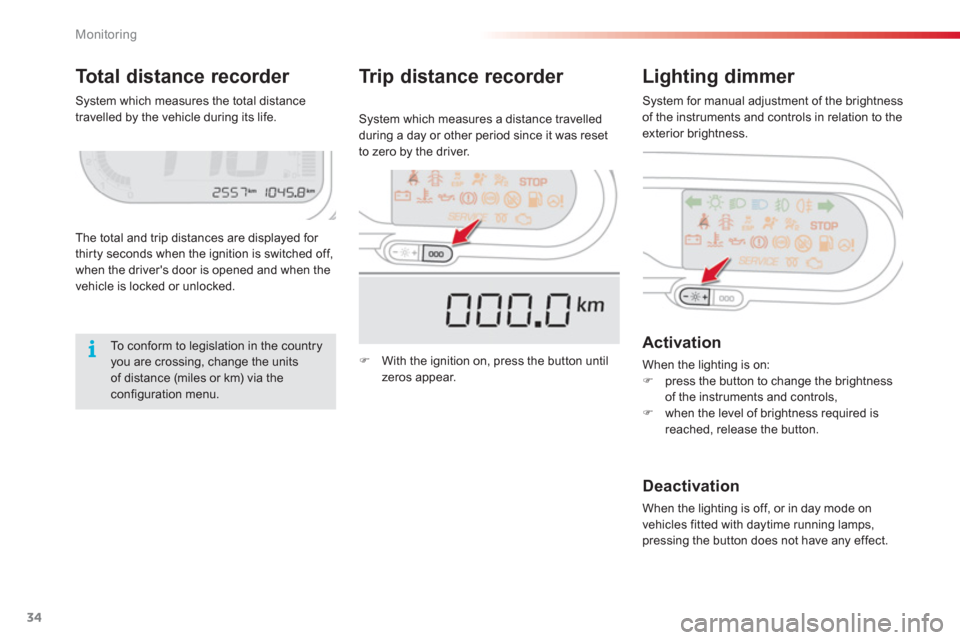
The total and trip distances are displayed for
thirty seconds when the ignition is switched off,
when the driver's door is opened and when the
vehicle is locked or unlocked. S
ystem which measures a distance travelled
during a day or other period since it was reset
to zero by the driver.
Activation
When the lighting is on:�)press the button to change the brightness
of the instruments and controls,�)when the level of brightness required isreached, release the button.
Deactivation
When the lighting is off, or in day mode on
vehicles fitted with daytime running lamps,
pressing the button does not have any effect.
Tr ip distance recorder
�)
With the ignition on, press the button until
zeros appear.
To conform to legislation in the country you are crossing, change the units of distance (miles or km) via theconfiguration menu.
S
ystem which measures the total distance
travelled by the vehicle during its life. System for manual adjustment of the brightness of the instruments and controls in relation to theexterior brightness.
Page 38 of 284

Multifunction screens
36
Vehicle confi guration
O
ptions
Once the "Options" menu has been selected,
you can star t diagnostics of the status of the equipment (active, not active, faulty).
Language
Once the "Language" menu has been selected, you can change the language used
by the display
(Français, Italiano, Nederlands, Portugues, Portugues-Brasil, Türkçe, Deutsch, English, Espanol).
Display adjust
Once the "Display adjust" menu has been selected, you can gain access to the following settings:
- year,
- month,
- day,
- hour,
- minutes,
-
12 or 24 hour mode.
Units
Once the "Units" menu has been selected, you can change the units of the followingparameters:
- temperature (°C or °F),
- fuel consumption (l/10 0km, mpg or km/l).
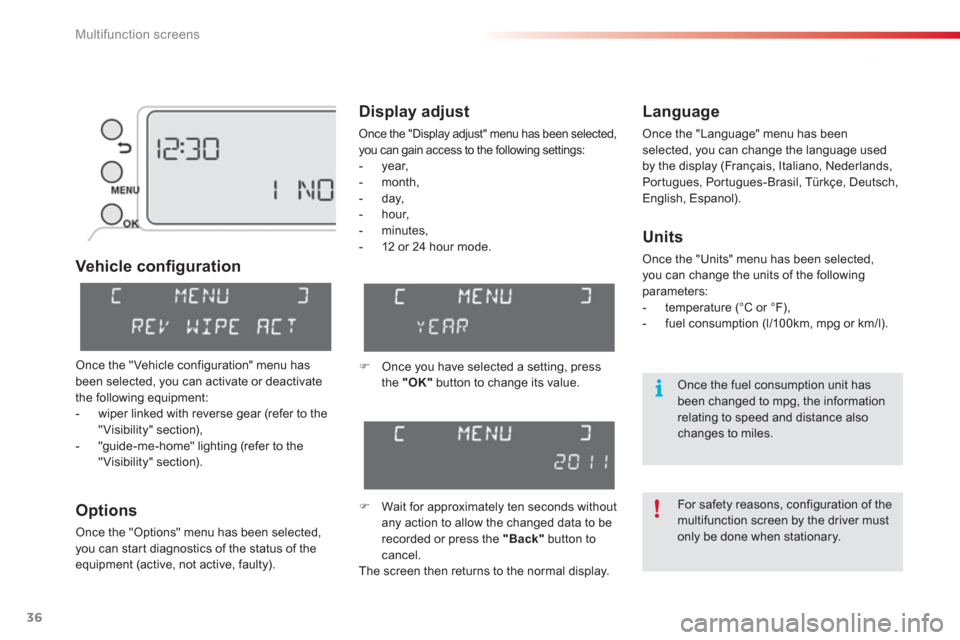
�)
Once you have selected a setting, press
the "OK"button to change its value.
�) Wait for approximately ten seconds without
any action to allow the changed data to be
recorded or press the "Back"
button to cancel.
The screen then returns to the normal display.
Once the "Vehicle configuration" menu has
been selected, you can activate or deactivate
the following equipment:
- wiper linked with reverse gear (refer to the"Visibility" section),
- "guide-me-home" lighting (refer to the "Visibility" section).
For safety reasons, configuration of the multifunction screen by the driver mustonly be done when stationary.
Once the fuel consumption unit hasbeen changed to mpg, the information relating to speed and distance also changes to miles.
Page 40 of 284

Multifunction screens
38
Display adjust
Once the "Display adjust" menu has been selected, you can gain access to the following settings:
- year,
- month,
- day,
- hour,
- minutes,
-
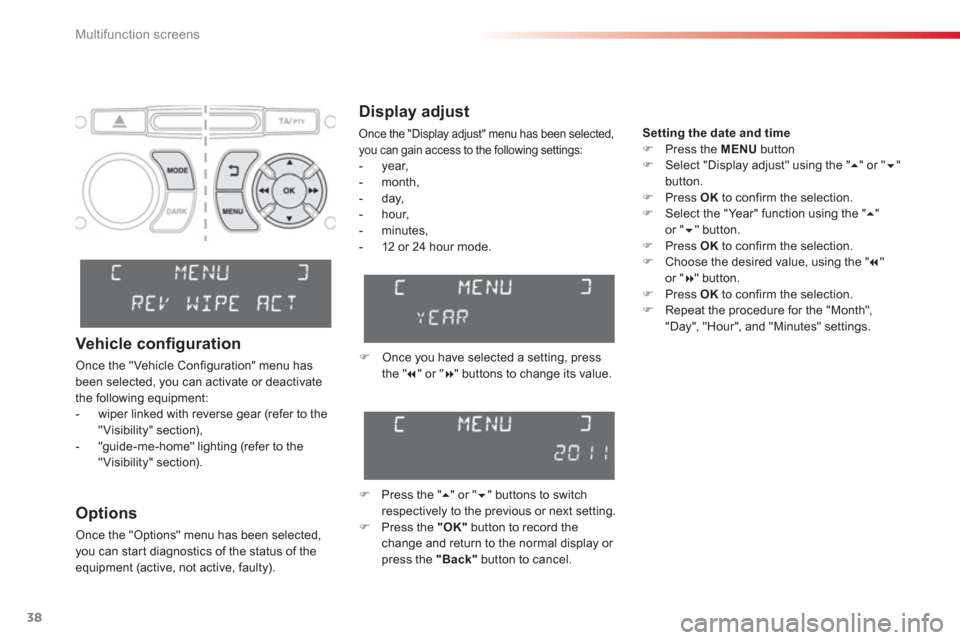
12 or 24 hour mode. Setting the date and tim
e�)Press the MENUbutton �)Select "Display adjust" using the " ��" or "��
"button.�)Press OK
to confirm the selection.�)Select the "Year" function using the "
��"or "�� " button.�)Press OK
to confirm the selection.�)Choose the desired value, using the " ��"or "��
" button.�)Press OK
to confirm the selection.�)Repeat the procedure for the "Month",
"Day", "Hour", and "Minutes" settings.
�) Once you have selected a setting, press
the " �� " or " ��
" buttons to change its value.
�)
Press the " �� " or "�� " buttons to switch
respectively to the previous or next setting.�) Press the "OK"
button to record the change and return to the normal display or
press the "Back"button to cancel.
Options
Once the "Options" menu has been selected, you can star t diagnostics of the status of the equipment (active, not active, faulty).
Vehicle confi guration
Once the "Vehicle Configuration" menu hasbeen selected, you can activate or deactivate
the following equipment:
- wiper linked with reverse gear (refer to the"Visibility" section),
- "guide-me-home" lighting (refer to the "Visibility" section).
Page 43 of 284

2
Multifunction screens
41
Options
Once the "Options" menu has been selected, you can star t diagnostics of the status of the
equipment (active, not active, faulty).
Language
Once the "Languages" menu has been
selected, you can change the language used
by the display (Français, Italiano, Nederlands,
Portugues, Portugues-Brasil, Deutsch, English,
Espanol).
Units
Once the "Units" menu has been selected, you can change the units of the followingparameters:
- temperature (°C or °F),
- fuel consumption (l/10 0km, mpg or km/l).
The chosen language will also be usedby the eMyWay system colour screen.
For safety reasons, configuration of the multifunction screen by the driver mustonly be done when stationary.
Once the fuel consumption unit has been changed to mpg, the informationrelating to speed and distance also changes to miles.
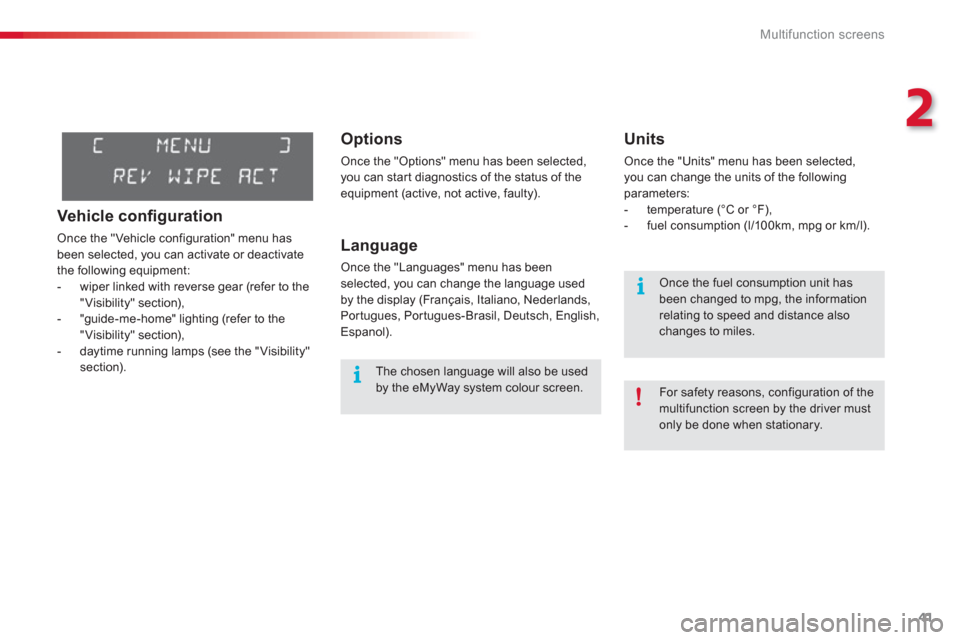
Vehicle confi guration
Once the "Vehicle configuration" menu has
been selected, you can activate or deactivate
the following equipment:
- wiper linked with reverse gear (refer to the
"Visibility" section),
- "guide-me-home" lighting (refer to the
"Visibility" section),
- daytime running lamps (see the "Visibility" section).
Page 46 of 284

Multifunction screens
44
"Trip computer" menu
Alert log
This summarises the active warning messages,
displaying them in succession in the multifunction screen. Once this menu has been selected,
you canconsult information concerning the status of the
vehicle (alert log, status of functions, etc.)
Defi ne the vehicle parameters
Once this menu has been selected, you can
activate or deactivate the following equipment:
- wiper linked with reverse gear (refer to the
"Visibility" section),
- daytime running lamps, (refer to the
"Visibility" section),
- guide-me-home lighting
"Personalisation-
Confi
guration" menu
Once this menu has been selected, you can gain access to the following functions:
- define the vehicle parameters,
- display configuration,
- choice of language. Status of functions
This summarises the status (active or inactive)of the vehicle's functions.
Enter distance to destination
This allows you to enter an approximate
distance until your final destination.
�)
Press the "MENU"button for access to the
main menu. �) Press the arrows, then the "OK"
button toselect the " Trip computer
" menu.
�)
In the "Trip computer" menu, select one of
the following applications:
Page 47 of 284

2
Multifunction screens
45
Display confi guration
Once this menu has been selected, you can
gain access to the following settings:
- brightness-video setting,
- date and time setting,
- selection of the units.
Example: setting of the duration of the guide-me-home lighting
�)Press the " �� " or " �� " buttons, then
the "OK"
button to select the menu required.
�)Press the " ��
" or " ��
" buttons, then
the "OK"
button to select the "Guide-me-home headlamps" line.
�)
Press the " ��" or " ��" buttons to set the
value required (15, 30 or 60 seconds), then
press the "OK"button to confirm.
�) Press the "
��" or "��" buttons, then
the "OK"button to select the "OK"
box
and confirm or press the "Back" button tocancel.
Once the fuel consumption unit has been changed to mpg, the informationrelating to speed and distance also changes to miles.
Ad
just the date and time�) Select the "Date and time adjustment"
function using the " ��
" or "��
" button.�)
Press the "OK"button to confirm the selection. �)
Adjust the settings one by one usingthe " �� " or " ��
" button then confirm with
the "OK"
button. �)
Then select the "OK"box in the screenand then confirm.
Page 55 of 284
3
Comfort
53
Footwells.
Central and side vents.
The air distribution can be adapted by placing the dial in anintermediate position.
2. Air fl ow adjustment
�)Turn the dial from position 1to position 5
to obtain a comfortable air flow. Windscreen, side windows and
footwells.
�) Turn the dial from blue(cold) to red (hot) to adjust
the temperature to your
requirements.
Windscreen and side windows.
1. Temperature adjustment
The heating / ventilation or air conditioning systems can only operate with the engine running.
3. Air distribution adjustment
Heating / Ventilation Manual air
conditioning
�)If you place the air flow controlin position 0(deactivation of thesystem), the temperature is no longer maintained at a comfortablelevel. However, a slight flow of air, due to the movement of the vehicle,can still be felt.