Page 81 of 140
While In:Voice Command Example:
Memo Mode To switch to the voice recorder mode, say “Memo”. The following are
common voice commands for this mode: “New Memo” (to record a new memo) — During the recording, you may press the Voice
Command button
to stop recording. You proceed by
saying one of the following commands:
— “Save” (to save the memo)
— “Continue” (to continue recording) — “Delete” (to delete the recording)
— “Play Memos” (to play previously recorded
memos) — During the playback you may press the
Voice Command button
to stop playing memos.
You proceed by saying one of the following commands:
— “Repeat” (to repeat a memo)
— “Next” (to play the next memo)
— “Previous” (to play the previous memo) — “Delete” (to delete a memo)
— “Delete All” (to delete all memos)
Voice Text Reply
•If equipped with Uconnect® Voice Command, your Uconnect® 430N, 730N & 731N radios may be
able to play incoming Short Message Service (SMS) messages (text messages) through the
vehicle's sound system.
• It also allows you to respond by selecting from various pre - defined phrases.
• Not all phones are compatible with this feature. Refer to the phone compatibility list at www.UconnectPhone.com. Connected mobile phones must be bluetooth-compatible and
paired with your radio.
• Press the “Voice Command” button
and after the BEEP, say “SMS” to get started.
NOTE:
To access the tutorial, press the “Voice Command” button. After the BEEP, say “tutorial”.
Press any hard-key/button or touch the display (Touch-Screen radio) to cancel the tutorial.
WARNING!
Any voice commanded system should be used only in safe driving conditions following
applicable laws regarding phone use. Your attention should be focused on safely operating the
vehicle. Failure to do so may result in a collision causing you and others to be severely injured
or killed.
ELECTRONICS
79
Page 82 of 140
Bluetooth® STREAMING AUDIO
•If equipped with Uconnect® Voice Com-
mand, your Bluetooth-equipped iPod® de-
vices, cell phones or other media players, may
also be able to stream music to your vehicles
speakers. Your connected device must be
Bluetooth-compatible, and paired with your
radio (see Uconnect® Phone for pairing in-
structions).
• Non-Touch-Screen Radios: Press the
“AUX” button on the radio faceplate until "BT" or “Audio Streaming” is displayed on the radio
screen.
• Touch-Screen-Radios: Press the “RADIO/MEDIA” or “MEDIA” hard-key and then touch
the “AUX” soft-key tab.
VIDEO ENTERTAINMENT SYSTEM (VES™)
System Operation
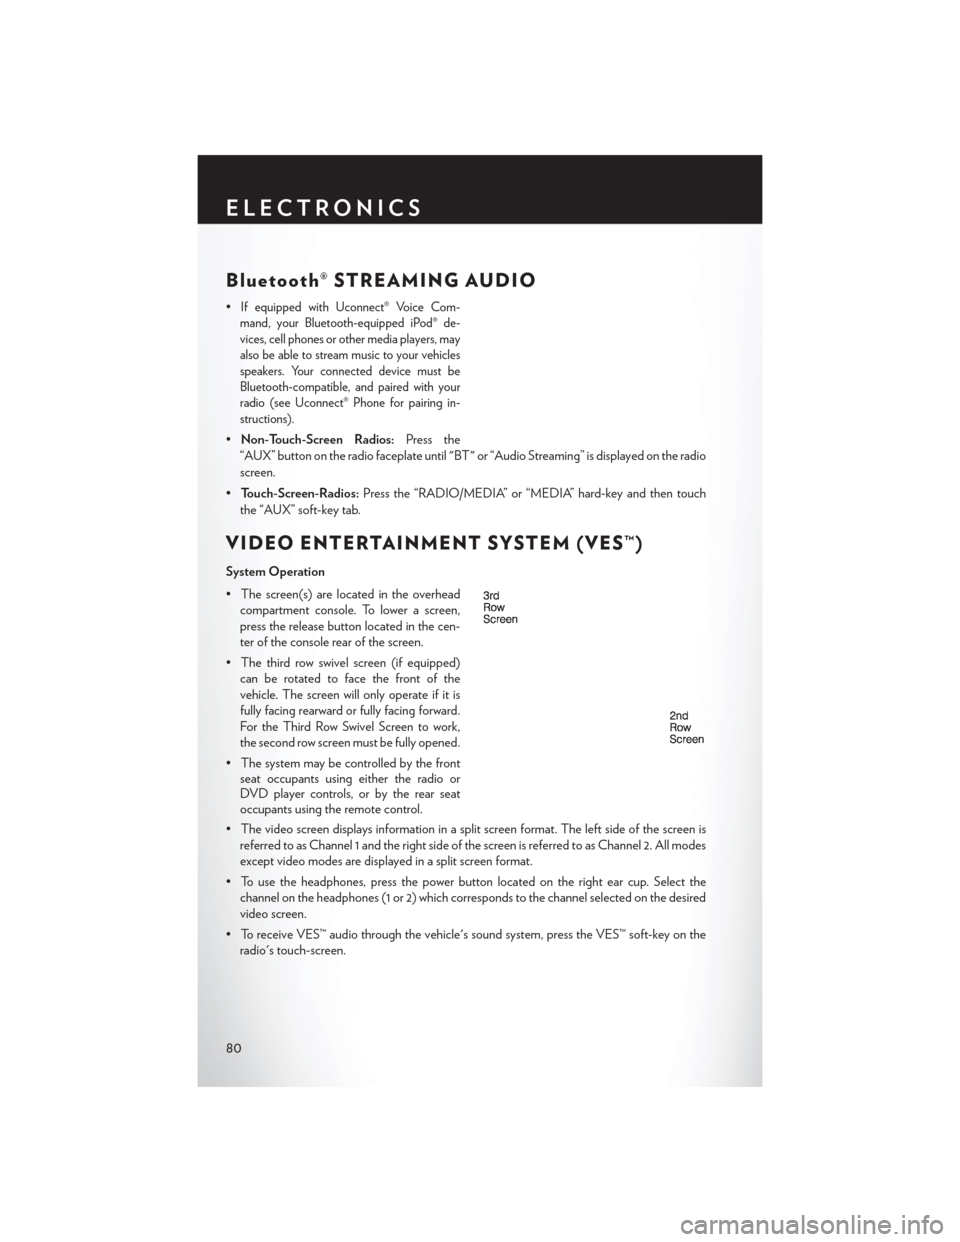
• The screen(s) are located in the overhead compartment console. To lower a screen,
press the release button located in the cen-
ter of the console rear of the screen.
• The third row swivel screen (if equipped) can be rotated to face the front of the
vehicle. The screen will only operate if it is
fully facing rearward or fully facing forward.
For the Third Row Swivel Screen to work,
the second row screen must be fully opened.
• The system may be controlled by the front seat occupants using either the radio or
DVD player controls, or by the rear seat
occupants using the remote control.
• The video screen displays information in a split screen format. The left side of the screen is referred to as Channel 1 and the right side of the screen is referred to as Channel 2. All modes
except video modes are displayed in a split screen format.
• To use the headphones, press the power button located on the right ear cup. Select the channel on the headphones (1 or 2) which corresponds to the channel selected on the desired
video screen.
• To receive VES™ audio through the vehicle's sound system, press the VES™ soft-key on the radio's touch-screen.
ELECTRONICS
80
Page 83 of 140
Operation Of The Touch-Screen Radio/DVD Player/Blu-Ray Player
• To view a DVD press the OPEN/CLOSE hard-key on the touch-screen radio and insert thedisc or insert the disc into the optional DVD player. Playback will begin automatically after the
DVD is recognized by the disc drive. If playback does not begin automatically when the disc
is inserted into the DVD player press the PLAY button. If playback does not begin automati-
cally after the disc is inserted into the touch-screen radio follow these steps:• Press the MENU hard-key, then touch the Rear VES™ soft-key. If a chapter list appears on
the right side of the screen, touch the HIDE LIST soft-key to display the Rear VES™ control
screen.
• Touch the 1 soft key to select an audio channel, then touch the DISC soft-key in the MEDIA column.
Operation Of The Remote Control
• The remote control operates similarly to any DVD remote you may have used before and allows the rear seat passengers to change stations, tracks, discs and audio/video modes.
• The remote control is designed to control either channel by using the selector switch located on the right side of the remote.
• Connect the video game or other external media devices to the AUX jacks following the color coding for the VES™ jacks.
• Pressing the power button will turn the VES™ system ON/OFF.
• Pressing the mode button causes the MODE SELECTION menu to appear on the VES™ screen. Use the remote control arrow buttons to scroll through the available modes, and then
press ENTER to select the desired mode.
Auxiliary Audio/Video Input Jacks
• The AUX jacks are located on the drivers side rear trim panel behind the sliding door.
• Connect the video game or other external media devices to the AUX jacks following the colorcoding for the VES™ jacks.
• Using either the touch-screen radio or remote control, select AUX from the REAR VES™ CONTROL or the MODE SELECTION screen.
• Refer to the Uconnect® Multimedia – Video Entertainment System (VES™) section in the vehicle Owner's Manual on the DVD for further details.
ELECTRONICS
81
Page 84 of 140
ELECTRONIC VEHICLE INFORMATION
CENTER (EVIC)
• The EVIC features a driver interactive dis-play that is located in the instrument cluster.
Pressing the controls on the left side of the
steering wheel allows the driver to select
vehicle information and Personal Settings.
For additional information, refer to “Pro-
grammable Features” located in this guide.
•
Press and release the UPbutton to scroll
upward through the main menus (Fuel Econ-
omy, Vehicle Info, Tire PSI, Cruise, Messages,
Units, System Setup) and sub menus.
• Press and release the DOWNbutton to
scroll downward through the main menus and sub menus.
• Press and release the SELECT
button for access to main menus, sub menus or to select a
personal setting in the setup menu.
• Press the BACK button to scroll back to a previous menu or sub menu.
Compass Calibration
• This compass is self-calibrating, which eliminates the need to set the compass manually. When the vehicle is new, the compass may appear erratic and the EVIC will display “CAL” until the
compass is calibrated.
• You may also calibrate the compass by completing one or more 360 degree turns (in an area free from large metal or metallic objects) until the “CAL” message displayed in the EVIC turns
off. The compass will now function normally.
PROGRAMMABLE FEATURES
Electronic Vehicle Information Center (EVIC) – If Equipped
• The EVIC can be used to program the following Personal Settings. Press and release theMENU button until Personal Settings displays, then press the DOWN button
to scroll
through the settings. Press the SELECT button
to change the setting.
• Language • Intermittent Wiper Option
• Nav-Turn By Turn • Rain Sensing Wipers
•
Enable/Disable the Rear Park Assist System• Key-Off Power Delay
• Auto Unlock Doors • Illuminated Approach
• Remote Unlock Sequence • Flashers with Sliding Door
• RKE Linked To Memory • Hill Start Assist (HSA)
• Remote Start Comfort Sys. • Keyless Enter-N-Go™ (Passive Entry)
• Horn With Remote Lock • Easy Exit Seat
ELECTRONICS
82
Page 85 of 140
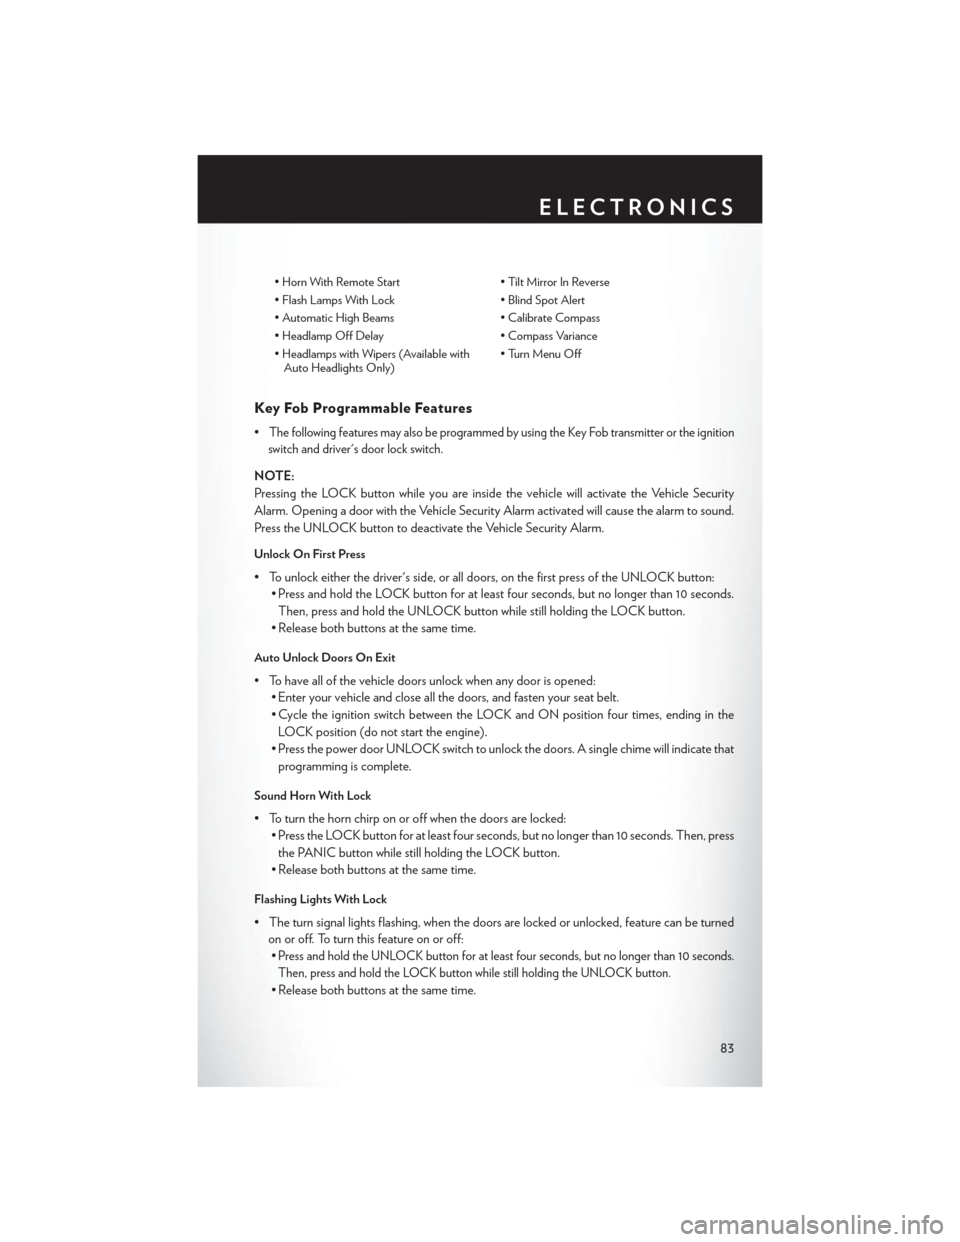
• Horn With Remote Start• Tilt Mirror In Reverse
• Flash Lamps With Lock • Blind Spot Alert
• Automatic High Beams • Calibrate Compass
• Headlamp Off Delay • Compass Variance
• Headlamps with Wipers (Available with Auto Headlights Only) • Turn Menu Off
Key Fob Programmable Features
•The following features may also be programmed by using the Key Fob transmitter or the ignition
switch and driver's door lock switch.
NOTE:
Pressing the LOCK button while you are inside the vehicle will activate the Vehicle Security
Alarm. Opening a door with the Vehicle Security Alarm activated will cause the alarm to sound.
Press the UNLOCK button to deactivate the Vehicle Security Alarm.
Unlock On First Press
• To unlock either the driver's side, or all doors, on the first press of the UNLOCK button: • Press and hold the LOCK button for at least four seconds, but no longer than 10 seconds.
Then, press and hold the UNLOCK button while still holding the LOCK button.
• Release both buttons at the same time.
Auto Unlock Doors On Exit
• To have all of the vehicle doors unlock when any door is opened: • Enter your vehicle and close all the doors, and fasten your seat belt.
• Cycle the ignition switch between the LOCK and ON position four times, ending in the
LOCK position (do not start the engine).
• Press the power door UNLOCK switch to unlock the doors. A single chime will indicate that programming is complete.
Sound Horn With Lock
• To turn the horn chirp on or off when the doors are locked: • Press the LOCK button for at least four seconds, but no longer than 10 seconds. Then, press
the PANIC button while still holding the LOCK button.
• Release both buttons at the same time.
Flashing Lights With Lock
• The turn signal lights flashing, when the doors are locked or unlocked, feature can be turned on or off. To turn this feature on or off:•
Press and hold the UNLOCK button for at least four seconds, but no longer than 10 seconds.
Then, press and hold the LOCK button while still holding the UNLOCK button.
• Release both buttons at the same time.
ELECTRONICS
83
Page 86 of 140
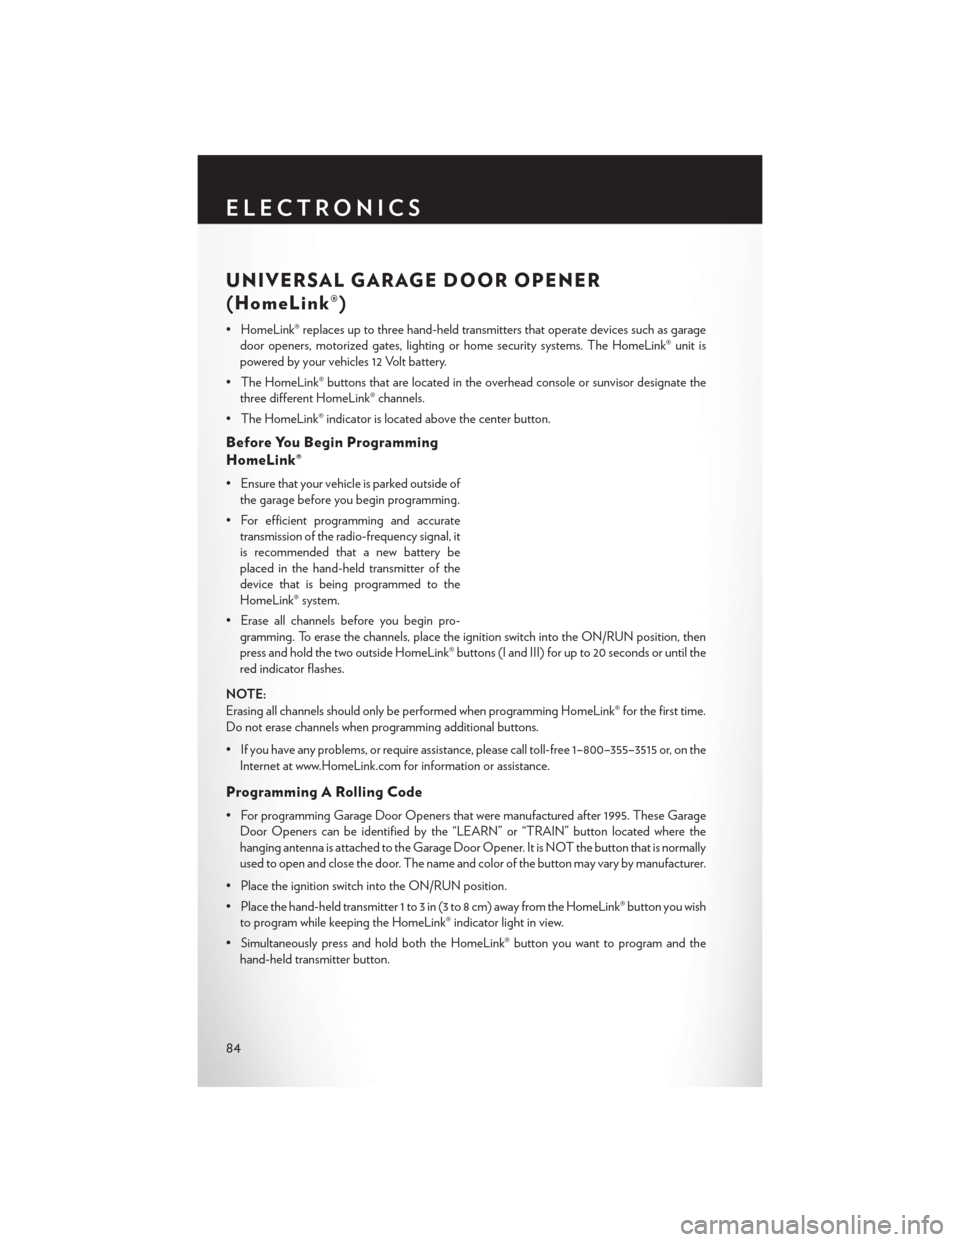
UNIVERSAL GARAGE DOOR OPENER
(HomeLink®)
• HomeLink® replaces up to three hand-held transmitters that operate devices such as garagedoor openers, motorized gates, lighting or home security systems. The HomeLink® unit is
powered by your vehicles 12 Volt battery.
• The HomeLink® buttons that are located in the overhead console or sunvisor designate the three different HomeLink® channels.
• The HomeLink® indicator is located above the center button.
Before You Begin Programming
HomeLink®
• Ensure that your vehicle is parked outside of the garage before you begin programming.
• For efficient programming and accurate transmission of the radio-frequency signal, it
is recommended that a new battery be
placed in the hand-held transmitter of the
device that is being programmed to the
HomeLink® system.
• Erase all channels before you begin pro- gramming. To erase the channels, place the ignition switch into the ON/RUN position, then
press and hold the two outside HomeLink® buttons (I and III) for up to 20 seconds or until the
red indicator flashes.
NOTE:
Erasing all channels should only be performed when programming HomeLink® for the first time.
Do not erase channels when programming additional buttons.
• If you have any problems, or require assistance, please call toll-free 1–800–355–3515 or, on the Internet at www.HomeLink.com for information or assistance.
Programming A Rolling Code
• For programming Garage Door Openers that were manufactured after 1995. These GarageDoor Openers can be identified by the “LEARN” or “TRAIN” button located where the
hanging antenna is attached to the Garage Door Opener. It is NOT the button that is normally
used to open and close the door. The name and color of the button may vary by manufacturer.
• Place the ignition switch into the ON/RUN position.
• Place the hand-held transmitter 1 to 3 in (3 to 8 cm) away from the HomeLink® button you wish to program while keeping the HomeLink® indicator light in view.
• Simultaneously press and hold both the HomeLink® button you want to program and the hand-held transmitter button.
ELECTRONICS
84
Page 87 of 140
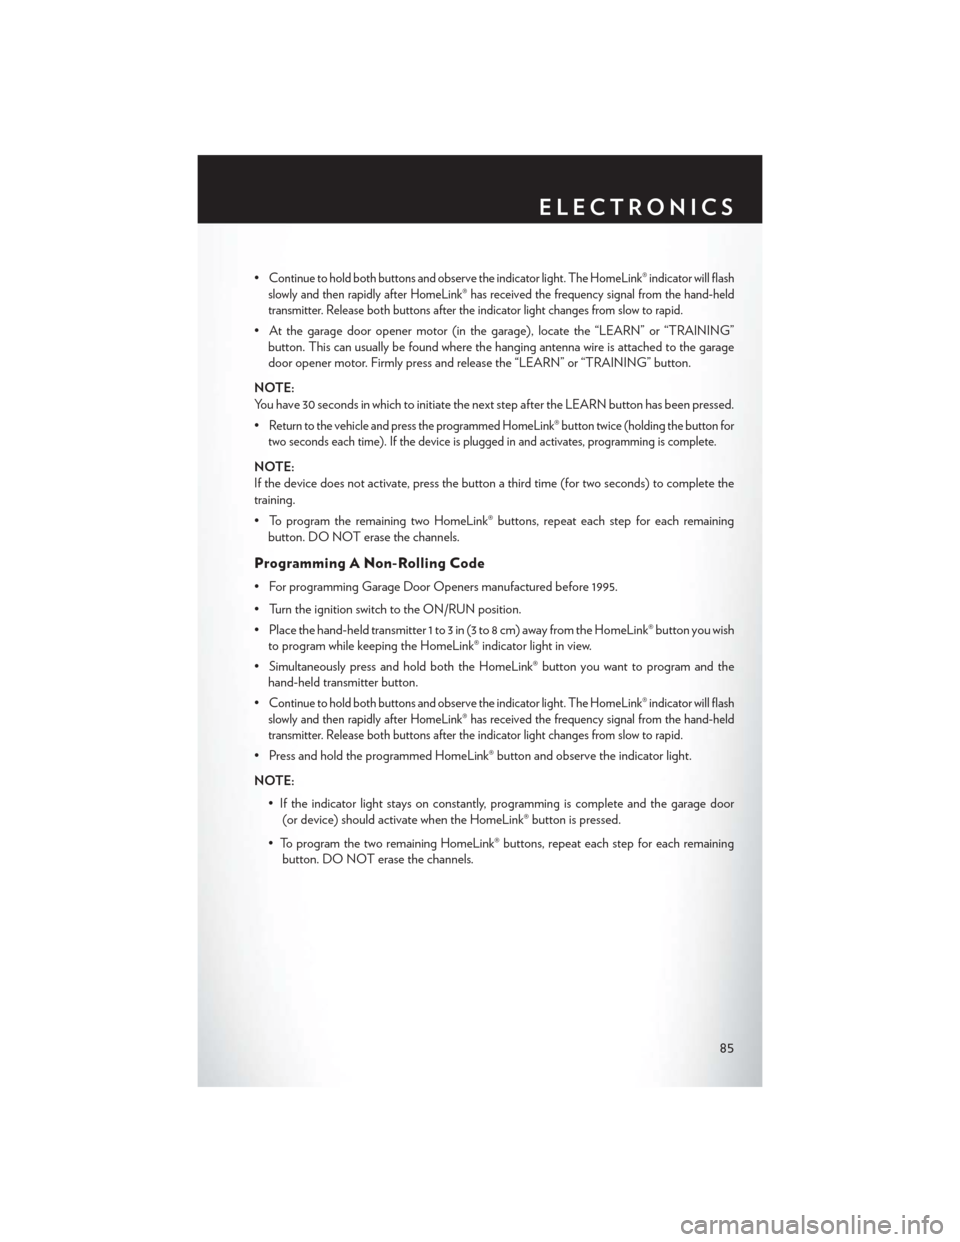
•Continue to hold both buttons and observe the indicator light. The HomeLink® indicator will flash
slowly and then rapidly after HomeLink® has received the frequency signal from the hand-held
transmitter. Release both buttons after the indicator light changes from slow to rapid.
• At the garage door opener motor (in the garage), locate the “LEARN” or “TRAINING” button. This can usually be found where the hanging antenna wire is attached to the garage
door opener motor. Firmly press and release the “LEARN” or “TRAINING” button.
NOTE:
You have 30 seconds in which to initiate the next step after the LEARN button has been pressed.
•
Return to the vehicle and press the programmed HomeLink® button twice (holding the button for
two seconds each time). If the device is plugged in and activates, programming is complete.
NOTE:
If the device does not activate, press the button a third time (for two seconds) to complete the
training.
• To program the remaining two HomeLink® buttons, repeat each step for each remaining button. DO NOT erase the channels.
Programming A Non-Rolling Code
• For programming Garage Door Openers manufactured before 1995.
• Turn the ignition switch to the ON/RUN position.
• Place the hand-held transmitter 1 to 3 in (3 to 8 cm) away from the HomeLink® button you wishto program while keeping the HomeLink® indicator light in view.
• Simultaneously press and hold both the HomeLink® button you want to program and the hand-held transmitter button.
•
Continue to hold both buttons and observe the indicator light. The HomeLink® indicator will flash
slowly and then rapidly after HomeLink® has received the frequency signal from the hand-held
transmitter. Release both buttons after the indicator light changes from slow to rapid.
• Press and hold the programmed HomeLink® button and observe the indicator light.
NOTE:
• If the indicator light stays on constantly, programming is complete and the garage door(or device) should activate when the HomeLink® button is pressed.
• To program the two remaining HomeLink® buttons, repeat each step for each remaining button. DO NOT erase the channels.
ELECTRONICS
85
Page 88 of 140
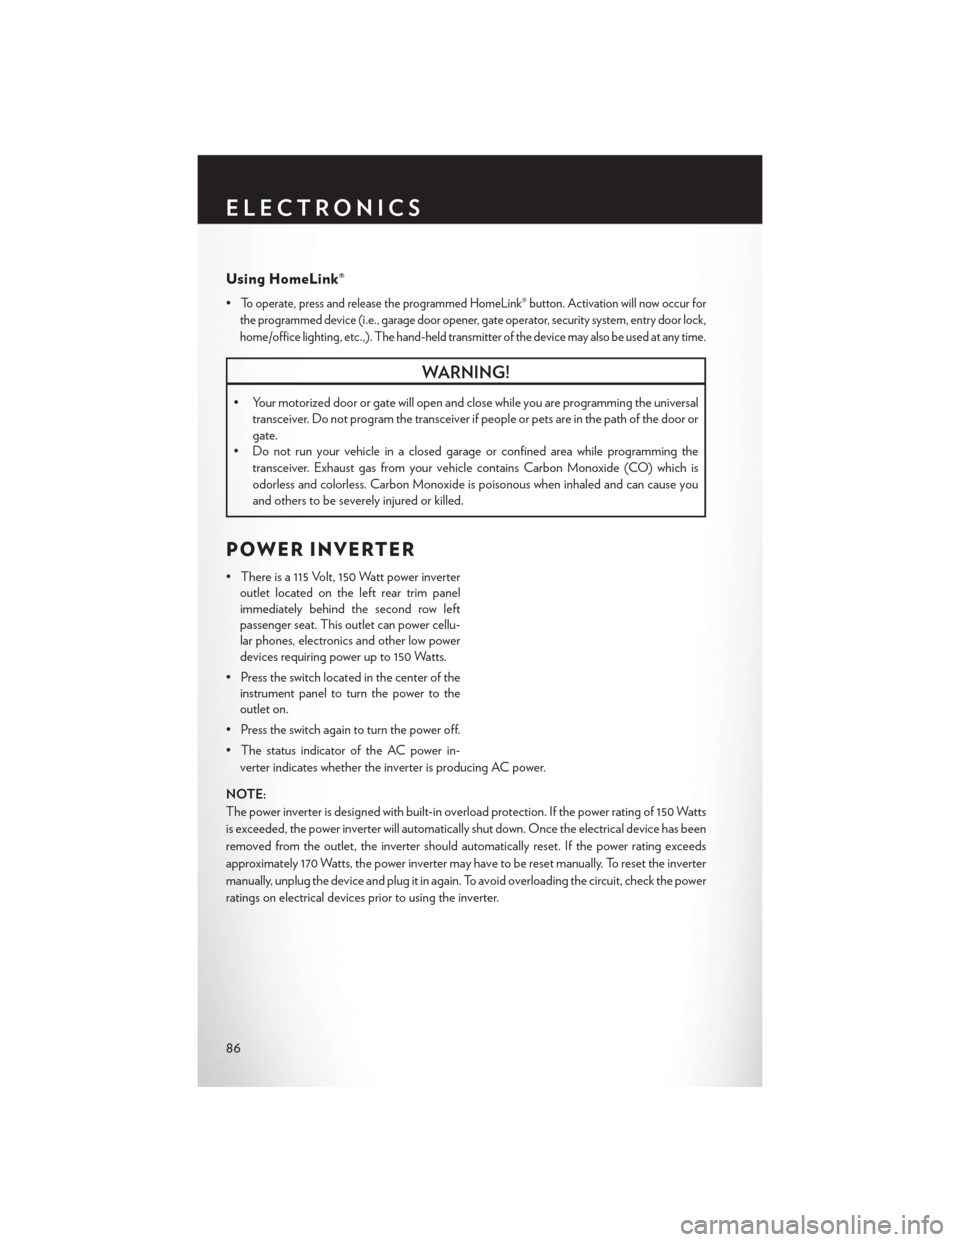
Using HomeLink®
•To operate, press and release the programmed HomeLink® button. Activation will now occur for
the programmed device (i.e., garage door opener, gate operator, security system, entry door lock,
home/office lighting, etc.,). The hand-held transmitter of the device may also be used at any time.
WARNING!
• Your motorized door or gate will open and close while you are programming the universal transceiver. Do not program the transceiver if people or pets are in the path of the door or
gate.
• Do not run your vehicle in a closed garage or confined area while programming the
transceiver. Exhaust gas from your vehicle contains Carbon Monoxide (CO) which is
odorless and colorless. Carbon Monoxide is poisonous when inhaled and can cause you
and others to be severely injured or killed.
POWER INVERTER
• There is a 115 Volt, 150 Watt power inverteroutlet located on the left rear trim panel
immediately behind the second row left
passenger seat. This outlet can power cellu-
lar phones, electronics and other low power
devices requiring power up to 150 Watts.
• Press the switch located in the center of the instrument panel to turn the power to the
outlet on.
• Press the switch again to turn the power off.
• The status indicator of the AC power in- verter indicates whether the inverter is producing AC power.
NOTE:
The power inverter is designed with built-in overload protection. If the power rating of 150 Watts
is exceeded, the power inverter will automatically shut down. Once the electrical device has been
removed from the outlet, the inverter should automatically reset. If the power rating exceeds
approximately 170 Watts, the power inverter may have to be reset manually. To reset the inverter
manually, unplug the device and plug it in again. To avoid overloading the circuit, check the power
ratings on electrical devices prior to using the inverter.
ELECTRONICS
86
 1
1 2
2 3
3 4
4 5
5 6
6 7
7 8
8 9
9 10
10 11
11 12
12 13
13 14
14 15
15 16
16 17
17 18
18 19
19 20
20 21
21 22
22 23
23 24
24 25
25 26
26 27
27 28
28 29
29 30
30 31
31 32
32 33
33 34
34 35
35 36
36 37
37 38
38 39
39 40
40 41
41 42
42 43
43 44
44 45
45 46
46 47
47 48
48 49
49 50
50 51
51 52
52 53
53 54
54 55
55 56
56 57
57 58
58 59
59 60
60 61
61 62
62 63
63 64
64 65
65 66
66 67
67 68
68 69
69 70
70 71
71 72
72 73
73 74
74 75
75 76
76 77
77 78
78 79
79 80
80 81
81 82
82 83
83 84
84 85
85 86
86 87
87 88
88 89
89 90
90 91
91 92
92 93
93 94
94 95
95 96
96 97
97 98
98 99
99 100
100 101
101 102
102 103
103 104
104 105
105 106
106 107
107 108
108 109
109 110
110 111
111 112
112 113
113 114
114 115
115 116
116 117
117 118
118 119
119 120
120 121
121 122
122 123
123 124
124 125
125 126
126 127
127 128
128 129
129 130
130 131
131 132
132 133
133 134
134 135
135 136
136 137
137 138
138 139
139


