Page 132 of 699
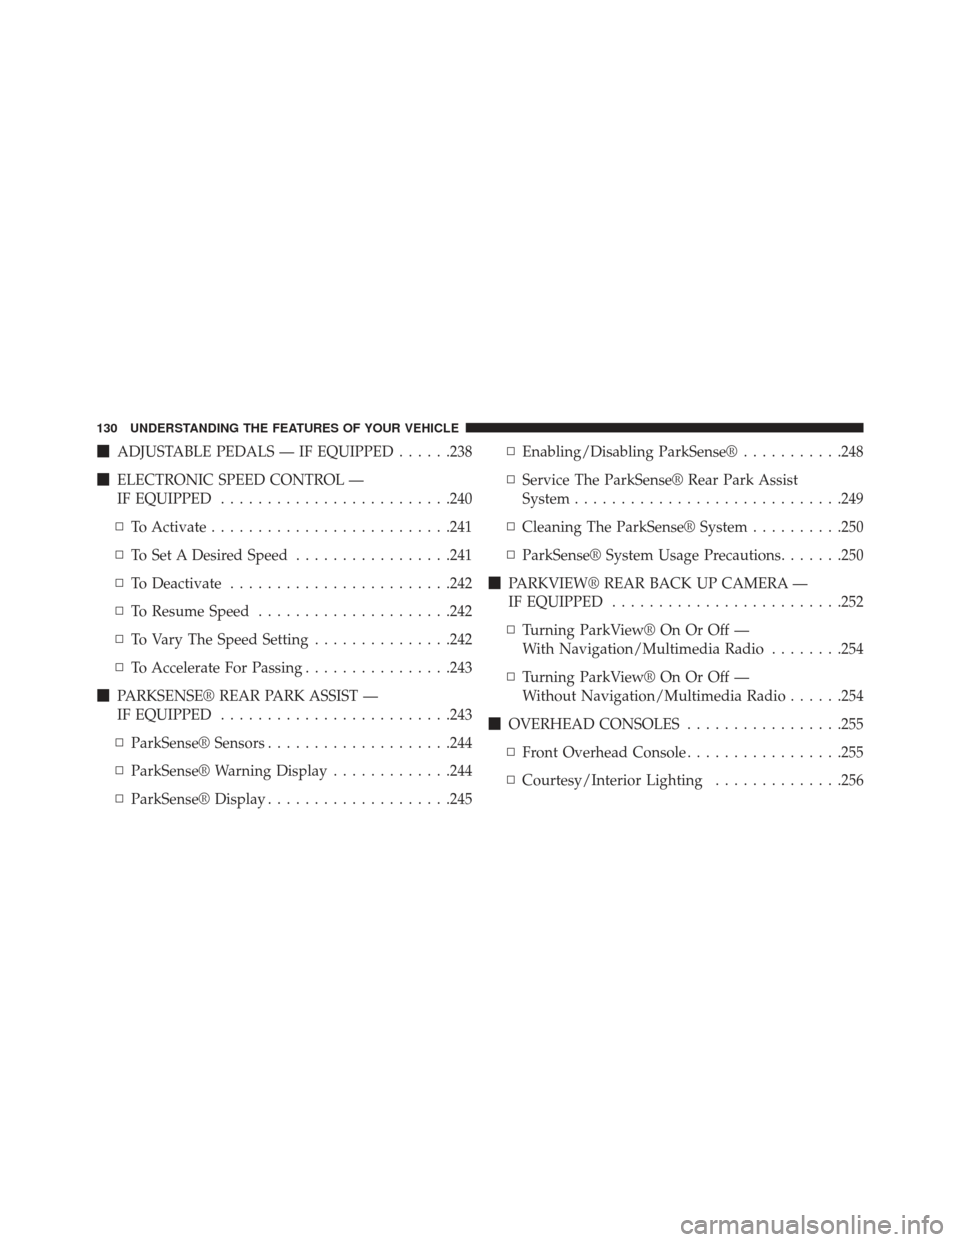
�ADJUSTABLE PEDALS — IF EQUIPPED ......238
� ELECTRONIC SPEED CONTROL —
IF EQUIPPED ........................ .240
▫ To Activate ......................... .241
▫ To Set A Desired Speed .................241
▫ To Deactivate ....................... .242
▫ To Resume Speed .....................242
▫ To Vary The Speed Setting ...............242
▫ To Accelerate For Passing ................243
� PARKSENSE® REAR PARK ASSIST —
IF EQUIPPED ........................ .243
▫ ParkSense® Sensors ....................244
▫ ParkSense® Warning Display .............244
▫ ParkSense® Display ....................245 ▫
Enabling/Disabling ParkSense® ...........248
▫ Service The ParkSense® Rear Park Assist
System ............................ .249
▫ Cleaning The ParkSense® System ..........250
▫ ParkSense® System Usage Precautions .......250
� PARKVIEW® REAR BACK UP CAMERA —
IF EQUIPPED ........................ .252
▫ Turning ParkView® On Or Off —
With Navigation/Multimedia Radio ........254
▫ Turning ParkView® On Or Off —
Without Navigation/Multimedia Radio ......254
� OVERHEAD CONSOLES .................255
▫ Front Overhead Console .................255
▫ Courtesy/Interior Lighting ..............256
130 UNDERSTANDING THE FEATURES OF YOUR VEHICLE
Page 256 of 699
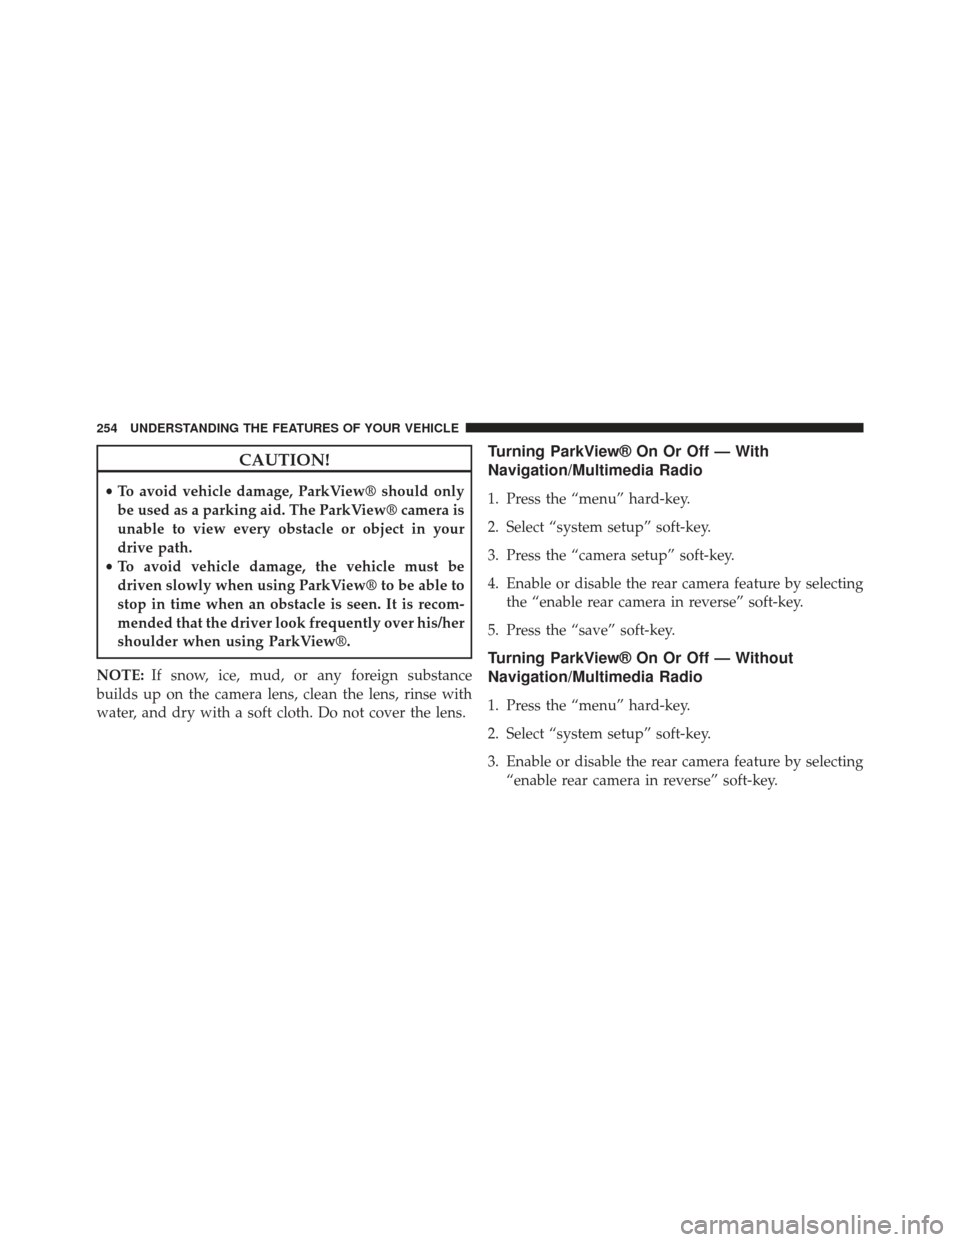
CAUTION!
•To avoid vehicle damage, ParkView® should only
be used as a parking aid. The ParkView® camera is
unable to view every obstacle or object in your
drive path.
• To avoid vehicle damage, the vehicle must be
driven slowly when using ParkView® to be able to
stop in time when an obstacle is seen. It is recom-
mended that the driver look frequently over his/her
shoulder when using ParkView®.
NOTE: If snow, ice, mud, or any foreign substance
builds up on the camera lens, clean the lens, rinse with
water, and dry with a soft cloth. Do not cover the lens.
Turning ParkView® On Or Off — With
Navigation/Multimedia Radio
1. Press the “menu” hard-key.
2. Select “system setup” soft-key.
3. Press the “camera setup” soft-key.
4. Enable or disable the rear camera feature by selecting the “enable rear camera in reverse” soft-key.
5. Press the “save” soft-key.
Turning ParkView® On Or Off — Without
Navigation/Multimedia Radio
1. Press the “menu” hard-key.
2. Select “system setup” soft-key.
3. Enable or disable the rear camera feature by selecting “enable rear camera in reverse” soft-key.
254 UNDERSTANDING THE FEATURES OF YOUR VEHICLE
Page 345 of 699
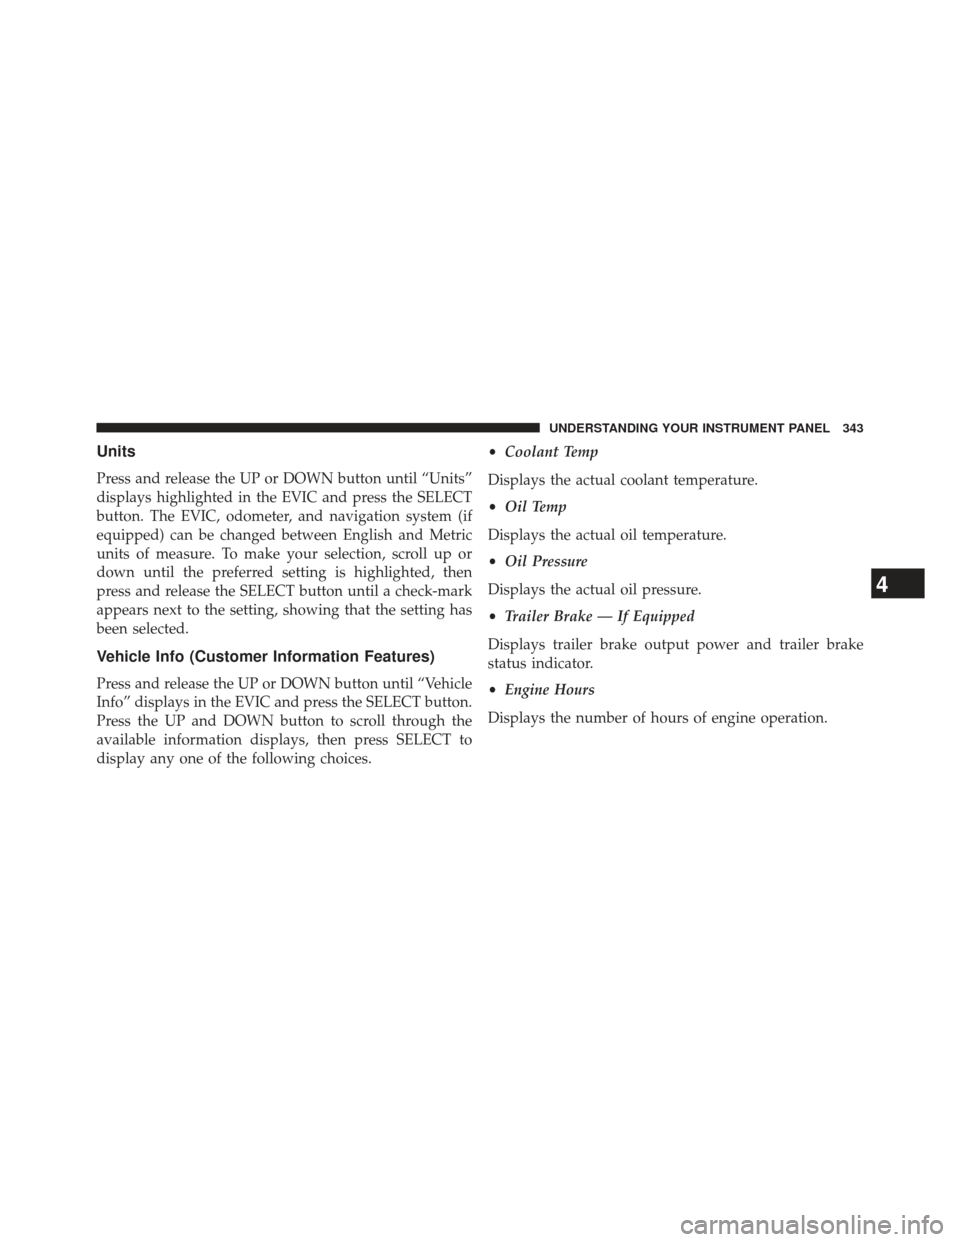
Units
Press and release the UP or DOWN button until “Units”
displays highlighted in the EVIC and press the SELECT
button. The EVIC, odometer, and navigation system (if
equipped) can be changed between English and Metric
units of measure. To make your selection, scroll up or
down until the preferred setting is highlighted, then
press and release the SELECT button until a check-mark
appears next to the setting, showing that the setting has
been selected.
Vehicle Info (Customer Information Features)
Press and release the UP or DOWN button until “Vehicle
Info” displays in the EVIC and press the SELECT button.
Press the UP and DOWN button to scroll through the
available information displays, then press SELECT to
display any one of the following choices.•
Coolant Temp
Displays the actual coolant temperature.
• Oil Temp
Displays the actual oil temperature.
• Oil Pressure
Displays the actual oil pressure.
• Trailer Brake — If Equipped
Displays trailer brake output power and trailer brake
status indicator.
• Engine Hours
Displays the number of hours of engine operation.
4
UNDERSTANDING YOUR INSTRUMENT PANEL 343
Page 349 of 699
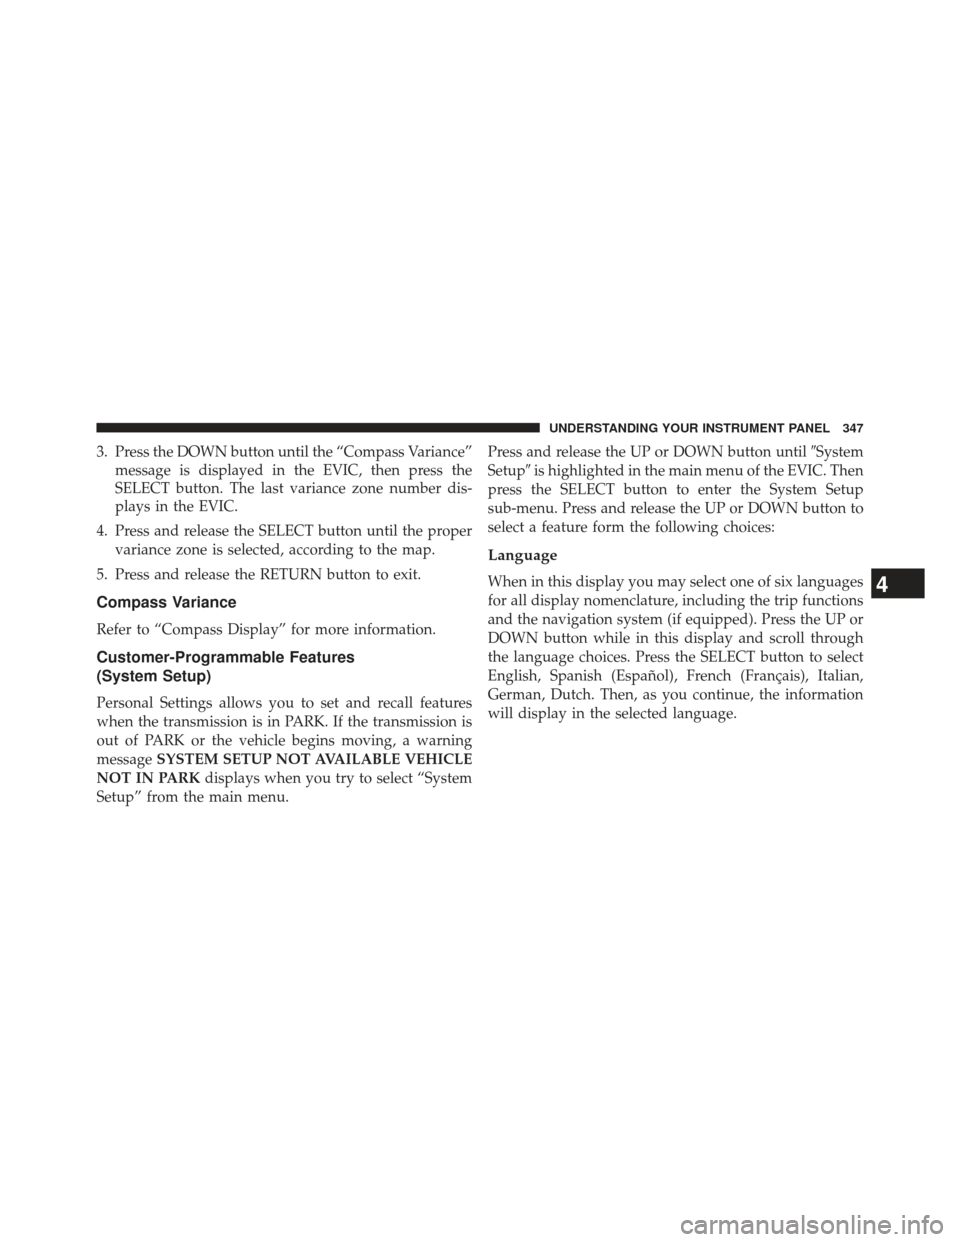
3. Press the DOWN button until the “Compass Variance”message is displayed in the EVIC, then press the
SELECT button. The last variance zone number dis-
plays in the EVIC.
4. Press and release the SELECT button until the proper variance zone is selected, according to the map.
5. Press and release the RETURN button to exit.
Compass Variance
Refer to “Compass Display” for more information.
Customer-Programmable Features
(System Setup)
Personal Settings allows you to set and recall features
when the transmission is in PARK. If the transmission is
out of PARK or the vehicle begins moving, a warning
message SYSTEM SETUP NOT AVAILABLE VEHICLE
NOT IN PARK displays when you try to select “System
Setup” from the main menu. Press and release the UP or DOWN button until
�System
Setup� is highlighted in the main menu of the EVIC. Then
press the SELECT button to enter the System Setup
sub-menu. Press and release the UP or DOWN button to
select a feature form the following choices:
Language
When in this display you may select one of six languages
for all display nomenclature, including the trip functions
and the navigation system (if equipped). Press the UP or
DOWN button while in this display and scroll through
the language choices. Press the SELECT button to select
English, Spanish (Español), French (Français), Italian,
German, Dutch. Then, as you continue, the information
will display in the selected language.4
UNDERSTANDING YOUR INSTRUMENT PANEL 347
Page 350 of 699
Nav–Turn By Turn
When this feature is selected the navigation system
utilizes voice commands, guiding you through the drive
route mile by mile, turn-by-turn until the final destina-
tion is reached. To make your selection, press and release
the SELECT button until a check-mark appears next to
the feature showing the system has been activated, or the
check-mark is removed showing the system has been
deactivated.
Enable/Disable the Rear Park Assist System
The Rear Park Assist system will scan for objects behind
the vehicle when the transmission is in the REVERSE
position and the vehicle speed is less than 11 mph
(18 km/h). The system can be enabled with Sound Only,
Sound and Display, or turned OFF through the EVIC. To
make your selection, press and release the SELECT
button until a check-mark appears next to the feature
showing the system has been activated or the check-markis removed showing the system has been deactivated.
Refer to “Rear Park Assist System” in “Understanding
The Features Of Your Vehicle” for system function and
operating information.
Auto Unlock Doors
When this feature is selected, all doors will unlock when
the vehicle is stopped and the transmission is in the
PARK or NEUTRAL position and the driver’s door is
opened. To make your selection, press and release the
SELECT button until a check-mark appears next to the
feature showing the system has been activated, or the
check-mark is removed showing the system has been
deactivated.
Remote Unlock Sequence
When
Driver Door 1st Press is selected, only the driver ’s
door will unlock on the first press of the Remote Keyless
Entry (RKE) transmitter UNLOCK button. When Driver
348 UNDERSTANDING YOUR INSTRUMENT PANEL