Page 635 of 699

•If you detect any stone chips or scratches in the paint,
touch them up immediately. The cost of such repairs is
considered the responsibility of the owner.
• If your vehicle is damaged due to a collision or similar
cause that destroys the paint and protective coating,
have your vehicle repaired as soon as possible. The
cost of such repairs is considered the responsibility of
the owner.
• If you carry special cargo such as chemicals, fertilizers,
de-icer salt, etc., be sure that such materials are well
packaged and sealed.
• If a lot of driving is done on gravel roads, consider
mud or stone shields behind each wheel.
• Use MOPAR® Touch Up Paint on scratches as soon as
possible. Your authorized dealer has touch up paint to
match the color of your vehicle.Wheel And Wheel Trim Care
All wheels and wheel trim, especially aluminum and
chrome plated wheels, should be cleaned regularly with
a mild soap and water to prevent corrosion.
To remove heavy soil and/or excessive brake dust, use
MOPAR® Wheel Cleaner or equivalent or select a non-
abrasive, non-acidic cleaner.
• For chrome wheels, use MOPAR® Chrome Cleaner
(Part#04318013) or equivalent.
• For aluminum wheels, use MOPAR® Wheel Cleaner
(Part# 04796239AB) or equivalent.
CAUTION!
Do not use scouring pads, steel wool, a bristle brush,
or metal polishes. Do not use oven cleaner. These
products may damage the wheel’s protective finish.
(Continued)
7
MAINTAINING YOUR VEHICLE 633
Page 637 of 699

Cleaning Interior Trim
Interior trim should be cleaned starting with a damp
cloth, a damp cloth with MOPAR® Total Clean or equiva-
lent, then MOPAR® Spot & Stain Remover or equivalent
if absolutely necessary. Do not use harsh cleaners or
Armor All®. Use MOPAR® Total Clean or equivalent to
clean vinyl upholstery
Cleaning Leather Upholstery
MOPAR® Total Clean or equivalent is specifically recom-
mended for leather upholstery.
Your leather upholstery can be best preserved by regular
cleaning with a damp soft cloth. Small particles of dirt
can act as an abrasive and damage the leather upholstery
and should be removed promptly with a damp cloth.
Stubborn soils can be removed easily with a soft cloth
and MOPAR® Total Clean or equivalent. Care should betaken to avoid soaking your leather upholstery with any
liquid. Please do not use polishes, oils, cleaning fluids,
solvents, detergents, or ammonia-based cleaners to clean
your leather upholstery. Application of a leather condi-
tioner is not required to maintain the original condition.
WARNING!
Do not use volatile solvents for cleaning purposes.
Many are potentially flammable, and if used in
closed areas they may cause respiratory harm.
Cleaning Headlights
Your vehicle is equipped with plastic headlights and fog
lights (if equipped) that are lighter and less susceptible to
stone breakage than glass headlights.
Plastic is not as scratch resistant as glass and therefore
different lens cleaning procedures must be followed.7
MAINTAINING YOUR VEHICLE 635
Page 651 of 699
NOTE:On vehicles equipped with High Intensity Dis-
charge (HID) headlamps, when the headlamps are turned
on, there is a blue hue to the lamps. This diminishes and
becomes more white after approximately 10 seconds, as the
system charges.
Quad Headlamps
1. Raise the hood to access the high or low beam bulbs at the rear of the headlamp housing.
2. Release the two tabs on the side of the connector and remove the connector from the bulb.
3. Twist the headlamp bulb and pull the bulb from the headlamp housing.
4. Install the new headlamp bulb and twist until locked into the headlamp housing.
CAUTION!
Do not touch the new bulb with your fingers. Oil
contamination will severely shorten bulb life. If the
bulb comes in contact with an oily surface, clean the
bulb with rubbing alcohol.
5. Reconnect the wiring connector to the bulb.
Front Turn Signal Lamp
1. Raise the hood to access the rear of the headlamp housing.
2. Twist the turn signal socket and remove from the headlamp housing, then pull the bulb out.
3. Push the new bulb into the socket and reinstall the socket by twisting until locked into the headlamp
housing.
7
MAINTAINING YOUR VEHICLE 649
Page 652 of 699

Front Position Lamp
1. Raise the hood to access the rear of the headlamphousing.
NOTE: Access is somewhat limited. You may have to
remove the inner fender well or remove the headlamp
housing for bulb replacement.
2. Twist the socket and remove from the headlamp housing, then pull the bulb out.
3. Push the new bulb into the socket and reinstall the socket by twisting until locked into the headlamp
housing.
Front Fog Lamp
NOTE:Access to the fog lamp bulb is from the rear of the
fascia. On the left rear side of the fascia, remove the push
pin and lower the hinged access door on the air dam.
1. From behind the bumper fascia, or the access panel on the air dam, twist the bulb counterclockwise, and
remove bulb.
CAUTION!
Do not touch the new bulb with your fingers. Oil
contamination will severely shorten bulb life. If the
bulb comes in contact with an oily surface, clean the
bulb with rubbing alcohol.
2. Disconnect wire harness from the bulb.
3. Reconnect the wiring harness to the new bulb and reinstall the bulb by twisting clockwise.
650 MAINTAINING YOUR VEHICLE
Page 655 of 699
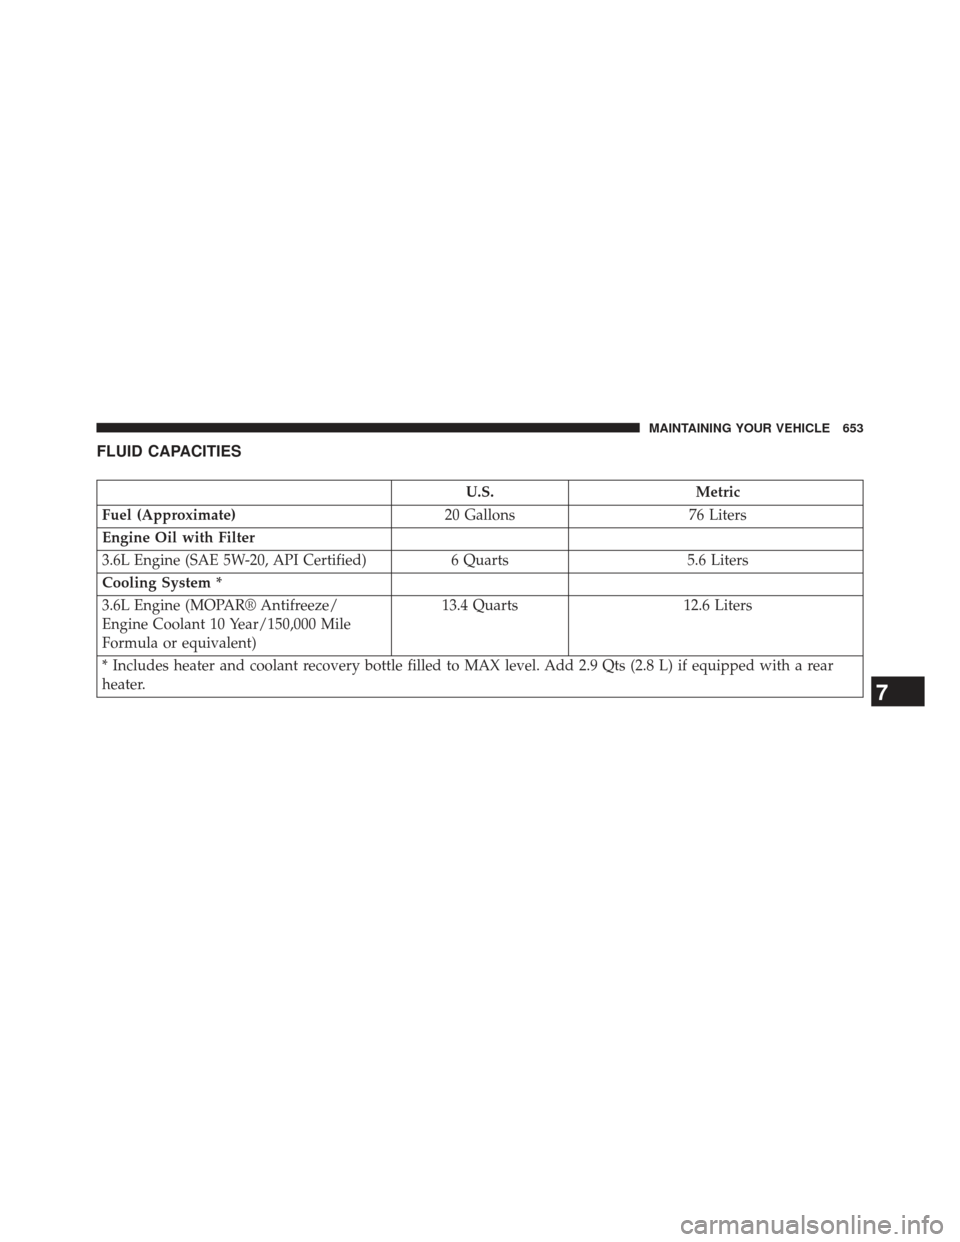
FLUID CAPACITIES
U.S.Metric
Fuel (Approximate) 20 Gallons76 Liters
Engine Oil with Filter
3.6L Engine (SAE 5W-20, API Certified) 6 Quarts5.6 Liters
Cooling System *
3.6L Engine (MOPAR® Antifreeze/
Engine Coolant 10 Year/150,000 Mile
Formula or equivalent) 13.4 Quarts
12.6 Liters
* Includes heater and coolant recovery bottle filled to MAX level. Add 2.9 Qts (2.8 L) if equipped with a rear
heater.
7
MAINTAINING YOUR VEHICLE 653
Page 656 of 699
FLUIDS, LUBRICANTS AND GENUINE PARTS
Engine
ComponentFluid, Lubricant, or Genuine Part
Engine Coolant We recommend you use MOPAR® Antifreeze/Coolant 10 Year/150,000 Mile
Formula OAT (Organic Additive Technology) meeting the requirements of
Chrysler Material Standard MS-12106.
Engine Oil We recommend you use API Certified SAE 5W-20 Engine Oil, meeting the
requirements of Chrysler Material Standard MS-6395. Refer to your oil filler cap
for correct SAE grade.
Engine Oil Filter We recommend you use MOPAR® Engine Oil Filters.
Spark Plugs We recommend you use MOPAR® Spark Plugs (Gap 0.043 in [1.1 mm]).
Fuel Selection 87 Octane
654 MAINTAINING YOUR VEHICLE
Page 660 of 699

MAINTENANCE SCHEDULE
Your vehicle is equipped with an automatic oil change
indicator system. The oil change indicator system will
remind you that it is time to take your vehicle in for
scheduled maintenance.
Based on engine operation conditions, the oil change
indicator message will illuminate. This means that ser-
vice is required for your vehicle. Operating conditions
such as frequent short-trips, trailer tow, extremely hot or
cold ambient temperatures, and E85 fuel usage will
influence when the “Oil Change Required” message is
displayed. Severe Operating Conditions can cause the
change oil message to illuminate as early as 3,500 miles
(5,600 km) since last reset. Have your vehicle serviced as
soon as possible, within the next 500 miles (805 km).Your authorized dealer will reset the oil change indicator
message after completing the scheduled oil change. If a
scheduled oil change is performed by someone other
than your authorized dealer, the message can be reset by
referring to the steps described under “Electronic Vehicle
Information Center (EVIC)/Oil Change Required” in
“Understanding Your Instrument Panel” for further in-
formation.
NOTE:
Under no circumstances should oil change inter-
vals exceed 10,000 miles (16,000 km) or twelve months,
whichever comes first.
Once A Month Or Before A Long Trip:
• Check engine oil level
• Check windshield washer fluid level
8
M
A I
N T
E
N
A
N
C E
S
C
H E
D
U L
E
S658 MAINTENANCE SCHEDULES
Page 661 of 699

•Check the tire inflation pressures and look for unusual
wear or damage
• Check the fluid levels of the coolant reservoir, brake
master cylinder, power steering and transmission as
needed
• Check function of all interior and exterior lights
Required Maintenance Intervals.
Refer to the maintenance schedules on the following
page for the required maintenance intervals.
At Every Oil Change Interval As Indicated By
Oil Change Indicator System:
• Change oil and filter.
• Rotate the tires. Rotate at the first sign of irregu-
lar wear, even if it occurs before the oil indicator
system turns on.
At Every Oil Change Interval As Indicated By
Oil Change Indicator System:
• Inspect battery and clean and tighten terminals as
required.
• Inspect automatic transmission fluid if equipped
with dipstick.
• Inspect brake pads, shoes, rotors, drums, hoses
and park brake.
• Inspect engine cooling system protection and
hoses.
• Inspect exhaust system.
• Inspect engine air cleaner if using in dusty or
off-road conditions.
8
M
A I
N T
E
N
A
N
C E
S
C
H E
D
U L
E
SMAINTENANCE SCHEDULES 659