2013 CHEVROLET SILVERADO transmission fluid
[x] Cancel search: transmission fluidPage 132 of 542

Black plate (2,1)Chevrolet Silverado Owner Manual - 2013 - crc2 - 8/13/12
5-2 Instruments and Controls
Transmission Messages . . . . . 5-44
Vehicle ReminderMessages . . . . . . . . . . . . . . . . . . 5-45
Washer Fluid Messages . . . . . 5-46
Vehicle Personalization
Vehicle Personalization (With DIC Buttons) . . . . . . . . . . . . . . . 5-46
Universal Remote System
Universal Remote System . . . 5-54
Universal Remote SystemProgramming . . . . . . . . . . . . . . . 5-54
Universal Remote System Operation . . . . . . . . . . . . . . . . . . 5-58
Controls
Steering Wheel
Adjustment
To adjust the steering wheel:
1. Hold the steering wheel and pull
the lever.
2. Move the steering wheel up or down.
3. Release the lever to lock the wheel in place. Do not adjust the steering wheel
while driving.
Steering Wheel Controls
If equipped, some audio controls
can be adjusted at the steering
wheel.
w(Next):
Press to go to the next
favorite radio station, track on a CD,
or folder on an iPod
®or USB
device.
c/x(Previous/End): Press to
go to the previous favorite radio
station, track on a CD, or folder on
Page 162 of 542
Black plate (32,1)Chevrolet Silverado Owner Manual - 2013 - crc2 - 8/13/12
5-32 Instruments and Controls
To reset the timer to zero, press and
hold the set/reset button while
TIMER is displayed.
Transmission Temperature
Press the trip/fuel button until
TRANS TEMP displays. This
display shows the temperature of
the automatic transmission fluid in
either degrees Celsius (°C) or
degrees Fahrenheit (°F).
Instantaneous Economy and
Active Fuel Management™
Indicator
If the vehicle has this display, press
the trip/fuel button until INST ECON
V8 displays. This display shows the
current fuel economy at a particular
moment and will change frequently
as driving conditions change. This
display shows the instantaneous
fuel economy in liters per
100 kilometers (L/100 km) or miles
per gallon (mpg). Unlike average
economy, this screen cannot be
reset.An Active Fuel Management
indicator displays on the right side
of the DIC, while INST ECON
displays on the left side. Active Fuel
Management allows the engine to
operate on either four or eight
cylinders, depending on driving
demands. When Active Fuel
Management is active, V4 will
display on the DIC. When Active
Fuel Management is inactive, V8
will display. See
Active Fuel
Management
®on page 9‑32 for
more information.
Blank Display
This display shows no information.
Vehicle Information Menu
Items (with DIC Buttons)
T(Vehicle Information): Press
this button to scroll through the
following menu items:
Oil Life
Press the vehicle information button
until OIL LIFE REMAINING
displays. This display shows an estimate of the oil's remaining useful
life. If you see 99% OIL LIFE
REMAINING on the display, that
means 99% of the current oil life
remains. The engine oil life system
will alert you to change the oil on a
schedule consistent with your
driving conditions.
When the remaining oil life is low,
the CHANGE ENGINE OIL SOON
message will appear on the display.
See
“CHANGE ENGINE OIL SOON”
under Engine Oil Messages on
page 5‑40. You should change the
oil as soon as you can. See Engine
Oil on page 10‑6. In addition to the
engine oil life system monitoring the
oil life, additional maintenance is
recommended in the Maintenance
Schedule in this manual. See
Maintenance Schedule on
page 11‑3 for more information.
Remember, you must reset the OIL
LIFE display after each oil change.
It will not reset itself. Also, be
careful not to reset the OIL LIFE
display accidentally at any time
other than when the oil has just
Page 166 of 542
Black plate (36,1)Chevrolet Silverado Owner Manual - 2013 - crc2 - 8/13/12
5-36 Instruments and Controls
The trip odometer has a feature
called the retro-active reset. This
can be used to set the trip odometer
to the number of miles (kilometers)
driven since the ignition was last
turned on. This can be used if the
trip odometer is not reset at the
beginning of the trip.
To use the retro-active reset feature,
press and hold the trip odometer
reset stem for at least four seconds.
The trip odometer will display the
number of kilometers (km) or
miles (mi) driven since the ignition
was last turned on and the vehicle
was moving. Once the vehicle
begins moving, the trip odometer
will accumulate mileage. For
example, if the vehicle was driven
8 km (5 miles) before it is started
again, and then the retro-active
reset feature is activated, the
display will show 8 km (5 miles). As
the vehicle begins moving, the
display will then increase to 8.2 km
(5.1 miles), 8.4 km (5.2 miles), etc.Transmission Temperature
Press the trip odometer reset stem
until TRANS TEMP displays. This
display shows the temperature of
the automatic transmission fluid in
either degrees Celsius (°C) or
degrees Fahrenheit (°F).
Trailer Gain and Output
On vehicles with the Integrated
Trailer Brake Control (ITBC) system,
the trailer brake display appears in
the DIC. Press the trip odometer
reset stem until TRAILER GAIN and
OUTPUT display.
TRAILER GAIN shows the trailer
gain setting. This setting can be
adjusted from 0.0 to 10.0 with either
a trailer connected or disconnected.
OUTPUT shows the power output to
the trailer any time a trailer with
electric brakes is connected. Output
is displayed in 0 to 10 bars. Dashes
may appear in the OUTPUT display.
To adjust trailer gain see
“Integrated
Trailer Brake Control System” under
Towing Equipment on page 9‑93 for
more information.
Speedometer
The speedometer shows how fast
the vehicle is moving in either
kilometers per hour (km/h) or miles
per hour (mph). The speedometer
cannot be reset.
Battery
This display shows the current
battery voltage. If the voltage is in
the normal range, the value will
display. For example, the display
may read BATTERY 13 VOLTS.
Your vehicle's charging system
regulates voltage based on the state
of the battery. The battery voltage
may fluctuate when viewing this
information on the DIC. This is
normal.
Oil Pressure
This display shows the oil pressure
in either kilopascals (kPa) or pounds
per square inch (psi).
Page 175 of 542

Black plate (45,1)Chevrolet Silverado Owner Manual - 2013 - crc2 - 8/13/12
Instruments and Controls 5-45
GRADE BRAKING ON
This message displays when the
grade braking has been activated
while driving on downhill grades.
This message will only appear the
first time the feature is activated in
an ignition cycle. SeeTow/Haul
Mode on page 9‑38, Automatic
Transmission on page 9‑33, and
Cruise Control on page 9‑59.
SERVICE 4 WHEEL DRIVE
If the vehicle has four-wheel drive,
this message may display if a
problem occurs with the
four-wheel-drive system. If this
message appears, stop as soon as
possible and turn off the vehicle.
Make sure the key is in the LOCK/
OFF position for at least one minute
and then restart the vehicle and
check for the message on the DIC
display. If the message is still
displayed or appears again when
you begin driving, the
four-wheel-drive system needs
service. See your dealer.
TRANSMISSION HOT IDLE
ENGINE
Notice: Do not drive the vehicle
while the transmission fluid is
overheating and the transmission
temperature warning is displayed
on the instrument cluster and/or
DIC, or the transmission can be
damaged. This could lead to
costly repairs that would not be
covered by the warranty.
This message displays and a chime
may sound if the transmission fluid
in the vehicle gets hot. Driving with
the transmission fluid temperature
high can cause damage to the
vehicle. Stop the vehicle and let it
idle to allow the transmission to
cool. This message clears and the
chime stops when the fluid
temperature reaches a safe level.
Vehicle Reminder
Messages
CHECK TRAILER WIRING
On vehicles with the Integrated
Trailer Brake Control (ITBC) system,
this message may display and a
chime may sound when one of the
following conditions exists:
.A trailer with electric brakes
becomes disconnected from the
vehicle.
‐ If the disconnect occurs while
the vehicle is stopped, this
message clears itself after a
short time.
‐ If the disconnect occurs while
the vehicle is moving, this
message stays on until the
ignition is turned off.
.There is a short in the wiring to
the electric trailer brakes.
When this message displays, power
is no longer available to the trailer
brakes.
Page 279 of 542
Black plate (11,1)Chevrolet Silverado Owner Manual - 2013 - crc2 - 8/13/12
Driving and Operating 9-11
WARNING (Continued)
happens, you and other vehicle
occupants could drown. Do not
ignore police warnings and be
very cautious about trying to drive
through flowing water.
Hydroplaning
Hydroplaning is dangerous. Water
can build up under the vehicle's
tires so they actually ride on the
water. This can happen if the road is
wet enough and you are going fast
enough. When the vehicle is
hydroplaning, it has little or no
contact with the road.
There is no hard and fast rule about
hydroplaning. The best advice is to
slow down when the road is wet.
Other Rainy Weather Tips
Besides slowing down, other wet
weather driving tips include:
.Allow extra following distance.
.Pass with caution.
.Keep windshield wiping
equipment in good shape.
.Keep the windshield washer fluid
reservoir filled.
.Have good tires with proper
tread depth. SeeTires on
page 10‑47.
.Turn off cruise control.
Highway Hypnosis
Always be alert and pay attention to
your surroundings while driving.
If you become tired or sleepy, find a
safe place to park the vehicle
and rest.
Other driving tips include:
.Keep the vehicle well ventilated.
.Keep the interior
temperature cool.
.Keep your eyes moving —scan
the road ahead and to the sides.
.Check the rearview mirror and
vehicle instruments often.
Hill and Mountain Roads
Driving on steep hills or through
mountains is different than driving
on flat or rolling terrain. Tips for
driving in these conditions include:
.Keep the vehicle serviced and in
good shape.
.Check all fluid levels and brakes,
tires, cooling system, and
transmission.
.Shift to a lower gear when going
down steep or long hills.
{WARNING
If you do not shift down, the
brakes could get so hot that they
would not work well. You would
then have poor braking or even
none going down a hill. You could
crash. Shift down to let the engine
assist the brakes on a steep
downhill slope.
Page 345 of 542
Black plate (77,1)Chevrolet Silverado Owner Manual - 2013 - crc2 - 8/13/12
Driving and Operating 9-77
WARNING (Continued)
wrong, the rig could start to move.
People can be injured, and both
the vehicle and the trailer can be
damaged. When possible, always
park the rig on a flat surface.
If parking the rig on a hill:
1. Press the brake pedal, but do not shift into P (Park) yet. Turn
the wheels into the curb if facing
downhill or into traffic if facing
uphill.
2. Have someone place chocks under the trailer wheels.
3. When the wheel chocks are in place, release the regular brakes
until the chocks absorb the load.
4. Reapply the brake pedal. Then apply the parking brake and shift
into P (Park).
5. Release the brake pedal.
Leaving After Parking on a Hill
1. Apply and hold the brake pedal.
2. Start the engine.
3. Shift into a gear.
4. Release the parking brake.
5. Let up on the brake pedal.
6. Drive slowly until the trailer is clear of the chocks.
7. Stop and have someone pick up and store the chocks.
Maintenance when Trailer
Towing
The vehicle needs service more
often when pulling a trailer. See
Maintenance Schedule on
page 11‑3. Things that are
especially important in trailer
operation are automatic
transmission fluid, engine oil, axle
lubricant, belts, cooling system, and
brake system. It is a good idea to
inspect these before and during
the trip. Check periodically to see that all
hitch nuts and bolts are tight.
Trailer Towing
If the vehicle has a diesel engine,
see the Duramax diesel supplement
for more information.
If the vehicle is a hybrid, see the
hybrid supplement for more
information.
If the vehicle is bi-fuel, see the
bi-fuel supplement for more
information.
Do not tow a trailer during break-in.
See
New Vehicle Break-In on
page 9‑23 for more information.
{WARNING
The driver can lose control when
pulling a trailer if the correct
equipment is not used or the
vehicle is not driven properly. For
example, if the trailer is too
heavy, the brakes may not work
(Continued)
Page 377 of 542
Black plate (1,1)Chevrolet Silverado Owner Manual - 2013 - crc2 - 8/13/12
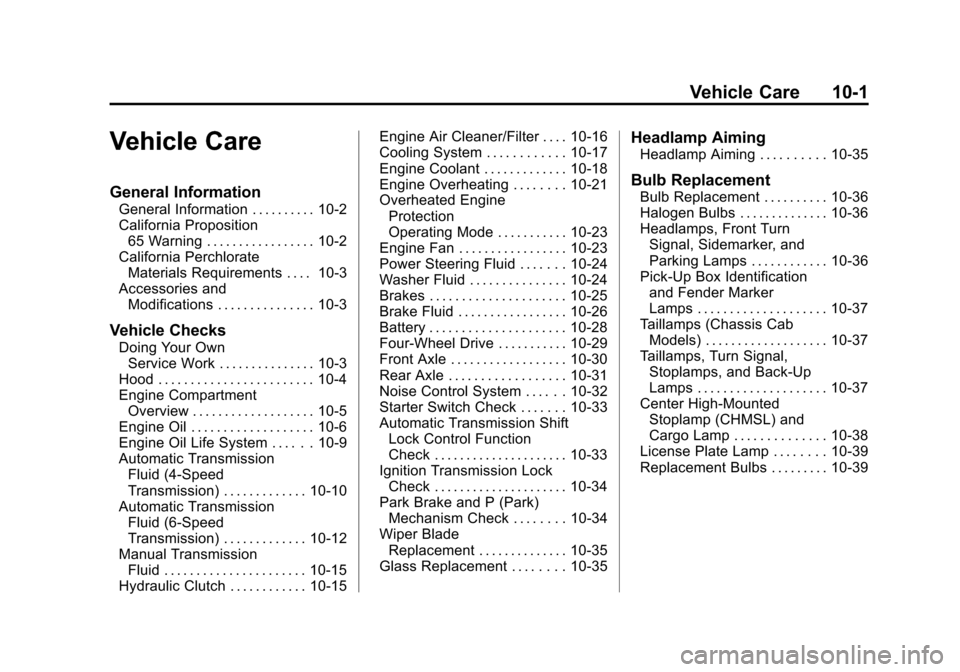
Vehicle Care 10-1
Vehicle Care
General Information
General Information . . . . . . . . . . 10-2
California Proposition65 Warning . . . . . . . . . . . . . . . . . 10-2
California Perchlorate Materials Requirements . . . . 10-3
Accessories and Modifications . . . . . . . . . . . . . . . 10-3
Vehicle Checks
Doing Your OwnService Work . . . . . . . . . . . . . . . 10-3
Hood . . . . . . . . . . . . . . . . . . . . . . . . 10-4
Engine Compartment Overview . . . . . . . . . . . . . . . . . . . 10-5
Engine Oil . . . . . . . . . . . . . . . . . . . 10-6
Engine Oil Life System . . . . . . 10-9
Automatic Transmission Fluid (4-Speed
Transmission) . . . . . . . . . . . . . 10-10
Automatic Transmission Fluid (6-Speed
Transmission) . . . . . . . . . . . . . 10-12
Manual Transmission Fluid . . . . . . . . . . . . . . . . . . . . . . 10-15
Hydraulic Clutch . . . . . . . . . . . . 10-15 Engine Air Cleaner/Filter . . . . 10-16
Cooling System . . . . . . . . . . . . 10-17
Engine Coolant . . . . . . . . . . . . . 10-18
Engine Overheating . . . . . . . . 10-21
Overheated Engine
Protection
Operating Mode . . . . . . . . . . . 10-23
Engine Fan . . . . . . . . . . . . . . . . . 10-23
Power Steering Fluid . . . . . . . 10-24
Washer Fluid . . . . . . . . . . . . . . . 10-24
Brakes . . . . . . . . . . . . . . . . . . . . . 10-25
Brake Fluid . . . . . . . . . . . . . . . . . 10-26
Battery . . . . . . . . . . . . . . . . . . . . . 10-28
Four-Wheel Drive . . . . . . . . . . . 10-29
Front Axle . . . . . . . . . . . . . . . . . . 10-30
Rear Axle . . . . . . . . . . . . . . . . . . 10-31
Noise Control System . . . . . . 10-32
Starter Switch Check . . . . . . . 10-33
Automatic Transmission Shift Lock Control Function
Check . . . . . . . . . . . . . . . . . . . . . 10-33
Ignition Transmission Lock Check . . . . . . . . . . . . . . . . . . . . . 10-34
Park Brake and P (Park) Mechanism Check . . . . . . . . 10-34
Wiper Blade Replacement . . . . . . . . . . . . . . 10-35
Glass Replacement . . . . . . . . 10-35
Headlamp Aiming
Headlamp Aiming . . . . . . . . . . 10-35
Bulb Replacement
Bulb Replacement . . . . . . . . . . 10-36
Halogen Bulbs . . . . . . . . . . . . . . 10-36
Headlamps, Front Turn Signal, Sidemarker, and
Parking Lamps . . . . . . . . . . . . 10-36
Pick-Up Box Identification and Fender Marker
Lamps . . . . . . . . . . . . . . . . . . . . 10-37
Taillamps (Chassis Cab Models) . . . . . . . . . . . . . . . . . . . 10-37
Taillamps, Turn Signal, Stoplamps, and Back-Up
Lamps . . . . . . . . . . . . . . . . . . . . 10-37
Center High-Mounted
Stoplamp (CHMSL) and
Cargo Lamp . . . . . . . . . . . . . . 10-38
License Plate Lamp . . . . . . . . 10-39
Replacement Bulbs . . . . . . . . . 10-39
Page 382 of 542
Black plate (6,1)Chevrolet Silverado Owner Manual - 2013 - crc2 - 8/13/12
10-6 Vehicle Care
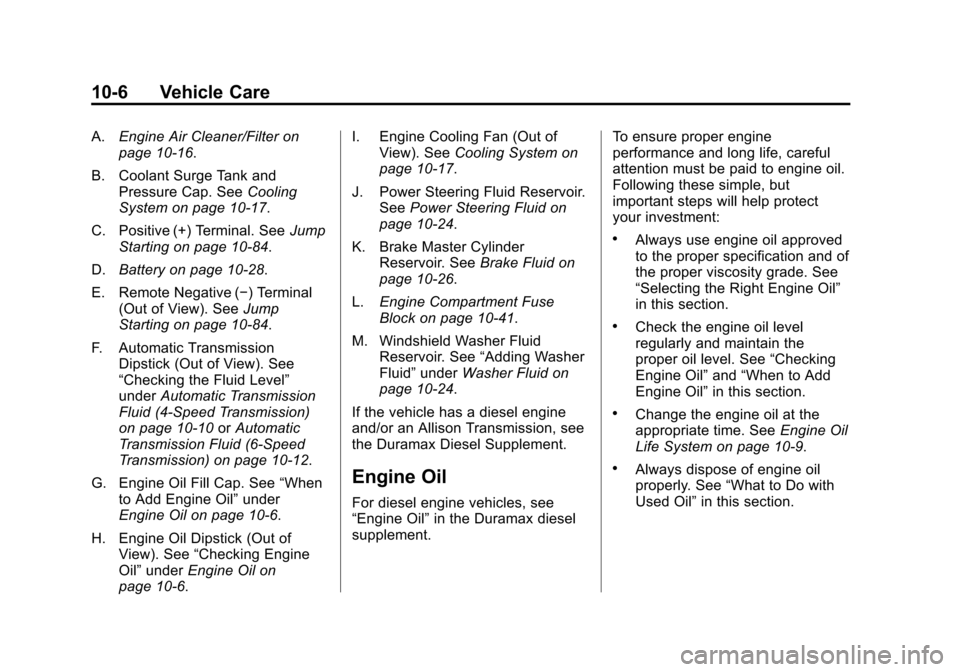
A.Engine Air Cleaner/Filter on
page 10‑16.
B. Coolant Surge Tank and Pressure Cap. See Cooling
System on page 10‑17.
C. Positive (+) Terminal. See Jump
Starting on page 10‑84.
D. Battery on page 10‑28.
E. Remote Negative (−) Terminal (Out of View). See Jump
Starting on page 10‑84.
F. Automatic Transmission Dipstick (Out of View). See
“Checking the Fluid Level”
under Automatic Transmission
Fluid (4-Speed Transmission)
on page 10‑10 orAutomatic
Transmission Fluid (6-Speed
Transmission) on page 10‑12.
G. Engine Oil Fill Cap. See “When
to Add Engine Oil” under
Engine Oil on page 10‑6.
H. Engine Oil Dipstick (Out of View). See “Checking Engine
Oil” under Engine Oil on
page 10‑6. I. Engine Cooling Fan (Out of
View). See Cooling System on
page 10‑17.
J. Power Steering Fluid Reservoir. See Power Steering Fluid on
page 10‑24.
K. Brake Master Cylinder Reservoir. See Brake Fluid on
page 10‑26.
L. Engine Compartment Fuse
Block on page 10‑41.
M. Windshield Washer Fluid Reservoir. See “Adding Washer
Fluid” under Washer Fluid on
page 10‑24.
If the vehicle has a diesel engine
and/or an Allison Transmission, see
the Duramax Diesel Supplement.
Engine Oil
For diesel engine vehicles, see
“Engine Oil” in the Duramax diesel
supplement. To ensure proper engine
performance and long life, careful
attention must be paid to engine oil.
Following these simple, but
important steps will help protect
your investment:
.Always use engine oil approved
to the proper specification and of
the proper viscosity grade. See
“Selecting the Right Engine Oil”
in this section.
.Check the engine oil level
regularly and maintain the
proper oil level. See
“Checking
Engine Oil” and“When to Add
Engine Oil” in this section.
.Change the engine oil at the
appropriate time. See Engine Oil
Life System on page 10‑9.
.Always dispose of engine oil
properly. See “What to Do with
Used Oil” in this section.