2013 BMW X6M remote control
[x] Cancel search: remote controlPage 137 of 327
Ashtray/cigarette lighterOpening
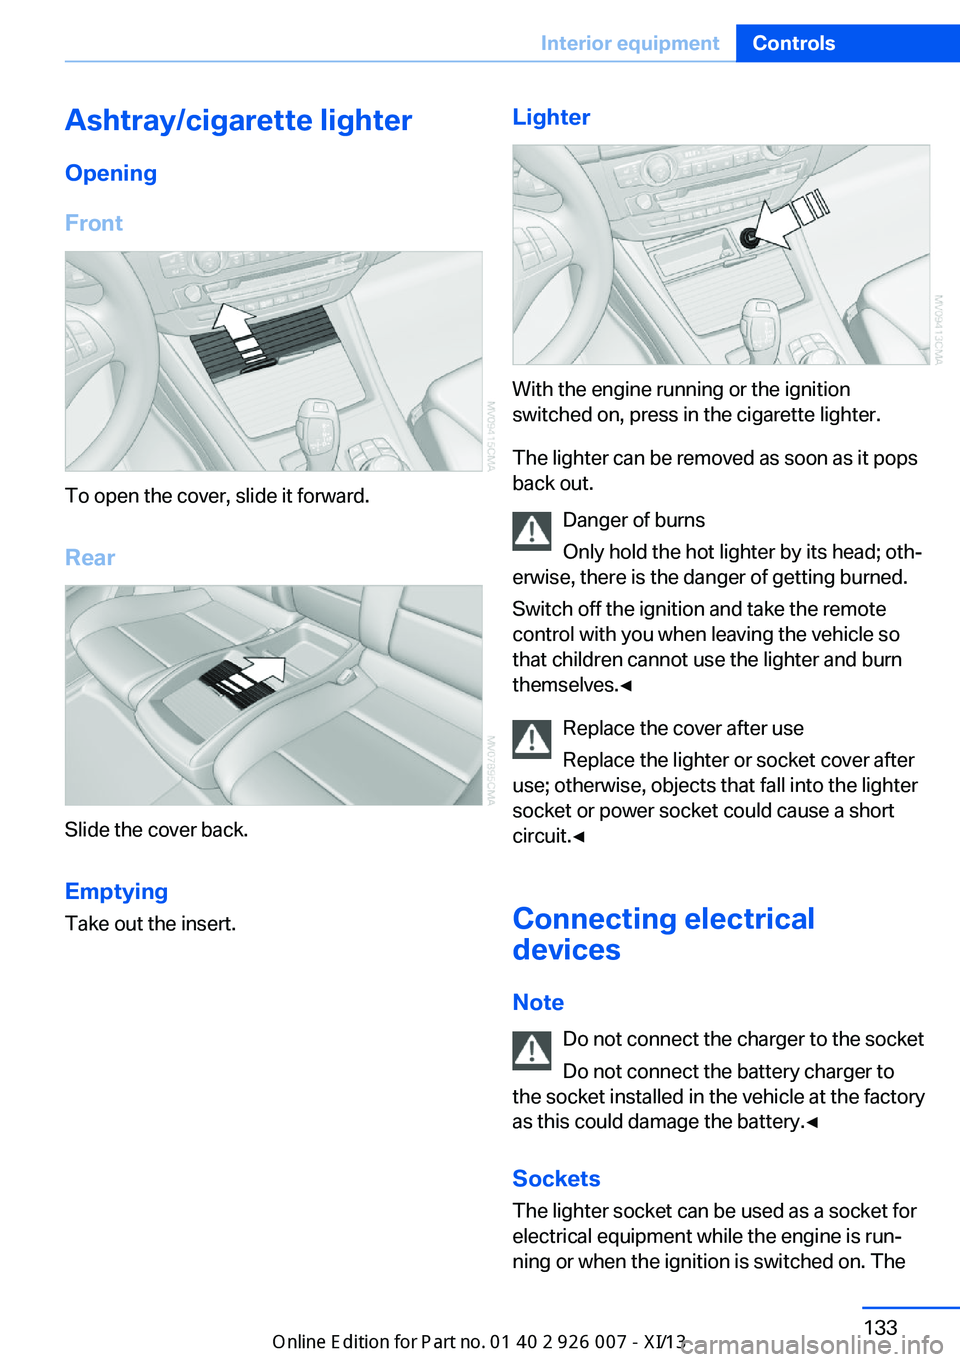
Front
To open the cover, slide it forward.
Rear
Slide the cover back.
Emptying Take out the insert.
Lighter
With the engine running or the ignition
switched on, press in the cigarette lighter.
The lighter can be removed as soon as it pops
back out.
Danger of burns
Only hold the hot lighter by its head; oth‐
erwise, there is the danger of getting burned.
Switch off the ignition and take the remote
control with you when leaving the vehicle so
that children cannot use the lighter and burn
themselves.◀
Replace the cover after use
Replace the lighter or socket cover after
use; otherwise, objects that fall into the lighter
socket or power socket could cause a short
circuit.◀
Connecting electrical
devices
Note Do not connect the charger to the socket
Do not connect the battery charger to
the socket installed in the vehicle at the factory
as this could damage the battery.◀
Sockets
The lighter socket can be used as a socket for
electrical equipment while the engine is run‐
ning or when the ignition is switched on. The
Seite 133Interior equipmentControls133
Online Edition for Part no. 01 40 2 910 876 - VII/13
Page 173 of 327
Destination guidanceVehicle equipmentThis chapter describes all series equipment as
well as country-specific and special equipment
offered for this model series.Therefore, it also
describes equipment that may not be found in
your vehicle, for instance due to the selected
special equipment or the country version. This
also applies to safety-related functions and
systems.
Starting destination
guidance1."Navigation"2.Make a destination entry, refer to
page 160.3."Accept destination"4."Start guidance"
The route is shown on the Control Display.
The distance to the destination/intermediate
destination and the estimated time of arrival
are displayed in the map view.
The arrow view is displayed in the Head-up
Display and in some cases on the Control Dis‐
play.
Terminating destination
guidance
1."Navigation"2."Map"3. "Guidance"4."Stop guidance"Continuing destination
guidance
If the destination was not reached during thelast trip, destination guidance can be resumed.
"Resume guidance"
Route criteria
General information▷The route calculated can be influenced by
selecting certain criteria.▷The route criteria can be changed when
the destination is entered and during desti‐
nation guidance.▷Road types are part of the navigation data
and are taken into consideration when
planning a route, e.g., avoid highways.▷The recommended route may differ from
the route you would take based on per‐
sonal experience.▷The settings are stored for the remote
control currently in use.▷Destination guidance with traffic bulletins,
refer to page 175.
Changing the route criteria
1."Navigation"2."Map"3. "Route preference"4.Select the criterion:▷ "Fast route": time-optimized route,
being a combination of the shortest
possible route and the fastest roads.▷ "ECO PRO route" or "Efficient
route": optimized combination of the
fastest and shortest possible route.Seite 169Destination guidanceNavigation169
Online Edition for Part no. 01 40 2 910 876 - VII/13
Page 175 of 327
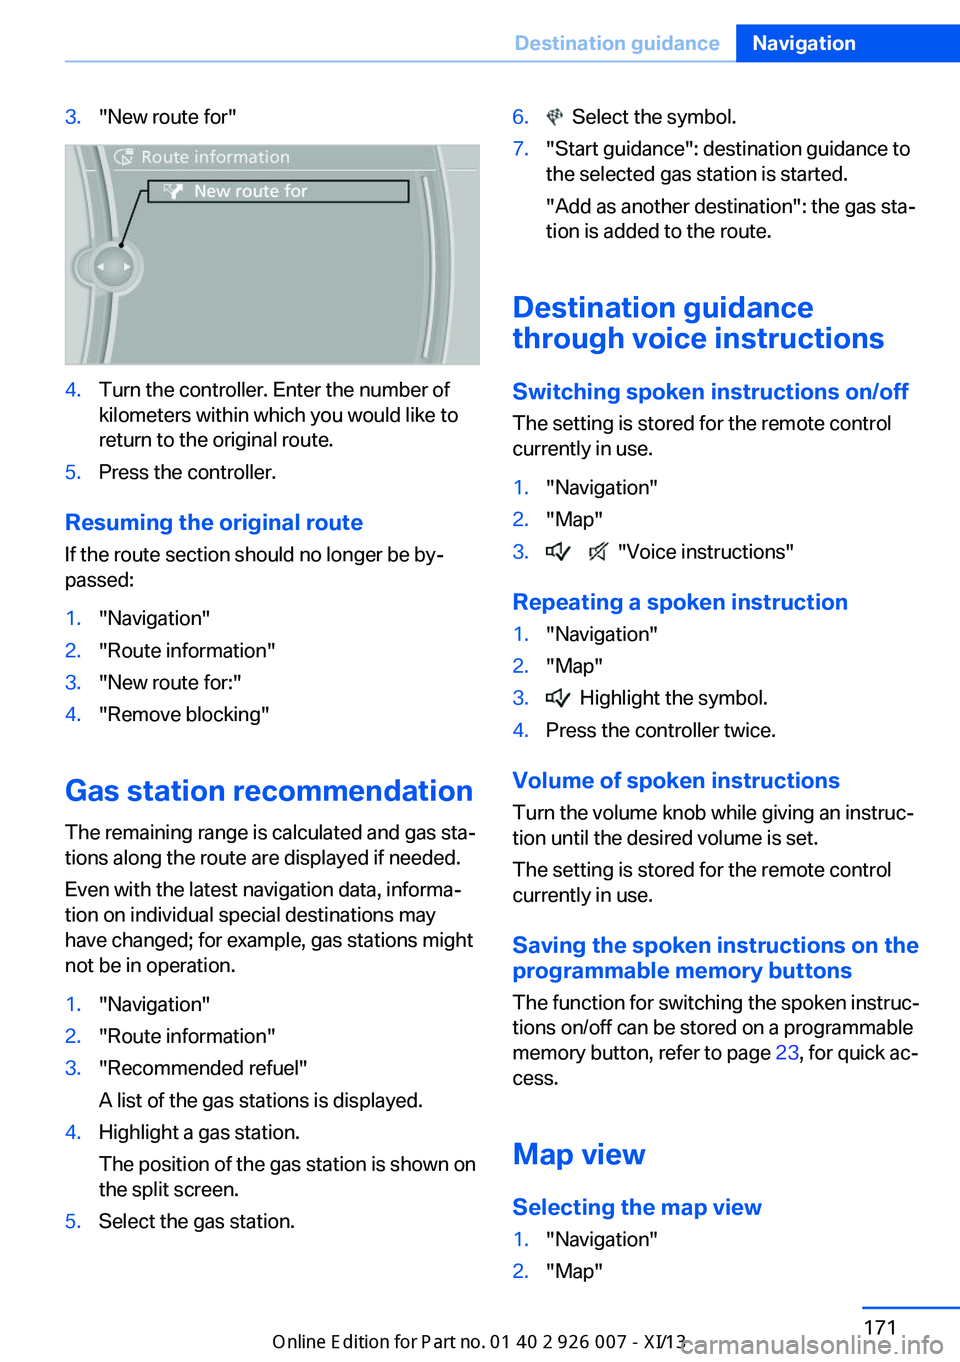
3."New route for"4.Turn the controller. Enter the number of
kilometers within which you would like to
return to the original route.5.Press the controller.
Resuming the original route
If the route section should no longer be by‐
passed:
1."Navigation"2."Route information"3."New route for:"4."Remove blocking"
Gas station recommendation
The remaining range is calculated and gas sta‐
tions along the route are displayed if needed.
Even with the latest navigation data, informa‐
tion on individual special destinations may
have changed; for example, gas stations might
not be in operation.
1."Navigation"2."Route information"3."Recommended refuel"
A list of the gas stations is displayed.4.Highlight a gas station.
The position of the gas station is shown on
the split screen.5.Select the gas station.6. Select the symbol.7."Start guidance": destination guidance to
the selected gas station is started.
"Add as another destination": the gas sta‐
tion is added to the route.
Destination guidance
through voice instructions
Switching spoken instructions on/off The setting is stored for the remote control
currently in use.
1."Navigation"2."Map"3. "Voice instructions"
Repeating a spoken instruction
1."Navigation"2."Map"3. Highlight the symbol.4.Press the controller twice.
Volume of spoken instructions
Turn the volume knob while giving an instruc‐
tion until the desired volume is set.
The setting is stored for the remote control
currently in use.
Saving the spoken instructions on the
programmable memory buttons
The function for switching the spoken instruc‐
tions on/off can be stored on a programmable
memory button, refer to page 23, for quick ac‐
cess.
Map view
Selecting the map view
1."Navigation"2."Map"Seite 171Destination guidanceNavigation171
Online Edition for Part no. 01 40 2 910 876 - VII/13
Page 177 of 327

Automatically scaled map scaleIn the map view facing north, turn the control‐
ler in any direction until the AUTO scale is dis‐
played. The entire route between the current
location and the destination is displayed on the
map.
Settings for the map view
The settings are stored for the remote control
currently in use.1."Navigation"2."Map"3.Open "Options".4."Settings"5.To set the map view:▷"Day/night mode"
Select and create the necessary settings
depending on the light conditions.
"Traffic conditions/gray map" active: the
setting is disregarded.▷"Satellite images"
Depending on availability and resolution,
satellite images are displayed at scales of
approx. 1 mile to 600 miles/2 km to
1,000 km.▷"Perspective view in 3D"
Prominent areas that are contained in the
navigation data are displayed on the map in
3D.▷"Traffic conditions/gray map"
The map is optimized for displaying traffic
bulletins, refer to page 174.
Symbols for the special destinations are no
longer displayed.
Map view for splitscreen
The map view can be selected for the split
screen independently from the main screen.
1.Open "Options".2."Split screen"3.Move the controller to the right repeatedly
until the split screen is selected.4.Select "Split screen content" or the scale.5.Select the map view.▷"Arrow display"▷"Map facing north"▷"Map direction of travel"▷"Map view with perspective"▷"Position"▷"Exit ramp view": selected blind drive‐
ways are displayed three dimension‐
ally.▷"Traffic conditions/gray map"6.To change the scale: select the split
screen and turn the controller.
Traffic bulletins
At a glance
▷Display the traffic bulletins from radio sta‐
tions that broadcast the TI Traffic Informa‐
tion of a traffic information service. Infor‐
mation on traffic obstructions and hazards
is updated continuously.
Certain BMW models equipped with navi‐
gation have the capability to display real-
time traffic information. If your system has
this capability the following additional
terms and conditions apply:
An End-User shall no longer have the right
to use the Traffic Data in the event that the
End-User is in material breach of the terms
and conditions contained herein.
A. Total Traffic Network, a division of Clear
Channel Broadcasting, Inc. (“Total Traffic
Network”) holds the rights to the traffic in‐
cident data and RDS-TMC network
through which it is delivered. You may not
modify, copy, scan or use any other
method to reproduce, duplicate, republish,
transmit or distribute in any way any por‐Seite 173Destination guidanceNavigation173
Online Edition for Part no. 01 40 2 910 876 - VII/13
Page 184 of 327
ToneVehicle equipmentThis chapter describes all series equipment as
well as country-specific and special equipment
offered for this model series.Therefore, it also
describes equipment that may not be found in
your vehicle, for instance due to the selected
special equipment or the country version. This
also applies to safety-related functions and
systems.
General information
The sound settings are stored for the remote
control currently in use.
Treble, bass, balance, and
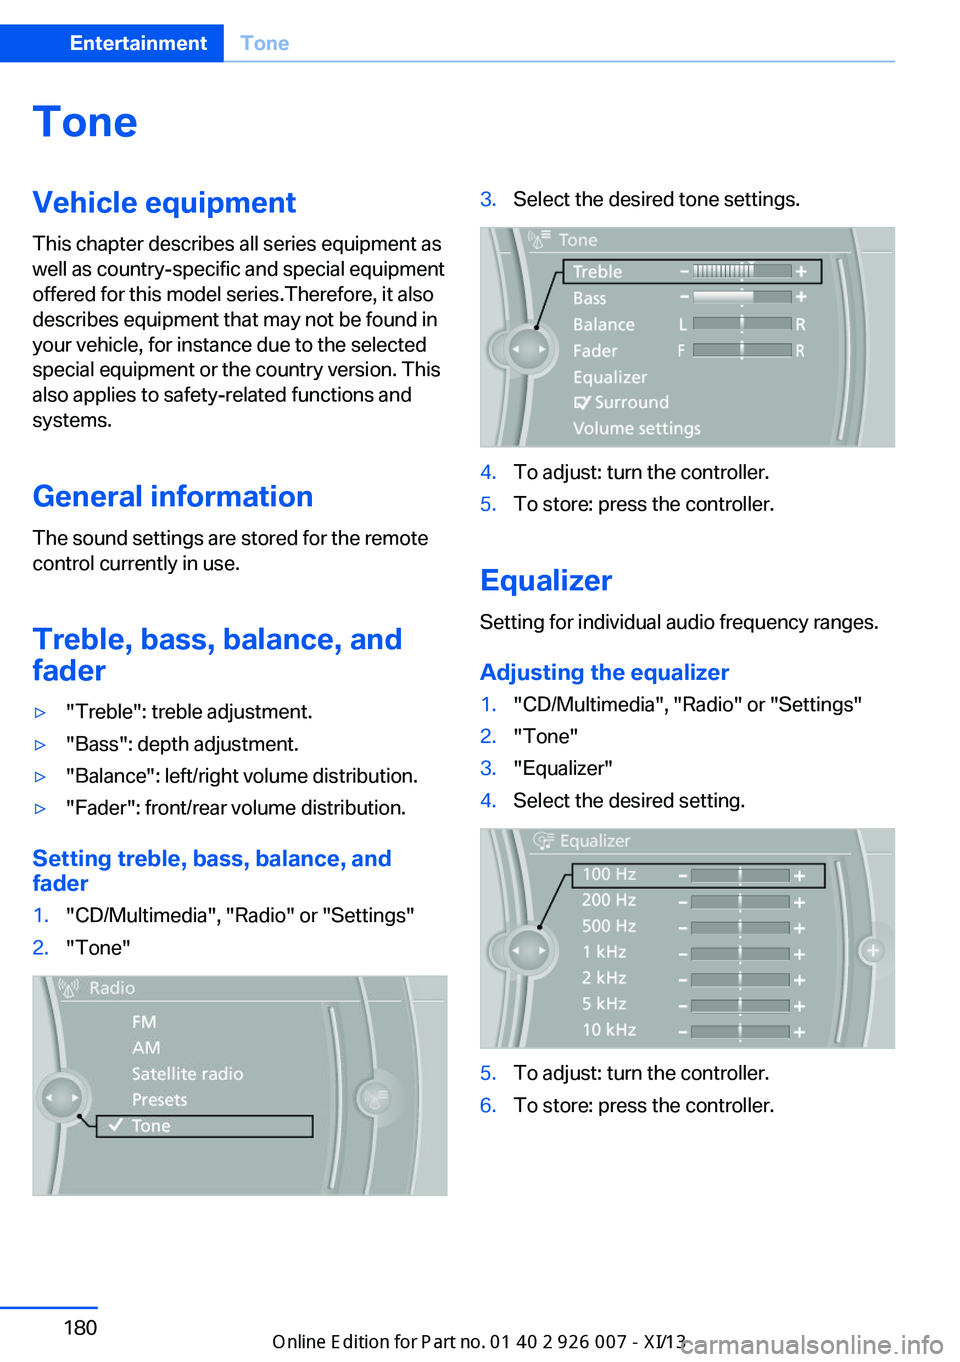
fader▷"Treble": treble adjustment.▷"Bass": depth adjustment.▷"Balance": left/right volume distribution.▷"Fader": front/rear volume distribution.
Setting treble, bass, balance, and fader
1."CD/Multimedia", "Radio" or "Settings"2."Tone"3.Select the desired tone settings.4.To adjust: turn the controller.5.To store: press the controller.
Equalizer
Setting for individual audio frequency ranges.
Adjusting the equalizer
1."CD/Multimedia", "Radio" or "Settings"2."Tone"3."Equalizer"4.Select the desired setting.5.To adjust: turn the controller.6.To store: press the controller.Seite 180EntertainmentTone180
Online Edition for Part no. 01 40 2 910 876 - VII/13
Page 186 of 327
RadioVehicle equipment
This chapter describes all series equipment as
well as country-specific and special equipment
offered for this model series.Therefore, it also
describes equipment that may not be found in
your vehicle, for instance due to the selected
special equipment or the country version. This
also applies to safety-related functions and
systems.
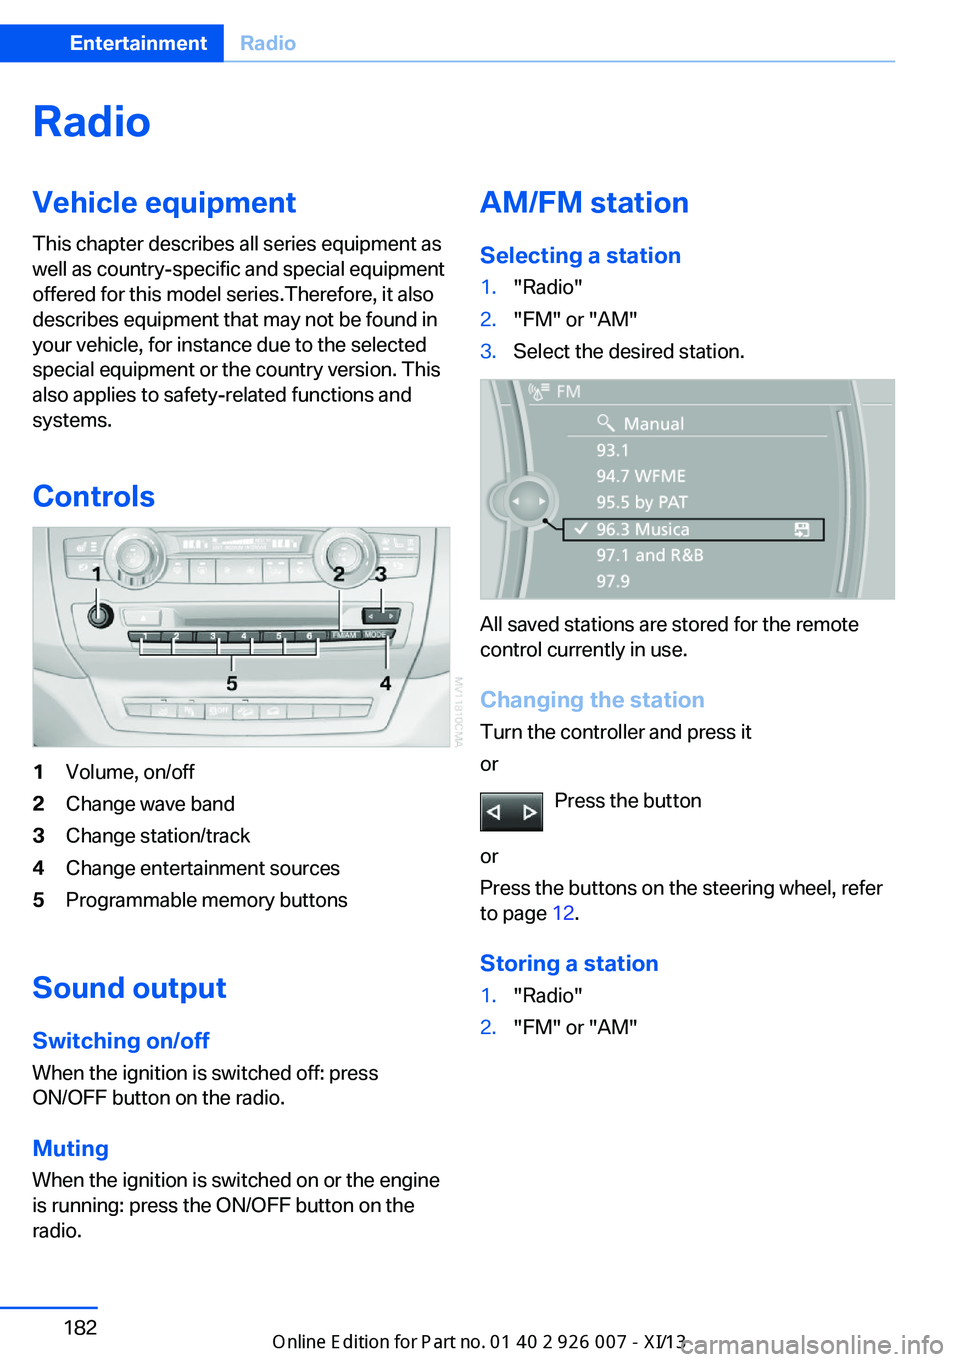
Controls1Volume, on/off2Change wave band3Change station/track4Change entertainment sources5Programmable memory buttons
Sound outputSwitching on/offWhen the ignition is switched off: press
ON/OFF button on the radio.
Muting
When the ignition is switched on or the engine
is running: press the ON/OFF button on the
radio.
AM/FM station
Selecting a station1."Radio"2."FM" or "AM"3.Select the desired station.
All saved stations are stored for the remote
control currently in use.
Changing the station
Turn the controller and press it
or
Press the button
or
Press the buttons on the steering wheel, refer
to page 12.
Storing a station
1."Radio"2."FM" or "AM"Seite 182EntertainmentRadio182
Online Edition for Part no. 01 40 2 910 876 - VII/13
Page 187 of 327
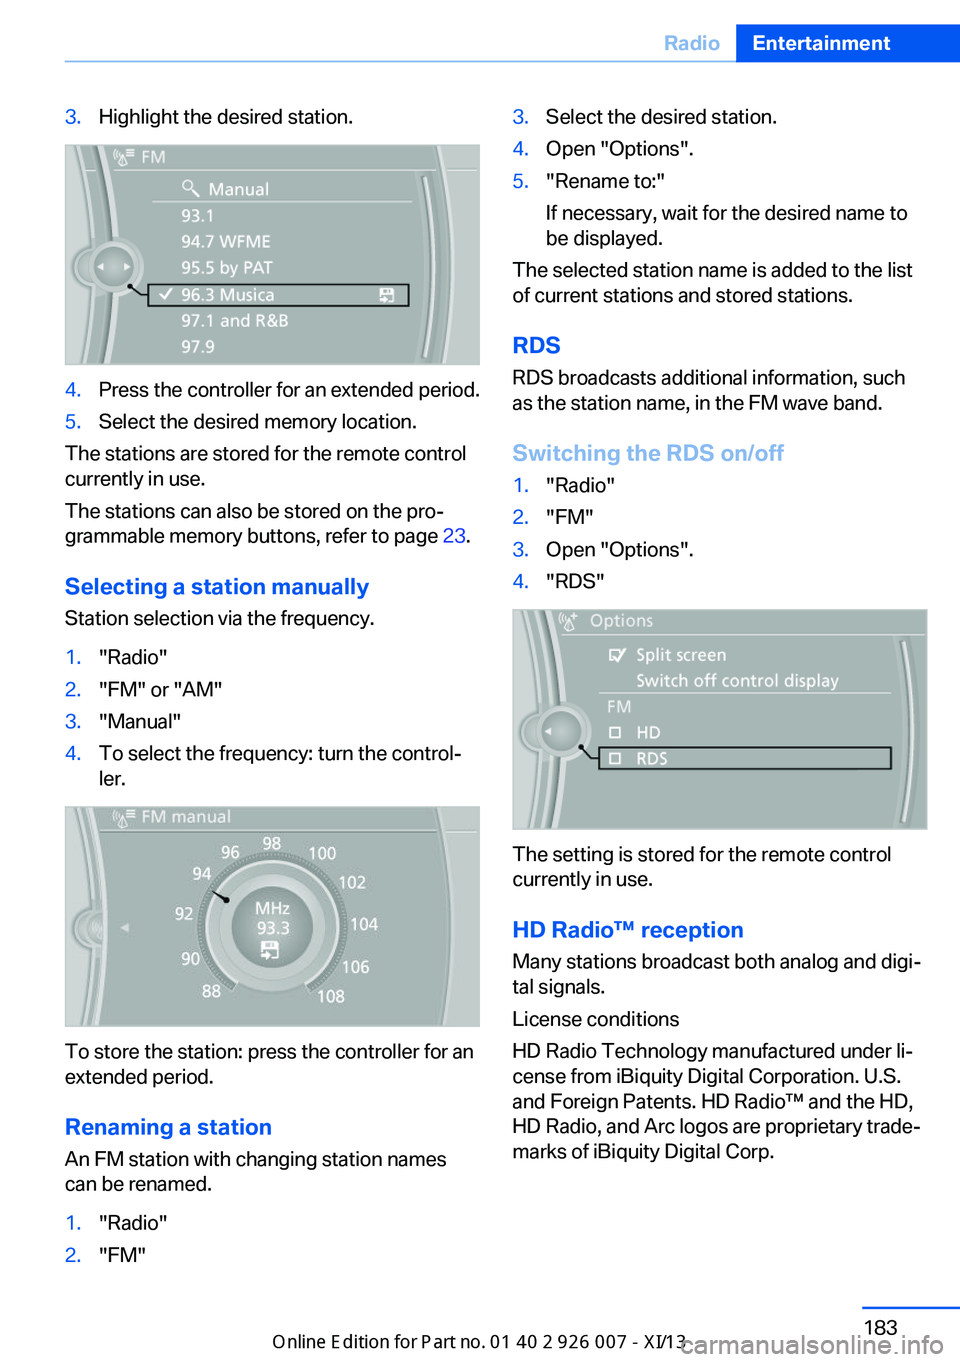
3.Highlight the desired station.4.Press the controller for an extended period.5.Select the desired memory location.
The stations are stored for the remote control
currently in use.
The stations can also be stored on the pro‐
grammable memory buttons, refer to page 23.
Selecting a station manually
Station selection via the frequency.
1."Radio"2."FM" or "AM"3."Manual"4.To select the frequency: turn the control‐
ler.
To store the station: press the controller for an
extended period.
Renaming a station An FM station with changing station names
can be renamed.
1."Radio"2."FM"3.Select the desired station.4.Open "Options".5."Rename to:"
If necessary, wait for the desired name to
be displayed.
The selected station name is added to the list
of current stations and stored stations.
RDSRDS broadcasts additional information, such
as the station name, in the FM wave band.
Switching the RDS on/off
1."Radio"2."FM"3.Open "Options".4."RDS"
The setting is stored for the remote control
currently in use.
HD Radio™ reception
Many stations broadcast both analog and digi‐
tal signals.
License conditions
HD Radio Technology manufactured under li‐
cense from iBiquity Digital Corporation. U.S.
and Foreign Patents. HD Radio™ and the HD,
HD Radio, and Arc logos are proprietary trade‐
marks of iBiquity Digital Corp.
Seite 183RadioEntertainment183
Online Edition for Part no. 01 40 2 910 876 - VII/13
Page 188 of 327
Activating/deactivating digital radioreception1."Radio"2."FM" or "AM"3.Open "Options".4."HD Radio Reception"
The setting is stored for the remote control
currently in use.
This symbol is displayed in the status line
when the audio signal is digital.
When tuning to a station with a digital signal, it
may take several seconds for the station to be
played back in digital quality.
Note on HD stations whose station name ends
in ...HD or with ...HD1:
In areas in which the station is not continu‐
ously received in digital mode, the playback
switches between analog and digital reception.
In this case, switch off digital radio reception.
Note on HD multicast stations whose station
name ends in ...HD2, ...HD3, ...:
In areas in which the station is not continu‐
ously received in digital mode, the audible sig‐
nal may be interrupted for several seconds.
This is reception related.
Displaying additional information
Some stations broadcast additional informa‐
tion on the current track, such as the name of
the artist.
1.Select the desired station.2.Open "Options".3."Station info"
Selecting a substation
This symbol indicates that a main station
also broadcasts additional substations. The
station name of the main station ends in HD1.
Station names of the substations end in HD2,
HD3, etc.
1.Select the desired station.2.Press the controller.3.Select the substation.
When reception is poor, the substation is
muted.
Satellite radio General information The channels are offered in predefined pack‐
ages. The packages must be enabled by tele‐
phone.
Navigation bar overview
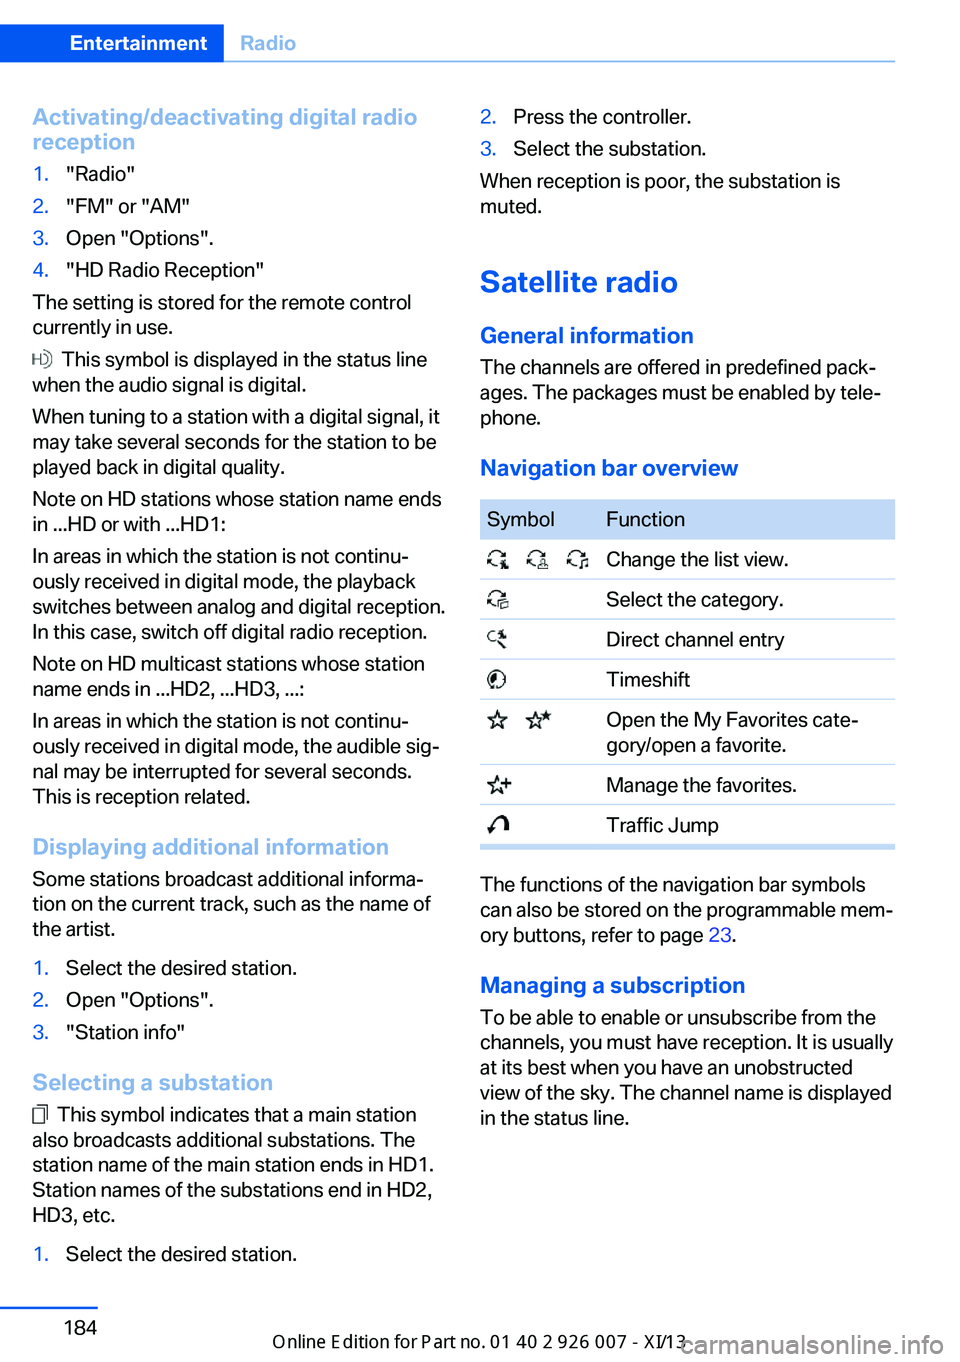
SymbolFunction Change the list view. Select the category. Direct channel entry Timeshift Open the My Favorites cate‐
gory/open a favorite. Manage the favorites. Traffic Jump
The functions of the navigation bar symbols
can also be stored on the programmable mem‐
ory buttons, refer to page 23.
Managing a subscription
To be able to enable or unsubscribe from the
channels, you must have reception. It is usually
at its best when you have an unobstructed
view of the sky. The channel name is displayed
in the status line.
Seite 184EntertainmentRadio184
Online Edition for Part no. 01 40 2 910 876 - VII/13