2013 BMW X6M change wheel
[x] Cancel search: change wheelPage 130 of 327

Ventilation in rear1Use the thumbwheels to smoothly open
and close the air vents2Use the lever to change the direction of the
air flow
Microfilter/activated-charcoal filter
The microfilter traps dust and pollen in the in‐
coming air.
The activated-charcoal filter removes gaseous
pollutants from the outside air that enters the
vehicle.
The service center replaces this combined fil‐
ter during routine maintenance.
More information can be found in the service
requirements display, refer to page 74.
Automatic climate control
with 4-zone control
Front operation Corresponds to the operation of automatic cli‐
mate control with 2-zone control, refer to
page 122.
Rear operation
The control unit is located in the center con‐
sole in the rear.
1Temperature, left rear seating area2AUTO program3Display4Temperature, right rear seating area5Seat heating, right rear seat6Air volume, manual7Seat heating, left rear seat
The current setting for the temperature and
the air flow rate is shown on display 3.
Activation/deactivation
1."Settings"2."Climate"3."Rear climate control"4.Select the desired settings.
The rear automatic climate control cannot be
operated if the front automatic climate control
is switched off. With the defrost windows and
eliminate condensation function activated, the
rear automatic climate control is also not ready
for operation.
Seite 126ControlsClimate126
Online Edition for Part no. 01 40 2 910 876 - VII/13
Page 131 of 327
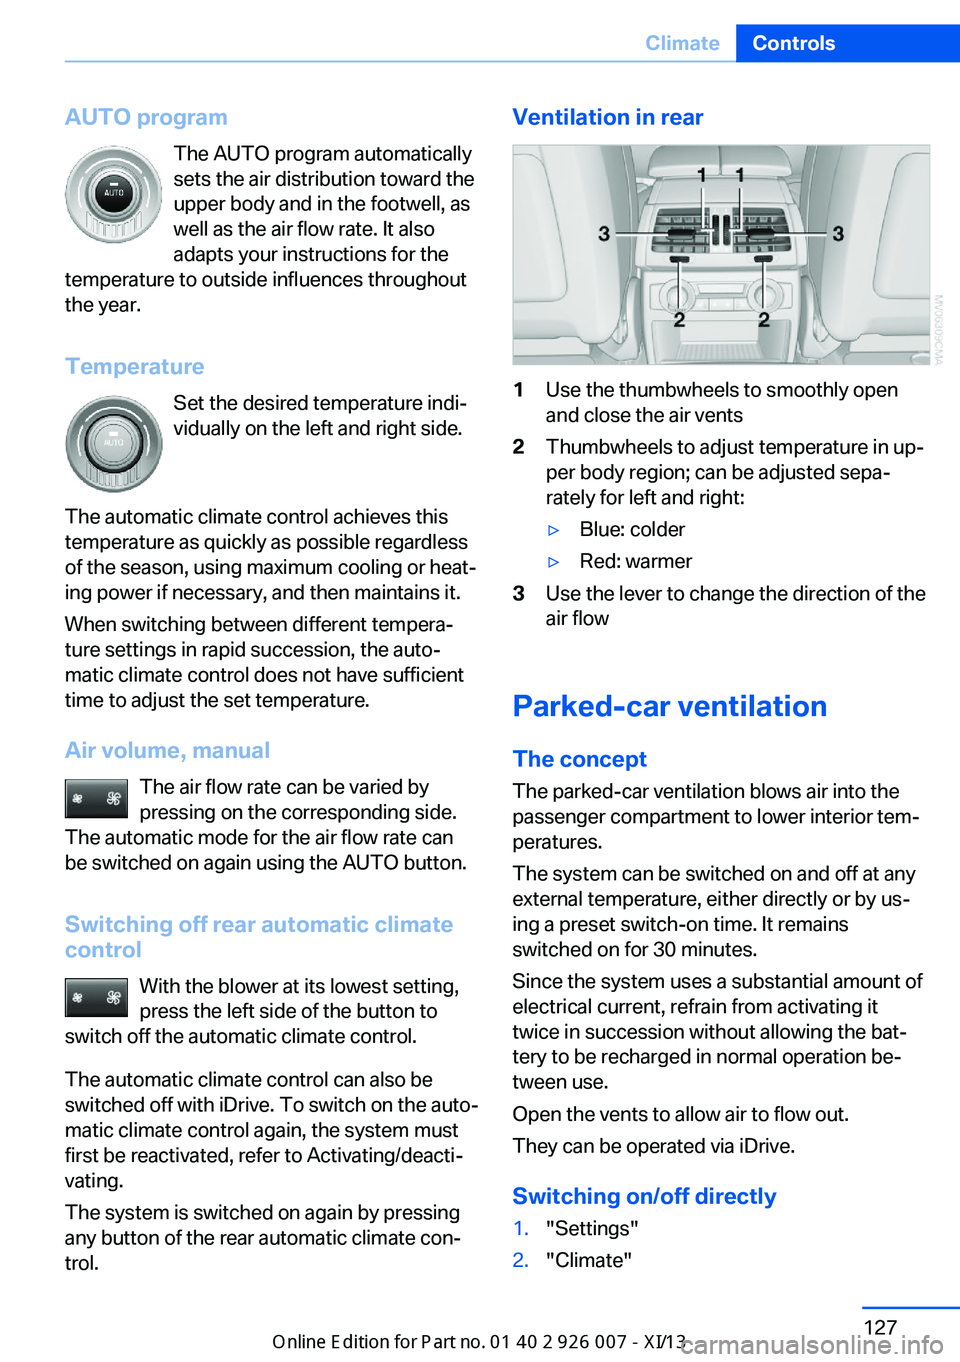
AUTO programThe AUTO program automatically
sets the air distribution toward the
upper body and in the footwell, as
well as the air flow rate. It also
adapts your instructions for the
temperature to outside influences throughout
the year.
Temperature Set the desired temperature indi‐
vidually on the left and right side.
The automatic climate control achieves this
temperature as quickly as possible regardless
of the season, using maximum cooling or heat‐
ing power if necessary, and then maintains it.
When switching between different tempera‐
ture settings in rapid succession, the auto‐
matic climate control does not have sufficient
time to adjust the set temperature.
Air volume, manual The air flow rate can be varied by
pressing on the corresponding side.
The automatic mode for the air flow rate can
be switched on again using the AUTO button.
Switching off rear automatic climate
control
With the blower at its lowest setting,
press the left side of the button to
switch off the automatic climate control.
The automatic climate control can also be
switched off with iDrive. To switch on the auto‐
matic climate control again, the system must
first be reactivated, refer to Activating/deacti‐
vating.
The system is switched on again by pressing
any button of the rear automatic climate con‐
trol.Ventilation in rear1Use the thumbwheels to smoothly open
and close the air vents2Thumbwheels to adjust temperature in up‐
per body region; can be adjusted sepa‐
rately for left and right:▷Blue: colder▷Red: warmer3Use the lever to change the direction of the
air flow
Parked-car ventilation
The concept The parked-car ventilation blows air into the
passenger compartment to lower interior tem‐
peratures.
The system can be switched on and off at any
external temperature, either directly or by us‐
ing a preset switch-on time. It remains
switched on for 30 minutes.
Since the system uses a substantial amount of
electrical current, refrain from activating it
twice in succession without allowing the bat‐
tery to be recharged in normal operation be‐
tween use.
Open the vents to allow air to flow out.
They can be operated via iDrive.
Switching on/off directly
1."Settings"2."Climate"Seite 127ClimateControls127
Online Edition for Part no. 01 40 2 910 876 - VII/13
Page 170 of 327
Add a destination as a further destination,
refer to page 167.▷"Exit interactive map": return to the map
view.▷"View in northern direction" or "View in driving direction"▷"Display destination": the map section
around the destination is displayed.▷"Display current location": the map section
around your current location is displayed.▷"Find points of interest": the search for
special destinations is started.
Destination entry by voice
General information
▷Instructions for voice activation system, re‐
fer to page 25.▷When making a destination entry by voice,
you can change between voice operation
and iDrive.▷To have the available spoken instructions
read out loud: ›Voice commands‹.
Saying the entries
▷The town/city, street, and house number
can be entered using a single command.▷Spell the entry if the spoken language and
the language of the system differ.▷Say the letters smoothly, and avoid exag‐
gerating the pronunciation and inserting
lengthy pauses between the letters.▷The methods of entry depend on the navi‐
gation data in use and the country and lan‐
guage settings.
Entering the address in a command
1. Press the button on the steering
wheel.2.›Enter address‹3.Wait for a request from the system.4.Say the address in the suggested order.5.Continue making the entry as prompted by
the system.
If necessary, individually name the sepa‐
rate components of the address, e.g., the
town/city.
Entering a town/city separately
The town/city can be said as a complete word.
With the destination entry menu displayed:
1. Press the button on the steering
wheel.2.›City‹ or ›Spell city‹3.Wait for the system to prompt you for the
town/city.4.Say the name of the town/city, or name at
least the first three letters.
Depending on the entry, up to 20 towns/
cities may be suggested.5.Select a location:▷Select a recommended town/
city: ›Yes‹.▷Select a different town/city: ›New
entry‹.▷Select an entry: ›Entry ...‹, for instance,
entry 2.▷Spell an entry: ›Spell city‹.6.Continue making the entry as prompted by
the system.
If there are several towns/cities with the same
name:
Towns/cities of the same name are grouped in
a list and displayed as one location followed by
an ellipsis.
1.Select an entry: ›Yes‹ or ›Entry ...‹, e. g., En‐
try 2.2.Select the desired town/city.Seite 166NavigationDestination entry166
Online Edition for Part no. 01 40 2 910 876 - VII/13
Page 186 of 327
RadioVehicle equipment
This chapter describes all series equipment as
well as country-specific and special equipment
offered for this model series.Therefore, it also
describes equipment that may not be found in
your vehicle, for instance due to the selected
special equipment or the country version. This
also applies to safety-related functions and
systems.
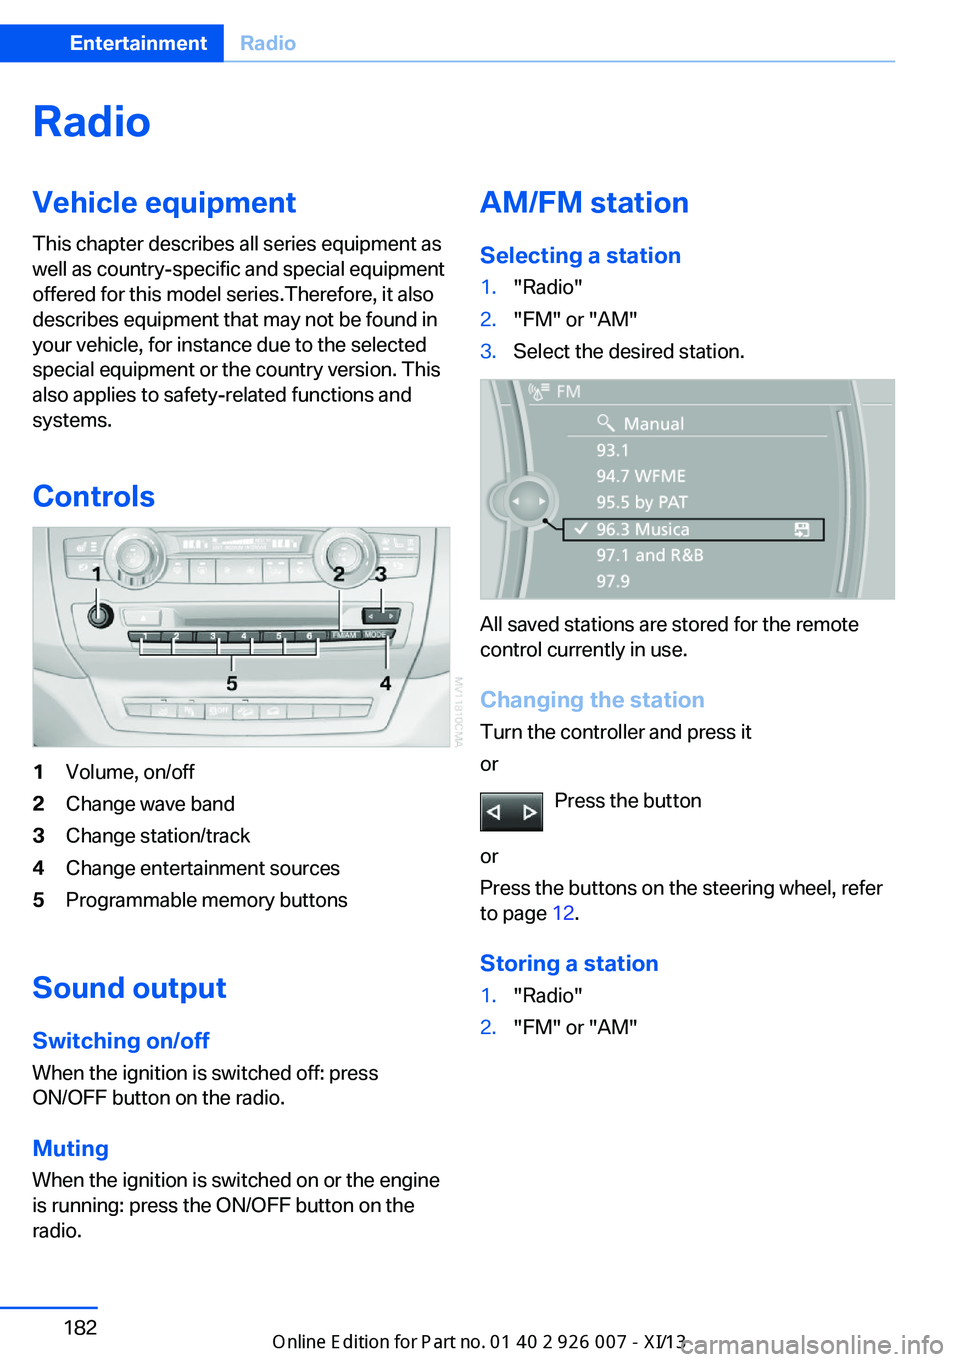
Controls1Volume, on/off2Change wave band3Change station/track4Change entertainment sources5Programmable memory buttons
Sound outputSwitching on/offWhen the ignition is switched off: press
ON/OFF button on the radio.
Muting
When the ignition is switched on or the engine
is running: press the ON/OFF button on the
radio.
AM/FM station
Selecting a station1."Radio"2."FM" or "AM"3.Select the desired station.
All saved stations are stored for the remote
control currently in use.
Changing the station
Turn the controller and press it
or
Press the button
or
Press the buttons on the steering wheel, refer
to page 12.
Storing a station
1."Radio"2."FM" or "AM"Seite 182EntertainmentRadio182
Online Edition for Part no. 01 40 2 910 876 - VII/13
Page 216 of 327
Menu navigation
You can use the thumbwheel and buttons 1 to
navigate through the menus.▷Turn the thumbwheel: select a menu item.▷Press the arrow buttons: change between
fields.▷ Press the button: activate the menu
item.
Changing batteries
1.Press the detent and remove the cover.2.Change the batteries. The type and instal‐
lation position are marked on the bottom of
the battery compartment.3.Close the cover.
Take the used battery to a recycling
center or to your service center.
Setting the language of the
DVD system
1.Select a CD/DVD track.2. Press the button.3.Select "Tone".4. Press the button.5.Switch to the top window.6.Select "Language".7. Press the button.8.Select the desired language.9. Press the button.Sound output via speakers
In addition to the headphones, you can also
play the sound via the vehicle speakers.1."CD/Multimedia"2."External devices"3."AUX rear"4."Volume"5.Turn the controller until the desired volume
is set and press the controller.
Switching DVD system on/off
Press the button on the CD-/DVD player or un‐
der the desired screen.
The DVD system switches on automatically
when a CD or DVD is inserted.
Playing CD/DVD
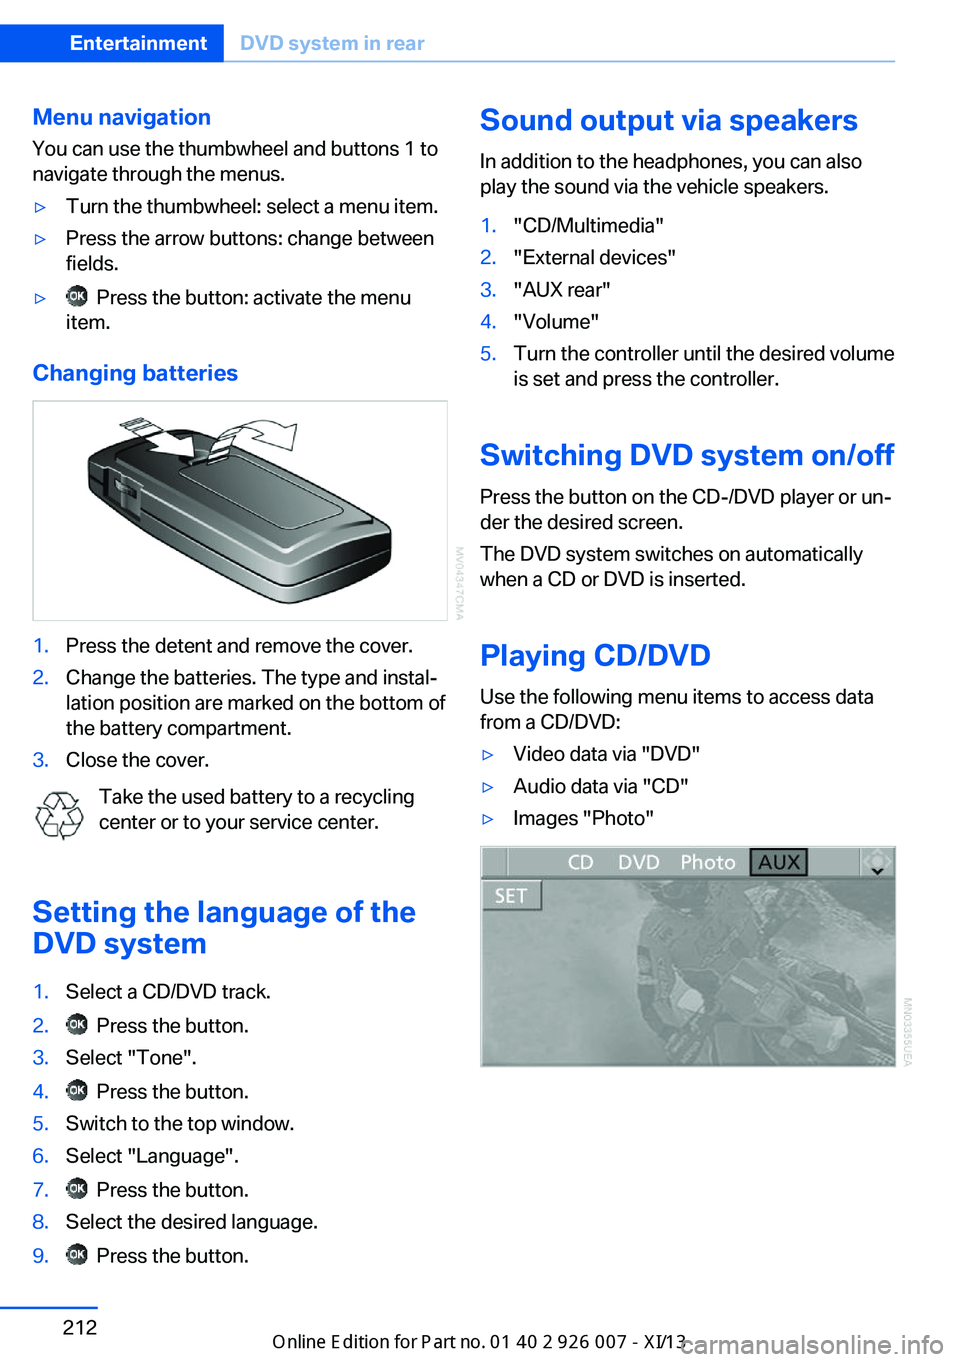
Use the following menu items to access data
from a CD/DVD:
▷Video data via "DVD"▷Audio data via "CD"▷Images "Photo"Seite 212EntertainmentDVD system in rear212
Online Edition for Part no. 01 40 2 910 876 - VII/13
Page 218 of 327
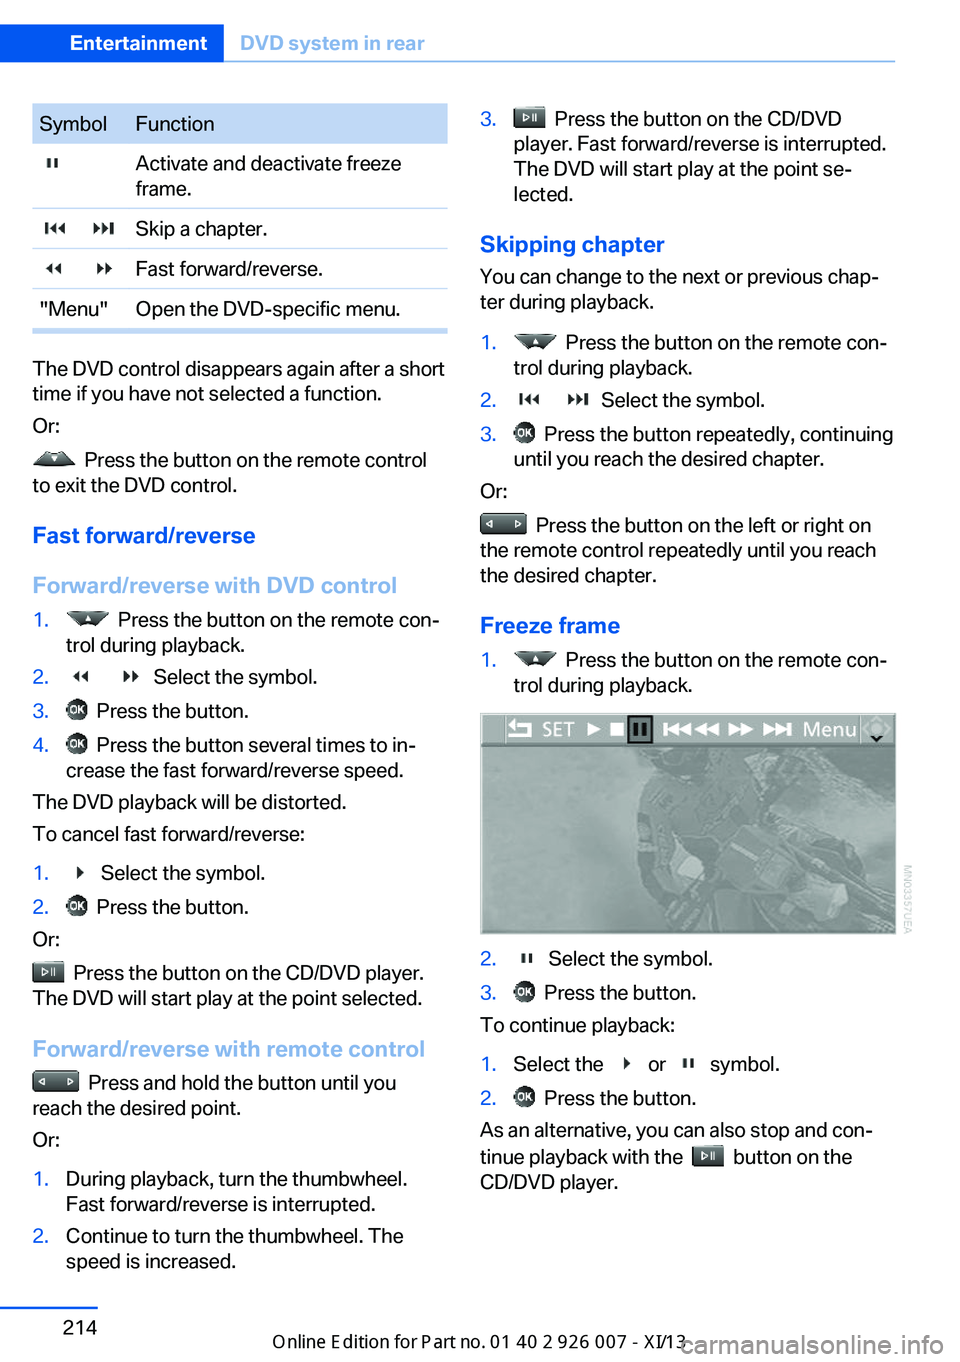
SymbolFunction Activate and deactivate freeze
frame. Skip a chapter. Fast forward/reverse."Menu"Open the DVD-specific menu.
The DVD control disappears again after a short
time if you have not selected a function.
Or:
Press the button on the remote control
to exit the DVD control.
Fast forward/reverse
Forward/reverse with DVD control
1. Press the button on the remote con‐
trol during playback.2. Select the symbol.3. Press the button.4. Press the button several times to in‐
crease the fast forward/reverse speed.
The DVD playback will be distorted.
To cancel fast forward/reverse:
1. Select the symbol.2. Press the button.
Or:
Press the button on the CD/DVD player.
The DVD will start play at the point selected.
Forward/reverse with remote control
Press and hold the button until you
reach the desired point.
Or:
1.During playback, turn the thumbwheel.
Fast forward/reverse is interrupted.2.Continue to turn the thumbwheel. The
speed is increased.3. Press the button on the CD/DVD
player. Fast forward/reverse is interrupted.
The DVD will start play at the point se‐
lected.
Skipping chapter
You can change to the next or previous chap‐
ter during playback.
1. Press the button on the remote con‐
trol during playback.2. Select the symbol.3. Press the button repeatedly, continuing
until you reach the desired chapter.
Or:
Press the button on the left or right on
the remote control repeatedly until you reach
the desired chapter.
Freeze frame
1. Press the button on the remote con‐
trol during playback.2. Select the symbol.3. Press the button.
To continue playback:
1.Select the or symbol.2. Press the button.
As an alternative, you can also stop and con‐
tinue playback with the
button on the
CD/DVD player.
Seite 214EntertainmentDVD system in rear214
Online Edition for Part no. 01 40 2 910 876 - VII/13
Page 223 of 327
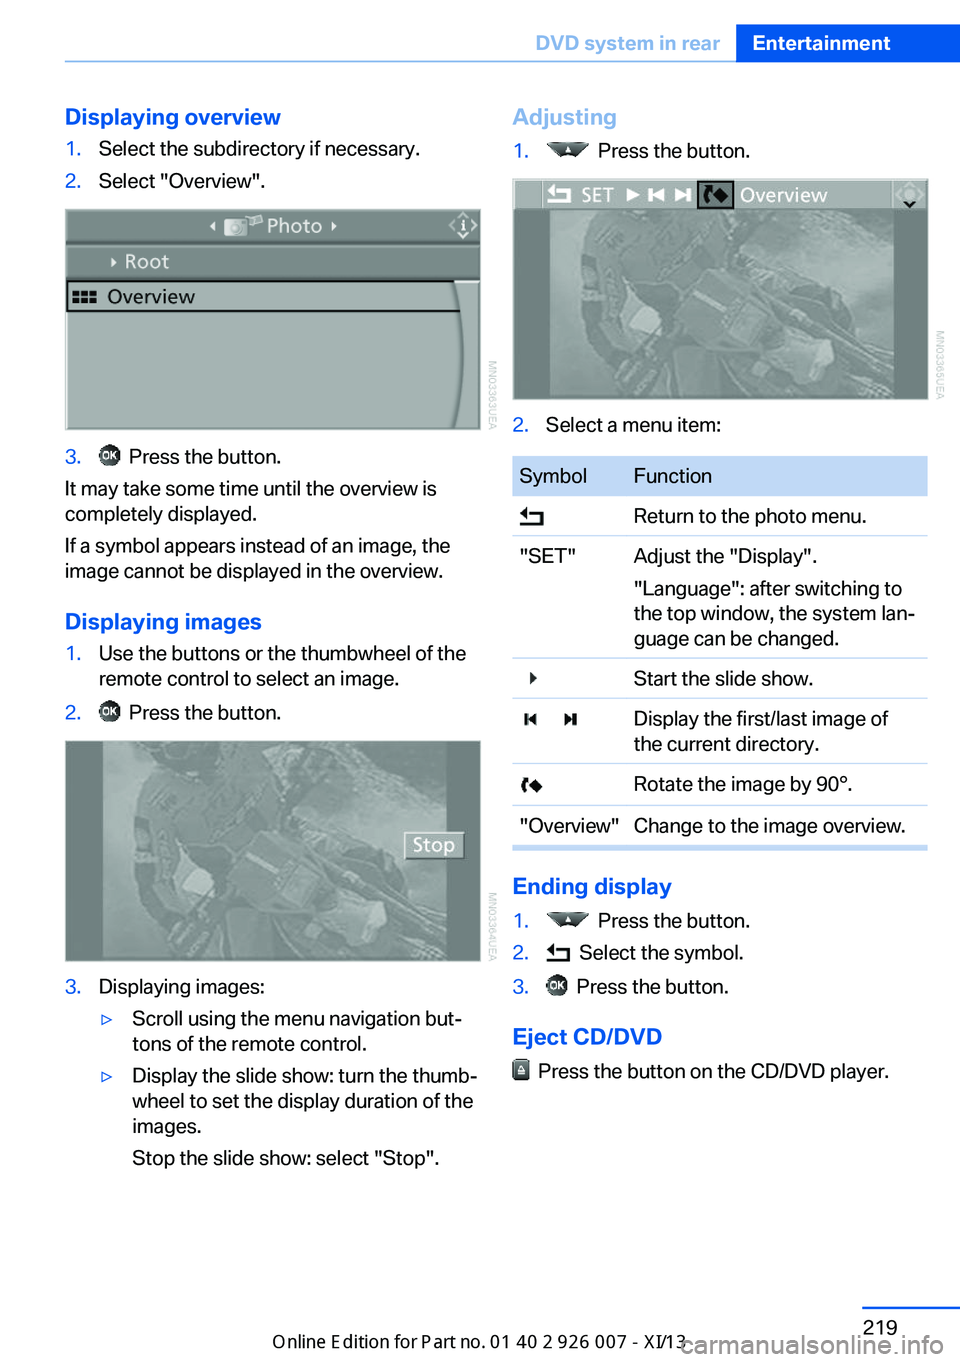
Displaying overview1.Select the subdirectory if necessary.2.Select "Overview".3. Press the button.
It may take some time until the overview is
completely displayed.
If a symbol appears instead of an image, the
image cannot be displayed in the overview.
Displaying images
1.Use the buttons or the thumbwheel of the
remote control to select an image.2. Press the button.3.Displaying images:▷Scroll using the menu navigation but‐
tons of the remote control.▷Display the slide show: turn the thumb‐
wheel to set the display duration of the
images.
Stop the slide show: select "Stop".Adjusting1. Press the button.2.Select a menu item:SymbolFunction Return to the photo menu."SET"Adjust the "Display".
"Language": after switching to
the top window, the system lan‐
guage can be changed. Start the slide show. Display the first/last image of
the current directory. Rotate the image by 90°."Overview"Change to the image overview.
Ending display
1. Press the button.2. Select the symbol.3. Press the button.
Eject CD/DVD
Press the button on the CD/DVD player.
Seite 219DVD system in rearEntertainment219
Online Edition for Part no. 01 40 2 910 876 - VII/13
Page 237 of 327
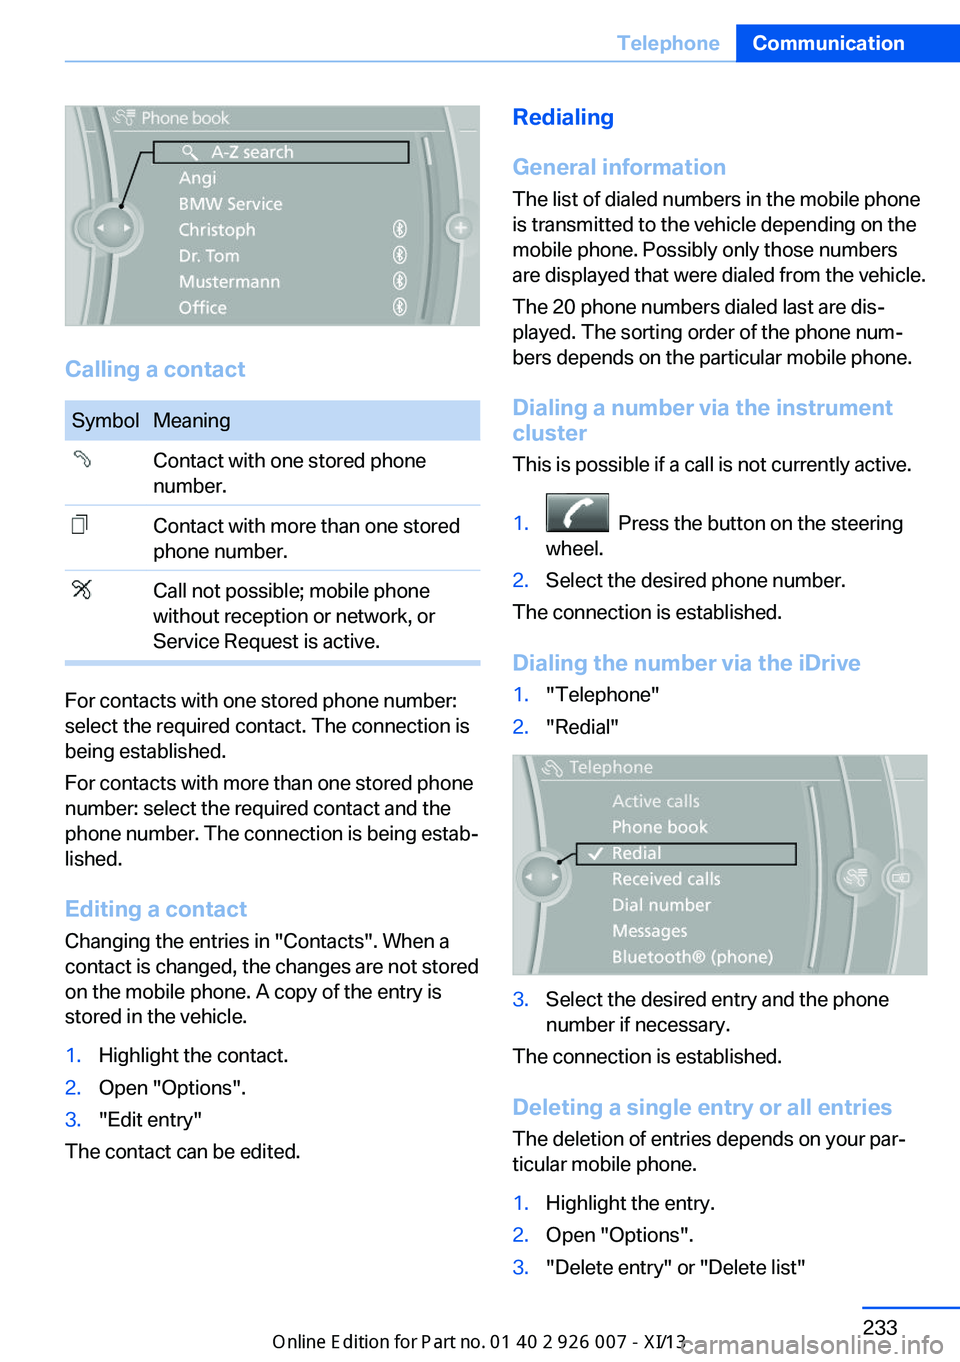
Calling a contact
SymbolMeaningContact with one stored phone
number.Contact with more than one stored
phone number.Call not possible; mobile phone
without reception or network, or
Service Request is active.
For contacts with one stored phone number:
select the required contact. The connection is
being established.
For contacts with more than one stored phone
number: select the required contact and the
phone number. The connection is being estab‐
lished.
Editing a contact Changing the entries in "Contacts". When a
contact is changed, the changes are not stored
on the mobile phone. A copy of the entry is
stored in the vehicle.
1.Highlight the contact.2.Open "Options".3."Edit entry"
The contact can be edited.
Redialing
General information
The list of dialed numbers in the mobile phone
is transmitted to the vehicle depending on the
mobile phone. Possibly only those numbers
are displayed that were dialed from the vehicle.
The 20 phone numbers dialed last are dis‐
played. The sorting order of the phone num‐
bers depends on the particular mobile phone.
Dialing a number via the instrument cluster
This is possible if a call is not currently active.1. Press the button on the steering
wheel.2.Select the desired phone number.
The connection is established.
Dialing the number via the iDrive
1."Telephone"2."Redial"3.Select the desired entry and the phone
number if necessary.
The connection is established.
Deleting a single entry or all entries The deletion of entries depends on your par‐
ticular mobile phone.
1.Highlight the entry.2.Open "Options".3."Delete entry" or "Delete list"Seite 233TelephoneCommunication233
Online Edition for Part no. 01 40 2 910 876 - VII/13