2013 BMW X6M display
[x] Cancel search: displayPage 140 of 327
Locking the backrest
Before letting passengers ride in the rear,
engage the seat backrests, locking them in
place. Otherwise, there is the danger of an ac‐
cident due to unexpected seat movement.◀
Ensure that the lock is securely engagedWhen folding back the backrest, be sure
that it locks in place securely. The red warning
field in the control display disappears. If it is
not properly engaged, transported cargo could
enter the passenger compartment during brak‐
ing or evasive maneuvers and endanger the
vehicle occupants.◀
Observe the instructions concerning the
safety belt
Observe the instructions concerning the safety
belt, refer to page 47. Otherwise, personal pro‐
tection may be compromised.◀Seite 136ControlsInterior equipment136
Online Edition for Part no. 01 40 2 910 876 - VII/13
Page 145 of 327
it back into the bracket holding the hook to
prevent damage and injury.
Then slide the fastening system toward the
front in order to permit the best possible use of
the cargo area.
Removing brackets Press down the brackets, slide them up to the
notches of the rails and remove them.
Depending on the vehicle's equipment, the adaptive fixing system can be stored under thecargo floor cover in the cargo area.
Ski bag
The ski bag is designed for safe, clean trans‐
port of up to 4 pairs of standard skis or up to
2 snowboards.
Skis with a length of up to 6 ft/2.10 m can be
stowed using the ski bag. When stowing skis
with a length of 6 ft/2.10 m, the capacity of the
ski bag is reduced as the bag narrows.
Folding in display screen
Before loading the ski bag, fold in the
display screen of the DVD systems in the rear;
otherwise, the display screen could be dam‐
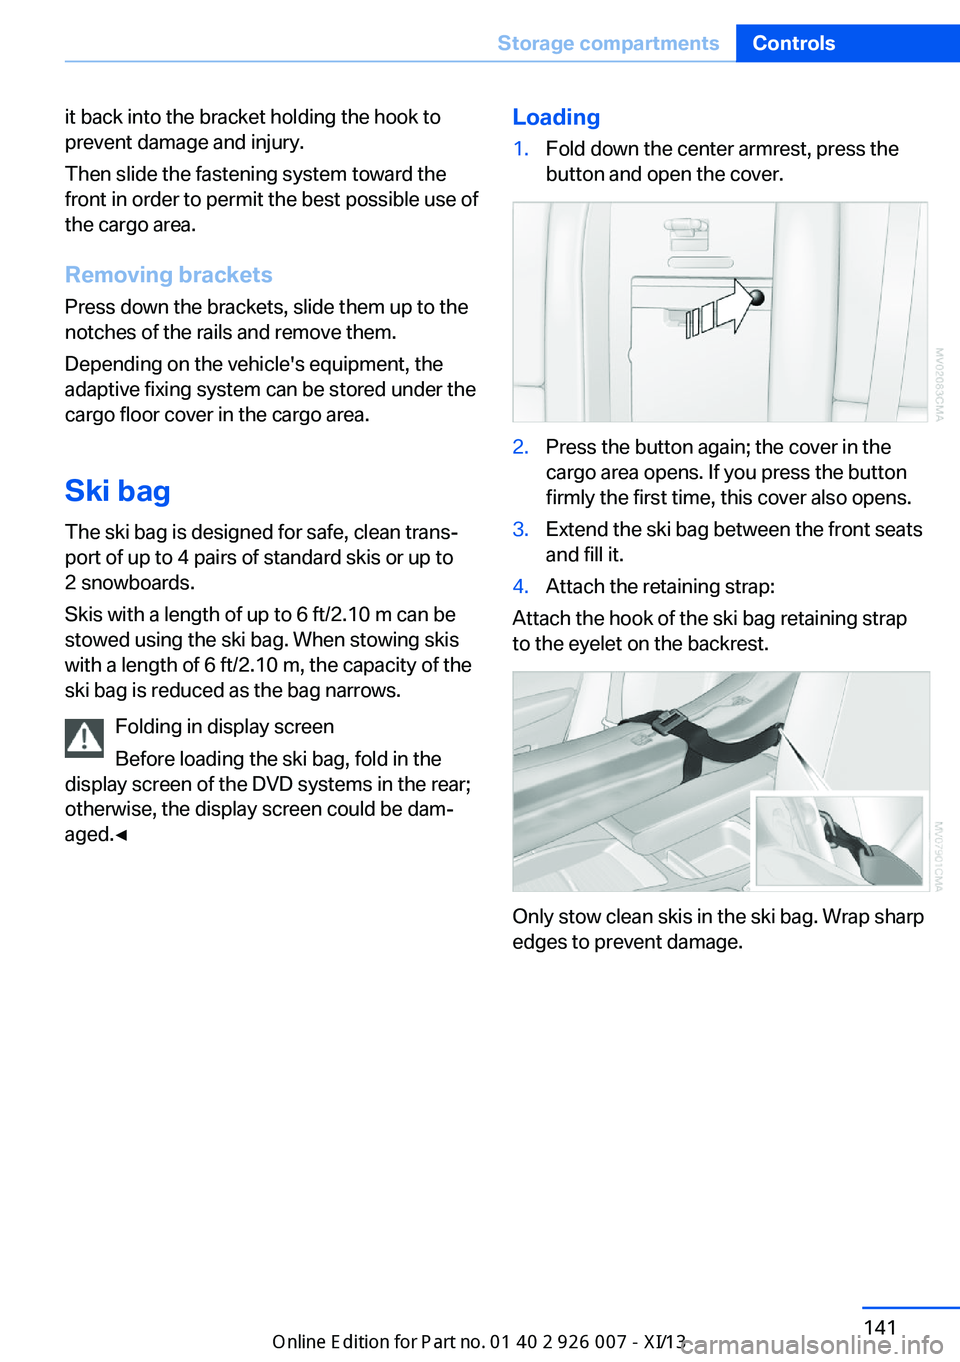
aged.◀Loading1.Fold down the center armrest, press the
button and open the cover.2.Press the button again; the cover in the
cargo area opens. If you press the button
firmly the first time, this cover also opens.3.Extend the ski bag between the front seats
and fill it.4.Attach the retaining strap:
Attach the hook of the ski bag retaining strap
to the eyelet on the backrest.
Only stow clean skis in the ski bag. Wrap sharp
edges to prevent damage.
Seite 141Storage compartmentsControls141
Online Edition for Part no. 01 40 2 910 876 - VII/13
Page 162 of 327

Navigation systemVehicle equipmentThis chapter describes all series equipment as
well as country-specific and special equipment
offered for this model series.Therefore, it also
describes equipment that may not be found in
your vehicle, for instance due to the selected
special equipment or the country version. This
also applies to safety-related functions and
systems.
General information
The navigation system can determine the pre‐
cise position of the vehicle, with the aid of sat‐
ellites and vehicle sensors, and can reliably
guide you to every entered destination.
Entries in stationary vehicle
Enter data only when the vehicle is sta‐
tionary, and always give priority to the applica‐
ble traffic regulations in the event of any con‐
tradiction between traffic and road conditions
and the instructions issued by the navigation
system. Failure to take to this precaution can
place you in violation of the law and put vehicle
occupants and other road users in danger.◀
Opening the navigation system1. Press the button on the controller.2."Navigation"
The navigation system can also be called
up directly using the button on the con‐
troller.
Navigation data
Information on navigation data
1."Navigation"2.Open "Options".3."Navigation system version"
Information is displayed on the data ver‐
sion.
Updating the navigation data
General information
Navigation data are stored in the vehicle and
can be updated.
Current navigation data and the authorization
code are available from your service center.
▷Depending on the data volume, a data up‐
date may take several hours.▷Update during the trip to preserve battery.▷During the update, only the basic functions
of the navigation system are available.▷The status of the update can be viewed.▷After the updating process is complete, the
system restarts.▷Remove the medium with the navigation
data after the update.
Performing an update
1.Insert the navigation DVD into the DVD
player with the labeled side facing up.2.Follow the instructions on the Control Dis‐
play.3.Enter the authorization code of the naviga‐
tion DVD.4.Change the DVD if necessary.
After the trip is interrupted, follow the instruc‐
tions on the Control Display.
Viewing the status
1.Open "Options".2."Navigation update"Seite 158NavigationNavigation system158
Online Edition for Part no. 01 40 2 910 876 - VII/13
Page 164 of 327
Destination entryVehicle equipment
This chapter describes all series equipment as
well as country-specific and special equipment
offered for this model series.Therefore, it also
describes equipment that may not be found in
your vehicle, for instance due to the selected
special equipment or the country version. This
also applies to safety-related functions and
systems.
At a glance
In entering your destination you can select
from the following options:▷Enter the destination manually, see below.▷Select the destination from the address
book, refer to page 162.▷Last destinations, refer to page 163.▷Special destinations, refer to page 163.▷Destination entry via map, refer to
page 165.▷Using the home address as the destina‐
tion, refer to page 163.▷Destination entry by voice, refer to
page 166.▷Destination entry via the Concierge serv‐
ice, refer to page 165.
Entries in stationary vehicle
Enter data only when the vehicle is sta‐
tionary, and always give priority to the applica‐
ble traffic regulations in the event of any con‐
tradiction between traffic and road conditions
and the instructions issued by the navigation
system. Failure to take to this precaution can
place you in violation of the law and put vehicle
occupants and other road users in danger.◀
Manual destination entry
General information The system supports you in entering street
names and house numbers by automatically
completing the entry and providing entry com‐
parisons, refer to page 24.
Stored town/city and street names can be
called up quickly.▷If the existing entries should not be
changed, the entries for the state/province
and town/city can be skipped.▷Destination guidance is started to the
town/city center if no street is entered.
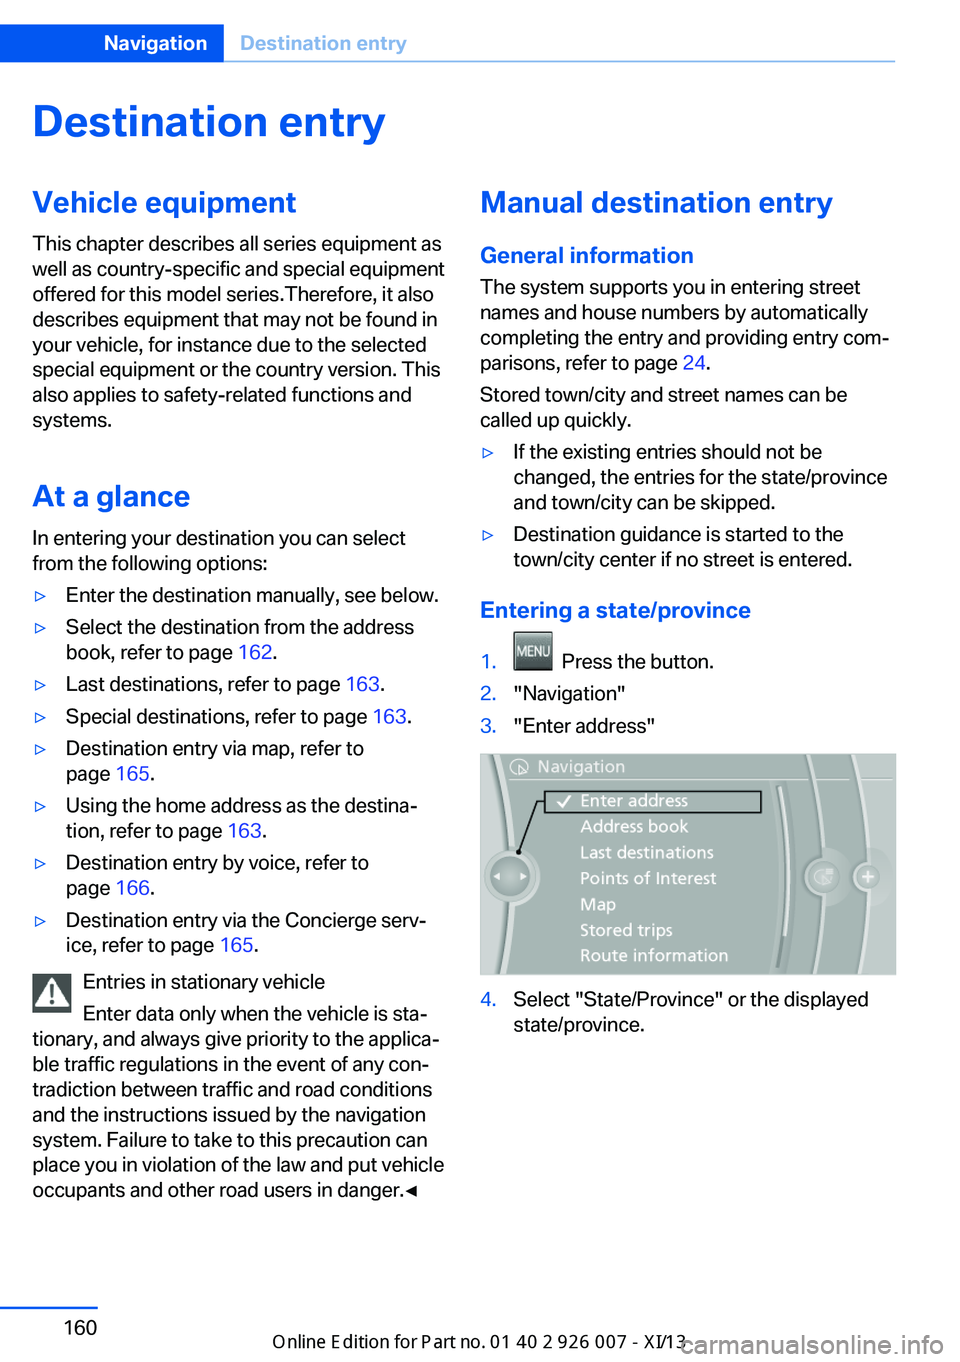
Entering a state/province
1. Press the button.2."Navigation"3."Enter address"4.Select "State/Province" or the displayed
state/province.Seite 160NavigationDestination entry160
Online Edition for Part no. 01 40 2 910 876 - VII/13
Page 165 of 327
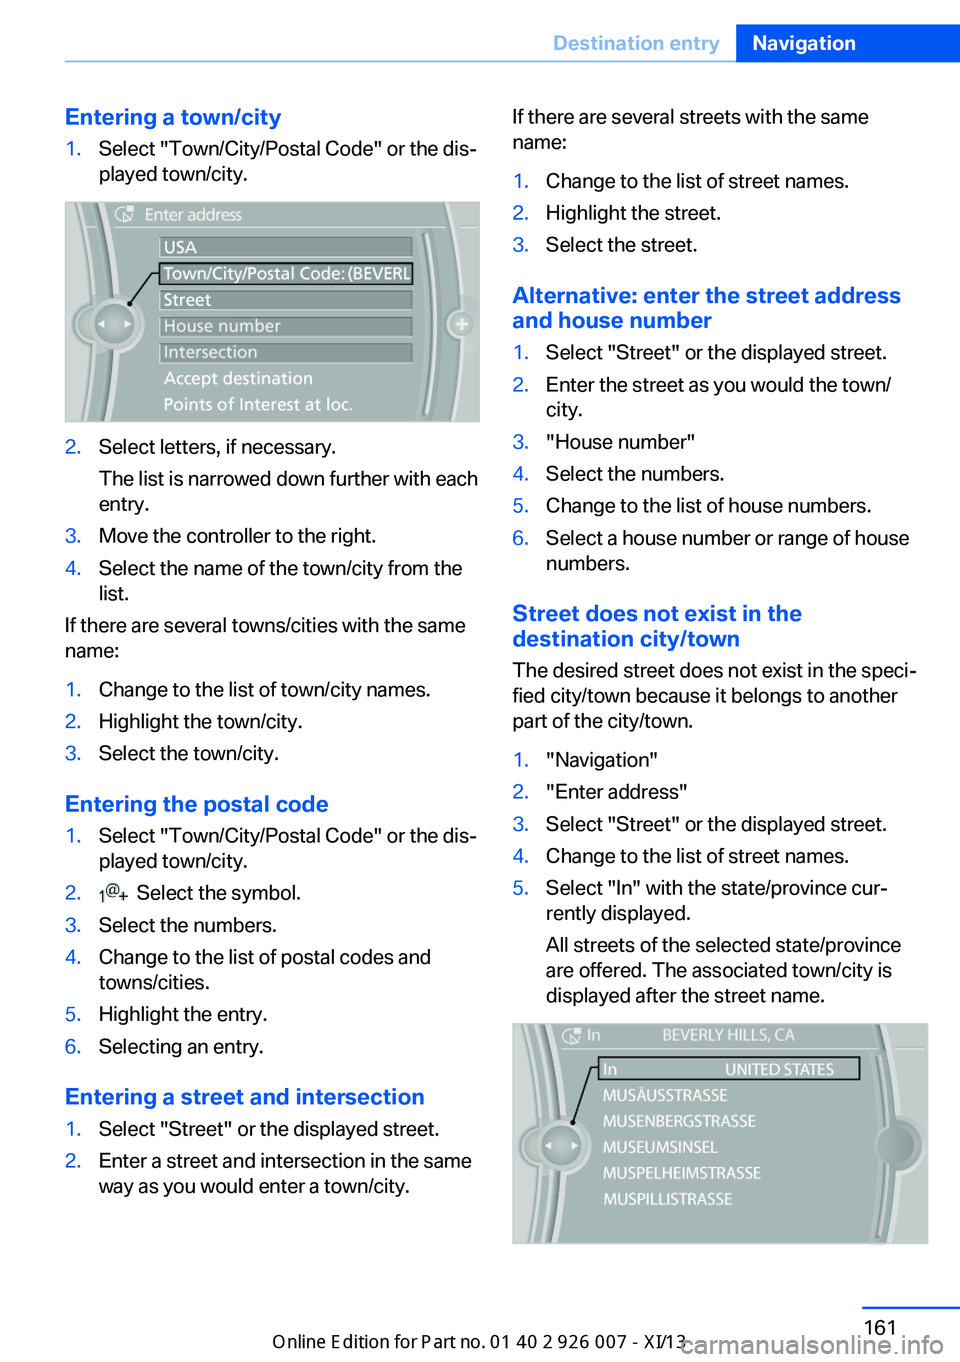
Entering a town/city1.Select "Town/City/Postal Code" or the dis‐
played town/city.2.Select letters, if necessary.
The list is narrowed down further with each
entry.3.Move the controller to the right.4.Select the name of the town/city from the
list.
If there are several towns/cities with the same
name:
1.Change to the list of town/city names.2.Highlight the town/city.3.Select the town/city.
Entering the postal code
1.Select "Town/City/Postal Code" or the dis‐
played town/city.2. Select the symbol.3.Select the numbers.4.Change to the list of postal codes and
towns/cities.5.Highlight the entry.6.Selecting an entry.
Entering a street and intersection
1.Select "Street" or the displayed street.2.Enter a street and intersection in the same
way as you would enter a town/city.If there are several streets with the same
name:1.Change to the list of street names.2.Highlight the street.3.Select the street.
Alternative: enter the street address
and house number
1.Select "Street" or the displayed street.2.Enter the street as you would the town/
city.3."House number"4.Select the numbers.5.Change to the list of house numbers.6.Select a house number or range of house
numbers.
Street does not exist in the
destination city/town
The desired street does not exist in the speci‐
fied city/town because it belongs to another
part of the city/town.
1."Navigation"2."Enter address"3.Select "Street" or the displayed street.4.Change to the list of street names.5.Select "In" with the state/province cur‐
rently displayed.
All streets of the selected state/province
are offered. The associated town/city is
displayed after the street name.Seite 161Destination entryNavigation161
Online Edition for Part no. 01 40 2 910 876 - VII/13
Page 166 of 327
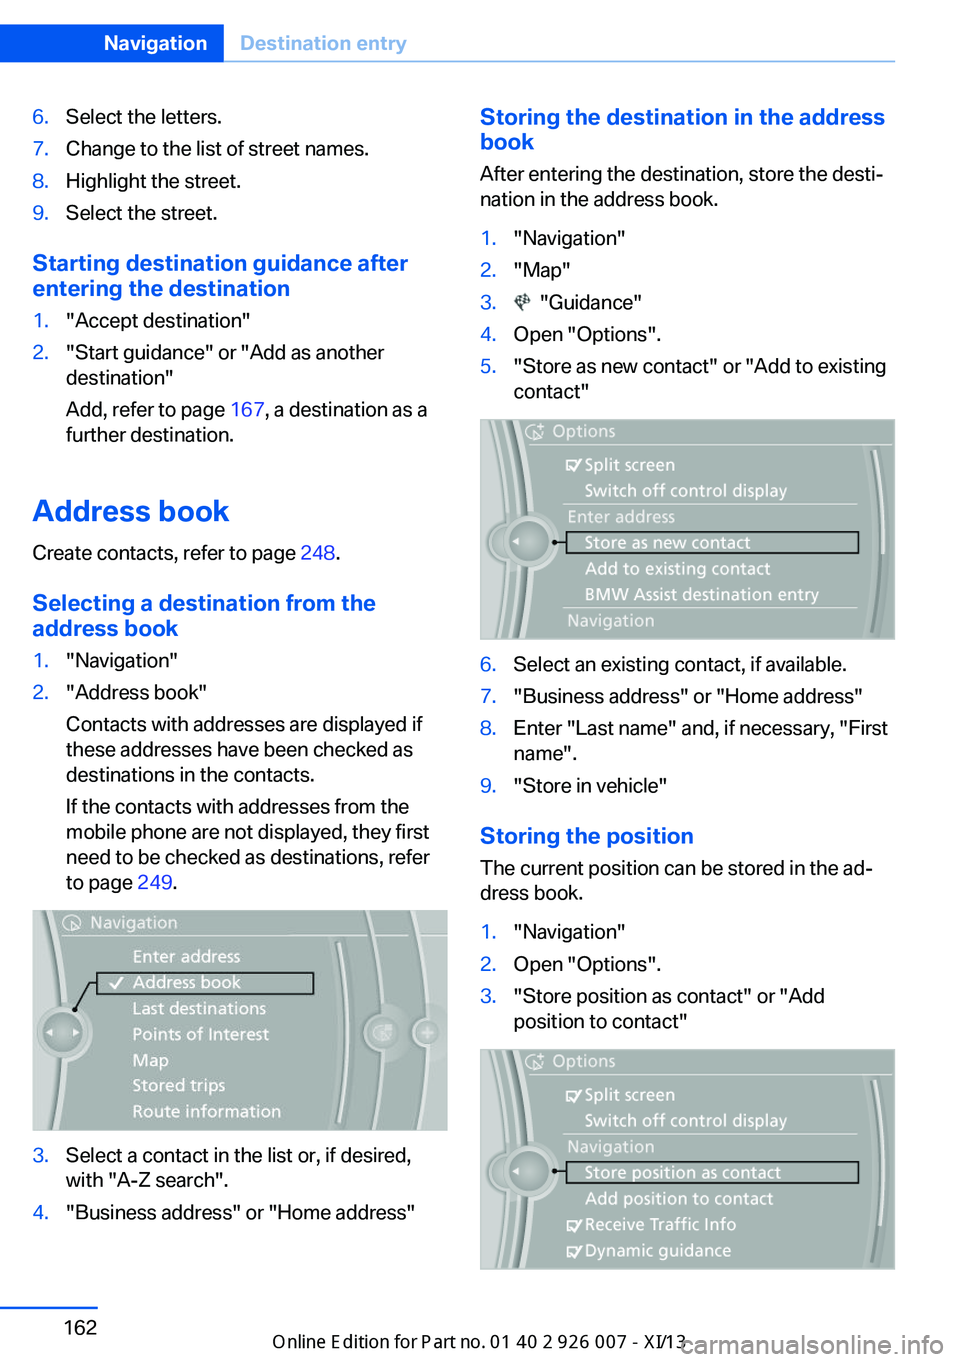
6.Select the letters.7.Change to the list of street names.8.Highlight the street.9.Select the street.
Starting destination guidance after
entering the destination
1."Accept destination"2."Start guidance" or "Add as another
destination"
Add, refer to page 167, a destination as a
further destination.
Address book
Create contacts, refer to page 248.
Selecting a destination from the
address book
1."Navigation"2."Address book"
Contacts with addresses are displayed if
these addresses have been checked as
destinations in the contacts.
If the contacts with addresses from the
mobile phone are not displayed, they first
need to be checked as destinations, refer
to page 249.3.Select a contact in the list or, if desired,
with "A-Z search".4."Business address" or "Home address"Storing the destination in the address
book
After entering the destination, store the desti‐
nation in the address book.1."Navigation"2."Map"3. "Guidance"4.Open "Options".5."Store as new contact" or "Add to existing
contact"6.Select an existing contact, if available.7."Business address" or "Home address"8.Enter "Last name" and, if necessary, "First
name".9."Store in vehicle"
Storing the position
The current position can be stored in the ad‐
dress book.
1."Navigation"2.Open "Options".3."Store position as contact" or "Add
position to contact"Seite 162NavigationDestination entry162
Online Edition for Part no. 01 40 2 910 876 - VII/13
Page 168 of 327
changed; for example, gas stations might not
be in operation.
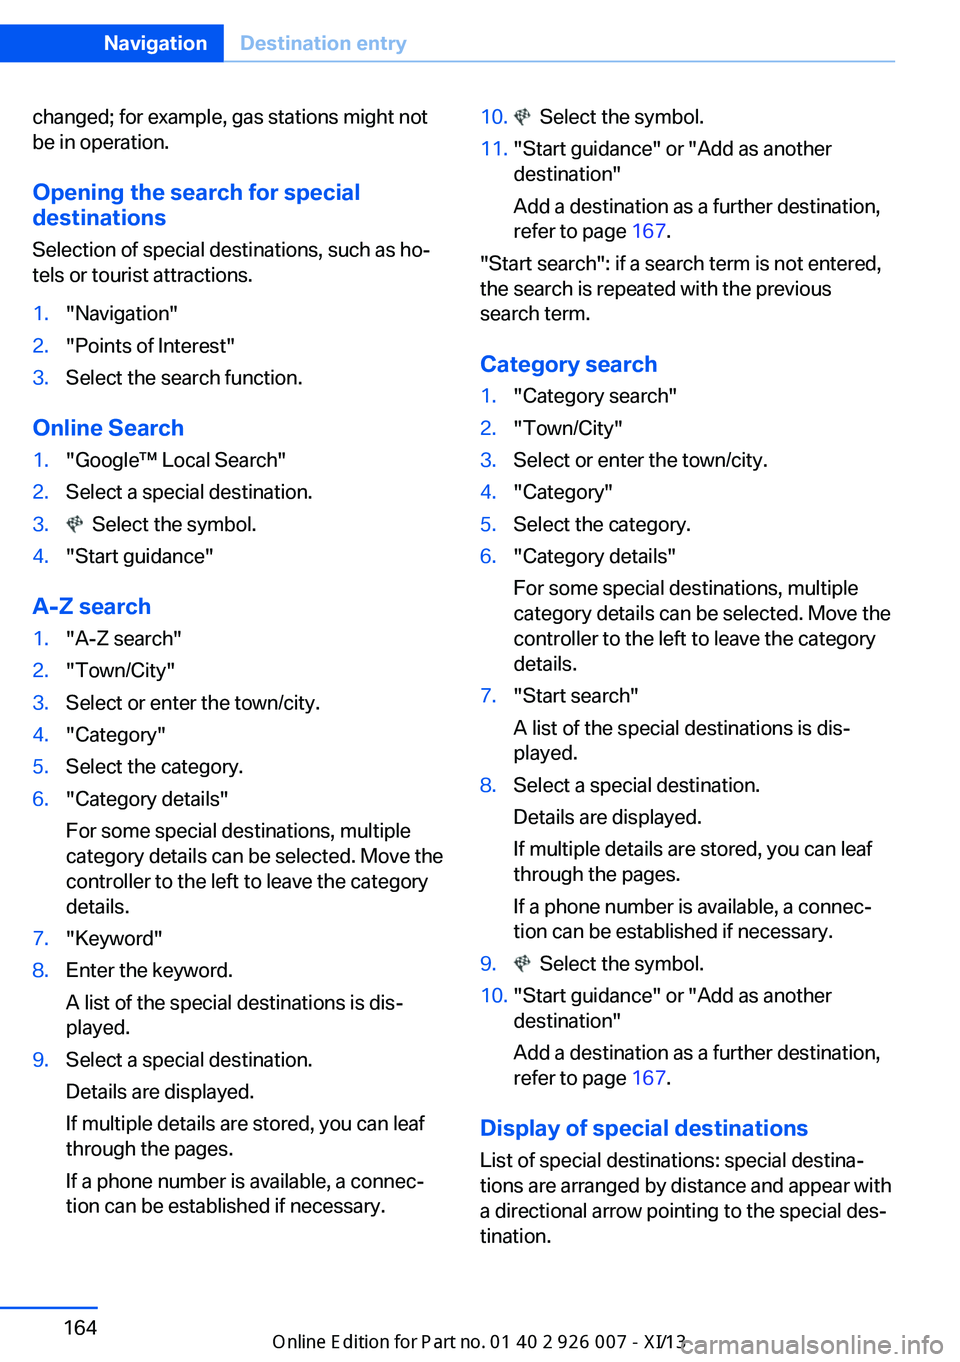
Opening the search for specialdestinations
Selection of special destinations, such as ho‐
tels or tourist attractions.1."Navigation"2."Points of Interest"3.Select the search function.
Online Search
1."Google™ Local Search"2.Select a special destination.3. Select the symbol.4."Start guidance"
A-Z search
1."A-Z search"2."Town/City"3.Select or enter the town/city.4."Category"5.Select the category.6."Category details"
For some special destinations, multiple
category details can be selected. Move the
controller to the left to leave the category
details.7."Keyword"8.Enter the keyword.
A list of the special destinations is dis‐
played.9.Select a special destination.
Details are displayed.
If multiple details are stored, you can leaf
through the pages.
If a phone number is available, a connec‐
tion can be established if necessary.10. Select the symbol.11."Start guidance" or "Add as another
destination"
Add a destination as a further destination,
refer to page 167.
"Start search": if a search term is not entered,
the search is repeated with the previous
search term.
Category search
1."Category search"2."Town/City"3.Select or enter the town/city.4."Category"5.Select the category.6."Category details"
For some special destinations, multiple
category details can be selected. Move the
controller to the left to leave the category
details.7."Start search"
A list of the special destinations is dis‐
played.8.Select a special destination.
Details are displayed.
If multiple details are stored, you can leaf
through the pages.
If a phone number is available, a connec‐
tion can be established if necessary.9. Select the symbol.10."Start guidance" or "Add as another
destination"
Add a destination as a further destination,
refer to page 167.
Display of special destinations
List of special destinations: special destina‐
tions are arranged by distance and appear with
a directional arrow pointing to the special des‐
tination.
Seite 164NavigationDestination entry164
Online Edition for Part no. 01 40 2 910 876 - VII/13
Page 169 of 327
In the splitscreen, special destinations of the
selected category are displayed in the map
view as symbols. The display depends on the
scale of the map and the category.
Destination entry via the Concierge
service
A connection is established to the Concierge
service, refer to page 251.1."Navigation"2."Enter address"3.Open "Options".4."BMW Assist dest. entry"
Displaying special destinations in the
map
To display symbols of the special destinations
in the map view:
1."Navigation"2."Map"3.Open "Options".4."Display Points of Interest"5.Select the setting.
Destination entry by map
Selecting the destination
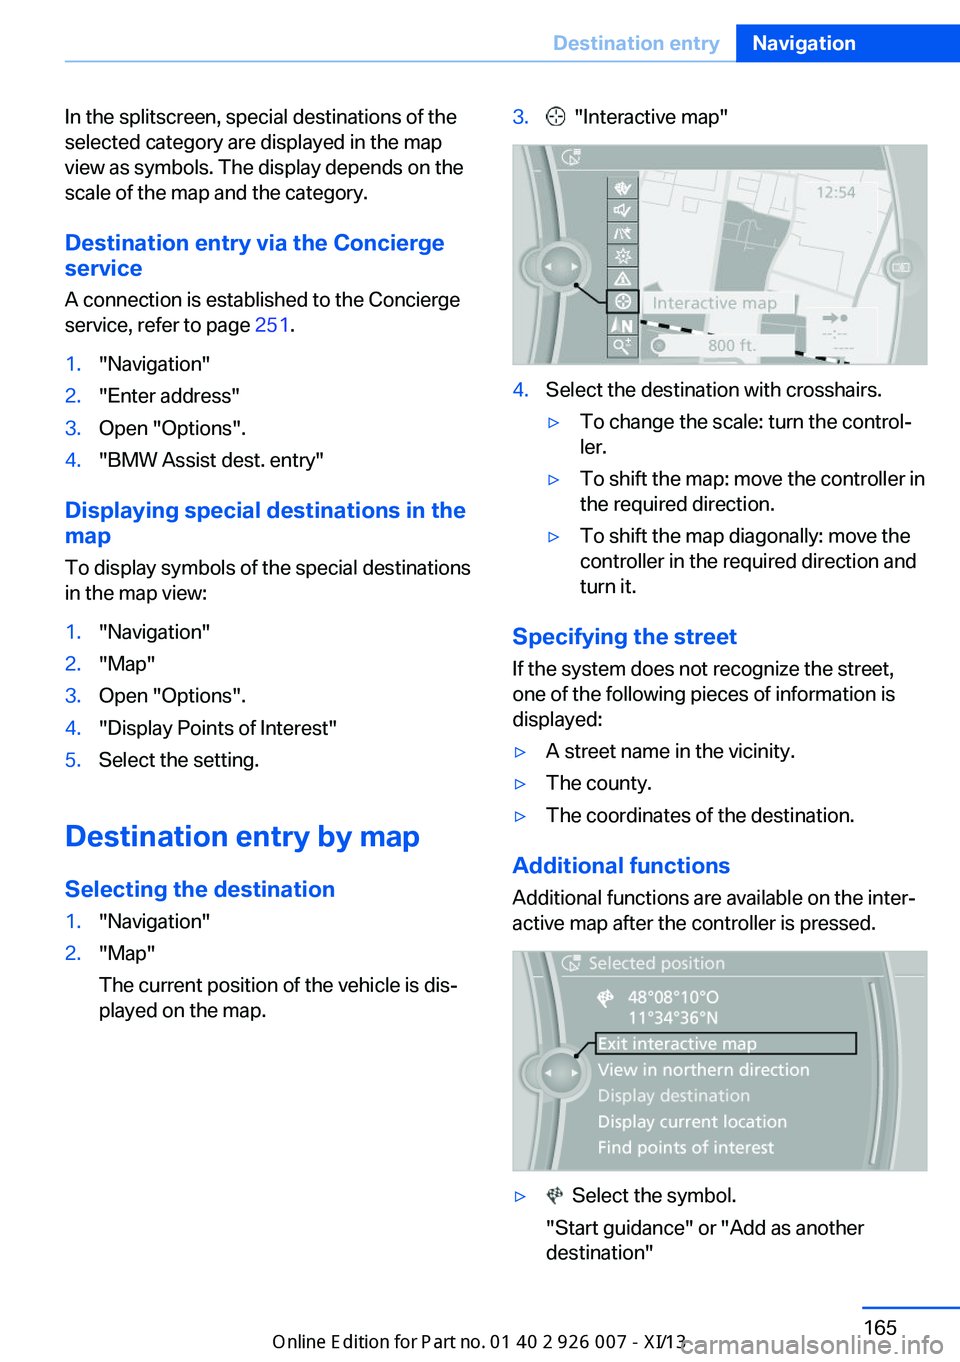
1."Navigation"2."Map"
The current position of the vehicle is dis‐
played on the map.3. "Interactive map"4.Select the destination with crosshairs.▷To change the scale: turn the control‐
ler.▷To shift the map: move the controller in
the required direction.▷To shift the map diagonally: move the
controller in the required direction and
turn it.
Specifying the street
If the system does not recognize the street,
one of the following pieces of information is
displayed:
▷A street name in the vicinity.▷The county.▷The coordinates of the destination.
Additional functions
Additional functions are available on the inter‐
active map after the controller is pressed.
▷ Select the symbol.
"Start guidance" or "Add as another destination"Seite 165Destination entryNavigation165
Online Edition for Part no. 01 40 2 910 876 - VII/13