2013 BMW X1 XDRIVE 35I lights
[x] Cancel search: lightsPage 8 of 291

also be aware of any applicable warranty limita‐
tions or exclusions for such country or region. In
such case, please contact Customer Relations
for further information.
Maintenance
Maintain the vehicle regularly to sustain the road
safety, operational reliability and the New Vehi‐
cle Limited Warranty.
Specifications for required maintenance meas‐
ures:▷BMW Maintenance system▷Service and Warranty Information Booklet
for US models▷Warranty and Service Guide Booklet for
Canadian models
If the vehicle is not maintained according to
these specifications, this could result in serious
damage to the vehicle. Such damage is not cov‐
ered by the BMW New Vehicle Limited War‐
ranty.
Data memory
Numerous electronic components in your vehi‐
cle contain data memories that store technical
information on the vehicle condition, events and
faults, either temporarily or permanently. This
technical information generally documents the
state of a component, a module, a system or the
environment.
▷Operating conditions of system compo‐
nents, such as filling levels.▷Status messages from the vehicle and its
individual components, such as wheel rpm/
speed, motion delay, transverse accelera‐
tion.▷Malfunctions and defects in important sys‐
tem components, such as lights and brakes.▷Vehicle responses to special driving situa‐
tions, such as airbag deployment, use of the
stability control systems.▷Ambient conditions, such as the tempera‐
ture.
These data are of a technical nature only and are
used to detect and eliminate faults and to opti‐
mize vehicle functions. Travel profiles of routes
driven with the vehicle cannot be created from
these data. If services are used, for instance in
the event of repairs, service processes, warranty
cases, quality assurance, etc., this technical in‐
formation can be read out from the event and
fault data memories by service personnel, in‐
cluding the manufacturer, using special diagno‐
sis tools. This service personnel can provide you
with more information if needed. After trouble‐
shooting, the information in the fault memory is
cleared or overwritten continuously.
Situations are conceivable during the use of the
vehicle in which these technical data could be‐
come associated with a specific person in com‐
bination with other information, such as an ac‐
cident report, damage to the vehicle, witness
accounts, etc., possibly with the involvement of
an authorized expert.
Additional functions that are contractually
agreed with the customer, such as vehicle lo‐
calization in the event of an emergency, permit
the transfer of certain vehicle data out of the ve‐
hicle.
Reporting safety defects
For US customers
The following only applies to vehicles owned
and operated in the US.
If you believe that your vehicle has a defect
which could cause a crash or could cause injury
or death, you should immediately inform the Na‐
tional Highway Traffic Safety Administration
NHTSA, in addition to notifying BMW of North
America, LLC, P.O. Box 1227, Westwood, New
Jersey 07675-1227, Telephone
1-800-831-1117.
If NHTSA receives similar complaints, it may
open an investigation, and if it finds that a safety
Seite 8Notes8
Online Edition for Part no. 01 40 2 914 595 - VI/12
Page 31 of 291

▷The remote control used is detected when
the vehicle is unlocked and the stored profile
is called up.▷Your personal settings will be recognized
and called up again even if the vehicle has
been used in the meantime by someone else
with another remote control.
The individual settings are stored for a maximum
of four remote controls. They are stored for two
remote controls if Comfort Access is in use.
Personal Profile settings
The following functions and settings can be
stored in a profile.
More information on the settings can be found
under:
▷Assigning the programmable memory but‐
tons, refer to page 23.▷Response of the central locking system
when the car is being unlocked, refer to
page 32.▷Automatic locking of the vehicle, refer to
page 35.▷Automatic call-up of the driver's seat posi‐
tion after unlocking, refer to page 33.▷Settings for the display on the Control Dis‐
play and in the instrument cluster:▷12h/24h clock format, refer to
page 73.▷Date format, refer to page 74.▷Brightness of the Control Display, refer
to page 75.▷Language on the Control Display, refer
to page 74.▷Units of measure for fuel consumption,
distance covered/remaining distances,
and temperature, refer to page 72.▷Show visual warning for the Park Distance
Control PDC, refer to page 101.▷Backup camera:▷Function selection, refer to page 102.▷Type of display, refer to page 104.▷Light settings:▷Triple turn signal activation, refer to
page 59.▷Welcome lamps, refer to page 80.▷Headlamp courtesy delay feature, refer
to page 81.▷Daytime running lights, refer to
page 81.▷High-beam Assistant, refer to
page 82.▷Automatic climate control: AUTO program,
cooling function and automatic recirculated
air control activated/deactivated, tempera‐
ture, air flow rate and distribution, refer to
page 105.▷Navigation:▷Voice activation, refer to page 151.▷Route criteria, refer to page 149.▷Map view settings, refer to page 152.▷Entertainment:▷Tone control, refer to page 160.▷Radio, stored stations, refer to
page 168.▷CD/multimedia, audio source listened to
last, refer to page 170.▷Telephone: volume, refer to page 196.
Central locking system
The concept
The central locking system becomes active
when the driver's door is closed.
The system simultaneously engages and re‐
leases the locks on the following:
▷Doors.▷Tailgate.▷Fuel filler flap.Seite 31Opening and closingControls31
Online Edition for Part no. 01 40 2 914 595 - VI/12
Page 38 of 291

To switch the engine off with transmission po‐
sition N engaged, insert the remote control in
the ignition lock.
Malfunction
The Comfort Access functions can be disturbed
by local radio waves, such as by a mobile phone
in the immediate vicinity of the remote control or
when a mobile phone is being charged in the
vehicle.
If this occurs, open or close the vehicle using the
buttons on the remote control or use the
integrated key in the door lock.
To start the engine afterward, insert the remote
control into the ignition switch.
Warning lamps The warning lamp in the instrument
cluster lights up when you attempt to
start the engine: the engine cannot be
started.
The remote control is not in the vehicle or has a
malfunction. Take the remote control with you
inside the vehicle or have it checked. If neces‐
sary, insert another remote control into the ig‐
nition switch.
The warning lamp in the instrument
cluster lights up while the engine is
running: the remote control is no lon‐
ger inside the vehicle.
After switching off the engine, the engine can
only be started again within approx. 10 seconds
if no door has been opened.
The indicator lamp in the instrument
cluster comes on and a message ap‐
pears on the Control Display: replace
the remote control battery.Replacing the battery
The remote control for Comfort Access con‐
tains a battery that will need to be replaced from
time to time.1.Take the integrated key out of the remote
control, refer to page 30.2.Remove the cover.3.Insert a new battery of the same type with
the positive side facing upwards.4.Press the cover closed.
Return used battery to a recycling collec‐
tion point or to your service center.
Alarm system
The concept
The vehicle alarm system responds to:
▷Opening of a door, the hood or the tailgate.▷Movements in the vehicle: interior motion
sensor, refer to page 39.▷Changes in the vehicle tilt, e.g., during at‐
tempts to steal a wheel or tow the car.▷Interruptions in battery voltage.
The alarm system briefly indicates tampering:
▷By sounding an acoustic alarm.▷By switching on the hazard warning system.▷By flashing the high beams.Seite 38ControlsOpening and closing38
Online Edition for Part no. 01 40 2 914 595 - VI/12
Page 40 of 291
▷When animals are to remain in the vehicle.
Switching off the tilt alarm sensor and
interior motion sensor
Press the remote control button again
within 10 seconds after the vehicle is locked.
The indicator lamp lights up for approx. 2 sec‐
onds and then flashes continuously.
The tilt alarm sensor and interior motion sensor
remain switched off until the vehicle is locked
again.
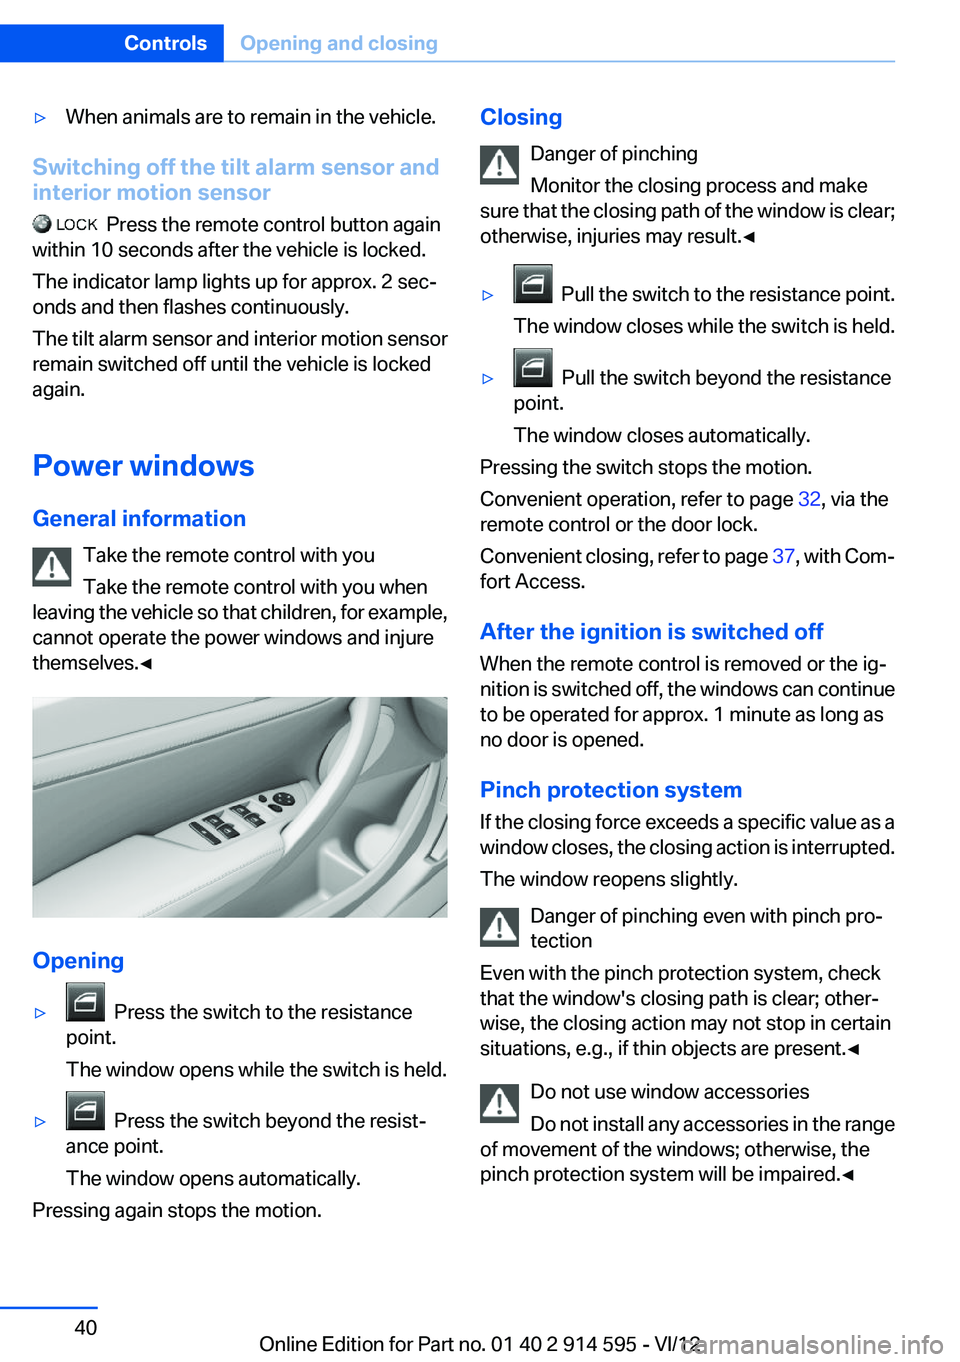
Power windows
General information Take the remote control with you
Take the remote control with you when
leaving the vehicle so that children, for example,
cannot operate the power windows and injure
themselves.◀
Opening
▷ Press the switch to the resistance
point.
The window opens while the switch is held.▷ Press the switch beyond the resist‐
ance point.
The window opens automatically.
Pressing again stops the motion.
Closing
Danger of pinching
Monitor the closing process and make
sure that the closing path of the window is clear;
otherwise, injuries may result.◀▷ Pull the switch to the resistance point.
The window closes while the switch is held.▷ Pull the switch beyond the resistance
point.
The window closes automatically.
Pressing the switch stops the motion.
Convenient operation, refer to page 32, via the
remote control or the door lock.
Convenient closing, refer to page 37, with Com‐
fort Access.
After the ignition is switched off
When the remote control is removed or the ig‐
nition is switched off, the windows can continue
to be operated for approx. 1 minute as long as
no door is opened.
Pinch protection system
If the closing force exceeds a specific value as a
window closes, the closing action is interrupted.
The window reopens slightly.
Danger of pinching even with pinch pro‐
tection
Even with the pinch protection system, check
that the window's closing path is clear; other‐
wise, the closing action may not stop in certain
situations, e.g., if thin objects are present.◀
Do not use window accessories
Do not install any accessories in the range
of movement of the windows; otherwise, the
pinch protection system will be impaired.◀
Seite 40ControlsOpening and closing40
Online Edition for Part no. 01 40 2 914 595 - VI/12
Page 41 of 291
Closing without the pinch protection
system
For example, if there is an external danger or if
ice on the windows prevents a window from
closing normally, proceed as follows:1.Pull the switch past the resistance point and
hold it there.
Pinch protection is limited and the window
reopens slightly if the closing force exceeds
a certain value.2.Pull the switch past the resistance point
again within approx. 4 seconds and hold it
there.
The window closes without pinch protec‐
tion.
Safety switch
With the safety switch, the rear windows are
prevented from being opened or closed via the
switches in the rear passenger area, such as by
children.
Press the button.
The LED lights up if the safety function is
switched on.
Safety switch for rear operation
Press the safety switch when transporting
children in the rear; otherwise, injury may result
if the windows are closed without supervision. ◀
Panoramic glass sunroof
General information
The glass sunroof and the sliding visor can be
operated together or separately using the
switch.
Danger of pinching
Monitor the closing process and make
sure that the closing path of the glass sunroof is
clear; otherwise, injuries may result.◀
Take the remote control with you
Take the remote control with you when
leaving the vehicle so that children, for example,
cannot operate the roof and injure themselves. ◀
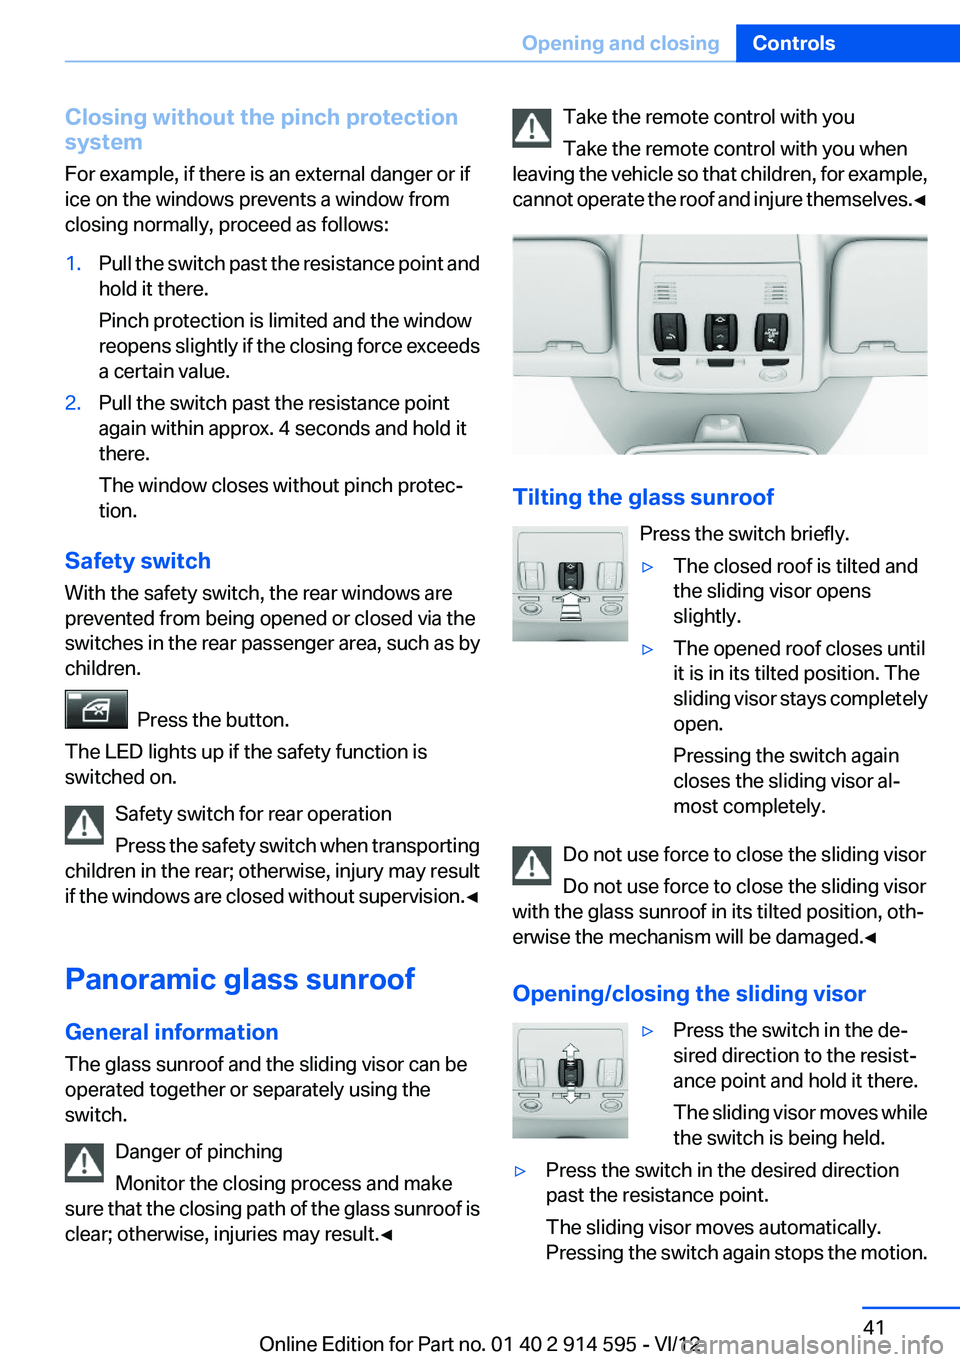
Tilting the glass sunroof
Press the switch briefly.
▷The closed roof is tilted and
the sliding visor opens
slightly.▷The opened roof closes until
it is in its tilted position. The
sliding visor stays completely
open.
Pressing the switch again
closes the sliding visor al‐
most completely.
Do not use force to close the sliding visor
Do not use force to close the sliding visor
with the glass sunroof in its tilted position, oth‐
erwise the mechanism will be damaged.◀
Opening/closing the sliding visor
▷Press the switch in the de‐
sired direction to the resist‐
ance point and hold it there.
The sliding visor moves while
the switch is being held.▷Press the switch in the desired direction
past the resistance point.
The sliding visor moves automatically.
Pressing the switch again stops the motion.Seite 41Opening and closingControls41
Online Edition for Part no. 01 40 2 914 595 - VI/12
Page 46 of 291
Reduction of restraining effect
Avoid wearing clothing that prevents the
belt from fitting properly, and pull the shoulder
belt periodically to readjust the tension across
your lap; otherwise, the retention effect of the
safety belt may be reduced.◀
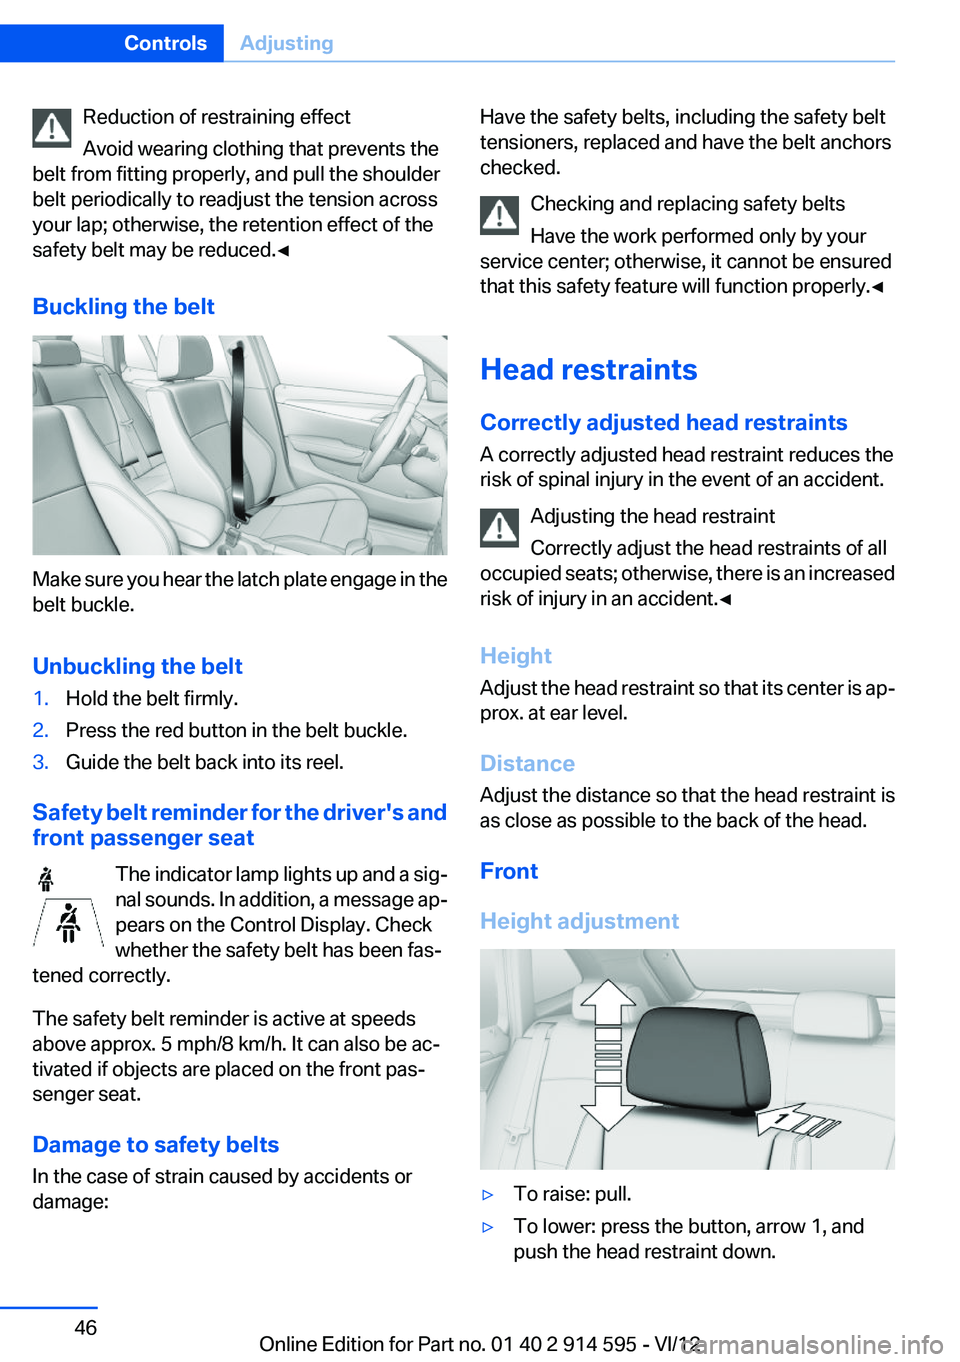
Buckling the belt
Make sure you hear the latch plate engage in the
belt buckle.
Unbuckling the belt
1.Hold the belt firmly.2.Press the red button in the belt buckle.3.Guide the belt back into its reel.
Safety belt reminder for the driver's and
front passenger seat
The indicator lamp lights up and a sig‐
nal sounds. In addition, a message ap‐
pears on the Control Display. Check
whether the safety belt has been fas‐
tened correctly.
The safety belt reminder is active at speeds
above approx. 5 mph/8 km/h. It can also be ac‐
tivated if objects are placed on the front pas‐
senger seat.
Damage to safety belts
In the case of strain caused by accidents or
damage:
Have the safety belts, including the safety belt
tensioners, replaced and have the belt anchors
checked.
Checking and replacing safety belts
Have the work performed only by your
service center; otherwise, it cannot be ensured
that this safety feature will function properly.◀
Head restraints
Correctly adjusted head restraints
A correctly adjusted head restraint reduces the
risk of spinal injury in the event of an accident.
Adjusting the head restraint
Correctly adjust the head restraints of all
occupied seats; otherwise, there is an increased
risk of injury in an accident.◀
Height
Adjust the head restraint so that its center is ap‐
prox. at ear level.
Distance
Adjust the distance so that the head restraint is
as close as possible to the back of the head.
Front
Height adjustment▷To raise: pull.▷To lower: press the button, arrow 1, and
push the head restraint down.Seite 46ControlsAdjusting46
Online Edition for Part no. 01 40 2 914 595 - VI/12
Page 47 of 291
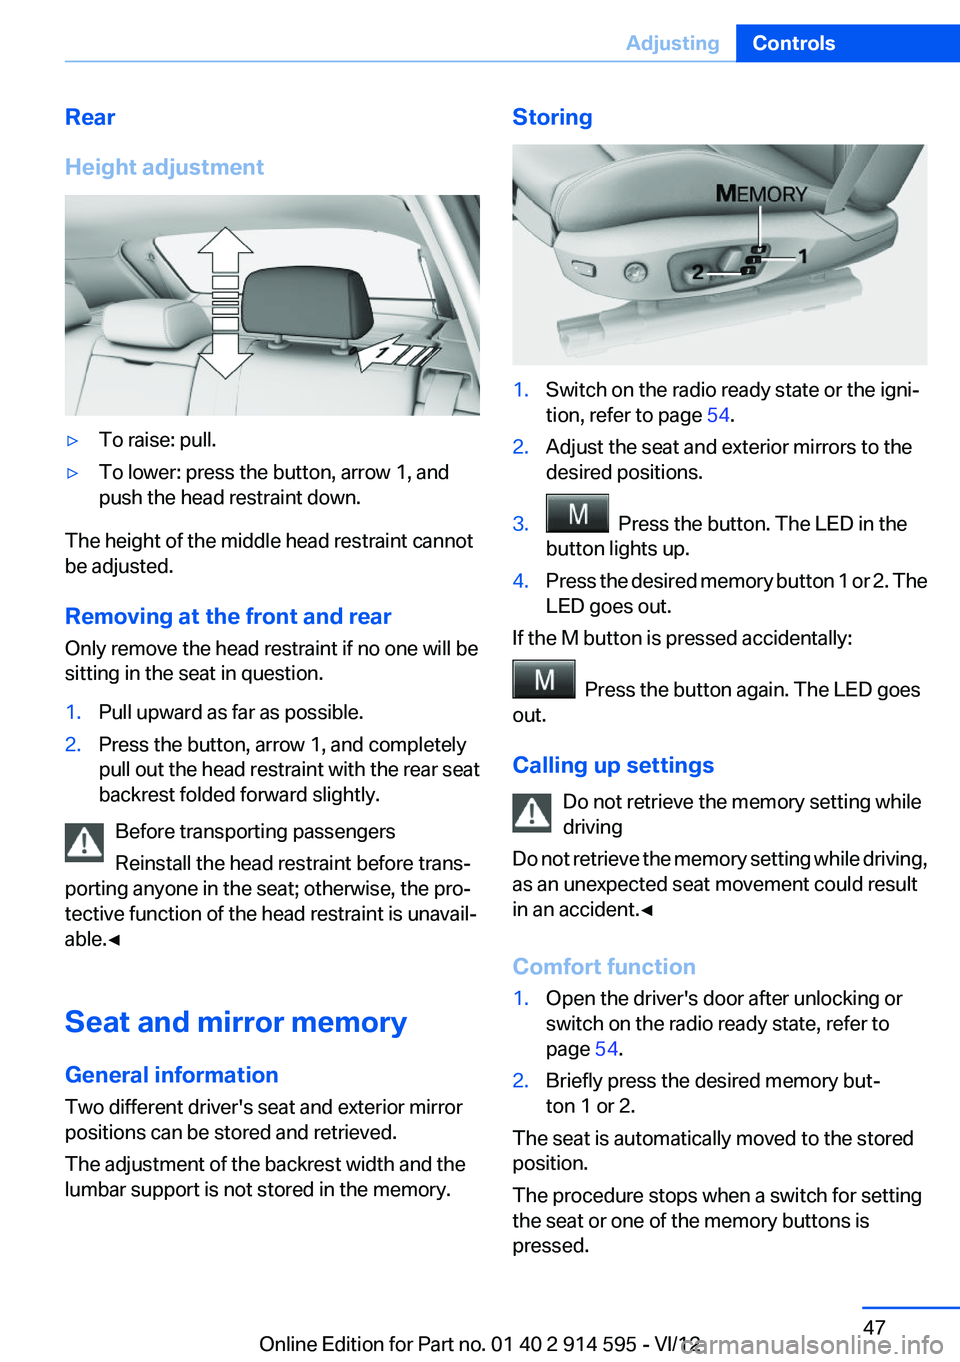
Rear
Height adjustment▷To raise: pull.▷To lower: press the button, arrow 1, and
push the head restraint down.
The height of the middle head restraint cannot
be adjusted.
Removing at the front and rear
Only remove the head restraint if no one will be
sitting in the seat in question.
1.Pull upward as far as possible.2.Press the button, arrow 1, and completely
pull out the head restraint with the rear seat
backrest folded forward slightly.
Before transporting passengers
Reinstall the head restraint before trans‐
porting anyone in the seat; otherwise, the pro‐
tective function of the head restraint is unavail‐
able.◀
Seat and mirror memory
General information
Two different driver's seat and exterior mirror
positions can be stored and retrieved.
The adjustment of the backrest width and the
lumbar support is not stored in the memory.
Storing1.Switch on the radio ready state or the igni‐
tion, refer to page 54.2.Adjust the seat and exterior mirrors to the
desired positions.3. Press the button. The LED in the
button lights up.4.Press the desired memory button 1 or 2. The
LED goes out.
If the M button is pressed accidentally:
Press the button again. The LED goes
out.
Calling up settings Do not retrieve the memory setting while
driving
Do not retrieve the memory setting while driving,
as an unexpected seat movement could result
in an accident.◀
Comfort function
1.Open the driver's door after unlocking or
switch on the radio ready state, refer to
page 54.2.Briefly press the desired memory but‐
ton 1 or 2.
The seat is automatically moved to the stored
position.
The procedure stops when a switch for setting
the seat or one of the memory buttons is
pressed.
Seite 47AdjustingControls47
Online Edition for Part no. 01 40 2 914 595 - VI/12
Page 49 of 291
Fold in the mirror in a car wash
Before entering an automatic car wash,
fold in the exterior mirrors by hand or with the
button; otherwise, they could be damaged, de‐
pending on the width of the vehicle.◀
Automatic heating
Depending on the external temperature, both
exterior mirrors are automatically heated when
the engine is running or the ignition is switched
on.
Interior rearview mirror
Reducing the blinding effect
From behind when driving at night: turn the
knob.
Interior and exterior mirrors, automatic
dimming feature
Two photocells are used for control:
▷In the mirror glass, see arrow.▷On the back of the mirror.
For proper operation:
▷Keep the photocells clean.▷Do not cover the area between the inside
rearview mirror and the windshield.
Steering wheel
General information Do not adjust while driving
Do not adjust the steering wheel while
driving; otherwise, an unexpected movement
could result in an accident.◀
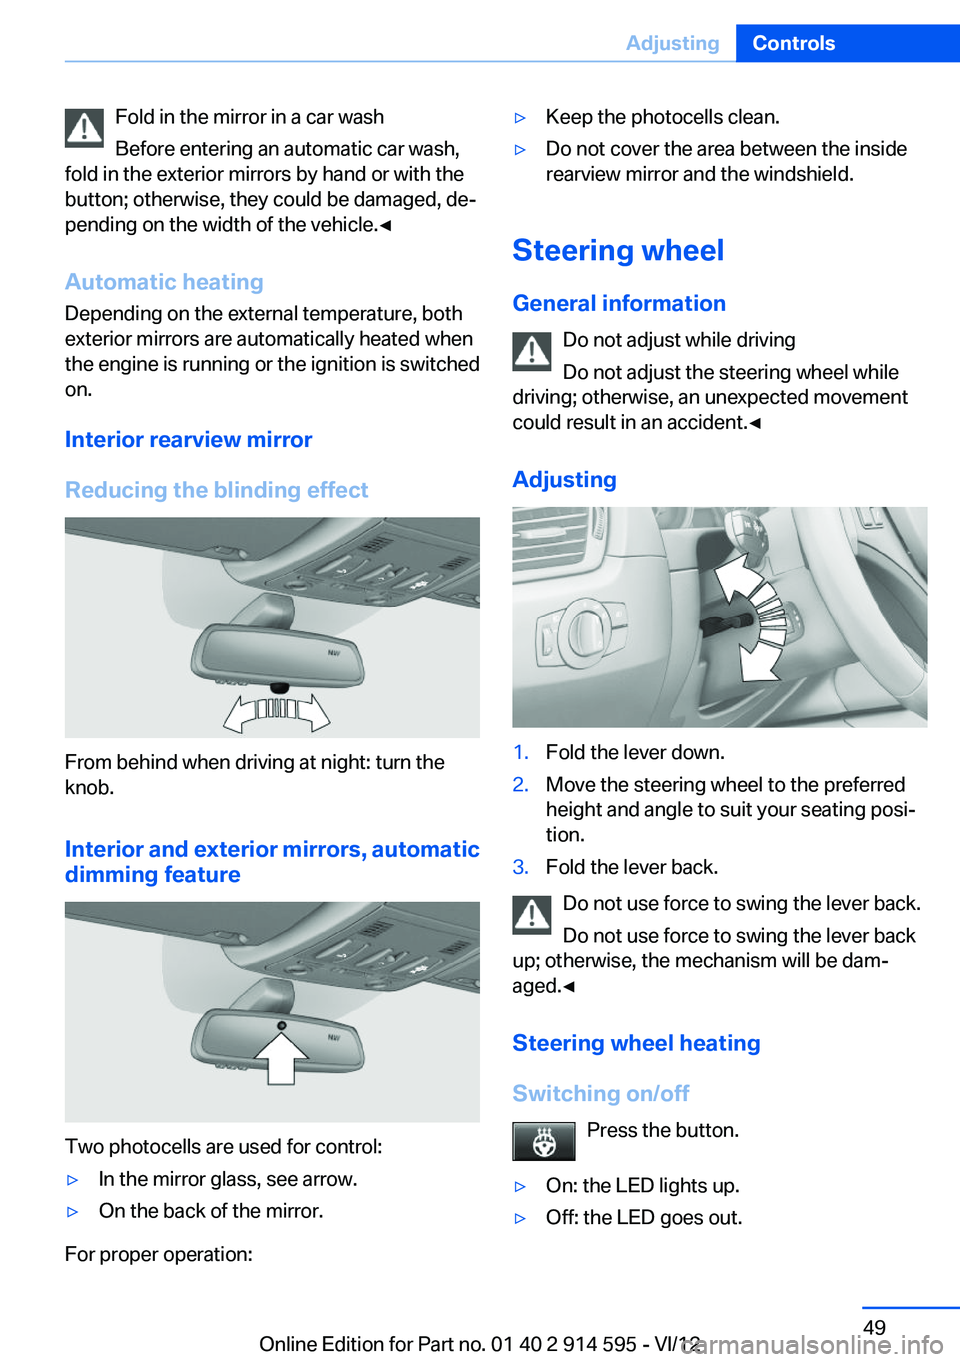
Adjusting
1.Fold the lever down.2.Move the steering wheel to the preferred
height and angle to suit your seating posi‐
tion.3.Fold the lever back.
Do not use force to swing the lever back.
Do not use force to swing the lever back
up; otherwise, the mechanism will be dam‐
aged.◀
Steering wheel heating
Switching on/off Press the button.
▷On: the LED lights up.▷Off: the LED goes out.Seite 49AdjustingControls49
Online Edition for Part no. 01 40 2 914 595 - VI/12