2013 BMW X1 XDRIVE 35I automatic transmission
[x] Cancel search: automatic transmissionPage 64 of 291
Shifting gears using the shift paddles
on the steering wheel
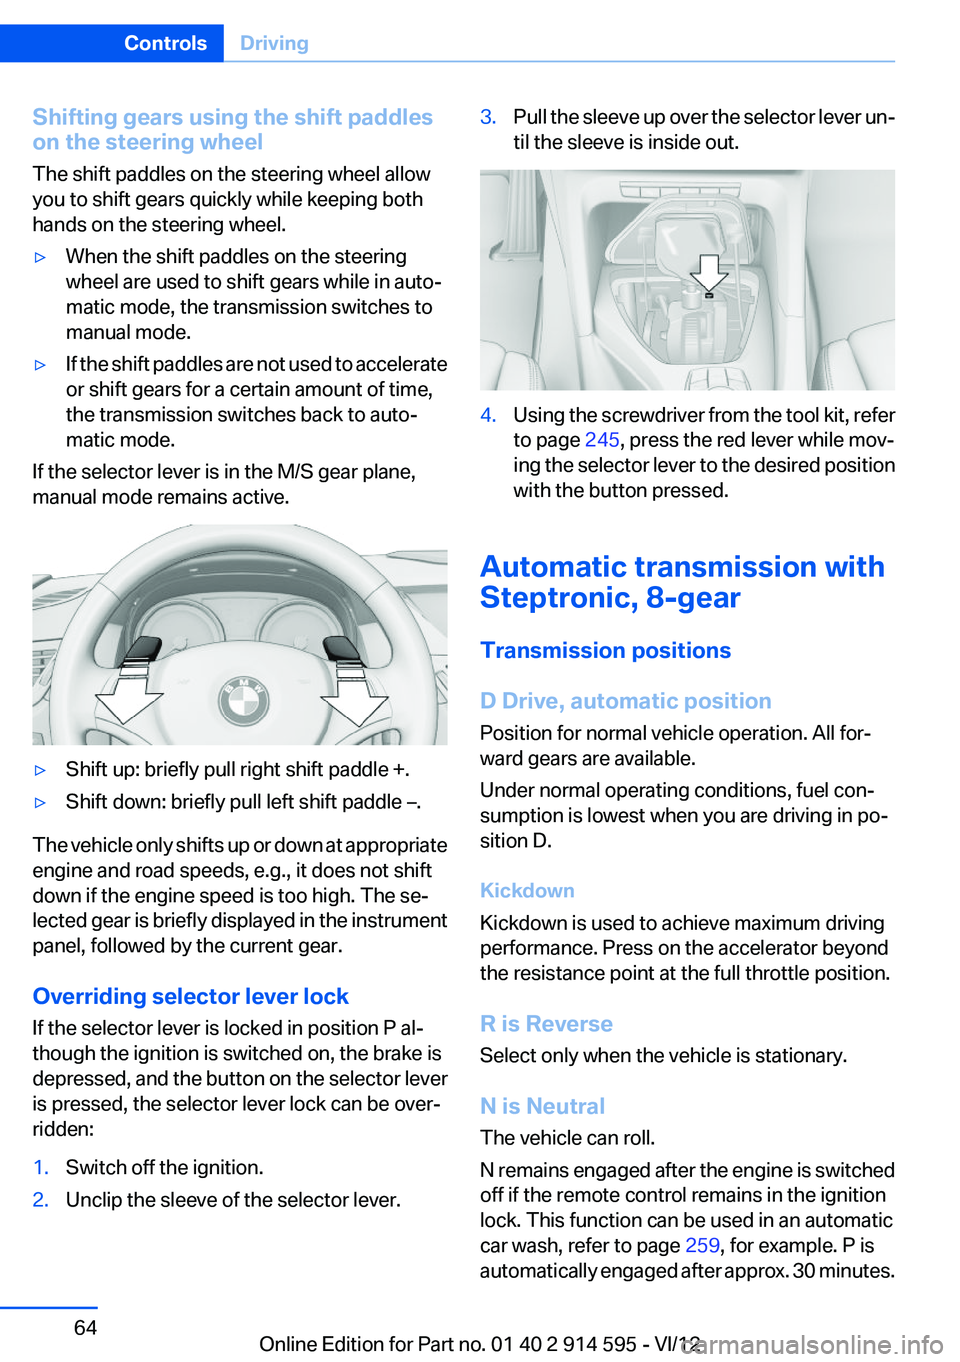
The shift paddles on the steering wheel allow
you to shift gears quickly while keeping both
hands on the steering wheel.▷When the shift paddles on the steering
wheel are used to shift gears while in auto‐
matic mode, the transmission switches to
manual mode.▷If the shift paddles are not used to accelerate
or shift gears for a certain amount of time,
the transmission switches back to auto‐
matic mode.
If the selector lever is in the M/S gear plane,
manual mode remains active.
▷Shift up: briefly pull right shift paddle +.▷Shift down: briefly pull left shift paddle –.
The vehicle only shifts up or down at appropriate
engine and road speeds, e.g., it does not shift
down if the engine speed is too high. The se‐
lected gear is briefly displayed in the instrument
panel, followed by the current gear.
Overriding selector lever lock
If the selector lever is locked in position P al‐
though the ignition is switched on, the brake is
depressed, and the button on the selector lever
is pressed, the selector lever lock can be over‐
ridden:
1.Switch off the ignition.2.Unclip the sleeve of the selector lever.3.Pull the sleeve up over the selector lever un‐
til the sleeve is inside out.4.Using the screwdriver from the tool kit, refer
to page 245, press the red lever while mov‐
ing the selector lever to the desired position
with the button pressed.
Automatic transmission with
Steptronic, 8-gear
Transmission positions
D Drive, automatic position
Position for normal vehicle operation. All for‐
ward gears are available.
Under normal operating conditions, fuel con‐
sumption is lowest when you are driving in po‐
sition D.
Kickdown
Kickdown is used to achieve maximum driving
performance. Press on the accelerator beyond
the resistance point at the full throttle position.
R is Reverse
Select only when the vehicle is stationary.
N is Neutral
The vehicle can roll.
N remains engaged after the engine is switched
off if the remote control remains in the ignition
lock. This function can be used in an automatic
car wash, refer to page 259, for example. P is
automatically engaged after approx. 30 minutes.
Seite 64ControlsDriving64
Online Edition for Part no. 01 40 2 914 595 - VI/12
Page 65 of 291
P Park
The drive wheels are blocked.
P is engaged automatically when the following
conditions are met:▷The driver's door is opened while the engine
is running, the safety belt is not fastened and
neither the brake pedal nor the accelerator
is activated.▷The engine is switched off unless N is en‐
gaged and the remote control is in the igni‐
tion lock.▷The remote control is removed from the ig‐
nition lock.
Before leaving the vehicle, ensure that the trans‐
mission position P is engaged; otherwise, the
vehicle may begin to roll.
Engaging transmission position
▷Transmission position P can only be disen‐
gaged if the engine is running and the brake
pedal is pressed.▷With the vehicle stationary, press on the
brake pedal before shifting out of P or N;
otherwise, the shift command will not be
executed: shift lock.
Press on the brake pedal until you start
driving
To prevent the vehicle from creeping after you
select a driving position, maintain pressure on
the brake pedal until you are ready to start.◀
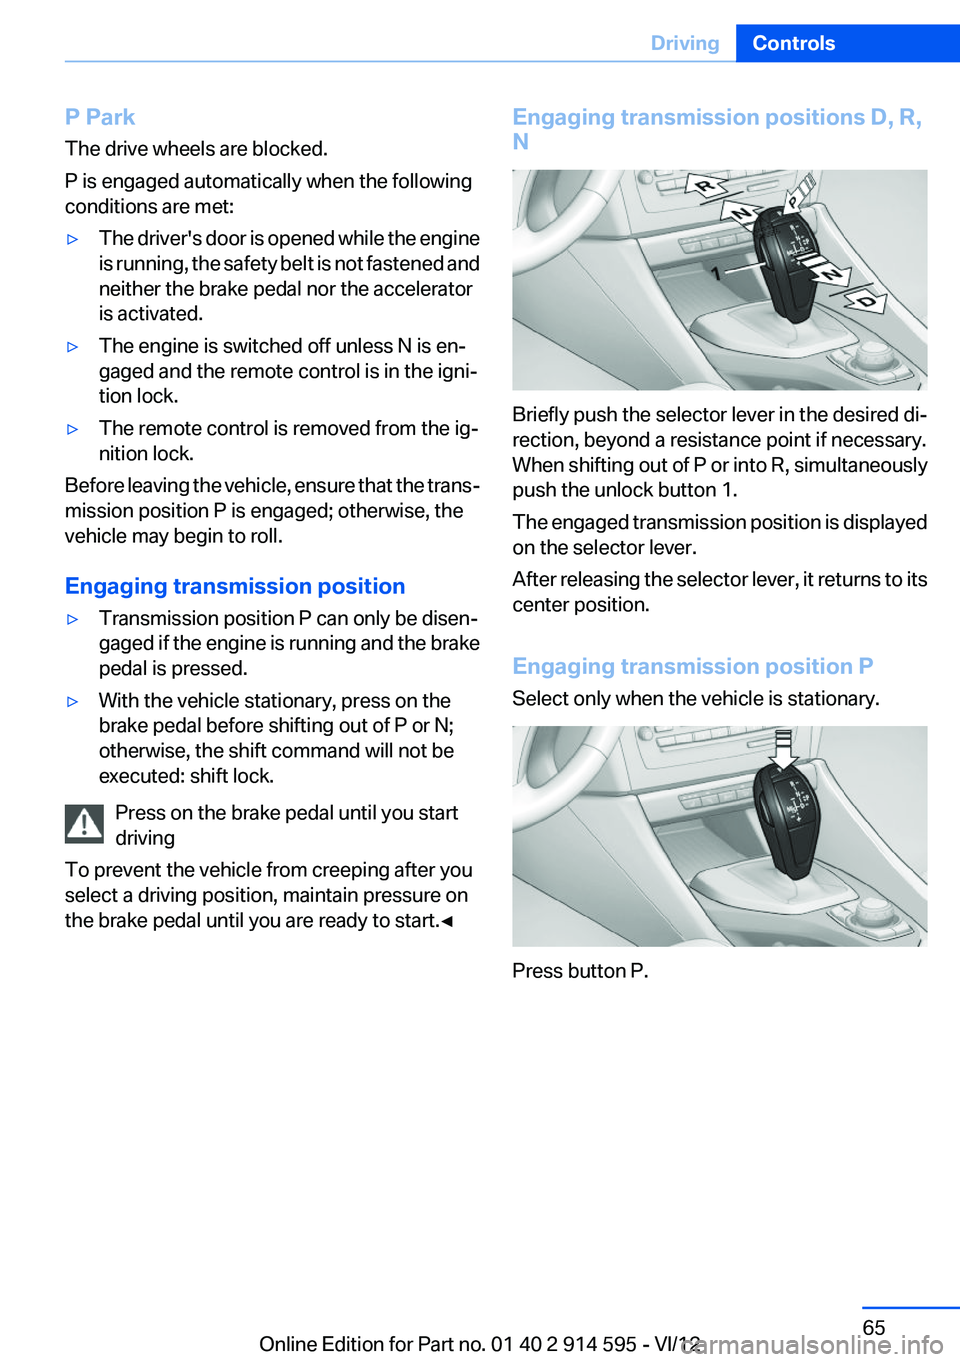
Engaging transmission positions D, R,
N
Briefly push the selector lever in the desired di‐
rection, beyond a resistance point if necessary.
When shifting out of P or into R, simultaneously
push the unlock button 1.
The engaged transmission position is displayed
on the selector lever.
After releasing the selector lever, it returns to its
center position.
Engaging transmission position P
Select only when the vehicle is stationary.
Press button P.
Seite 65DrivingControls65
Online Edition for Part no. 01 40 2 914 595 - VI/12
Page 66 of 291

Sport program and manual mode M/S
Activating the Sport program
Push the selector lever to the left out of trans‐
mission position D.
The Sport program is activated and DS is dis‐
played in the instrument cluster.
This position is recommended for a perform‐
ance-oriented driving style.
Activating manual mode
Push the selector lever to the left out of trans‐
mission position D.
Push the selector lever forward or backward.
Manual mode becomes active and the gear is
changed.
The engaged gear is displayed in the instrument
cluster, e.g., M1.
▷To shift down: press the selector lever for‐
ward.▷To shift up: press the selector lever back‐
ward.
The transmission only shifts up or down if the
rpm and vehicle speed are appropriate. If the
engine speed is too high, the transmission does
not shift down.
The selected gear is briefly displayed in the in‐
strument panel, followed by the current gear.
Ending the Sport program/manual
mode
Push the selector lever to the right.
D is displayed in the instrument cluster.
Shifting gears using the shift paddles
on the steering wheel
The shifting paddles make it possible to quickly
change gears since both hands can remain on
the steering wheel.▷If the shift paddles on the steering wheel are
used to shift gears while in automatic mode
D, the transmission temporarily switches to
manual mode.▷If the shift paddles are not used to accelerate
or shift gears for a certain amount of time,
the transmission switches back to auto‐
matic mode D.
With the transmission position M/S selected,
the manual mode remains active.
▷Shift up: pull right shift paddle.▷Shift down: pull left shift paddle.
The vehicle only shifts up or down at appropriate
engine and road speeds, e.g., it does not shift
down if the engine speed is too high.
The selected gear is briefly displayed in the in‐
strument cluster, followed by the current gear.
Seite 66ControlsDriving66
Online Edition for Part no. 01 40 2 914 595 - VI/12
Page 99 of 291
The system stores and maintains the speed.
Accelerating using the lever
Accelerating slightly:
Press the lever to the resistance point, arrow 1,
until the desired speed is reached.
Accelerating significantly:
Press the lever beyond the resistance point, ar‐
row 1, until the desired speed is reached.
The vehicle accelerates without pressure on the
accelerator pedal. The system stores and main‐
tains the speed.
Decreasing speed
Repeatedly pull the lever to the resistance point
or beyond, arrow 2, until the desired speed is
displayed.▷Each time the lever is pulled to the resist‐
ance point, the desired speed is decreased
by approx. 1 mph/1 km/h.▷Each time the lever is pulled beyond the re‐
sistance point, the desired speed is reduced
by up to 5 mph/10 km/h until the minimum
speed of 20 mph/30 km/h is achieved.
The system stores and maintains the speed.
Deactivating cruise control
Push the lever upwards or downwards, arrow 3.
The displays in the speedometer go out.
In addition, the system is automatically deacti‐
vated when:
▷The brakes are applied.▷Selector lever position N is engaged or
transmission position D is disengaged.▷When DTC is activated or DSC is deacti‐
vated.▷When DSC or ABS is intervening.
Cruise control is not deactivated by depressing
the accelerator pedal. Once the accelerator
pedal is released, the stored speed is achieved
again and maintained.
Warning lamp
The warning lamp comes on when
cruise control has been deactivated as
a result of DSC intervention, for exam‐
ple. A message appears on the Control Display.
Resuming a speed stored beforehand
Press the button, arrow 4. The last stored speed
is resumed and maintained.
In the following cases, the stored speed value is
deleted and cannot be called up again:▷When driving stability control systems inter‐
vene.▷When selector lever position N is engaged
or transmission position D is disengaged.▷When the ignition is switched off.
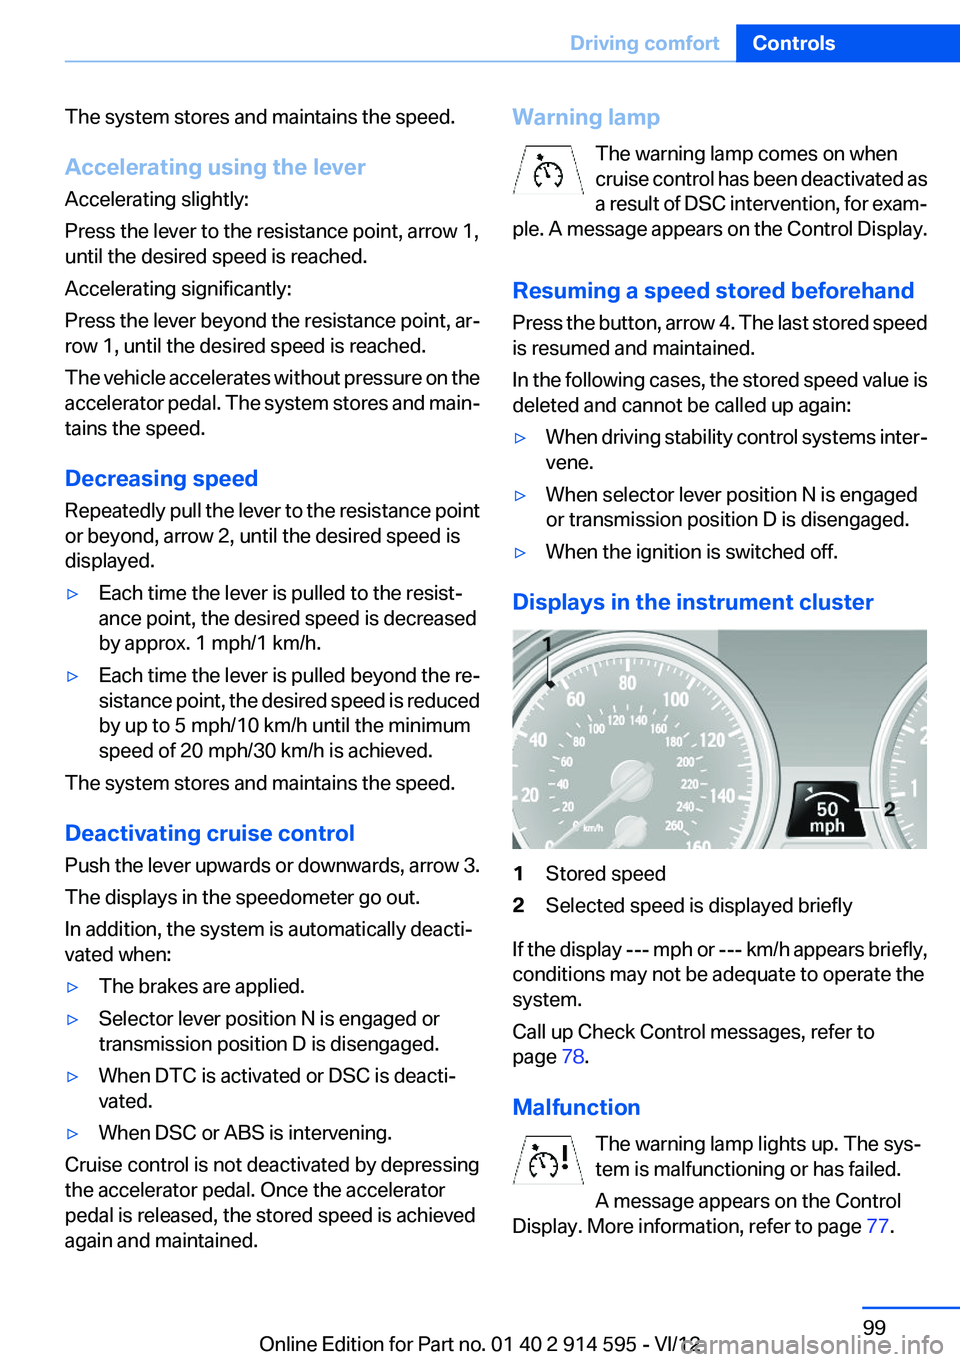
Displays in the instrument cluster
1Stored speed2Selected speed is displayed briefly
If the display --- mph or --- km/h appears briefly,
conditions may not be adequate to operate the
system.
Call up Check Control messages, refer to
page 78.
Malfunction The warning lamp lights up. The sys‐
tem is malfunctioning or has failed.
A message appears on the Control
Display. More information, refer to page 77.
Seite 99Driving comfortControls99
Online Edition for Part no. 01 40 2 914 595 - VI/12
Page 128 of 291
Ensure that the floor mats are securely fastened
again when they are returned after being re‐
moved, such as for cleaning.◀
Driving in wet conditions
When roads are wet or there is heavy rain, briefly
exert gentle pressure on the brake pedal every
few miles.
Ensure that this action does not endanger other
road users.
The heat generated in this process helps dry the
brake discs and pads.
In this way braking efficiency will be available
when you need it.
Hills
Drive long or steep downhill gradients in the gear
in which the least braking is required. Otherwise,
the brake system may overheat, resulting in a
reduction in the brake system efficiency.
You can increase the engine's braking effect by
shifting down, going all the way to first gear, if
necessary.
Downshifting in manual mode of the automatic
transmission, refer to page 63.
Avoid load on the brakes
Avoid placing excessive load on the brake
system. Light but consistent brake pressure can
lead to high temperatures, brake wear and pos‐
sibly even brake failure.◀
Do not drive in neutral
Do not drive in neutral or with the engine
stopped, as doing so disables engine braking. In
addition, steering and brake assist is unavailable
with the engine stopped.◀
Brake disc corrosion
Corrosion on the brake discs and contamination
on the brake pads are furthered by:▷Low mileage.▷Extended periods when the vehicle is not
used at all.▷Infrequent use of the brakes.
Corrosion occurs when the minimum pressure
that must be exerted by the pads during brake
applications to clean the discs is not reached.
Should corrosion form on the brake discs, the
brakes will tend to respond with a pulsating ef‐
fect that generally cannot be corrected.
Condensation under the parked vehicle
When using the automatic climate control, con‐
densation water develops that exits underneath
the vehicle.
Therefore, traces of condensed water under the
vehicle are normal.
Driving on poor roads
BMW X1 combines an all-wheel drive system
with the advantages of a normal passenger car.
Do not drive on unpaved terrain
Do not drive on unpaved terrain, as other‐
wise the vehicle may be damaged.◀
For your own safety and the safety of passen‐
gers and the vehicle, adhere to the following
points:
▷Familiarize yourself with the vehicle before
driving; never take risks.▷Adjust speeds according to road conditions.
The steeper and rougher the road surface is,
the lower the speed should be.▷When driving on steep uphill and downhill
grades: the engine oil and coolant should be
filled nearly to the MAX mark.▷Use Hill Descent Control HDC, refer to
page 96, on steep downhill grades.▷Watch for stones, holes, and other obstacles
and drive around these where possible.Seite 128Driving tipsThings to remember when driving128
Online Edition for Part no. 01 40 2 914 595 - VI/12
Page 135 of 291
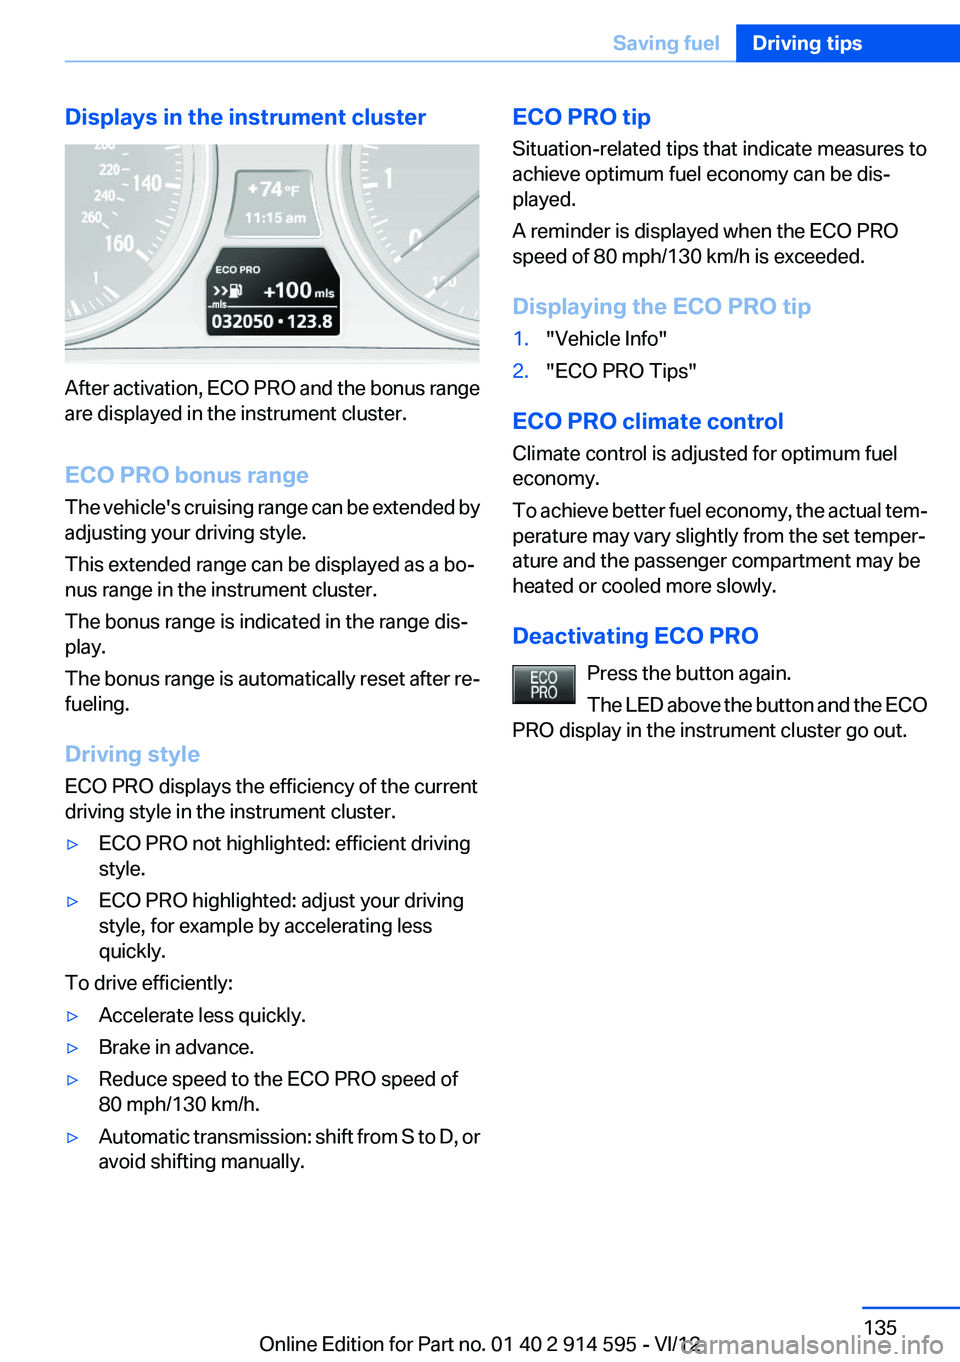
Displays in the instrument cluster
After activation, ECO PRO and the bonus range
are displayed in the instrument cluster.
ECO PRO bonus range
The vehicle's cruising range can be extended by
adjusting your driving style.
This extended range can be displayed as a bo‐
nus range in the instrument cluster.
The bonus range is indicated in the range dis‐
play.
The bonus range is automatically reset after re‐
fueling.
Driving style
ECO PRO displays the efficiency of the current
driving style in the instrument cluster.
▷ECO PRO not highlighted: efficient driving
style.▷ECO PRO highlighted: adjust your driving
style, for example by accelerating less
quickly.
To drive efficiently:
▷Accelerate less quickly.▷Brake in advance.▷Reduce speed to the ECO PRO speed of
80 mph/130 km/h.▷Automatic transmission: shift from S to D, or
avoid shifting manually.ECO PRO tip
Situation-related tips that indicate measures to
achieve optimum fuel economy can be dis‐
played.
A reminder is displayed when the ECO PRO
speed of 80 mph/130 km/h is exceeded.
Displaying the ECO PRO tip1."Vehicle Info"2."ECO PRO Tips"
ECO PRO climate control
Climate control is adjusted for optimum fuel
economy.
To achieve better fuel economy, the actual tem‐
perature may vary slightly from the set temper‐
ature and the passenger compartment may be
heated or cooled more slowly.
Deactivating ECO PRO Press the button again.
The LED above the button and the ECO
PRO display in the instrument cluster go out.
Seite 135Saving fuelDriving tips135
Online Edition for Part no. 01 40 2 914 595 - VI/12
Page 166 of 291
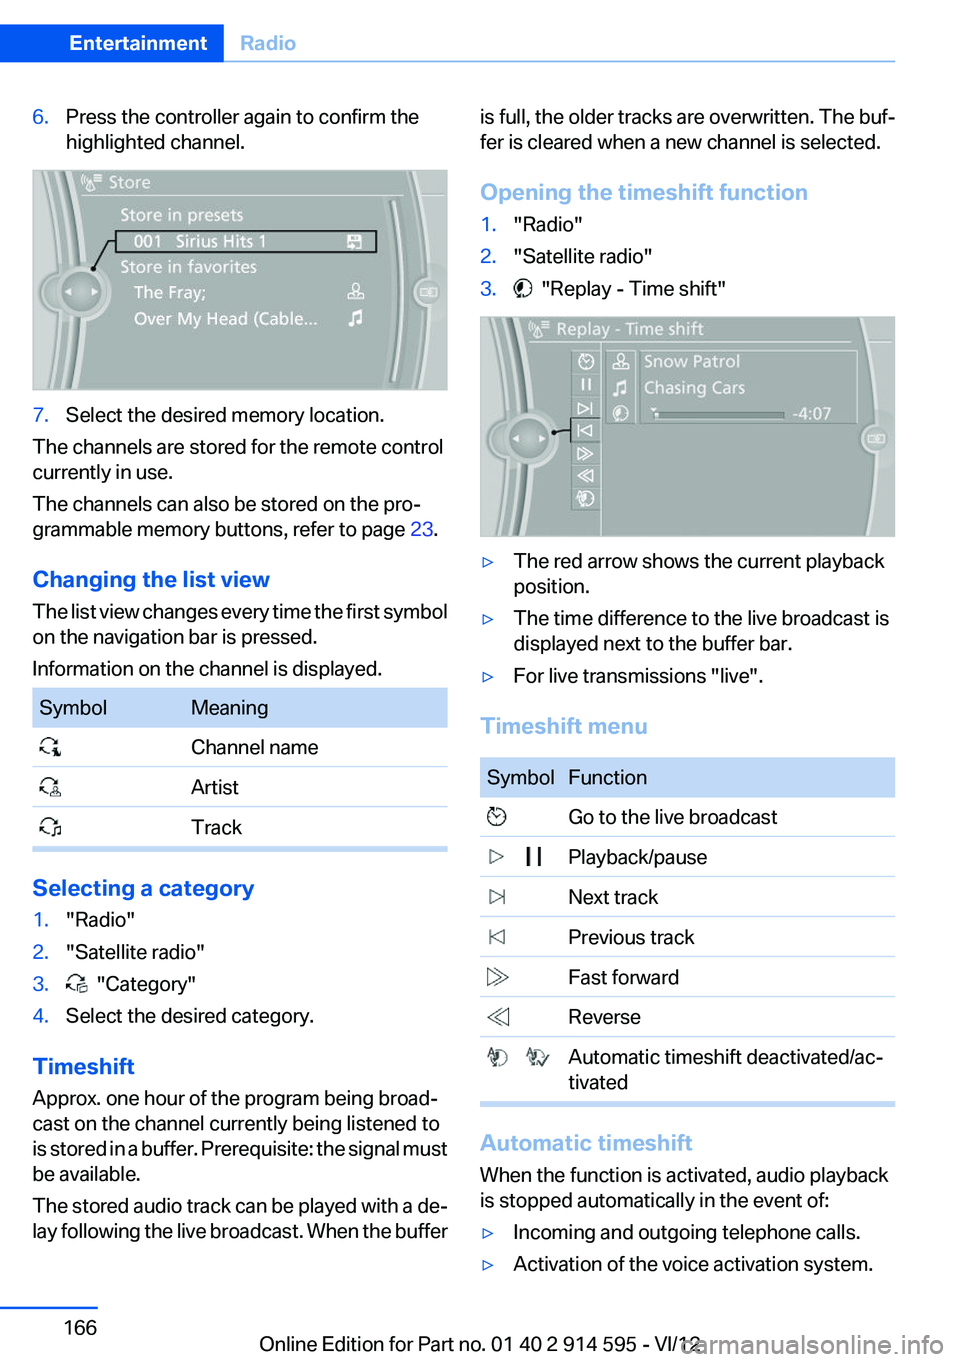
6.Press the controller again to confirm the
highlighted channel.7.Select the desired memory location.
The channels are stored for the remote control
currently in use.
The channels can also be stored on the pro‐
grammable memory buttons, refer to page 23.
Changing the list view
The list view changes every time the first symbol
on the navigation bar is pressed.
Information on the channel is displayed.
SymbolMeaning Channel name Artist Track
Selecting a category
1."Radio"2."Satellite radio"3. "Category"4.Select the desired category.
Timeshift
Approx. one hour of the program being broad‐
cast on the channel currently being listened to
is stored in a buffer. Prerequisite: the signal must
be available.
The stored audio track can be played with a de‐
lay following the live broadcast. When the buffer
is full, the older tracks are overwritten. The buf‐
fer is cleared when a new channel is selected.
Opening the timeshift function1."Radio"2."Satellite radio"3. "Replay - Time shift"▷The red arrow shows the current playback
position.▷The time difference to the live broadcast is
displayed next to the buffer bar.▷For live transmissions "live".
Timeshift menu
SymbolFunction Go to the live broadcast Playback/pause Next track Previous track Fast forward Reverse Automatic timeshift deactivated/ac‐
tivated
Automatic timeshift
When the function is activated, audio playback
is stopped automatically in the event of:
▷Incoming and outgoing telephone calls.▷Activation of the voice activation system.Seite 166EntertainmentRadio166
Online Edition for Part no. 01 40 2 914 595 - VI/12
Page 172 of 291
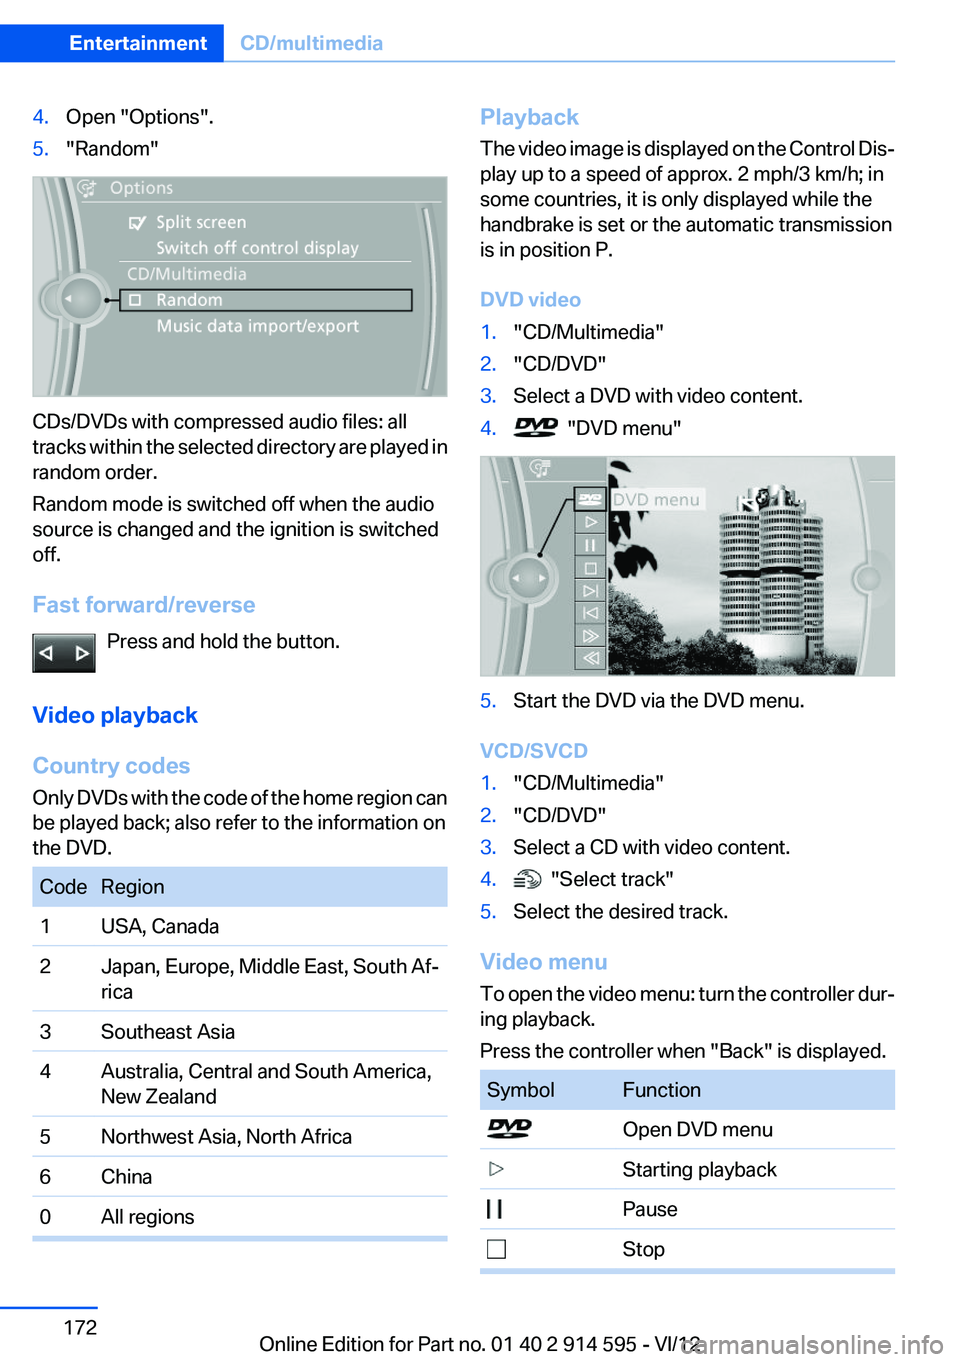
4.Open "Options".5."Random"
CDs/DVDs with compressed audio files: all
tracks within the selected directory are played in
random order.
Random mode is switched off when the audio
source is changed and the ignition is switched
off.
Fast forward/reverse Press and hold the button.
Video playback
Country codes
Only DVDs with the code of the home region can
be played back; also refer to the information on
the DVD.
CodeRegion1USA, Canada2Japan, Europe, Middle East, South Af‐
rica3Southeast Asia4Australia, Central and South America,
New Zealand5Northwest Asia, North Africa6China0All regionsPlayback
The video image is displayed on the Control Dis‐
play up to a speed of approx. 2 mph/3 km/h; in
some countries, it is only displayed while the
handbrake is set or the automatic transmission
is in position P.
DVD video1."CD/Multimedia"2."CD/DVD"3.Select a DVD with video content.4. "DVD menu"5.Start the DVD via the DVD menu.
VCD/SVCD
1."CD/Multimedia"2."CD/DVD"3.Select a CD with video content.4. "Select track"5.Select the desired track.
Video menu
To open the video menu: turn the controller dur‐
ing playback.
Press the controller when "Back" is displayed.
SymbolFunction Open DVD menu Starting playback Pause StopSeite 172EntertainmentCD/multimedia172
Online Edition for Part no. 01 40 2 914 595 - VI/12