2013 BMW 740LI lights
[x] Cancel search: lightsPage 8 of 243
▷California Emission Control System Limited
Warranty.
Detailed information about these warranties is
listed in the Service and Warranty Information
Booklet for US models or in the Warranty and
Service Guide Booklet for Canadian models.
Your vehicle has been specifically adapted and
designed to meet the particular operating con‐
ditions and homologation requirements in your
country and continental region in order to deliver
the full driving pleasure while the vehicle is op‐
erated under those conditions. If you wish to op‐
erate your vehicle in another country or region,
you may be required to adapt your vehicle to
meet different prevailing operating conditions
and homologation requirements. You should
also be aware of any applicable warranty limita‐
tions or exclusions for such country or region. In
such case, please contact Customer Relations
for further information.
Maintenance
Maintain the vehicle regularly to sustain the road
safety, operational reliability and the New Vehi‐
cle Limited Warranty.
Specifications for required maintenance meas‐
ures:
▷BMW Maintenance system▷Service and Warranty Information Booklet
for US models▷Warranty and Service Guide Booklet for
Canadian models
If the vehicle is not maintained according to
these specifications, this could result in serious
damage to the vehicle. Such damage is not cov‐
ered by the BMW New Vehicle Limited War‐
ranty.
Data memory
Many electronic components on your vehicle
are equipped with data memories that tempo‐
rarily or permanently store technical information
about the condition of the vehicle, events and
faults. This technical information generally
documents the state of a component, a module,
a system or the environment:▷Operating states of system components, fill
levels for instance.▷Status messages for the vehicle and from its
individual components, e.g., wheel rotation
speed/ vehicle speed, deceleration, trans‐
verse acceleration.▷Malfunctions and faults in important system
components, e.g., lights and brakes.▷Responses by the vehicle to special situa‐
tions, e.g., deployment of an airbag, engage‐
ment of stability control systems.▷Ambient conditions, such as temperature.
This data is purely technical in nature and is used
to detect and correct faults and to optimize ve‐
hicle functions. Motion profiles over routes trav‐
eled cannot be created from this data. When
service offerings are used, e.g., repair services,
service processes, warranty claims, quality as‐
surance, this technical information can be read
out from the event and fault memories by the
service personnel, including the manufacturer,
using special diagnostic tools. You can obtain
further information there if it is needed. After a
fault is corrected, the information in the fault
memory is deleted or overwritten on a continu‐
ous basis.
When the vehicle is in use, situations are con‐
ceivable in which it might be possible to asso‐
ciate this technical data with individuals if it is
combined with other information, e.g., an acci‐
dent report, damage to the vehicle, eye witness
accounts — possibly with the assistance of an
expert.
Additional functions that are contractually
agreed with the customer, such as vehicle lo‐
cating in an emergency, enable certain vehicle
data to be transmitted from the vehicle.
Seite 8Notes8
Online Edition for Part no. 01 40 2 916 693 - X/12
Page 13 of 243

7LampsFront fog lamps 98Parking lamps 95Low beams 95Automatic headlamp con‐
trol 96
Daytime running lights 96
Adaptive light control 97
High-beam Assistant 97Instrument lighting 988Steering column stalk, leftTurn signal 73High beams, head‐
lamp flasher 73High-beam Assistant 97Roadside parking lamps 96Computer 909Steering wheel buttons, leftStore speed 138, 132Resume speed 139, 134Cruise control on/off, inter‐
rupt 137, 132Cruise control rocker switch 138 13310Instrument cluster 7911Steering wheel buttons, rightEntertainment sourceVolumeVoice activation 22Phone, see user's manual for Nav‐
igation, Entertainment and Com‐
munication.
Thumbwheel for selection lists 90
12Steering column stalk, rightWindshield wipers 74Rain sensor 75Clean the windshields and head‐
lamps 7413Start/stop the engine and switch
the ignition on/off 67Auto Start/Stop function 6814Horn15Steering wheel heating 6116Adjust steering wheel 6117Open the trunk lid 3818Unlocking the hoodSeite 13CockpitAt a glance13
Online Edition for Part no. 01 40 2 916 693 - X/12
Page 33 of 243
4.Open "Guest".5.Adjust the settings.
Note: the guest profile cannot be renamed.
Display profile list during start
The profile list can be displayed during each
start for selecting the desired profile.
1."Settings"2."Profiles"3.Open "Options".4."Display user list at startup"
Personal Profile settings
The following functions and settings can be
stored in a profile.
More information on the settings can be found
under:
▷Active Cruise Control: collision warning.▷Collision warning: warning time, last setting
on/off.▷Exterior mirror position.▷CD/Multimedia: audio source listened to
last.▷Driving Dynamics Control: sport program.▷Driver's seat position: automatic retrieval af‐
ter unlocking.▷Programmable memory buttons: assign‐
ment.▷Head-up Display: selection, brightness, po‐
sition and rotation of the display.▷Headlamp courtesy delay feature: time set‐
ting.▷Tone: tone settings.▷Automatic climate control: settings.▷Steering wheel position.▷Navigation: map views, route criteria, voice
output on/off.▷Night Vision with pedestrian detection: se‐
lection of functions and type of display.▷Park Distance Control PDC: adjusting the
signal tone volume.▷Radio: stored stations, station listened to
last, special settings.▷Backup camera: selection of functions and
type of display.▷Side View: selection of the display type.▷Language on the Control Display.▷Lane departure warning: last setting, on/off.▷Active Blind Spot Detection: last setting, on/
off.▷Daytime running lights: current setting.▷Triple turn signal activation.▷Locking the vehicle: after a brief period or
after starting to drive.
Central locking system
The concept
The central locking system becomes active
when the driver's door is closed.
The system simultaneously engages and re‐
leases the locks on the following:
▷Doors.▷Trunk lid.▷Fuel filler flap.
Operating from the outside
▷Via the remote control.▷Via the driver's door lock.▷Via the door handles.▷Via the button in the trunk lid.
The following takes place simultaneously when
locking/unlocking the vehicle via the remote
control:
▷Depending on how the vehicle is equipped,
the theft protection is activated/deactivated.
Theft protection prevents the doors from
being unlocked using the lock buttons or the
door opener.Seite 33Opening and closingControls33
Online Edition for Part no. 01 40 2 916 693 - X/12
Page 43 of 243

Indicator lamp on the interior rearview
mirror▷The indicator lamp flashes briefly every
2 seconds:
The system is armed.▷The indicator lamp flashes after locking:
The doors, hood or trunk lid is not closed
properly, but the rest of the vehicle is se‐
cured.
After 10 seconds, the indicator lamp flashes
continuously. Interior motion sensor and tilt
alarm sensor are not active.▷The indicator lamp goes out after unlocking:
The vehicle has not been tampered with.▷The indicator lamp flashes after unlocking
until the engine is started, but no longer than
approx. 5 minutes:
An alarm has been triggered.
Tilt alarm sensor
The tilt of the vehicle is monitored.
The alarm system responds in situations such
as attempts to steal a wheel or when the car is
towed.
Interior motion sensor
The windows and glass sunroof must be closed
for the system to function properly.
Avoiding unintentional alarms
The tilt alarm sensor and interior motion sensor
can be switched off together, such as in the fol‐
lowing situations:
▷In automatic car washes.▷In duplex garages.▷During transport on car-carrying trains, at
sea or on a trailer.▷When animals are to remain in the vehicle.
Switching off the tilt alarm sensor and
interior motion sensor
Press the remote control button again
within 10 seconds as soon as the vehicle
is locked.
The indicator lamp lights up for approx. 2 sec‐
onds and then continues to flash.
The tilt alarm sensor and interior motion sensor
are switched off until the vehicle is locked again.
Power windows
General information Take the remote control with you
Take the remote control with you when
leaving the vehicle so that children, for example,
cannot operate the power windows and injure
themselves.◀
Opening
▷ Press the switch to the resistance
point.
The window opens while the switch is held.
Seite 43Opening and closingControls43
Online Edition for Part no. 01 40 2 916 693 - X/12
Page 44 of 243
▷ Press the switch beyond the resist‐
ance point.
The window opens automatically.
Pressing again stops the motion.
Convenient opening, refer to page 34, via the
remote control.
Closing Keep the closing path clear
Monitor the closing process and make
sure that the closing path of the window is clear;
otherwise, injuries may result.◀
▷ Pull the switch to the resistance point.
The window closes while the switch is held.▷ Pull the switch beyond the resistance
point.
The window closes automatically.
Pressing the switch stops the motion.
Convenient operation, refer to page 34, via the
remote control.
Convenient closing, refer to page 41, with Com‐
fort Access.
Pinch protection system
If the closing force exceeds a specific value as a
window closes, the closing action is interrupted.
The window reopens slightly.
Danger of pinching even with pinch pro‐
tection
Even with the pinch protection system, check
that the window's closing path is clear; other‐
wise, the closing action may not stop in certain
situations, e.g., if thin objects are present.◀
No window accessories
Do not install any accessories in the range
of movement of the windows; otherwise, the
pinch protection system will be impaired.◀
Closing without the pinch protection
system
Keep the closing path clear
Monitor the closing process and make
sure that the closing path of the window is clear;
otherwise, injuries may result.◀
For example, if there is an external danger or if
ice on the windows prevents a window from
closing normally, proceed as follows:1.Pull the switch past the resistance point and
hold it there.
Pinch protection is limited and the window
reopens slightly if the closing force exceeds
a certain value.2.Pull the switch past the resistance point
again within approx. 4 seconds and hold it
there.
The window closes without pinch protec‐
tion.
Safety switch
The following functions can be locked simulta‐
neously, using the switch:
▷Opening and closing of the rear windows
using the switches in the rear.▷Operation of the roller sunblinds using the
switches in the rear.▷Adjustment of the power rear seats.▷Adjustment of the power head restraints in
the rear.
Switching on and off
Press the button.
The LED lights up if the safety function
is switched on.
Safety switch for rear operation
Press the safety switch when transporting
children in the rear; otherwise, injury may result
if the windows are closed without supervision. ◀
Seite 44ControlsOpening and closing44
Online Edition for Part no. 01 40 2 916 693 - X/12
Page 45 of 243
Roller sunblinds
General information
The safety switch in the driver's door can be
used to prevent children, for example, from op‐
erating the roller blinds using the switches in the
rear.
Press the safety switch in the driver's door. The
LED lights up if the safety function is switched
on.
If you are no longer able to move the roller blinds
after having activated them consecutively a
number of times, the system is blocked for a
limited time to prevent overheating. Let the sys‐
tem cool.
The roller sunblinds cannot be moved at low in‐
terior temperatures.
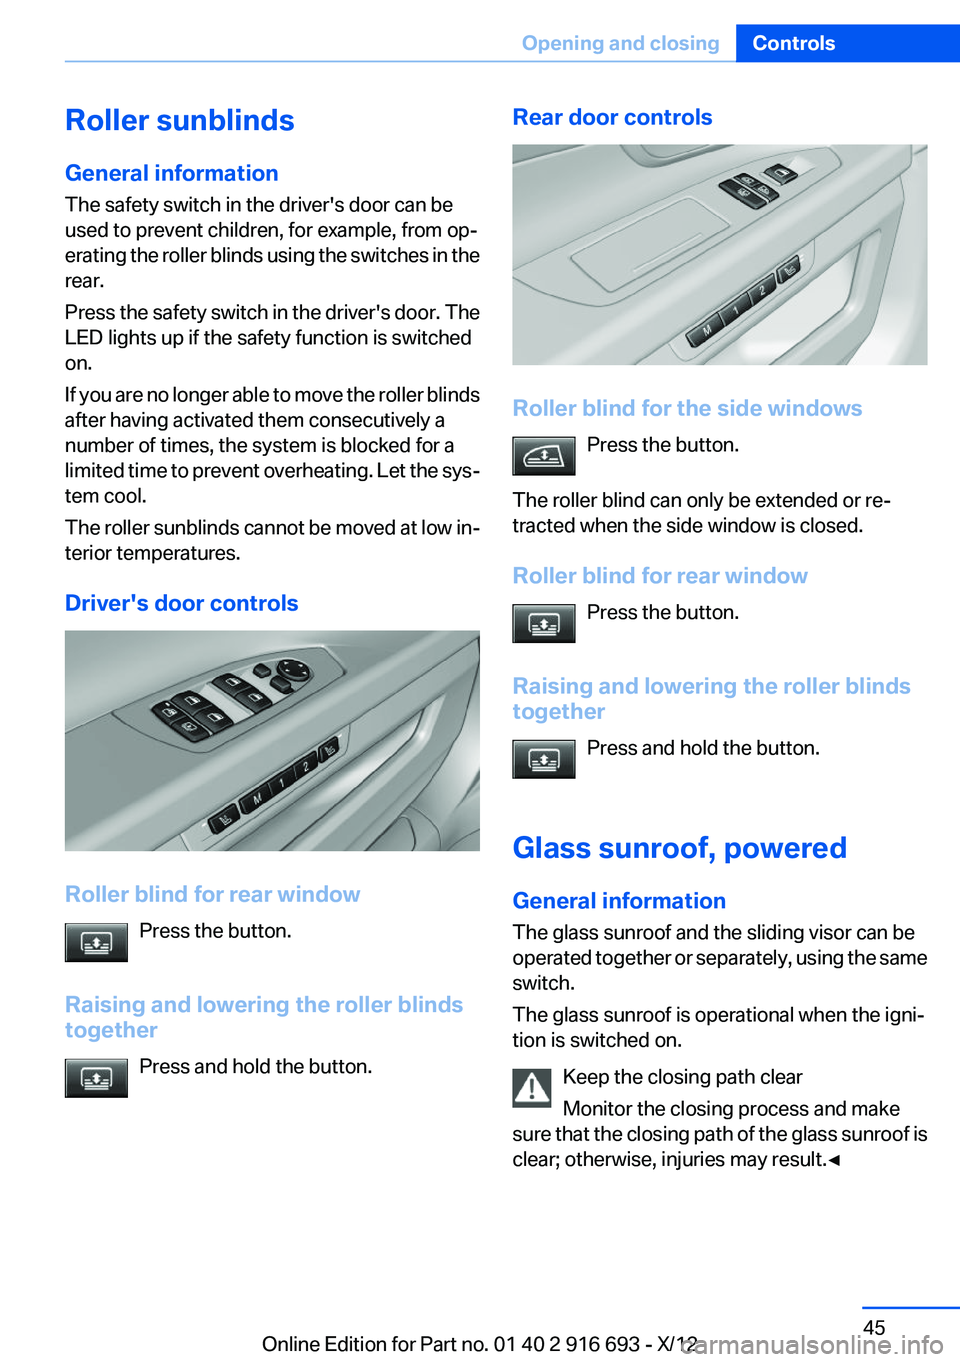
Driver's door controls
Roller blind for rear window Press the button.
Raising and lowering the roller blinds
together
Press and hold the button.
Rear door controls
Roller blind for the side windowsPress the button.
The roller blind can only be extended or re‐
tracted when the side window is closed.
Roller blind for rear window Press the button.
Raising and lowering the roller blinds
together
Press and hold the button.
Glass sunroof, powered
General information
The glass sunroof and the sliding visor can be
operated together or separately, using the same
switch.
The glass sunroof is operational when the igni‐
tion is switched on.
Keep the closing path clear
Monitor the closing process and make
sure that the closing path of the glass sunroof is
clear; otherwise, injuries may result.◀
Seite 45Opening and closingControls45
Online Edition for Part no. 01 40 2 916 693 - X/12
Page 50 of 243
▷Reduces strain on the shoulder muscles.
Gentleman function
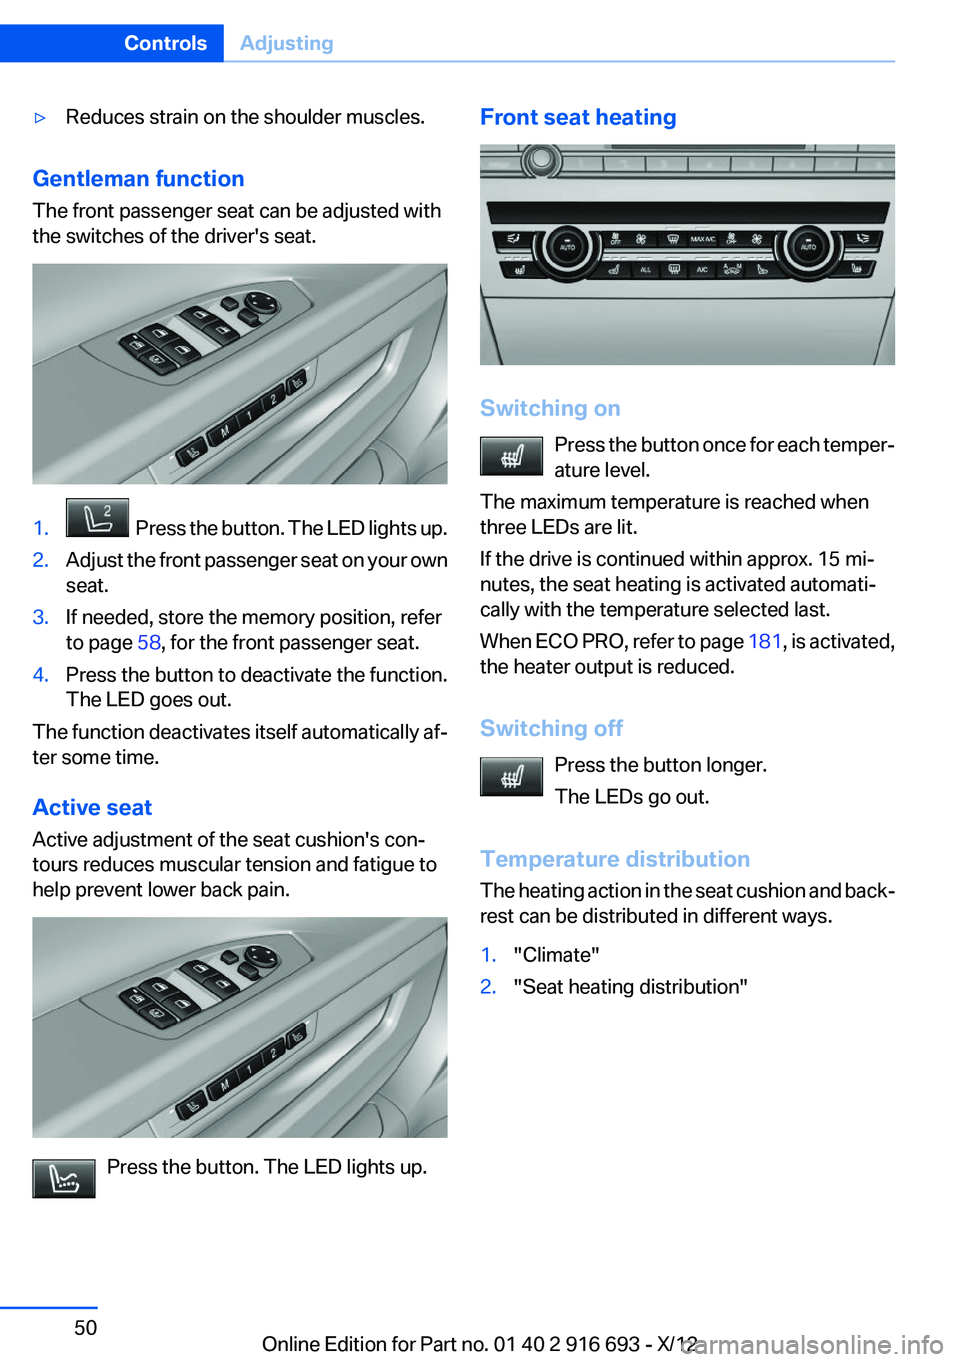
The front passenger seat can be adjusted with
the switches of the driver's seat.
1. Press the button. The LED lights up.2.Adjust the front passenger seat on your own
seat.3.If needed, store the memory position, refer
to page 58, for the front passenger seat.4.Press the button to deactivate the function.
The LED goes out.
The function deactivates itself automatically af‐
ter some time.
Active seat
Active adjustment of the seat cushion's con‐
tours reduces muscular tension and fatigue to
help prevent lower back pain.
Press the button. The LED lights up.
Front seat heating
Switching on
Press the button once for each temper‐
ature level.
The maximum temperature is reached when
three LEDs are lit.
If the drive is continued within approx. 15 mi‐
nutes, the seat heating is activated automati‐
cally with the temperature selected last.
When ECO PRO, refer to page 181, is activated,
the heater output is reduced.
Switching off Press the button longer.
The LEDs go out.
Temperature distribution
The heating action in the seat cushion and back‐
rest can be distributed in different ways.
1."Climate"2."Seat heating distribution"Seite 50ControlsAdjusting50
Online Edition for Part no. 01 40 2 916 693 - X/12
Page 55 of 243
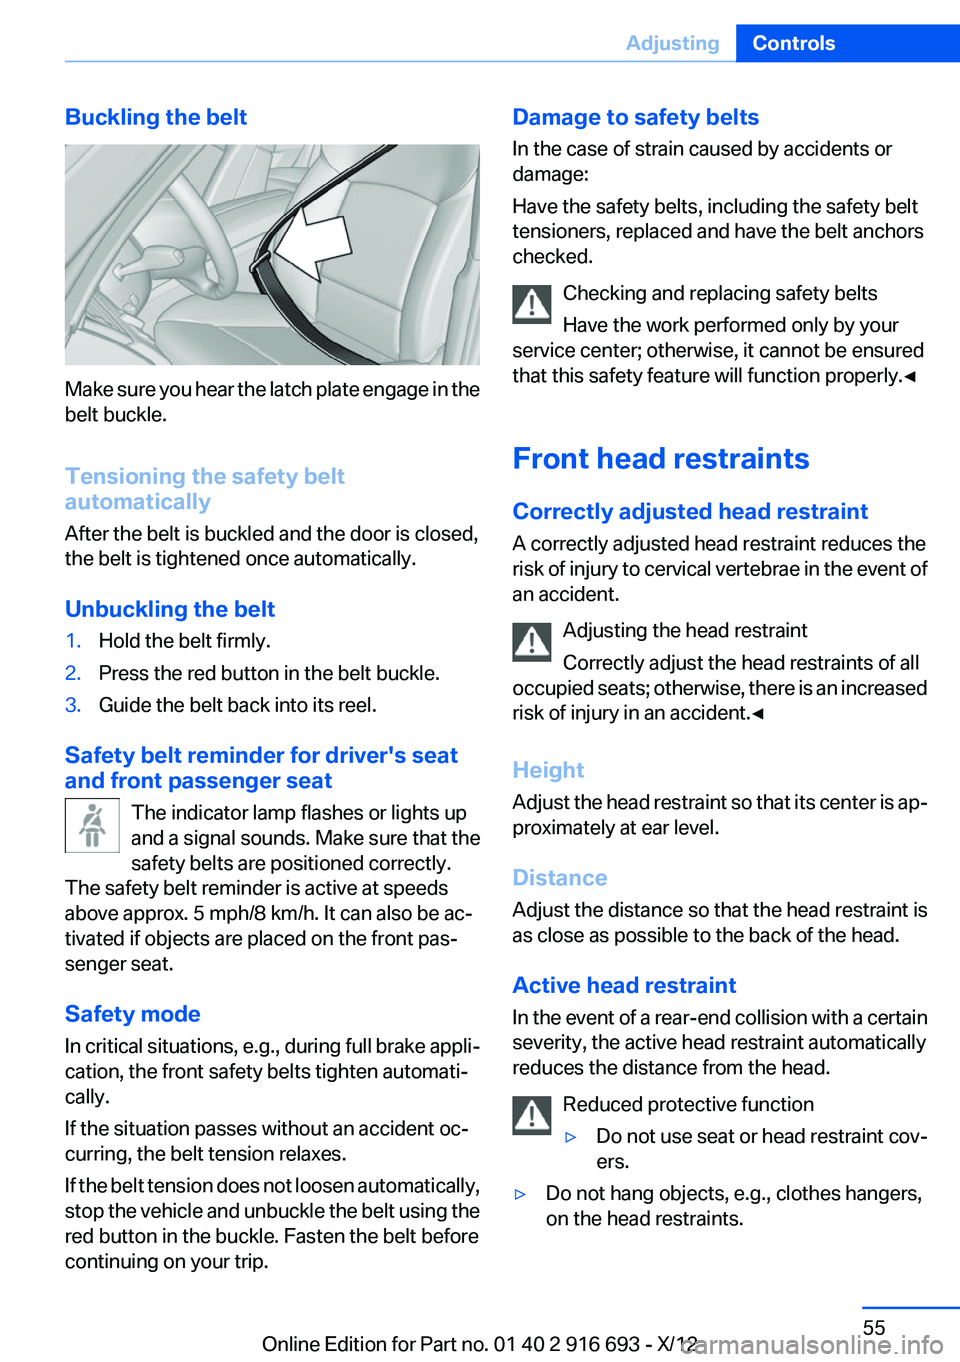
Buckling the belt
Make sure you hear the latch plate engage in the
belt buckle.
Tensioning the safety belt
automatically
After the belt is buckled and the door is closed,
the belt is tightened once automatically.
Unbuckling the belt
1.Hold the belt firmly.2.Press the red button in the belt buckle.3.Guide the belt back into its reel.
Safety belt reminder for driver's seat
and front passenger seat
The indicator lamp flashes or lights up
and a signal sounds. Make sure that the
safety belts are positioned correctly.
The safety belt reminder is active at speeds
above approx. 5 mph/8 km/h. It can also be ac‐
tivated if objects are placed on the front pas‐
senger seat.
Safety mode
In critical situations, e.g., during full brake appli‐
cation, the front safety belts tighten automati‐
cally.
If the situation passes without an accident oc‐
curring, the belt tension relaxes.
If the belt tension does not loosen automatically,
stop the vehicle and unbuckle the belt using the
red button in the buckle. Fasten the belt before
continuing on your trip.
Damage to safety belts
In the case of strain caused by accidents or
damage:
Have the safety belts, including the safety belt
tensioners, replaced and have the belt anchors
checked.
Checking and replacing safety belts
Have the work performed only by your
service center; otherwise, it cannot be ensured
that this safety feature will function properly.◀
Front head restraints
Correctly adjusted head restraint
A correctly adjusted head restraint reduces the
risk of injury to cervical vertebrae in the event of
an accident.
Adjusting the head restraint
Correctly adjust the head restraints of all
occupied seats; otherwise, there is an increased
risk of injury in an accident.◀
Height
Adjust the head restraint so that its center is ap‐
proximately at ear level.
Distance
Adjust the distance so that the head restraint is
as close as possible to the back of the head.
Active head restraint
In the event of a rear-end collision with a certain
severity, the active head restraint automatically
reduces the distance from the head.
Reduced protective function▷Do not use seat or head restraint cov‐
ers.▷Do not hang objects, e.g., clothes hangers,
on the head restraints.Seite 55AdjustingControls55
Online Edition for Part no. 01 40 2 916 693 - X/12