2013 BMW 640I COUPE key
[x] Cancel search: keyPage 21 of 232
The function will run immediately. This means,
for example, that the number is dialed when a
phone number is selected.
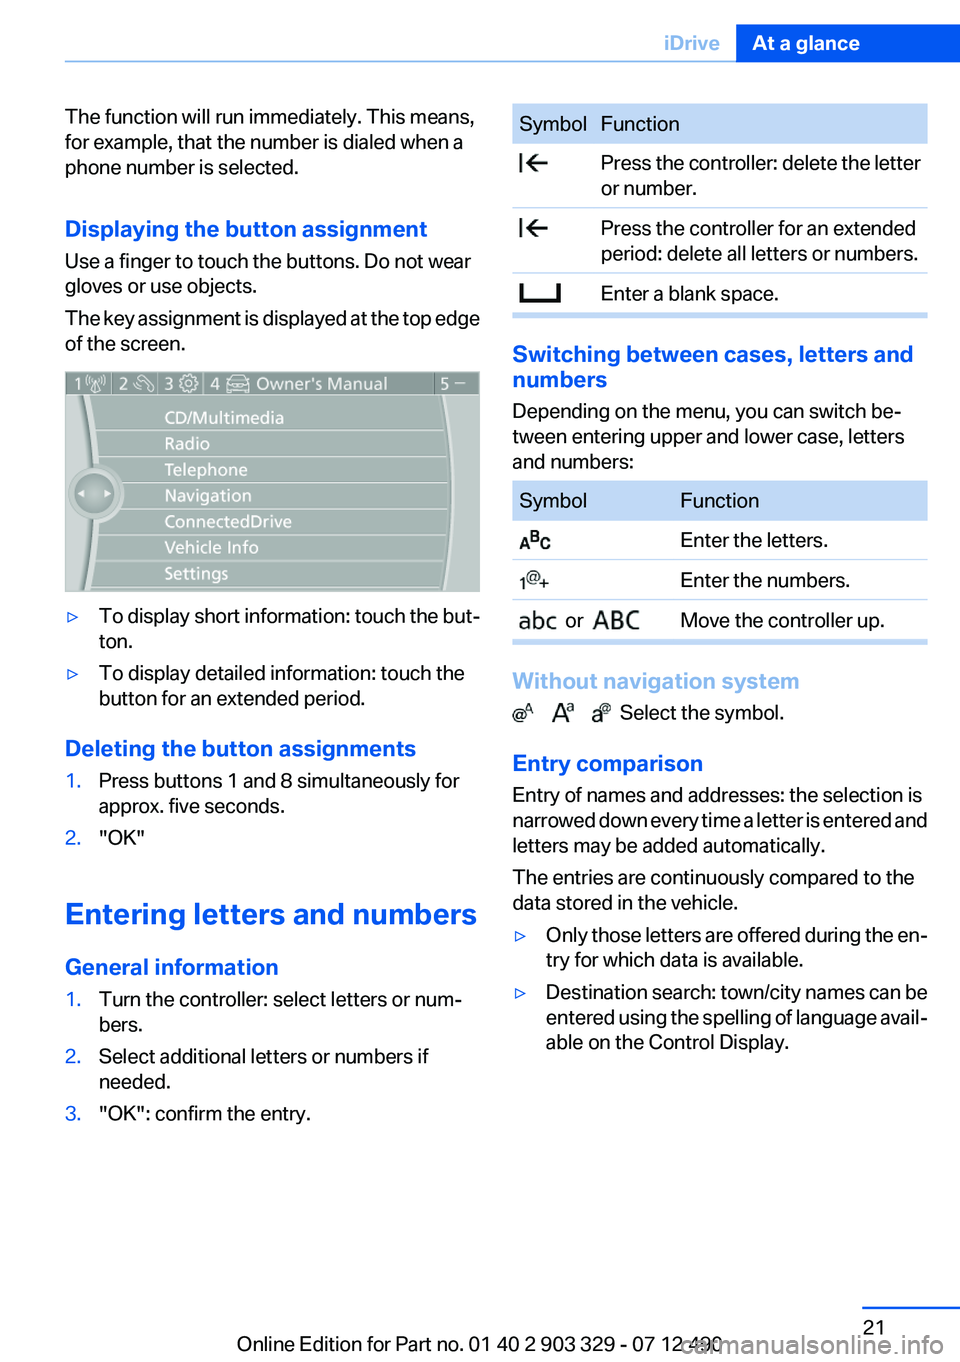
Displaying the button assignment
Use a finger to touch the buttons. Do not wear
gloves or use objects.
The key assignment is displayed at the top edge
of the screen.▷To display short information: touch the but‐
ton.▷To display detailed information: touch the
button for an extended period.
Deleting the button assignments
1.Press buttons 1 and 8 simultaneously for
approx. five seconds.2."OK"
Entering letters and numbers
General information
1.Turn the controller: select letters or num‐
bers.2.Select additional letters or numbers if
needed.3."OK": confirm the entry.SymbolFunction Press the controller: delete the letter
or number. Press the controller for an extended
period: delete all letters or numbers. Enter a blank space.
Switching between cases, letters and
numbers
Depending on the menu, you can switch be‐
tween entering upper and lower case, letters
and numbers:
SymbolFunction Enter the letters. Enter the numbers. or Move the controller up.
Without navigation system
Select the symbol.
Entry comparison
Entry of names and addresses: the selection is
narrowed down every time a letter is entered and
letters may be added automatically.
The entries are continuously compared to the
data stored in the vehicle.
▷Only those letters are offered during the en‐
try for which data is available.▷Destination search: town/city names can be
entered using the spelling of language avail‐
able on the Control Display.Seite 21iDriveAt a glance21
Online Edition for Part no. 01 40 2 903 329 - 07 12 490
Page 30 of 232
Opening and closingVehicle equipment
All standard, country-specific and optional
equipment that is offered in the model series is
described in this chapter. Therefore, equipment
is also described that is not available in a vehicle,
e. g., because of the selected optional equip‐
ment or country variant. This also applies for
safety-related functions and systems.
Remote control/key
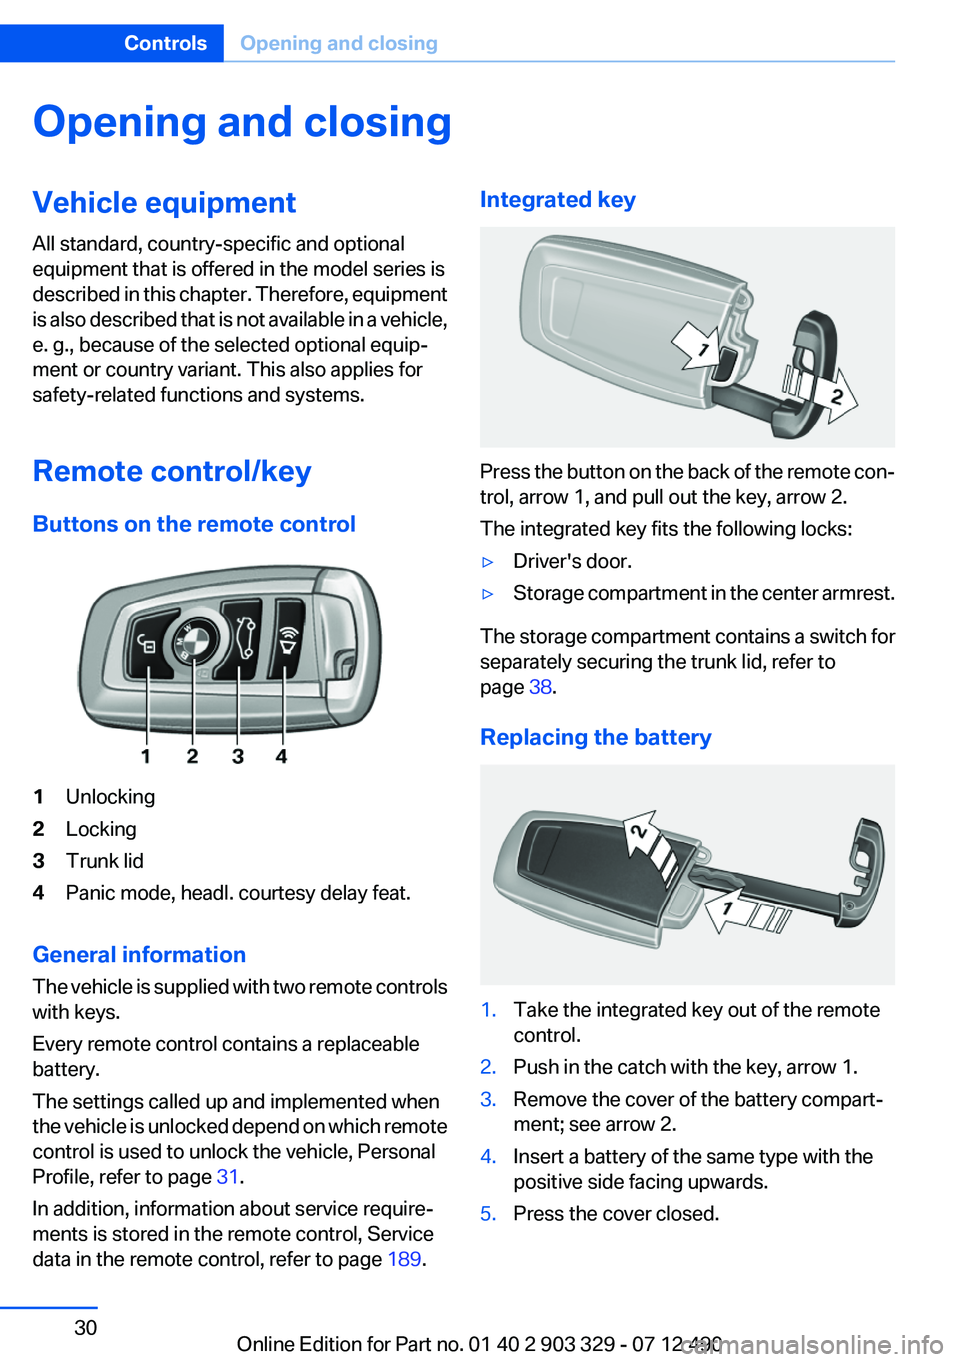
Buttons on the remote control1Unlocking2Locking3Trunk lid4Panic mode, headl. courtesy delay feat.
General information
The vehicle is supplied with two remote controls
with keys.
Every remote control contains a replaceable
battery.
The settings called up and implemented when
the vehicle is unlocked depend on which remote
control is used to unlock the vehicle, Personal
Profile, refer to page 31.
In addition, information about service require‐
ments is stored in the remote control, Service
data in the remote control, refer to page 189.
Integrated key
Press the button on the back of the remote con‐
trol, arrow 1, and pull out the key, arrow 2.
The integrated key fits the following locks:
▷Driver's door.▷Storage compartment in the center armrest.
The storage compartment contains a switch for
separately securing the trunk lid, refer to
page 38.
Replacing the battery
1.Take the integrated key out of the remote
control.2.Push in the catch with the key, arrow 1.3.Remove the cover of the battery compart‐
ment; see arrow 2.4.Insert a battery of the same type with the
positive side facing upwards.5.Press the cover closed.Seite 30ControlsOpening and closing30
Online Edition for Part no. 01 40 2 903 329 - 07 12 490
Page 36 of 232
2."Door locks"3."Last seat position auto."
Malfunction
If the vehicle can no longer be locked or un‐
locked with the remote control, the battery may
be discharged or there may be interference from
external sources such as mobile phones, metal
objects, overhead power lines, transmission
towers, etc.
If this occurs, unlock or lock the vehicle at the
door lock using the integrated key.
For US owners only
The transmitter and receiver units comply with
part 15 of the FCC/Federal Communication
Commission regulations. Operation is governed
by the following:
FCC ID:
▷LX8766S.▷LX8766E.▷LX8CAS.▷LX8CAS2.▷MYTCAS4.
Compliance statement:
This device complies with part 15 of the FCC
Rules. Operation is subject to the following two
conditions:
▷This device may not cause harmful interfer‐
ence, and▷this device must accept any interference re‐
ceived, including interference that may
cause undesired operation.
Any unauthorized modifications or changes to
these devices could void the user's authority to
operate this equipment.
Using the door lock
General information
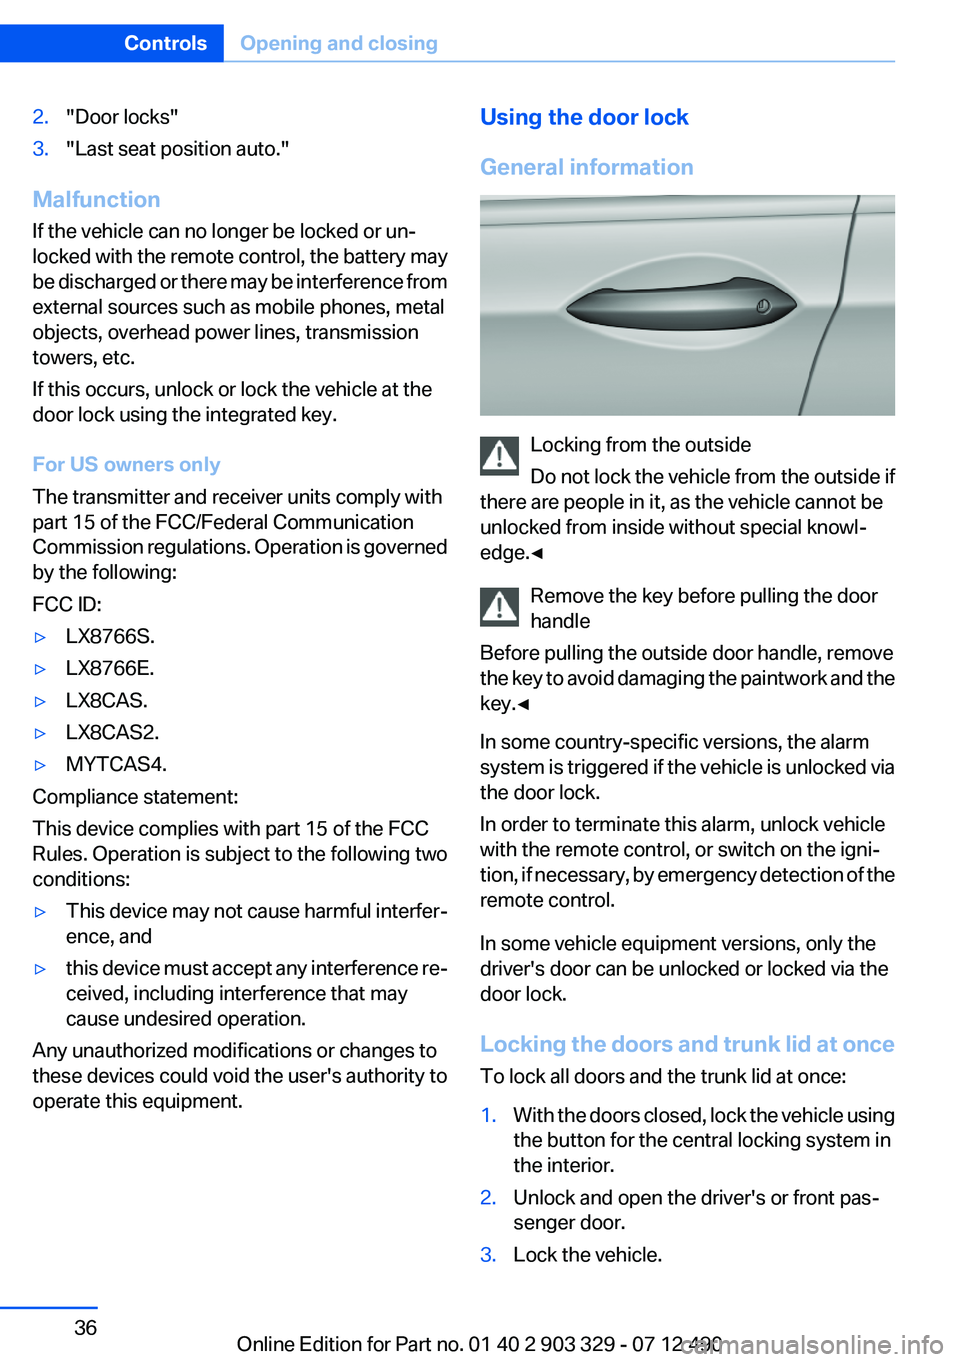
Locking from the outside
Do not lock the vehicle from the outside if
there are people in it, as the vehicle cannot be
unlocked from inside without special knowl‐
edge.◀
Remove the key before pulling the door
handle
Before pulling the outside door handle, remove
the key to avoid damaging the paintwork and the
key.◀
In some country-specific versions, the alarm
system is triggered if the vehicle is unlocked via
the door lock.
In order to terminate this alarm, unlock vehicle
with the remote control, or switch on the igni‐
tion, if necessary, by emergency detection of the
remote control.
In some vehicle equipment versions, only the
driver's door can be unlocked or locked via the
door lock.
Locking the doors and trunk lid at once
To lock all doors and the trunk lid at once:
1.With the doors closed, lock the vehicle using
the button for the central locking system in
the interior.2.Unlock and open the driver's or front pas‐
senger door.3.Lock the vehicle.Seite 36ControlsOpening and closing36
Online Edition for Part no. 01 40 2 903 329 - 07 12 490
Page 37 of 232
▷Lock the driver's door using the
integrated key in the door lock, or▷Press down the lock button of the front
passenger door and close the door from
the outside.
The fuel filler flap can only be locked using the
remote control.
Manual operation
If an electrical malfunction occurs, lock or unlock
the vehicle using the integrated key via the door
lock on the driver's door.
Opening and closing: from the
inside
Locking and unlocking
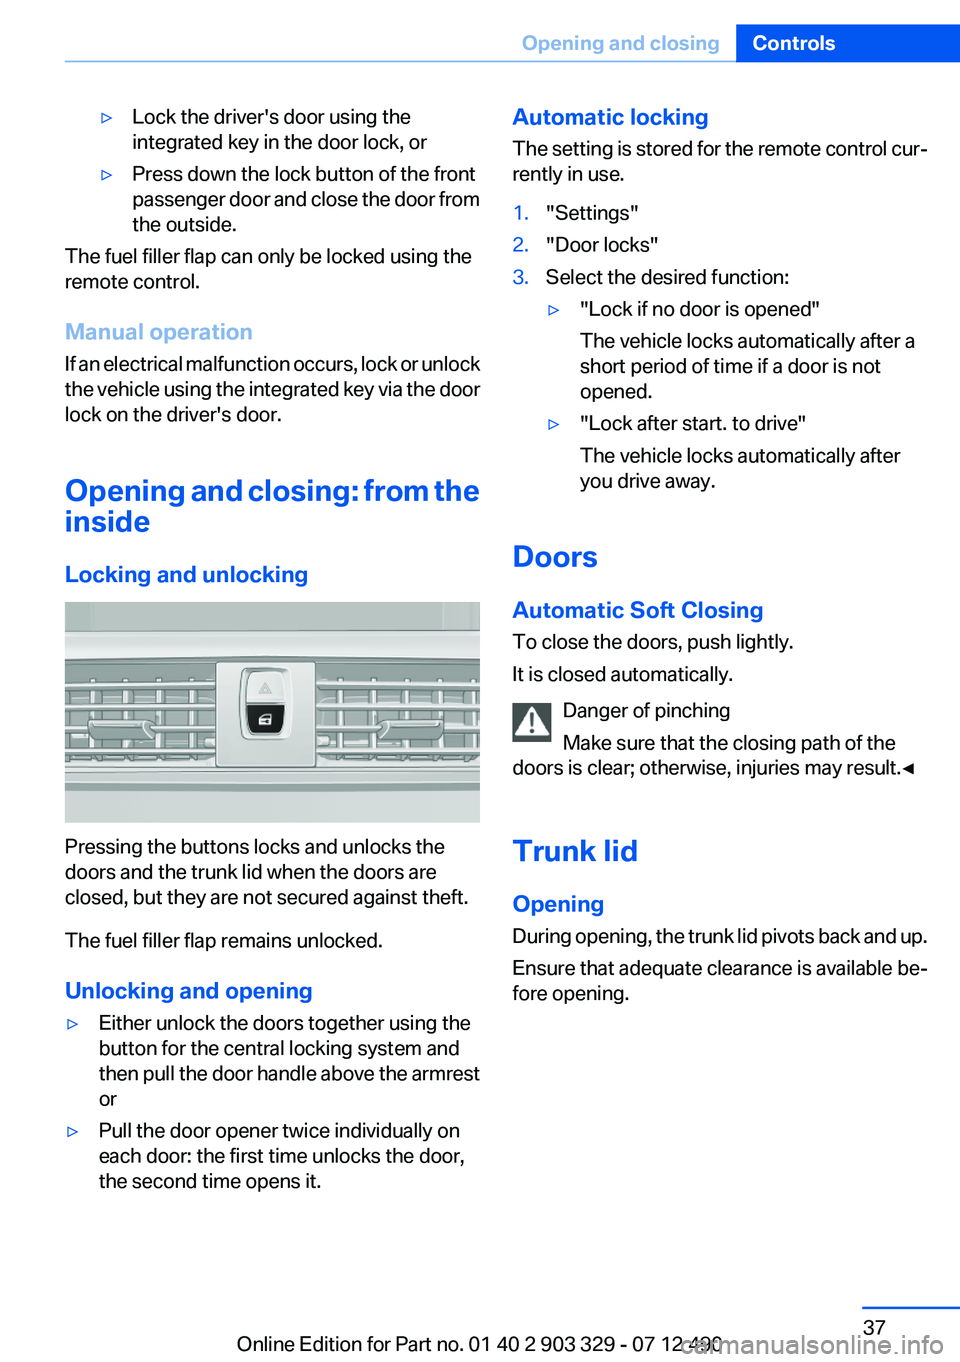
Pressing the buttons locks and unlocks the
doors and the trunk lid when the doors are
closed, but they are not secured against theft.
The fuel filler flap remains unlocked.
Unlocking and opening
▷Either unlock the doors together using the
button for the central locking system and
then pull the door handle above the armrest
or▷Pull the door opener twice individually on
each door: the first time unlocks the door,
the second time opens it.Automatic locking
The setting is stored for the remote control cur‐
rently in use.1."Settings"2."Door locks"3.Select the desired function:▷"Lock if no door is opened"
The vehicle locks automatically after a
short period of time if a door is not
opened.▷"Lock after start. to drive"
The vehicle locks automatically after
you drive away.
Doors
Automatic Soft Closing
To close the doors, push lightly.
It is closed automatically.
Danger of pinching
Make sure that the closing path of the
doors is clear; otherwise, injuries may result.◀
Trunk lid
Opening
During opening, the trunk lid pivots back and up.
Ensure that adequate clearance is available be‐
fore opening.
Seite 37Opening and closingControls37
Online Edition for Part no. 01 40 2 903 329 - 07 12 490
Page 38 of 232
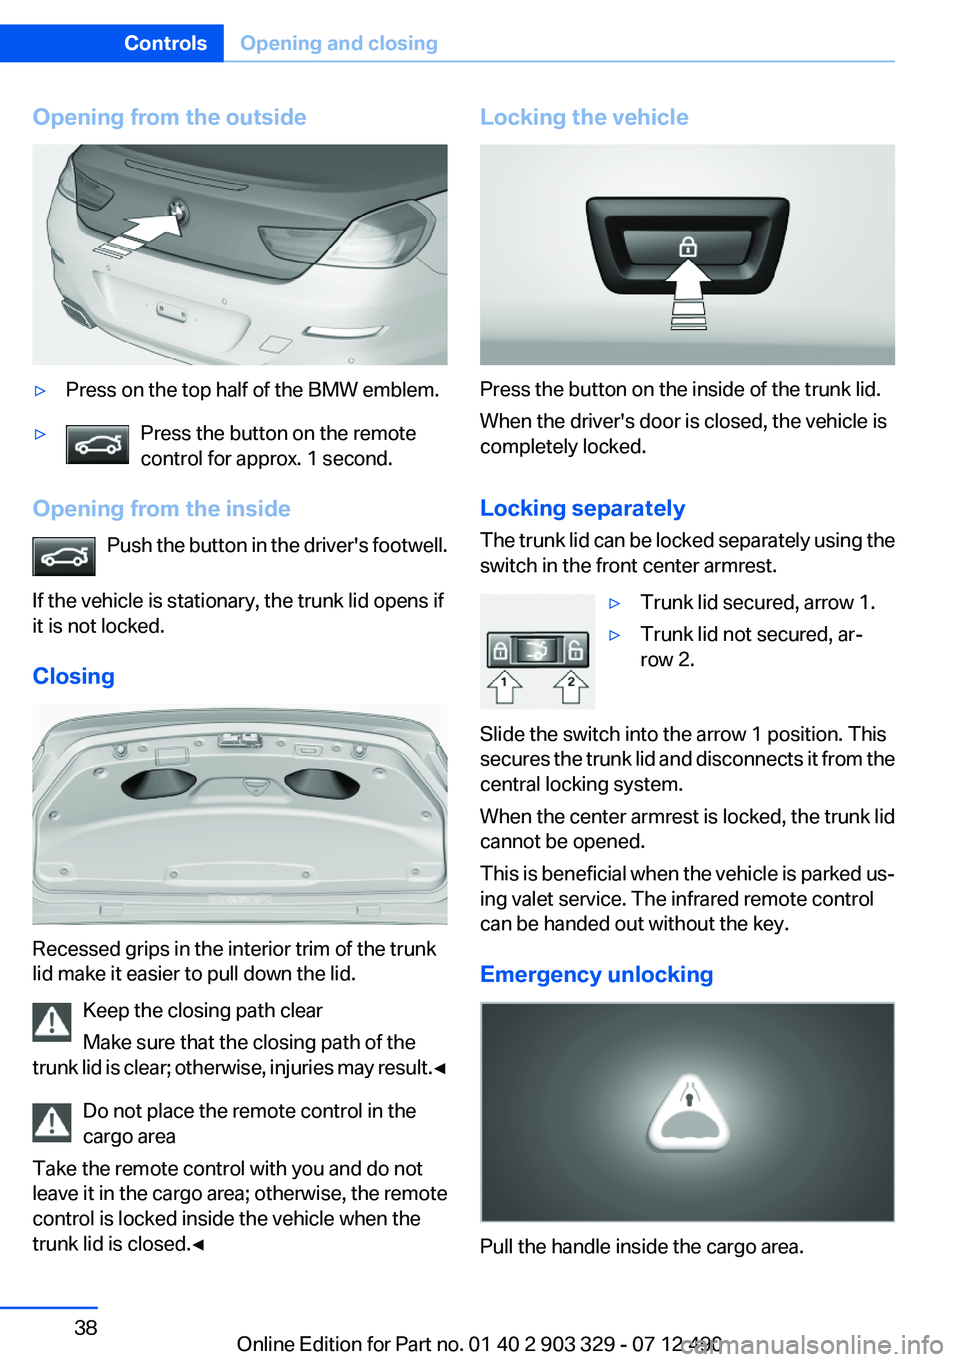
Opening from the outside▷Press on the top half of the BMW emblem.▷Press the button on the remote
control for approx. 1 second.
Opening from the inside
Push the button in the driver's footwell.
If the vehicle is stationary, the trunk lid opens if
it is not locked.
Closing
Recessed grips in the interior trim of the trunk
lid make it easier to pull down the lid.
Keep the closing path clear
Make sure that the closing path of the
trunk lid is clear; otherwise, injuries may result. ◀
Do not place the remote control in the
cargo area
Take the remote control with you and do not
leave it in the cargo area; otherwise, the remote
control is locked inside the vehicle when the
trunk lid is closed.◀
Locking the vehicle
Press the button on the inside of the trunk lid.
When the driver's door is closed, the vehicle is
completely locked.
Locking separately
The trunk lid can be locked separately using the
switch in the front center armrest.
▷Trunk lid secured, arrow 1.▷Trunk lid not secured, ar‐
row 2.
Slide the switch into the arrow 1 position. This
secures the trunk lid and disconnects it from the
central locking system.
When the center armrest is locked, the trunk lid
cannot be opened.
This is beneficial when the vehicle is parked us‐
ing valet service. The infrared remote control
can be handed out without the key.
Emergency unlocking
Pull the handle inside the cargo area.
Seite 38ControlsOpening and closing38
Online Edition for Part no. 01 40 2 903 329 - 07 12 490
Page 40 of 232
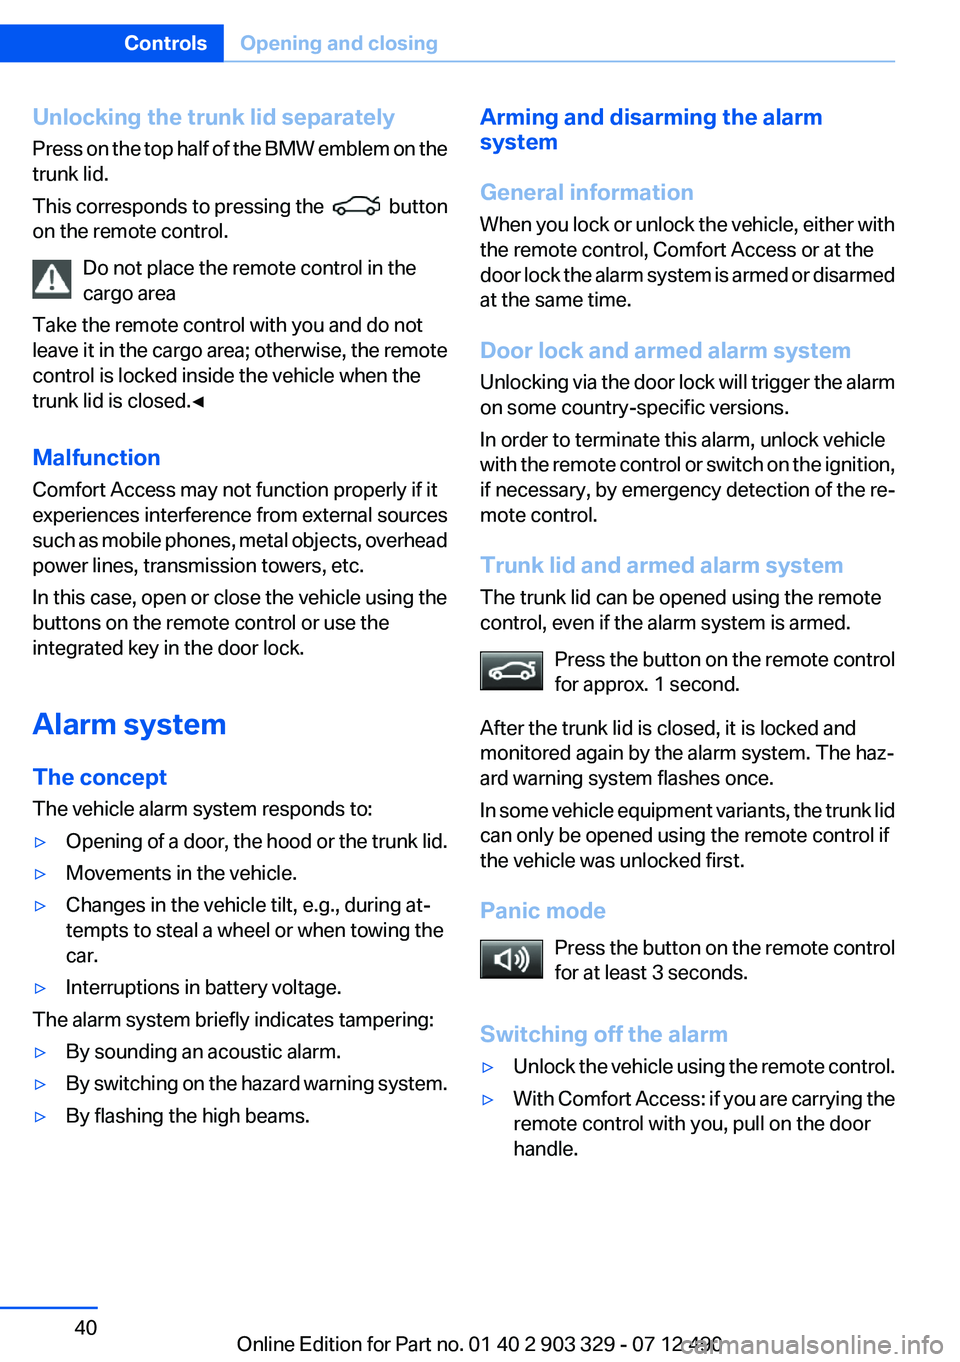
Unlocking the trunk lid separately
Press on the top half of the BMW emblem on the
trunk lid.
This corresponds to pressing the
button
on the remote control.
Do not place the remote control in the
cargo area
Take the remote control with you and do not
leave it in the cargo area; otherwise, the remote
control is locked inside the vehicle when the
trunk lid is closed.◀
Malfunction
Comfort Access may not function properly if it
experiences interference from external sources
such as mobile phones, metal objects, overhead
power lines, transmission towers, etc.
In this case, open or close the vehicle using the
buttons on the remote control or use the
integrated key in the door lock.
Alarm system
The concept
The vehicle alarm system responds to:
▷Opening of a door, the hood or the trunk lid.▷Movements in the vehicle.▷Changes in the vehicle tilt, e.g., during at‐
tempts to steal a wheel or when towing the
car.▷Interruptions in battery voltage.
The alarm system briefly indicates tampering:
▷By sounding an acoustic alarm.▷By switching on the hazard warning system.▷By flashing the high beams.Arming and disarming the alarm
system
General information
When you lock or unlock the vehicle, either with
the remote control, Comfort Access or at the
door lock the alarm system is armed or disarmed
at the same time.
Door lock and armed alarm system
Unlocking via the door lock will trigger the alarm
on some country-specific versions.
In order to terminate this alarm, unlock vehicle
with the remote control or switch on the ignition,
if necessary, by emergency detection of the re‐
mote control.
Trunk lid and armed alarm system
The trunk lid can be opened using the remote
control, even if the alarm system is armed.
Press the button on the remote control
for approx. 1 second.
After the trunk lid is closed, it is locked and
monitored again by the alarm system. The haz‐
ard warning system flashes once.
In some vehicle equipment variants, the trunk lid
can only be opened using the remote control if
the vehicle was unlocked first.
Panic mode Press the button on the remote control
for at least 3 seconds.
Switching off the alarm▷Unlock the vehicle using the remote control.▷With Comfort Access: if you are carrying the
remote control with you, pull on the door
handle.Seite 40ControlsOpening and closing40
Online Edition for Part no. 01 40 2 903 329 - 07 12 490
Page 152 of 232
General information
Connection for importing and exporting data on
USB devices, e.g.:▷Personal Profile settings, refer to page 31.▷Music collection, see user's manual for Nav‐
igation, Entertainment and Communication.
Notes
Observe the following when connecting:
▷Do not use force when plugging the con‐
nector into the USB interface.▷Do not connect devices such as fans or
lamps to the USB interface.▷Do not connect USB hard drives.▷Do not use the USB interface to recharge
external devices.
Front center armrest
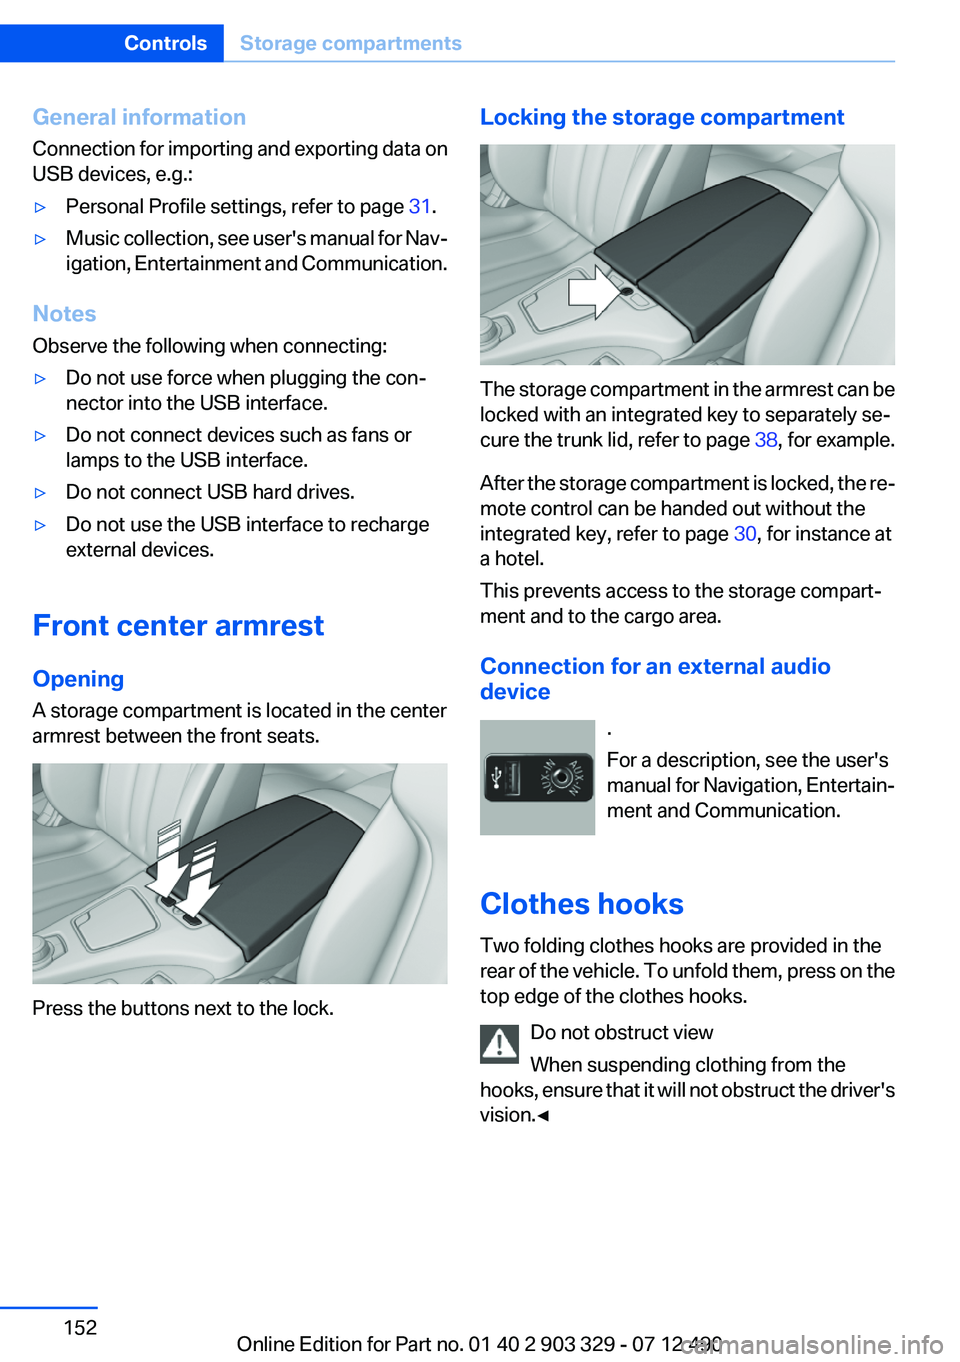
Opening
A storage compartment is located in the center
armrest between the front seats.
Press the buttons next to the lock.
Locking the storage compartment
The storage compartment in the armrest can be
locked with an integrated key to separately se‐
cure the trunk lid, refer to page 38, for example.
After the storage compartment is locked, the re‐
mote control can be handed out without the
integrated key, refer to page 30, for instance at
a hotel.
This prevents access to the storage compart‐
ment and to the cargo area.
Connection for an external audio
device
.
For a description, see the user's
manual for Navigation, Entertain‐
ment and Communication.
Clothes hooks
Two folding clothes hooks are provided in the
rear of the vehicle. To unfold them, press on the
top edge of the clothes hooks.
Do not obstruct view
When suspending clothing from the
hooks, ensure that it will not obstruct the driver's
vision.◀
Seite 152ControlsStorage compartments152
Online Edition for Part no. 01 40 2 903 329 - 07 12 490
Page 223 of 232

BMW Maintenance Sys‐tem 189
Bottle holder, refer to Cu‐ pholder 153
Brake assistant 111
Brake assistant, adaptive 111
Brake discs, breaking in 158
Brake force display 110
Brake lamps, brake force dis‐ play 110
Brake lamps, bulb replace‐ ment 194
Brake lights, adaptive 110
Brake pads, breaking in 158
Braking, notes 159
Breakdown assis‐ tance 198, 199
Breaking in 158
Brightness of Control Dis‐ play 85
Bulb replacement 192
Bulb replacement, front 0
Bulb replacement, rear 194
Bulbs and lamps 192
Button, RES 121
Button, Start/Stop 57
Bypassing, refer to Jump- starting 200
C
California Proposition 65 Warning 7
Camera, backup camera 130
Camera, care 207
Camera, Side View 134
Camera, Top View 132
Can holder, refer to Cu‐ pholder 153
Car battery 196
Car care products 205
Care, displays 207
Care, vehicle 205
Cargo 161
Cargo area lid 37 Cargo area, storage compart‐
ments 153
Cargo straps, securing cargo 162
Car key, refer to Remote con‐ trol 30
Carpet, care 206
Car wash 204
Catalytic converter, refer to Hot exhaust system 159
CBS Condition Based Serv‐ ice 189
CD/Multimedia, see user's manual for Navigation, Enter‐
tainment and Communica‐
tion
Center console 14
Central locking system 33
Central screen, refer to Control Display 16
Changes, technical, refer to Safety 7
Changing parts 192
Changing wheels 195
Changing wheels/tires 180
Check Control 74
Children, seating position 54
Children, transporting safely 54
Child restraint fixing sys‐ tem 54
Child restraint fixing system LATCH 55
Child restraint fixing systems, mounting 54
Child seat, mounting 54
Child seats 54
Chrome parts, care 206
Cigarette lighter 148
Cleaning, displays 207
Climate control 141
Climate control wind‐ shield 159
Clock 77
Closing/opening from in‐ side 37 Closing/opening via door
lock 36
Closing/opening with remote control 34
Clothes hooks 152
Collision warning 100, 102
Combination switch, refer to Turn signals 63
Combination switch, refer to Wiper system 64
COMFORT+ program, Driving Experience Switch 117
Comfort Access 39
COMFORT program, Driving Experience Switch 117
Computer 81
Condensation on win‐ dows 142
Condensation under the vehi‐ cle 160
Condition Based Service CBS 189
Configure driving mode 117
Confirmation signal 35
ConnectedDrive, see user's manual for Navigation, Enter‐
tainment and Communica‐
tion
Control Display 16
Control Display, settings 84
Controller 16
Control systems, driving sta‐ bility 111
Convenient opening 35
Coolant 188
Coolant temperature 77
Cooling function 143
Cooling, maximum 142
Cooling system 188
Corrosion on brake discs 160
Cruise control 125
Cruise control, active with Stop & Go 119
Cruising range 78
Cupholder 153
Current fuel consumption 78 Seite 223Everything from A to ZReference223
Online Edition for Part no. 01 40 2 903 329 - 07 12 490