2013 BMW 335I ECU
[x] Cancel search: ECUPage 150 of 242
▷Do not use force when plugging the con‐
nector into the USB interface.▷Do not connect devices such as fans or
lamps to the USB interface.▷Do not connect USB hard drives.▷Do not use the USB interface to recharge
external devices.
Through-loading system
The concept
The cargo area can be enlarged by folding down
the rear seat backrest.
The rear seat backrest is divided at a ratio of 40–
20–40.
The sides can be folded down separately or to‐
gether.
Hints Danger of pinching
Before folding down the rear seat back‐
rests, ensure that the area of movement of the
backrests is clear. In particular, ensure that no
one is located in or reaches into the area of
movement of the rear seat backrests when the
middle section is folded down. Otherwise, injury
or damage may result.◀
Lock the rear seat backrests in position
Before mounting child restraint fixing sys‐
tems, place the seat backrest as far as possible
at an angle at which the child seat is resting
firmly against the backrest and all backrests can
be locked securely in place. Otherwise, the child
seat will not be as stable as it should be, and
there is increased danger of injury due to unex‐
pected movement of the seat backrest.◀
Retract the head restraint if necessary be‐
fore backrest is folded down
With folding head restraints, fold in the head re‐
straints before folding down the backrests, or
damage may result.◀
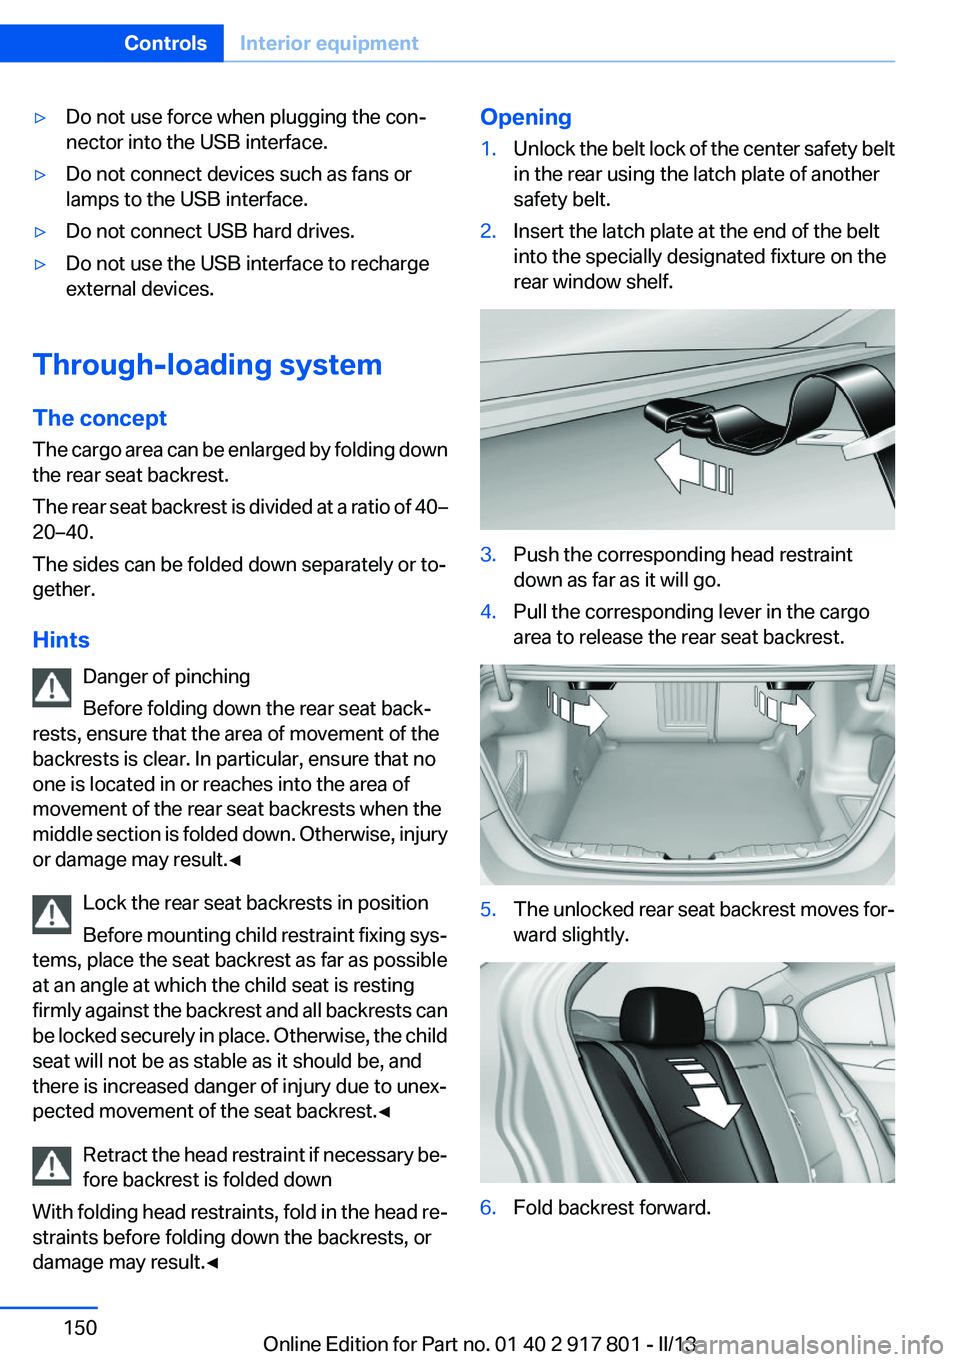
Opening1.Unlock the belt lock of the center safety belt
in the rear using the latch plate of another
safety belt.2.Insert the latch plate at the end of the belt
into the specially designated fixture on the
rear window shelf.3.Push the corresponding head restraint
down as far as it will go.4.Pull the corresponding lever in the cargo
area to release the rear seat backrest.5.The unlocked rear seat backrest moves for‐
ward slightly.6.Fold backrest forward.Seite 150ControlsInterior equipment150
Online Edition for Part no. 01 40 2 917 801 - II/13
Page 151 of 242
Closing1.Return the rear seat backrest to the upright
seating position and engage it.
Ensure that the lock is securely en‐
gaged
Make sure that the lock engages properly
when folding back, otherwise transported
cargo could enter the passenger compart‐
ment during braking or evasive maneuvers
and endanger the vehicle occupants.◀2.Release the belt tongue from the fixture on
the rear window shelf.3.Insert the belt tongue in the belt lock of the
center safety belt. Make sure you hear the
latch plate engage.
To secure cargo, refer to page 162, with nets or
draw straps, the cargo area is fitted with lashing
eyes.
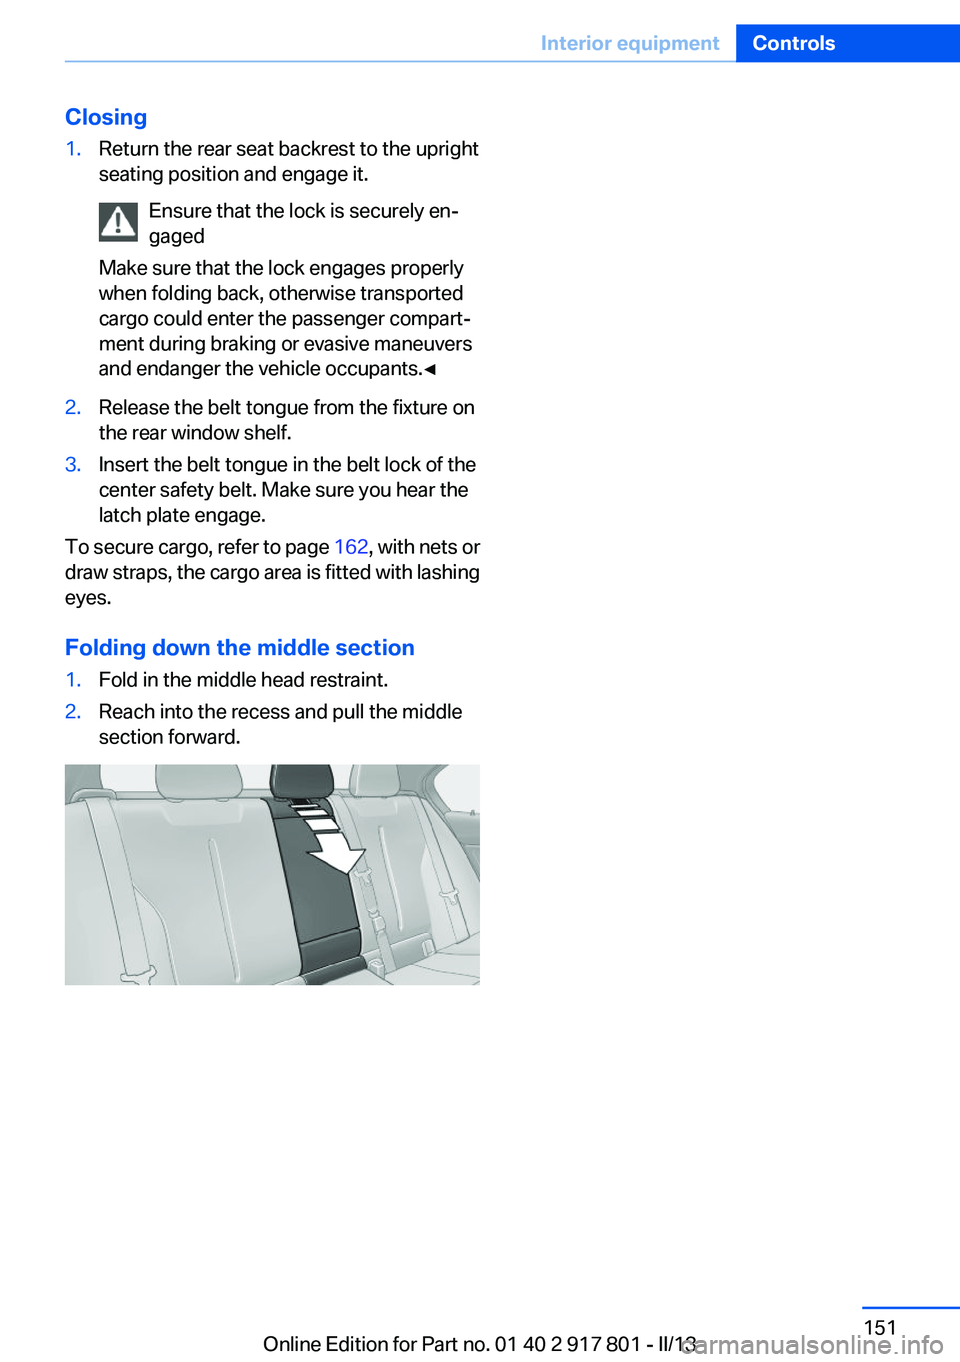
Folding down the middle section
1.Fold in the middle head restraint.2.Reach into the recess and pull the middle
section forward.Seite 151Interior equipmentControls151
Online Edition for Part no. 01 40 2 917 801 - II/13
Page 152 of 242
Storage compartmentsVehicle equipment
All standard, country-specific and optional
equipment that is offered in the model series is
described in this chapter. Therefore, equipment
is also described that is not available in a vehicle,
e. g., because of the selected optional equip‐
ment or country variant. This also applies for
safety-related functions and systems.
Notes No loose objects in the passenger com‐
partment
Do not stow any objects in the passenger com‐
partment without securing them; otherwise,
they may present a danger to occupants for in‐
stance during braking and avoidance maneu‐
vers.◀
Do not place anti-slip mats on the dash‐
board
Do not place anti-slip mats on the dashboard.
The mat materials could damage the dash‐
board.◀
Storage compartments
The following storage compartments are avail‐
able in the vehicle interior:▷Glove compartment on the driver's side, re‐
fer to page 152.▷Glove compartment on the front passenger
side, refer to page 153.▷Without Smoker's package: Front storage
compartment, in front of the cupholders, re‐
fer to page 153.▷Storage compartment in the front center
armrest, refer to page 153.▷Compartments in the doors, refer to
page 153.▷Nets on the backrests of the front seats.▷Storage compartment in the rear center
console, refer to page 154.
Glove compartment
Driver's side
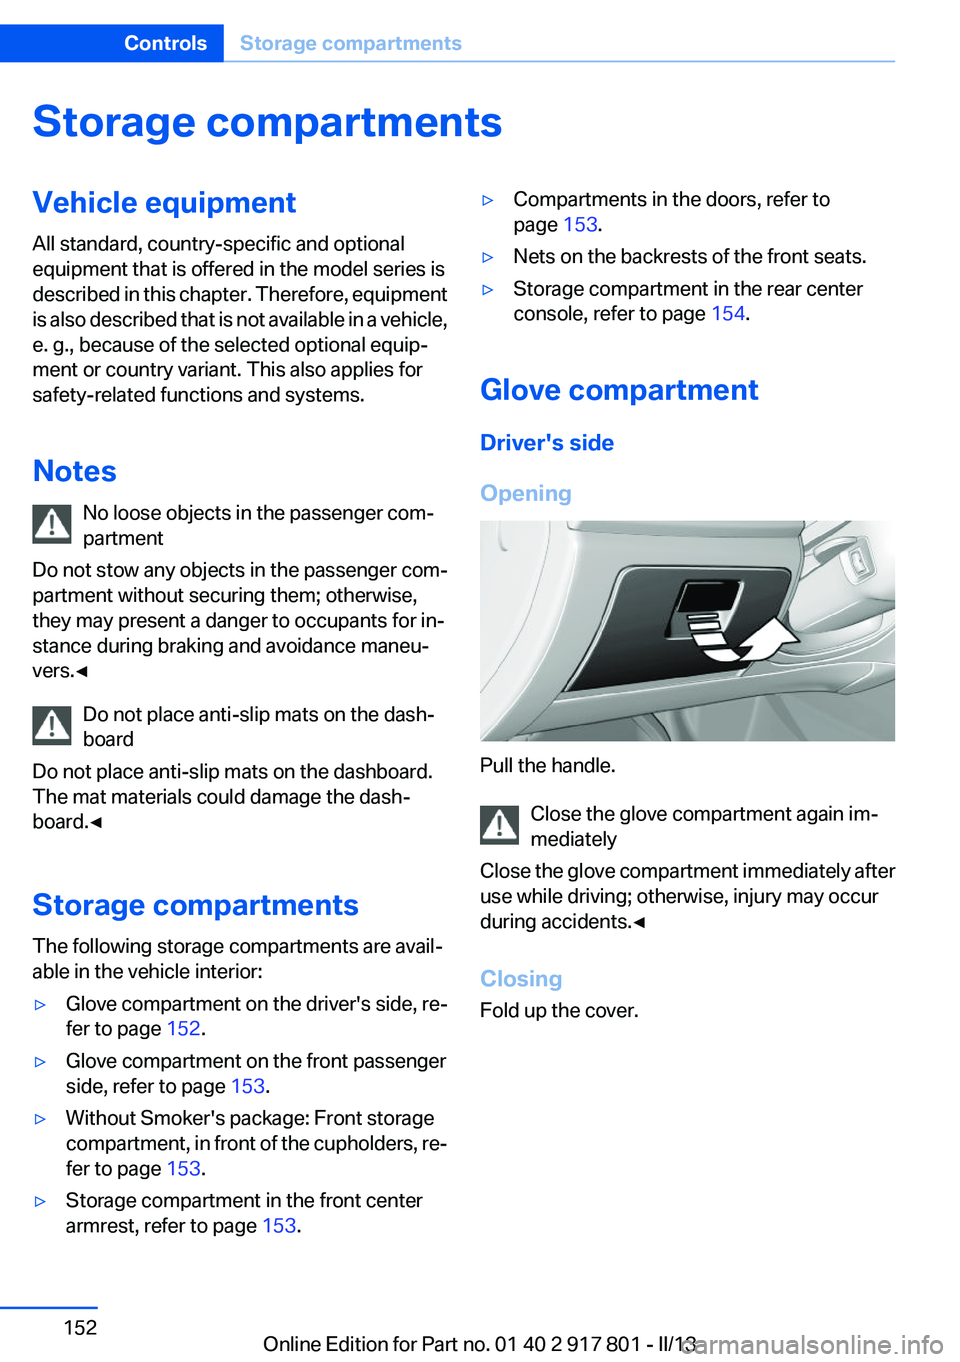
Opening
Pull the handle. Close the glove compartment again im‐
mediately
Close the glove compartment immediately after
use while driving; otherwise, injury may occur
during accidents.◀
Closing
Fold up the cover.
Seite 152ControlsStorage compartments152
Online Edition for Part no. 01 40 2 917 801 - II/13
Page 153 of 242
Front passenger side
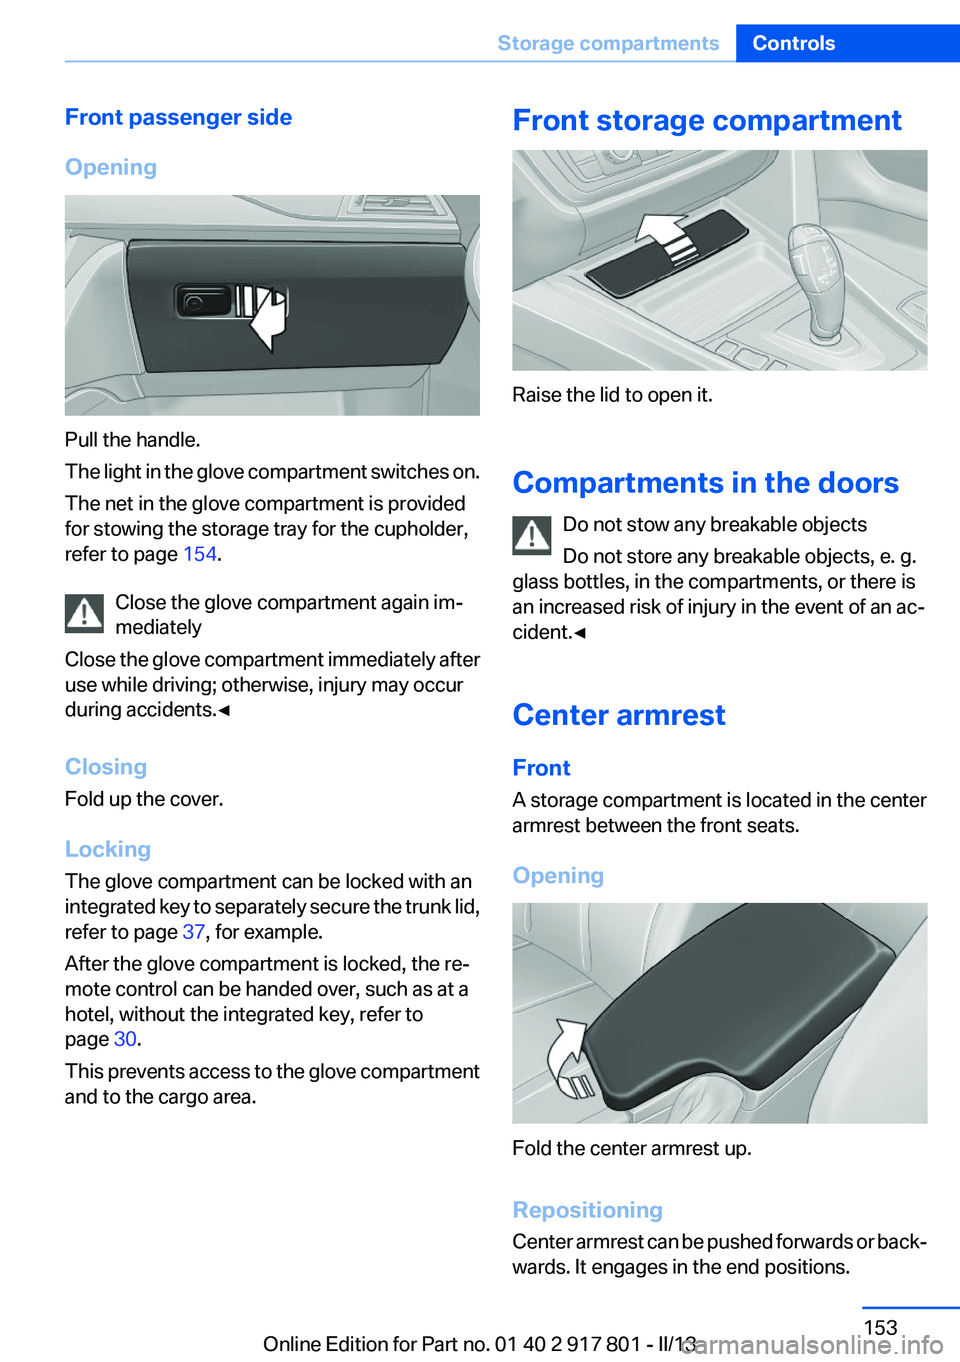
Opening
Pull the handle.
The light in the glove compartment switches on.
The net in the glove compartment is provided
for stowing the storage tray for the cupholder,
refer to page 154.
Close the glove compartment again im‐
mediately
Close the glove compartment immediately after
use while driving; otherwise, injury may occur
during accidents.◀
Closing
Fold up the cover.
Locking
The glove compartment can be locked with an
integrated key to separately secure the trunk lid,
refer to page 37, for example.
After the glove compartment is locked, the re‐
mote control can be handed over, such as at a
hotel, without the integrated key, refer to
page 30.
This prevents access to the glove compartment
and to the cargo area.
Front storage compartment
Raise the lid to open it.
Compartments in the doors Do not stow any breakable objects
Do not store any breakable objects, e. g.
glass bottles, in the compartments, or there is
an increased risk of injury in the event of an ac‐
cident.◀
Center armrest
Front
A storage compartment is located in the center
armrest between the front seats.
Opening
Fold the center armrest up.
Repositioning
Center armrest can be pushed forwards or back‐
wards. It engages in the end positions.
Seite 153Storage compartmentsControls153
Online Edition for Part no. 01 40 2 917 801 - II/13
Page 155 of 242
No heavy objects
Do not hang heavy objects from the hooks;
otherwise, they may present a danger to pas‐
sengers during braking and evasive maneu‐
vers.◀
Storage compartments in the
cargo area
Storage compartment
A storage compartment is located on the left
side.
Located on the right side is a storage compart‐
ment for the onboard vehicle tool kit, refer to
page 202, and first aid kit, refer to page 214.
Net
Small objects can be stowed in the net on the
left side.
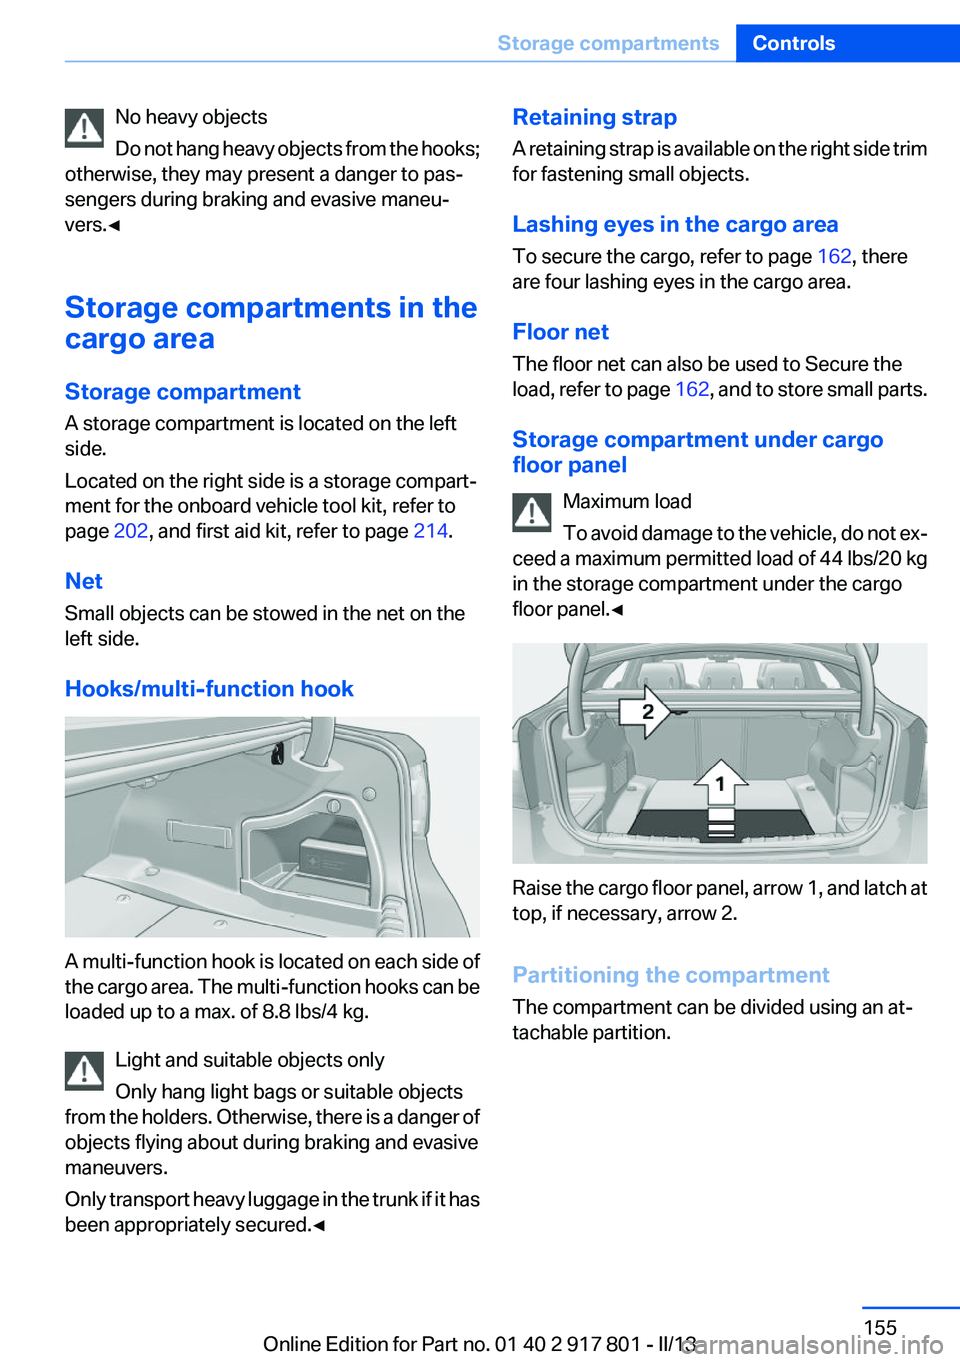
Hooks/multi-function hook
A multi-function hook is located on each side of
the cargo area. The multi-function hooks can be
loaded up to a max. of 8.8 lbs/4 kg.
Light and suitable objects only
Only hang light bags or suitable objects
from the holders. Otherwise, there is a danger of
objects flying about during braking and evasive
maneuvers.
Only transport heavy luggage in the trunk if it has
been appropriately secured.◀
Retaining strap
A retaining strap is available on the right side trim
for fastening small objects.
Lashing eyes in the cargo area
To secure the cargo, refer to page 162, there
are four lashing eyes in the cargo area.
Floor net
The floor net can also be used to Secure the
load, refer to page 162, and to store small parts.
Storage compartment under cargo
floor panel
Maximum load
To avoid damage to the vehicle, do not ex‐
ceed a maximum permitted load of 44 lbs/20 kg
in the storage compartment under the cargo
floor panel.◀
Raise the cargo floor panel, arrow 1, and latch at
top, if necessary, arrow 2.
Partitioning the compartment
The compartment can be divided using an at‐
tachable partition.
Seite 155Storage compartmentsControls155
Online Edition for Part no. 01 40 2 917 801 - II/13
Page 160 of 242
Objects in the area around the pedalsNo objects in the area around the pedals
Keep floor mats, carpets, and any other
objects out of the area of motion of the pedals;
otherwise, the function of the pedals could be
impeded while driving
Do not place additional floor mats over existing
mats or other objects.
Only use floor mats that have been approved for
the vehicle and can be properly fixed in place.
Ensure that the floor mats are securely fastened
again after they were removed for cleaning, for
example.◀
Driving in wet conditions
When roads are wet or there is heavy rain, briefly
exert gentle pressure on the brake pedal every
few miles.
Ensure that this action does not endanger other
road users.
The heat generated in this process helps dry the
brake discs and pads.
In this way braking efficiency will be available
when you need it.
Hills
Drive long or steep downhill gradients in the gear
in which the least braking is required. Otherwise,
the brake system may overheat, resulting in a
reduction in the brake system efficiency.
You can increase the engine's braking effect by
shifting down, going all the way to first gear, if
necessary.
Avoid load on the brakes
Avoid placing excessive load on the brake
system. Light but consistent brake pressure can
lead to high temperatures, brake wear and pos‐
sibly even brake failure.◀Do not drive in neutral
Do not drive in neutral or with the engine
stopped, as doing so disables engine braking. In
addition, steering and brake assist is unavailable
with the engine stopped.◀
Brake disc corrosion
Corrosion on the brake discs and contamination
on the brake pads are furthered by:▷Low mileage.▷Extended periods when the vehicle is not
used at all.▷Infrequent use of the brakes.
Corrosion occurs when the minimum pressure
that must be exerted by the pads during brake
applications to clean the discs is not reached.
Should corrosion form on the brake discs, the
brakes will tend to respond with a pulsating ef‐
fect that generally cannot be corrected.
Condensation under the parked vehicle
When using the automatic climate control, con‐
densation water develops that exits underneath
the vehicle.
Traces of water under the vehicle like this are
normal.
Seite 160Driving tipsThings to remember when driving160
Online Edition for Part no. 01 40 2 917 801 - II/13
Page 162 of 242
Stowing cargo▷Cover sharp edges and corners on the
cargo.▷Heavy cargo: stow as far forward as possi‐
ble, directly behind and at the bottom of the
rear passenger seat backrests.▷Very heavy cargo: when the rear seat is not
occupied, secure each of the outer safety
belts in the opposite buckle.▷If necessary, fold down the rear backrests to
stow cargo.▷Do not stack cargo above the top edge of the
backrests.
Securing cargo
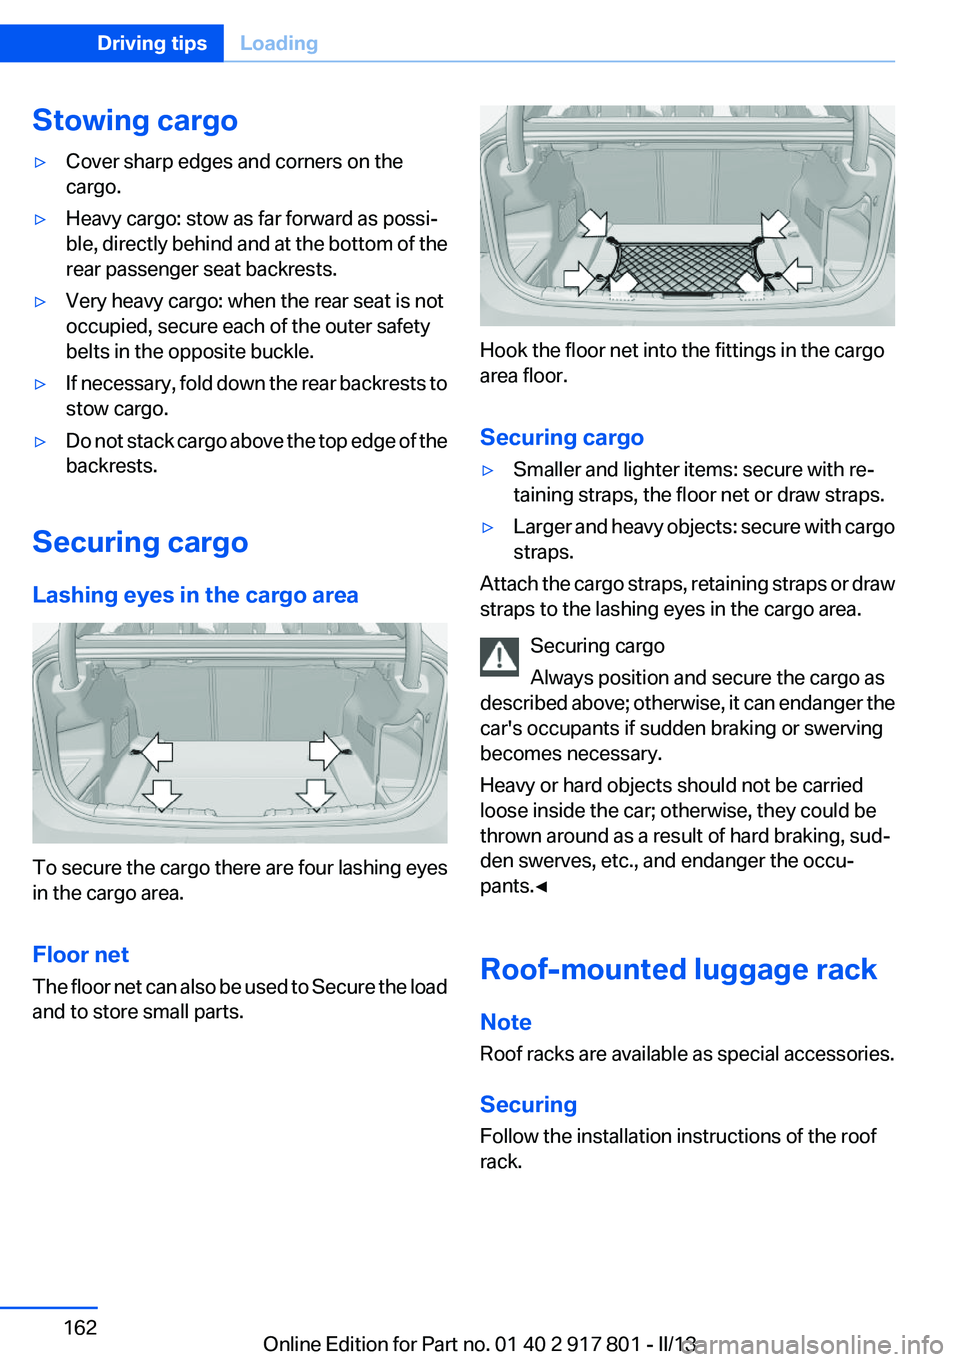
Lashing eyes in the cargo area
To secure the cargo there are four lashing eyes
in the cargo area.
Floor net
The floor net can also be used to Secure the load
and to store small parts.
Hook the floor net into the fittings in the cargo
area floor.
Securing cargo
▷Smaller and lighter items: secure with re‐
taining straps, the floor net or draw straps.▷Larger and heavy objects: secure with cargo
straps.
Attach the cargo straps, retaining straps or draw
straps to the lashing eyes in the cargo area.
Securing cargo
Always position and secure the cargo as
described above; otherwise, it can endanger the
car's occupants if sudden braking or swerving
becomes necessary.
Heavy or hard objects should not be carried
loose inside the car; otherwise, they could be
thrown around as a result of hard braking, sud‐
den swerves, etc., and endanger the occu‐
pants.◀
Roof-mounted luggage rack
Note
Roof racks are available as special accessories.
Securing
Follow the installation instructions of the roof
rack.
Seite 162Driving tipsLoading162
Online Edition for Part no. 01 40 2 917 801 - II/13
Page 163 of 242
Roof drip rail with flaps
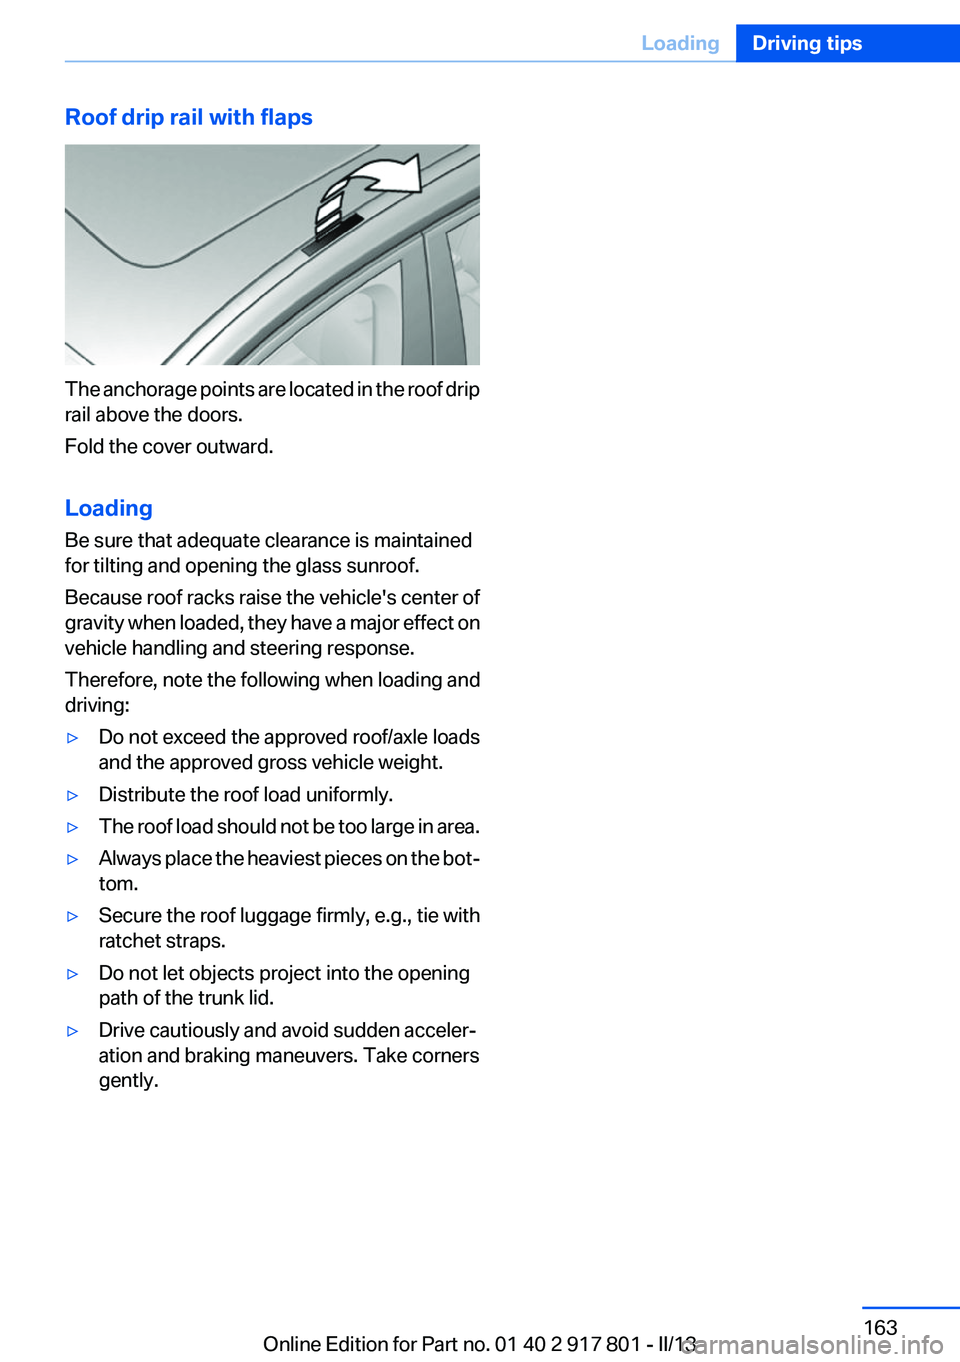
The anchorage points are located in the roof drip
rail above the doors.
Fold the cover outward.
Loading
Be sure that adequate clearance is maintained
for tilting and opening the glass sunroof.
Because roof racks raise the vehicle's center of
gravity when loaded, they have a major effect on
vehicle handling and steering response.
Therefore, note the following when loading and
driving:
▷Do not exceed the approved roof/axle loads
and the approved gross vehicle weight.▷Distribute the roof load uniformly.▷The roof load should not be too large in area.▷Always place the heaviest pieces on the bot‐
tom.▷Secure the roof luggage firmly, e.g., tie with
ratchet straps.▷Do not let objects project into the opening
path of the trunk lid.▷Drive cautiously and avoid sudden acceler‐
ation and braking maneuvers. Take corners
gently.Seite 163LoadingDriving tips163
Online Edition for Part no. 01 40 2 917 801 - II/13