2012 VOLKSWAGEN GOLF MK6 Sd card
[x] Cancel search: Sd cardPage 4 of 516
Warranty
Owner's information
Dear
This supplement contains the limited
whichever occurs first and powertrain whicheve r occurs first. Your vehicle has a warranty corrosion perforation for a period of 12 years irrespective of mileage.
in addition, your vehic le is covered by Emissions
Limited Warranties mandated by Federa l
Vermont , Washington and
the of Massachusetts and Penn
sylvania and have purch ased a
for vehicles
equipped to meet California's Partial
information labe l cated under the hood. Therefore , the owner of a
Vo lkswagen model equipped to meet California's
consu lt these warranties whenever a repair
to your emission control system is required to de
term ine whether it is covered by warranty . Your
2
to your Volkswagen is important
to us. Any questions concerning warranty cover
age should be directed to:
Volkswagen Group of America, Customer Hamlin Road Auburn
you have a concern or you are not satisfied with
the serv ice that you receive from your dealer, we sugg est that you discuss it with the Serv ice Man
ager at your dea le rship. it is not reso lved throug h
your dealership , you may
wagen Customer Center.
the event that you r authorized Volkswagen er or Volkswagen Customer Representative
h as been unable to address the conce rn to your satisfaction, you may take adva ntage of BBB AUa program administered through the of Better Business Bureaus. The BBB AU
Traffic & Motor Vehicle Safety Act of 1966" requires manufacturers to be in a position to
contact
you change your address or
buy a used Volkswagen model, complete one of the postcards in the middle of the warranty and
maintenance booklet. You need not use the card if
you purchased your Volkswagen throug h an
authorized Volkswagen dealer.
Page 21 of 516
insertion of data m edia or inserting incompatible data media can damage the de
v ice .
the memory card slot.
Always and remove into the
a second while a drive. Always wait for the ejection to finish!
RNS RNS 315
Contam inants on a disc and non-circula r discs can da ma ge the
use
- Do not affix or similar items to Lab els can get and damage the
drive.
- Do
not use printable data carriers . Labels
can get and damage the drive.
- Do
not in sert 3.1 inch singl e or noncircular
-Do not insert DVD-Piu s,
Excessively loud or distorted playback ca n
damage the vehicle s peaker s.
Page 36 of 516
Media mode
. . . . . . . . . . . . . . . . . . . . . . . . . . . . . . . . . . .
sequence of and directo ries . . 21
. . . . . . . . . . . . . . . . . 22
input . . . . 24
Connecting
. . . . . . . . . . . . . . . . . . . . . . . . . . . . . 24 th e Media Menu and a media source . . . . . . . . . . . . . . . . . 26
mode ([Extras) funct ion key) . . . . . . . . . . . . . . . . . . . . . . . . . . . . 28
Media settings . . . . . . . . . . . . . 28
the text, au dio sources are referred to as "media sources" which contain audio on
d ifferent data media memory cards, MP 3 etc.). These audio
memory card socket, etc .) .
the the A co ntaining
such audio is referred to as an "aud io data
More information:
instruc tions
D evice overview
Operation basics 8
changer 34
MPEG-4 and patents are
This product is protected by specific rights and copy rights of Microsoft outside
o f these products without a from Microsoft or an autho rized Microsoft subsidiary is prohibited.
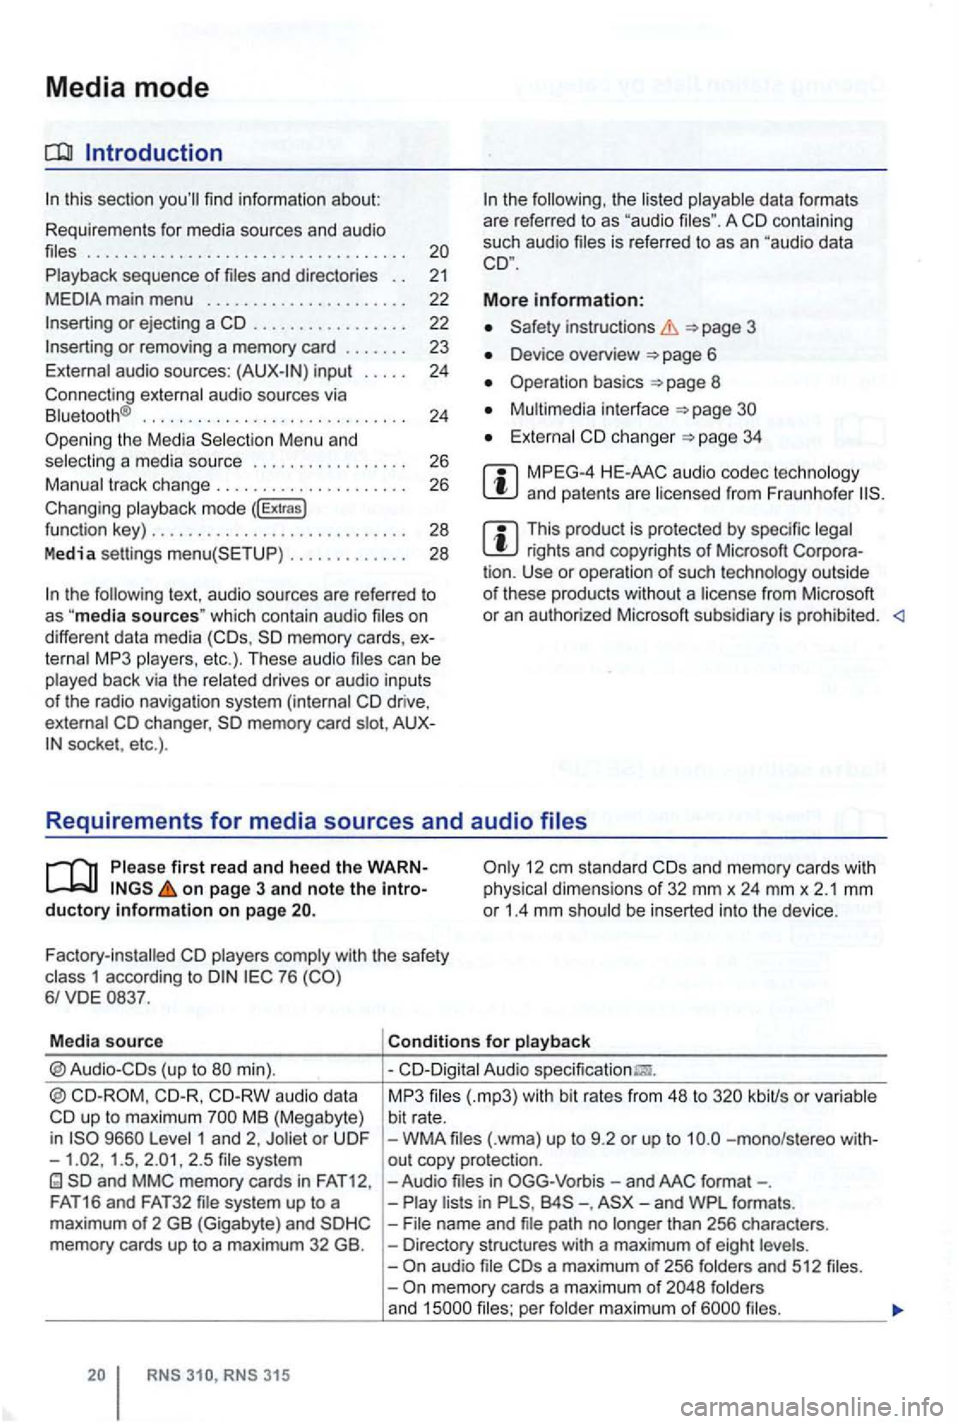
first r ead and heed the on page 3 and note the 12 em stan dard and memory cards with dimensions of 32 mm x 24 mm x 2.1 mm or 1.4 mm be inserted into the device .
Factory-installed
with the safety 1 according to 76
Media source
aud io data up to maximum MB (Megabyte)
i n 1 and 2, 1.5 , 2 .5
MP3 kbiUs or bit rate. WMA -mono/s tereo out copy protecti on. -Audio -. than 256 charac ters. Directory stru ctures with a maximum of eight and 512 memory cards a maximum of and per
Page 39 of 516
Press
An inserted CD is moved to ejec t posi tion and
must be removed within sec
onds.
an inserted CD canno t be read , a pop-up window
with a message is
Depending on the device , an ejected and in agai n th ree
times to
Press
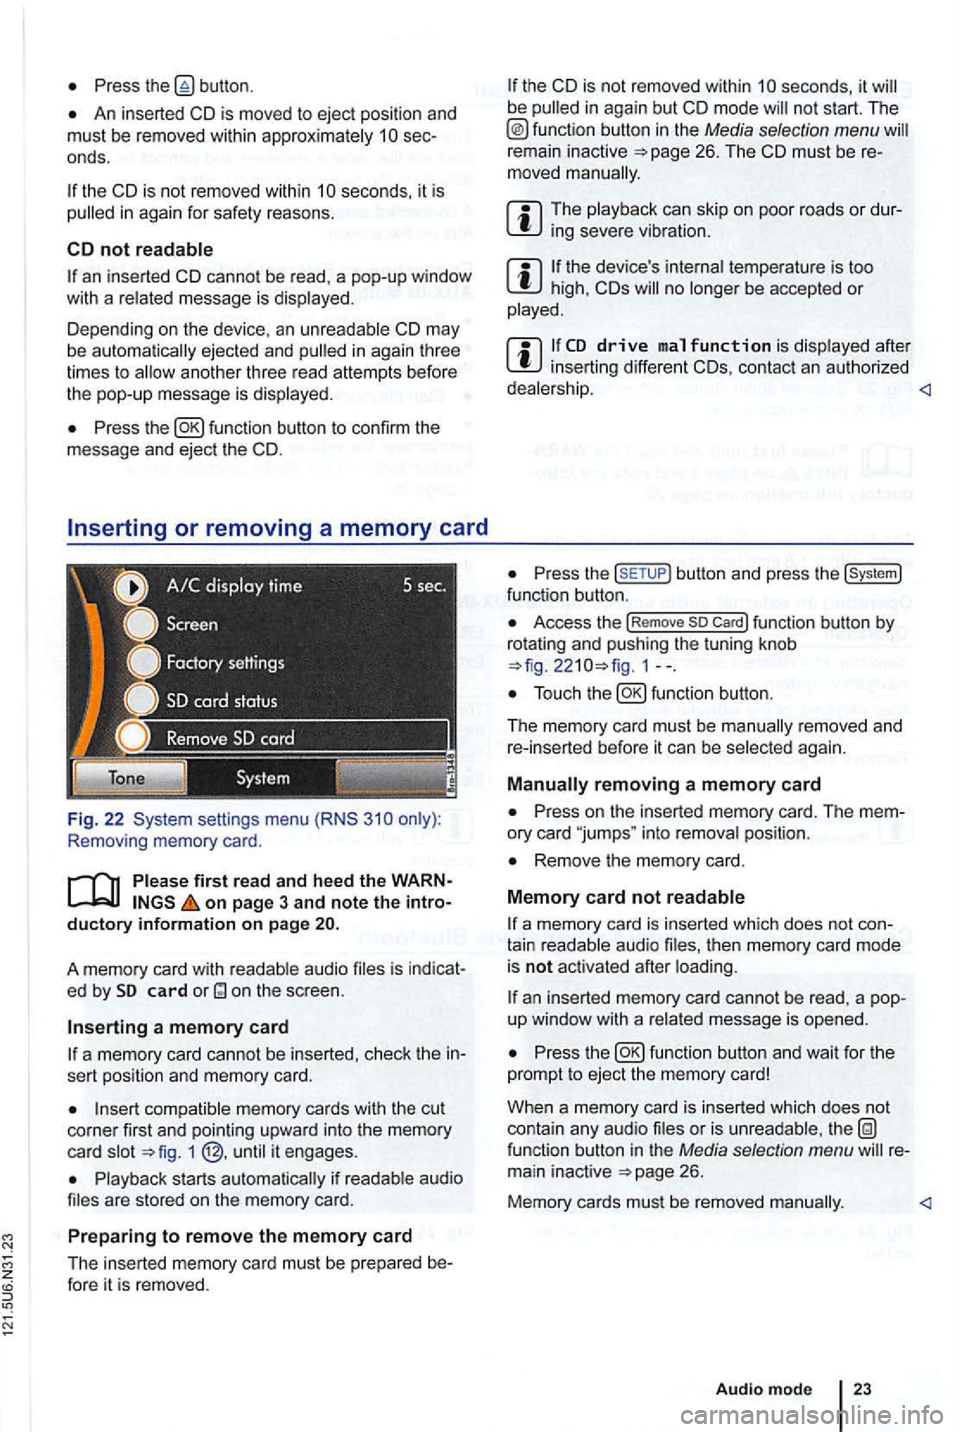
Removing memory card .
first read and hee d the WARN on page 3 and note the intro ductory informa tion o n page
audio is indicat
e d by card
a m em ory card
a memory card cannot be inserted , check the in
sert position and memory card.
memory cards with the cut
corner first and pointing upwa rd into the memory
c ard 1
s tarts if are stored on the mem ory ca rd.
Prep aring to remo ve the memory card
The inserted memory card must be prepared be-fore it is removed .
the CD is not removed within be
remain inactive
can skip o n poor roads or dursevere
the device 's temperature is too high, CDs no be accepted or
after inserting different CDs, contac t an authorized
Press the butto n and press the func tion button .
Access the !Rem ove so Car d! function button by
rotat ing and push ing the tuning knob 1--.
again .
Press on the inserted memory card. The mem
ory card "jumps " into position .
Remove the memory card.
M em o
ry card not
a memory card is inserted which does not con
tain aud io then memory card mode
is not acti vated after
an inserted memory card cannot be rea d, a pop
up window with a message is opened .
Press
or is function button in the Media selection menu 26.
Memory cards must be removed
Audio mode
Page 42 of 516
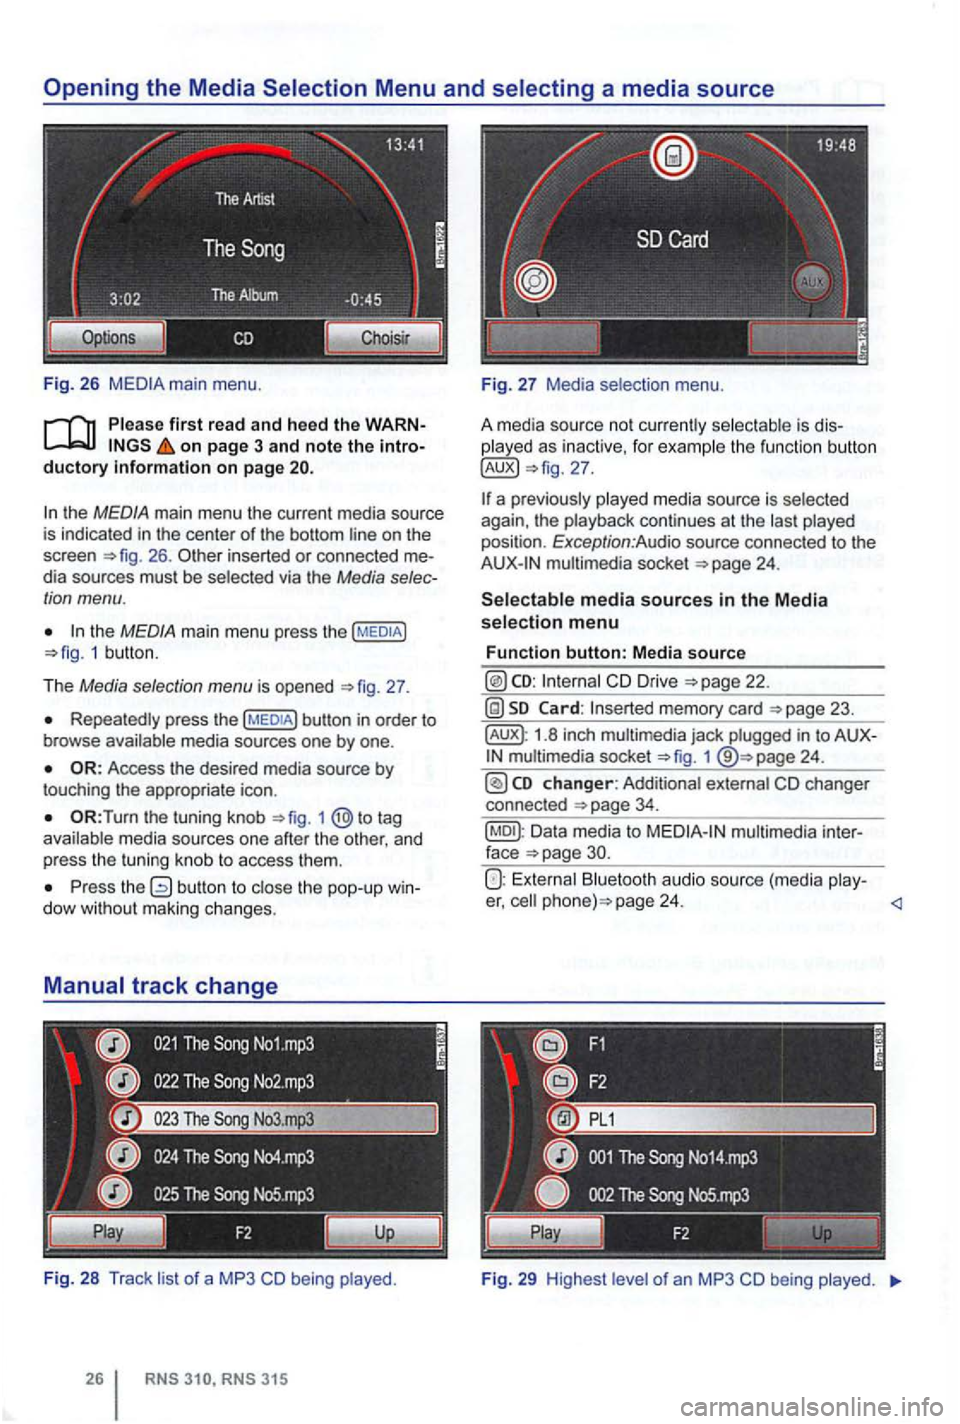
Fig . 26
Please first read and heed the on page 3 and note the
the MEDIA main menu the current media source
is indicated in the center of the bottom line on the
screen 26 . inserted or connected dia sources must be selected via the Media
the MEDIA main menu press the 1 butt on .
T he
Media selection menu is opened 27 .
Repeatedly press the
the tuning knob to tag
a va ila ble media sources one after the other , and
p ress
the tuning knob to access them .
Press the dow with out maki ng changes.
Fi g. 28
Track li st of a MP3 CD being played .
played as inactive, for examp le the function button
multimedia socket
CD Drive
memory card
1.8 inch multimedia jack plugged in to 1
Data media to
Bluetooth audio source (media play-er, page 24.
Fig . 29 High est le ve l of an MP3 CD being played.
Page 46 of 516
Introduction
find information about:
for connect ing data media . . . . . .
th e multime
dia interf ace is
formats are referred
t o
data medium conn ected
v ia the interface can be back and controlled via the radio navigation
system.
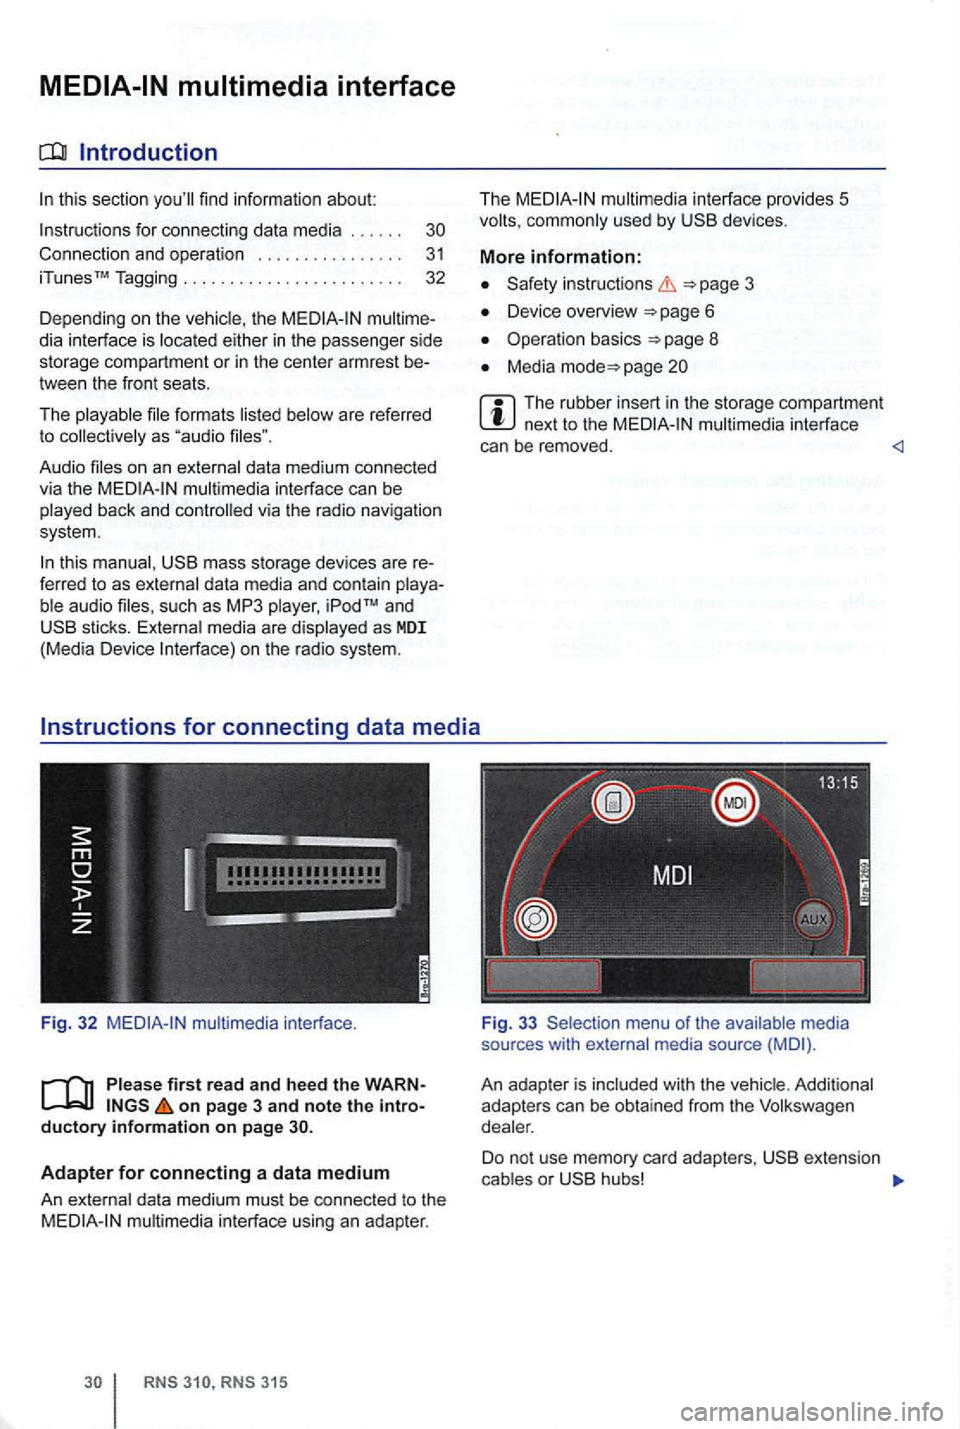
this data media and contain such as MP3 as MDI (Med ia Device
multi media interface.
first read and h ee d the WARN on page 3 and note the introductory information on page
Adapter for connecting a data medium
An
RNS 3 15
The multimedia interface provides 5 used by
instructions
Device overview
Operation basics
Media page
multimedia interface
can be removed.
sou rces with med ia source
An adap te r is
D o no t use m em ory card adapter s, o r
Page 53 of 516
Navigation
Introduction to navigation
Introduction
find infor ma tion about:
Navigation limitations . . . . . . . . . . . . . . . . . . . .
37
315: Using or
screens with on-screen keyboard
Gener a l information
The current driving posit ion is determined via the Positioning measu re d istances driven. men t gation data media maps and in accordance with
stored traffic routing. Based on this data , the
gation system
can be entered as a destinat ion.
Acoustic navigation messages and graphic
on the navigation system and in the instrument gu ide to t h e des tination 5 1.
Depending upon the country, some functions
of the
radio naviga tion system may not be
regulations.
Navigation limitations
first r ea d and heed the o n pa ge 3 and note th e ductory informatio n on page 37.
P
ossi b le navigation erro rs
the navigation system cannot receive data from
tized on lhe data medium (e.g. one-way streets
and street type not sufficiently cap tured) , the gation syst em route guidance.
Navigation da ta
different device generations are used in
contact a
necessary navigation data comes this data needs to be
updated , a memory card with the navigat ion
Device overview
Operation basics
Destination input
Destination memory 4 7
Destination guidance 51
the case of missing or incompl ete navigation ta, the posi tion may not be determined curalely. This may in naviga tion that is not as
accurate as
Navigatio n r egion and navigatio n d ata
r efresh r ate
The refore, route guidance can be inaccurate or
Page 54 of 516
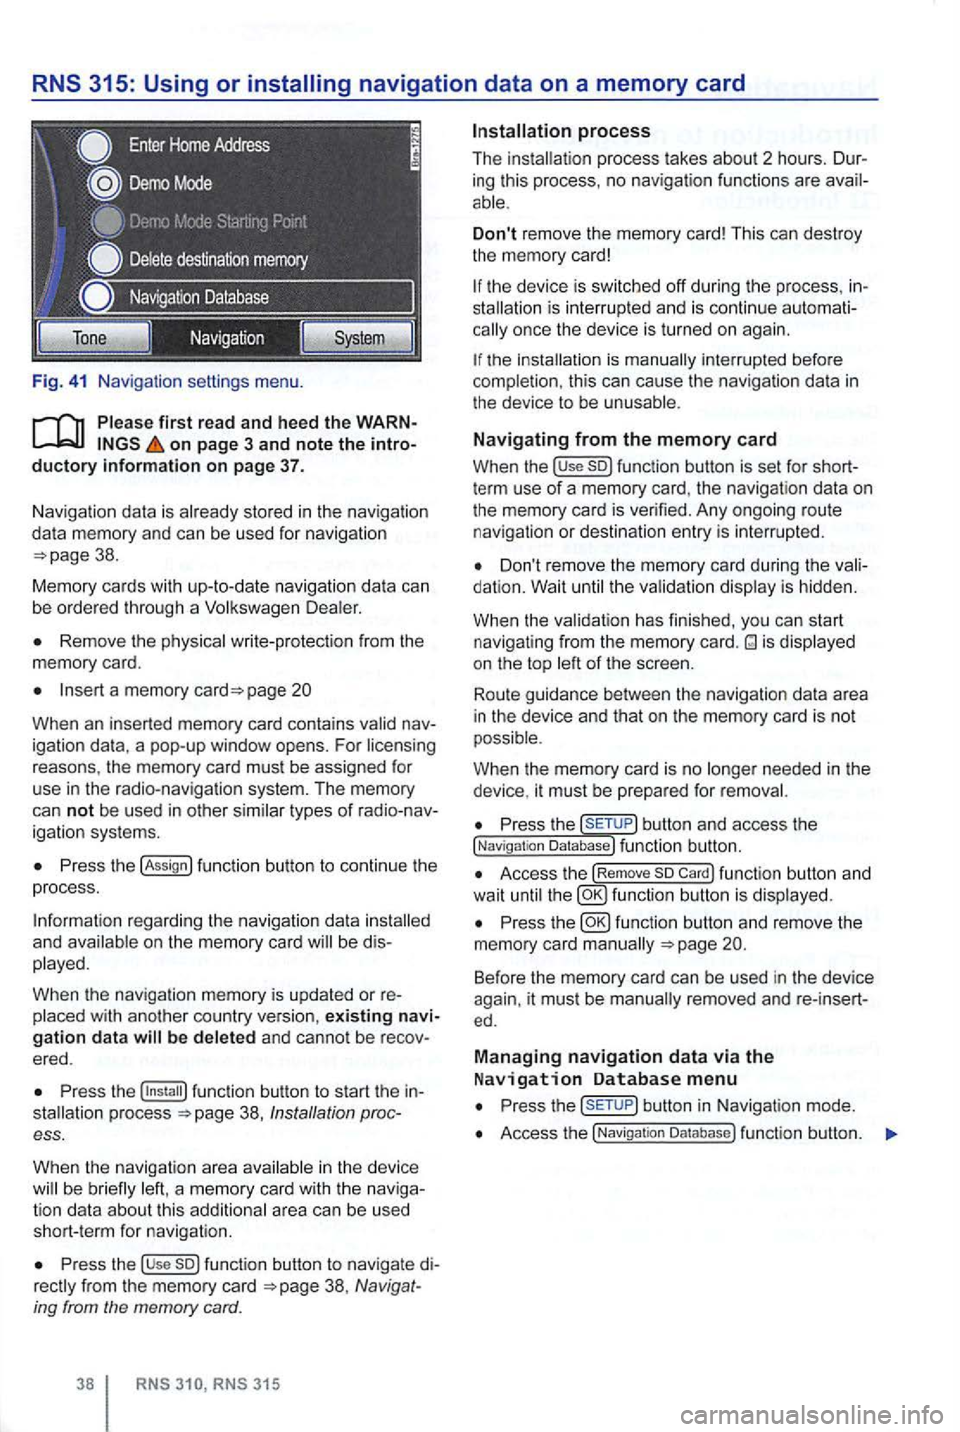
Fig. 41 Na vigatio n setti ngs menu.
on page 3 and note the introductory information on page 37.
Naviga tion data is already stored in the naviga tion
da ta memory and can be used for nav igation
Remove the physica l write-p rotection from the
memory card.
Insert a memory page 20
Whe n an inserted memory card conta ins
P ress the !Assign
a nd b e di s
played.
When
the navigation memory is updated or re
Press the 38, Ins tallation process.
When the navigat ion a
rea in the device be brie fly
Press the use so) func tion button to navigate di38 , Navig at
ing from the memory card.
RNS RNS 315
Don't remove the memory card! This can dest roy
the memory card!
the device is sw itched off during the process , inis inte rrupt ed and is conti nue automationce the device is turned on again.
the is manually interrupted before
completion , this can cau se the naviga tion data in the device to be unusable .
Navigating from the memory card
When the !use so) function button is set for shortterm use of a memory card, the navigat ion data on
the memory card is verified. Any ongoing route navigatio n or destination en try is interrupted .
Don't remove the memory card during the dation. Wait the va lidat ion disp lay is hidden.
When the validat ion has finished , you
can start
navigat ing from the memory card. is displayed
on the top of the screen .
Route guidance
betwee n the navigation data area
i n the device and that on the memory card is not
possible.
W hen
the memory card is no needed in the
device , it must be prepa red for removal.
Press the button and access the !Naviga tion Database) function button.
Access the !Remove so Card) function button and
wait until fu nc tio n butto n is displ ayed.
Press the
Press but ton in Navigat ion mode .
Access the !Navigatio n Da tabase ) function butt on.