Page 47 of 516
and requirements
system FAT16 (<2GB) or F A T32 (> 2 GB).
iPodsrM and iPhonesrM of different generations3>. MTP or Vista" trademark.
and formats
-Audio in OGG-Vor bis and AAC mat.
-i n
of the
are protec ted trademarks of Apple
it can take M TP they are ready to
For data media that are divided into tions . the first partition is recognized.
Read about
Fig. 34 media source interface).
on page 3 and note the
The can damage the adapter and of function.
Do not connect media to the radio navigatio n syste m at the same time fo r
musi c via a n d via the to
Fig. 35
Connect an appropriate adapter to the interface
Connect the dat a medium t o the
switch on the the appropriate data mode.
Despite indica tions to th e contrary, the
Audio mode
Page 49 of 516
sage is shown one time that no
as the number of Tags that can
Tags or if the is Tags). After press ing function butt on , a corresponding message follows.
The next time an
saved
in the naviga-
system . The Song Tags saved on the can be displayed and purchased over the ternet.
Display and
Media mode, press the
the (Song Tags) function button in the Media settings menu.
The saved Tags are displayed in a one
after the other .
the functio n button to delete saved Tags, after further confirmation.
Audio mode
Page 50 of 516
External
this section find inform ation about:
External
at the factory .
standard 4.75 in ch audio
Loaded via the ra
dio naviga tion system.
More information:
page 3
Device overview 6
Operation basics
Media page
Audio data cannot be played back in the external changer.
Copy-protected and CD-RW media may possibly provide lim
ited or no playback.
No back in the external changer .
Fig. 36 Externa l changer in the passenger side storage compartment or in the front center anmrest.
Please firs t read and hee d the WARNon page 3 and note the introductory infonmation on pag e 34 .
Press the (LOAD) button. The LED above the next
For manual selection of an press one of the device keys Otherw ise ,
the next
the LED rapidly , into the wit h t he un pr inted side facing towards the butt ons the audio in
315
For quick loading. press the (LOAD) d evice button
f or
Page 51 of 516
Ejecting
a CD from the ing, press the button in orde r to move the to i ts ejection position.
no after press ing the
the CD is not removed from its eje ction posi
tion. CD and after about 15 seconds the CD is
than 3 sec
onds . The ar e mo ved one by one to the ejec
t io n pos ition.
S tatus
CD
CD is being provided .
CD
i s ready .
LE D i s sw itched off.
LED is up.
L ED flashes
LED
the stora g e compartment o n
the passenger side o r the front arm rest,
ve rify that the change r or the c an be dam aged.
Fi g. 38 Loading and removing int o and from the magazine .
on p age 3 and note the
Audio mode
Page 52 of 516

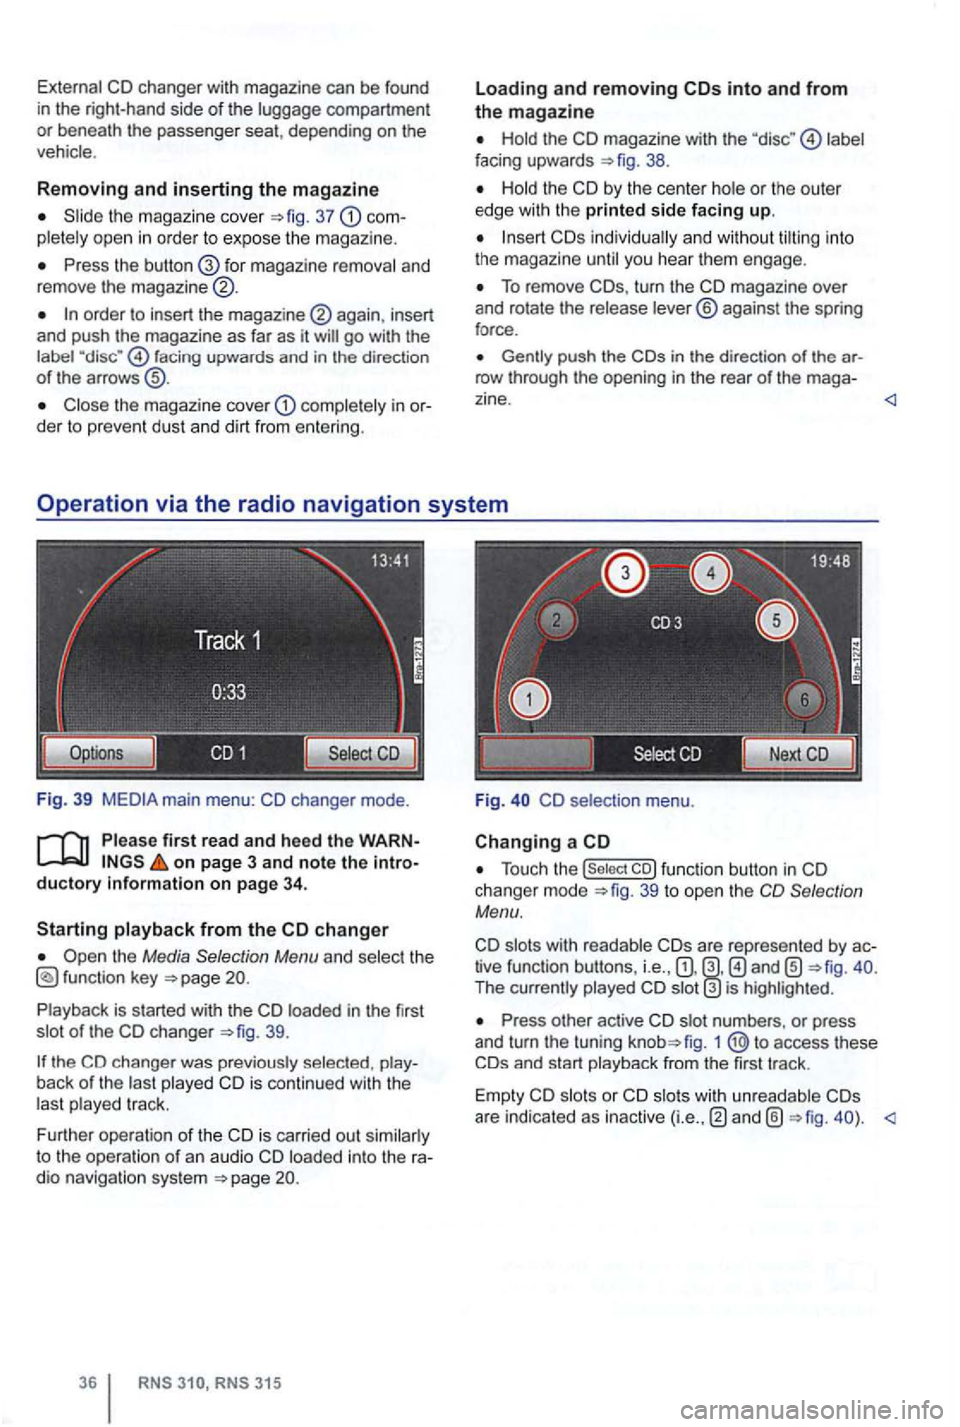
External CD changer with magazine can be found
i n the right-hand side of the luggage compartment or beneath the passenger seat, depending on the
vehicle .
Removing and inserting the magazine
Slide the magazi ne cover =>fig. 37 pletely open in order to expose th e m agazine.
Press the for magazine removal and
remove the magazine ®.
order to insert the again , insert
and push the magazine as far as it
facing upwards and in the direction of the arrows
Close the magazine cover comple tely in
on page 3 and note the ductory
the Media Selection Menu and select the
39.
back of the last played CD is contin ued with the
las t played track.
F urther operation of the CD i s ca rried out similarly
to the operation
of an audio CD loaded into the
RNS RNS 315
Loading and removing
Hold the CD magazine with the label
facing upwards 38.
Hold the CD by the center hole or the outer
edge with the printed side facing up.
To remove turn the CD magazine over
and rotate the release lever® against the spring
force .
in the direc tion of the row through the opening in the rear of the mag a-
Fig. CD selectio n menu .
Changing a CD
Touch the 39 to open the Selection
Menu.
slots with readab le tive function buttons, i.e. , The currently played is highlighted.
Press other active CD slot numbe rs , or press
and turn the tuning fig. 1 access these
are indicated as inactive
Page 78 of 516

Please first read and note the introductory information and hee d the WARN on page 59.
A
one-time pairi ng of both devices is necessary to
connect a
some countries , pairing driving is not possi
For 315, the radio navigation system can be
used to complete pairing.
63.
When connecting via the
315 radio navigation
system , the mobile ph one can be connected in one
of two ways :
Active connection
The Bluetooth® function must be activated
and v isible on both the
The should be disa
The phone's key and warning tones should be disabled .
You
phone be automatically transferred . T he
length of the transfer depends on the volume of data saved on the phone . After the transfer is com
p lete , the data is
active telephone pairing
An active mobile phone connection ends an exist
ing connection to anot her mobile phone.
Press the button.
Press the (SETUP ) button.
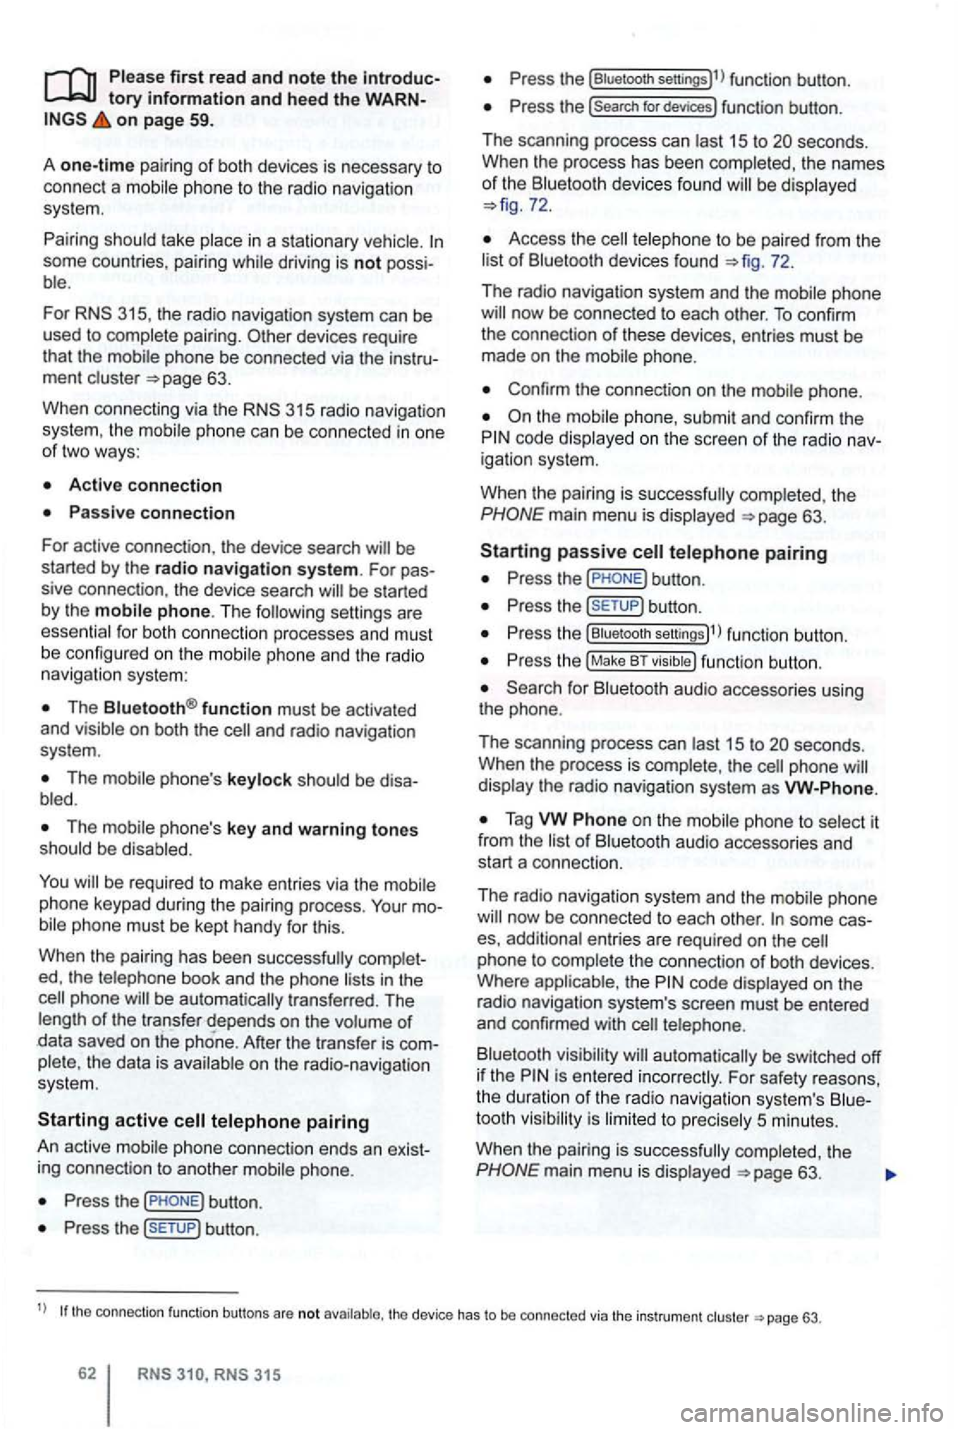
Press the [Biuetooth settings)l l func tion button .
Press the [search for devices) function button.
T he scan ning process can
15 to seconds .
When the process has bee n comple ted, the names
o f t he Bluetoot h devices f ound
72.
Access the telephone to be paired from the 72.
T he radio navigation system and the mobile phone
code displaye d on th e screen of th e rad io nav
i gation system.
When the pairing is successfully completed, the
63 .
passive telephone pairing
Press the button.
Press button.
Press th e [Biuetooth settings)1l funct ion button.
Press the (Make BT fu nc tion butto n .
15 to phone
of Bluetooth audio accesso ries and
start a connec tion.
T he radio naviga tio n system and the
some cases, additional entries are required on the phone to complete the connection of both devices.
Where the code displayed on the
radio navigation system's screen must be entered
and confirmed with
is entered inco rrectly. For safety reasons ,
t h e duration of the radio navigatio n system's toot h visibil ity is li m ited to precisely 5 min utes.
When the pairing is successfully completed, the
63 .
tho connection function butto ns are not the d evice has to be connected via the instrument p age 63.
Page 86 of 516

Making a to a saved phone number
th e te lephone book or list and 66.
Telephone book entry
Tag the desi re d entry by turning the tuning kn ob 1 and mak e a connection by pressi ng the
t uni ng knob .
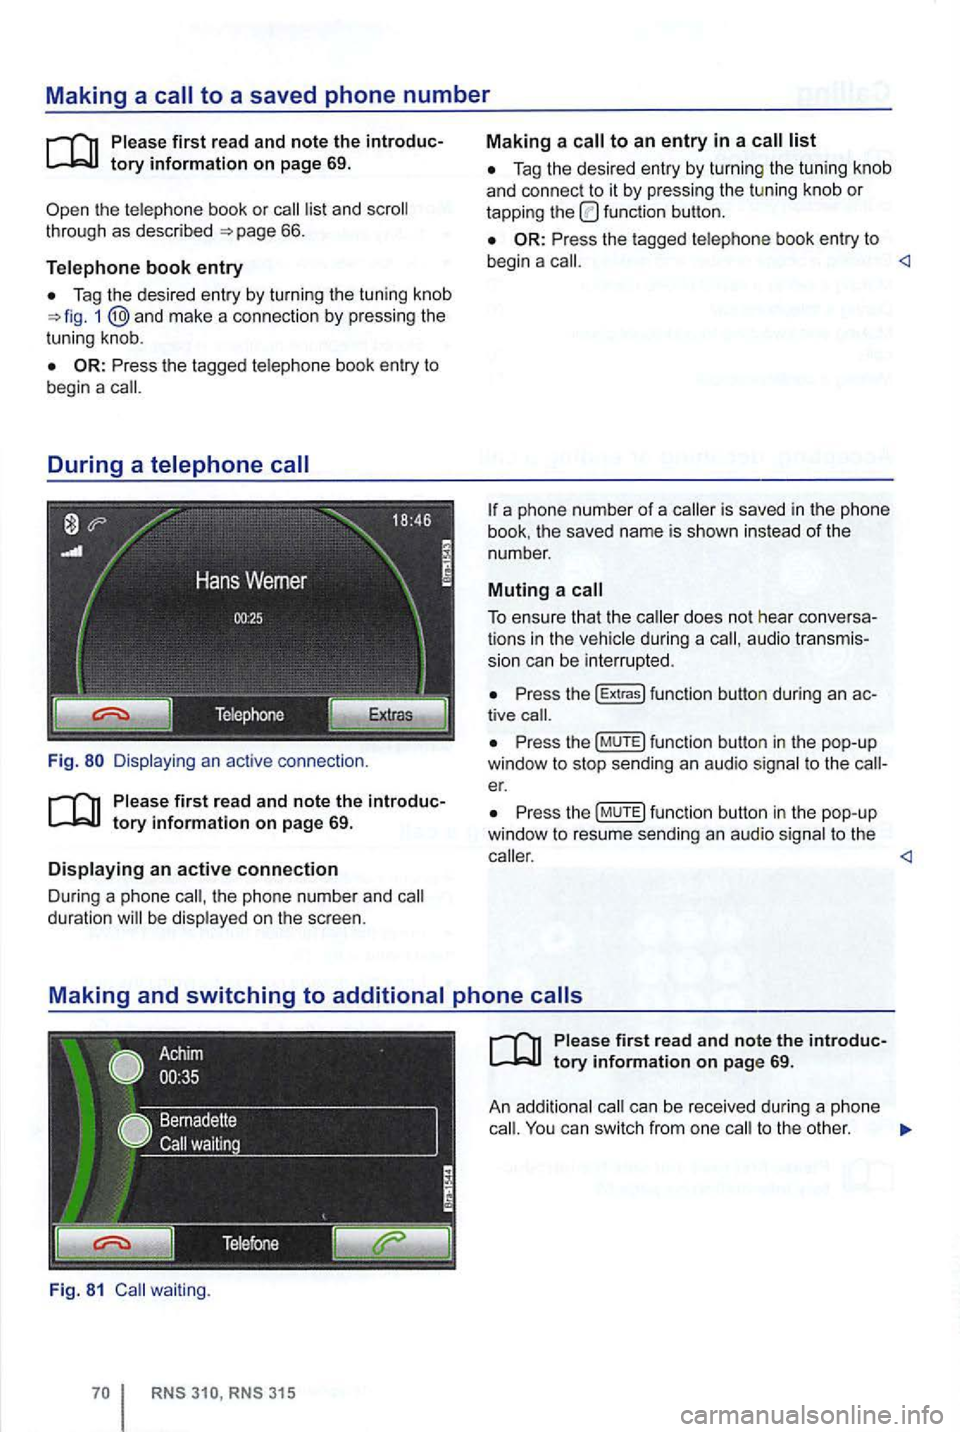
Fig.
th e pho ne n umber and duration be disp layed on the sc reen .
Fig. 81 waiting .
Tag the desired entry by turnin g the tu nin g knob
a nd con nect to it by pressing the tu ning knob or tapping the function button.
Press the tagged telephone book entry to
begin a
a phone number of a is save d in the phone
book . the save d name is sho wn instead of the
number .
Muting a call
To ensure that the during a audio transmis
s ion can be interrupted .
Press the (E xtr a s) funct ion button during an tive
Pr ess th e (M UTE) fun ction butto n in the pop-up
window to stop sending an audio signal to t he er.
P ress th e (MUTE) function button in the pop-up
window to resu me sendi ng an aud io sig nal to the
can be rece ived during a phone
ca ll. You can switch from one to the other .
Page 88 of 516

Settings (SETUP)
Sound,
this section
button
settings
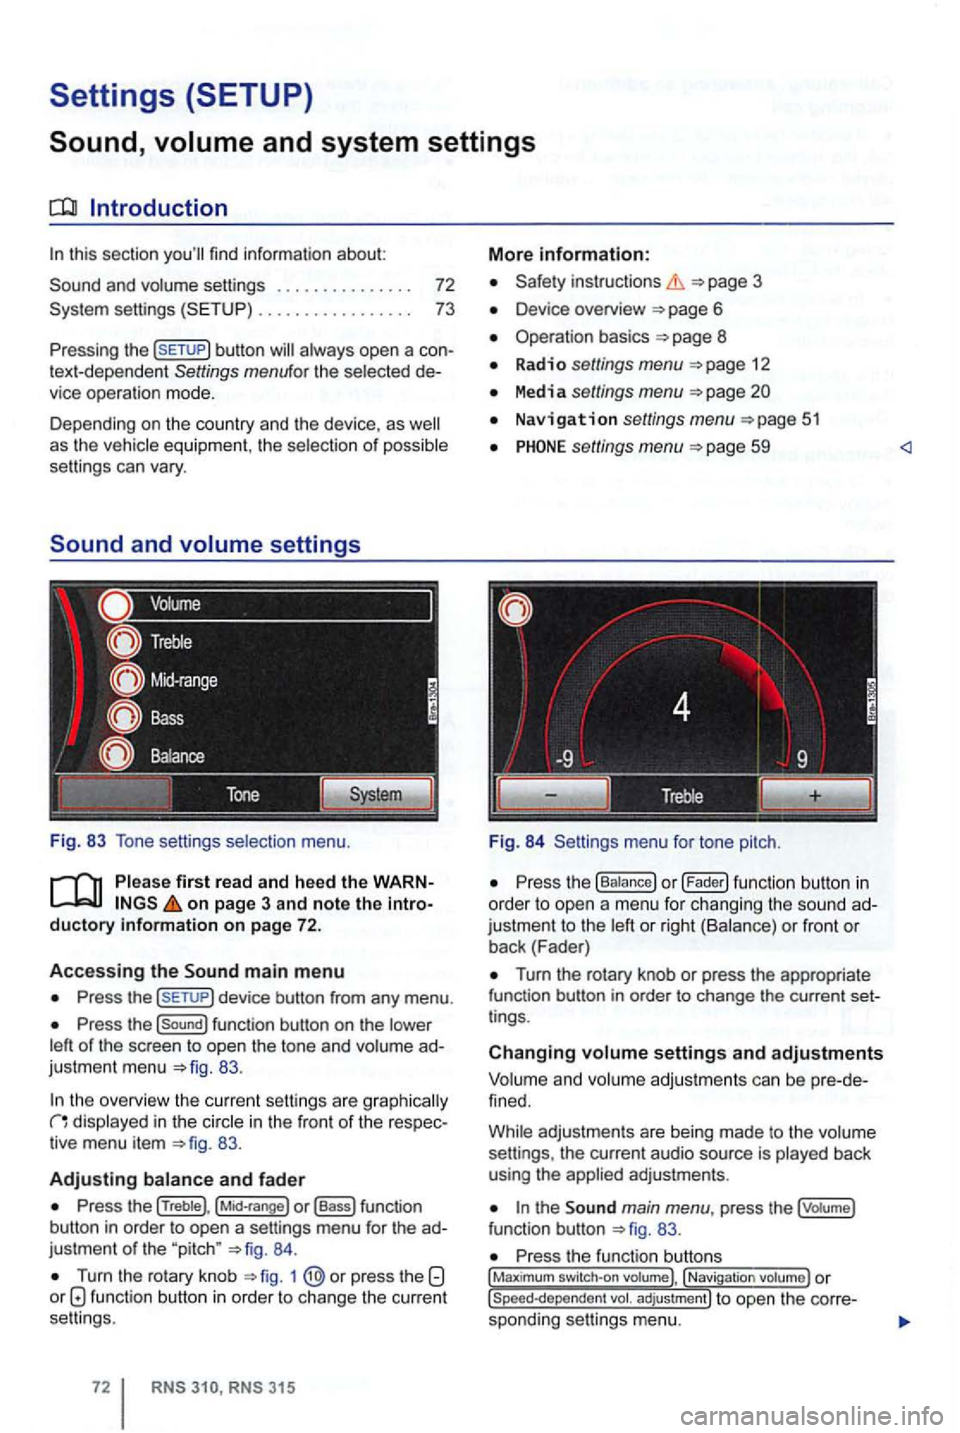
Fig. 83 Tone setti ngs selection menu.
on page 3 and note the introductory information on page 72.
Accessing the main m enu
Press the
Press the function button on the
83.
the overview the cu rrent se ttings are g raphica lly in the in the front of the respec
tiv e menu item 83.
Adjusting
Press the (Treble), o r (Bass) function
button in order to open a settings menu for the ad
justme nt
of the "pitch " 84.
Turn the rotary knob 1 function button in order to change the current
se ttings .
RNS RNS 31 5
More information:
Safety instructions 3
Device overview
Operation basics 8
Radio settings menu 12
Media settings menu
Navigation settings menu
settings menu 59
Fig. 84 Settings menu fo r tone pitch.
Turn the rotary knob or press the appropriate
function button in order to change the current set
t ings .
Changing settings and adjustments
Vo lum e and volume adjustm ents can be pre -de
f ined.
Whi le adjustmen ts are being made to the volume
settings , the current audio source is played back
using the
the main menu , press the (votume)
fun ction button 83.
Press the function , Navigati on