Page 69 of 357

69
1. DESTINATION SEARCH
3
NAVIGATION SYSTEM
PRIUS (US) NAVI 47719U
11.10.26 15:37
1Press the “DEST” button.
2Touch “Previous Destinations” on
the “Destination” screen.
3Touch the screen button of the desired
destination.
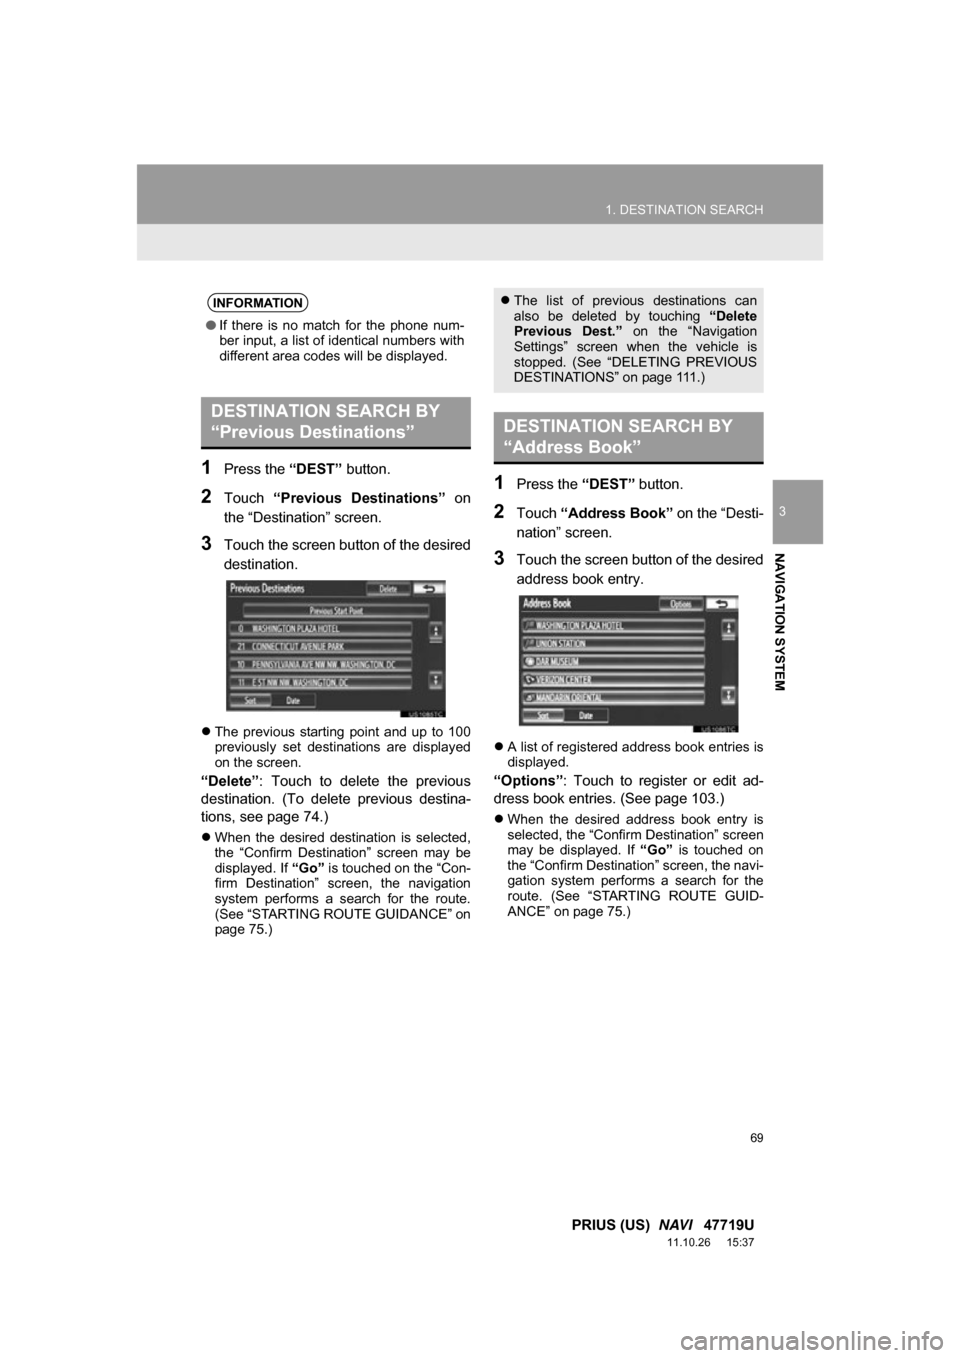
The previous starting point and up to 100
previously set destinations are displayed
on the screen.
“Delete” : Touch to delete the previous
destination. (To delete previous destina-
tions, see page 74.)
When the desired destination is selected,
the “Confirm Destination” screen may be
displayed. If “Go” is touched on the “Con-
firm Destination” screen, the navigation
system performs a search for the route.
(See “STARTING ROUTE GUIDANCE” on
page 75.)
1Press the “DEST” button.
2Touch “Address Book” on the “Desti-
nation” screen.
3Touch the screen button of the desired
address book entry.
A list of registered address book entries is
displayed.
“Options”: Touch to register or edit ad-
dress book entries. (See page 103.)
When the desired address book entry is
selected, the “Confirm Destination” screen
may be displayed. If “Go” is touched on
the “Confirm Destination” screen, the navi-
gation system performs a search for the
route. (See “STARTING ROUTE GUID-
ANCE” on page 75.)
INFORMATION
● If there is no match for the phone num-
ber input, a list of identical numbers with
different area codes will be displayed.
DESTINATION SEARCH BY
“Previous Destinations”
The list of previous destinations can
also be deleted by touching “Delete
Previous Dest.” on the “Navigation
Settings” screen when the vehicle is
stopped. (See “DELETING PREVIOUS
DESTINATIONS” on page 111.)
DESTINATION SEARCH BY
“Address Book”
Page 75 of 357

75
1. DESTINATION SEARCH
3
NAVIGATION SYSTEM
PRIUS (US) NAVI 47719U
11.10.26 15:37
2. STARTING ROUTE GUIDANCE
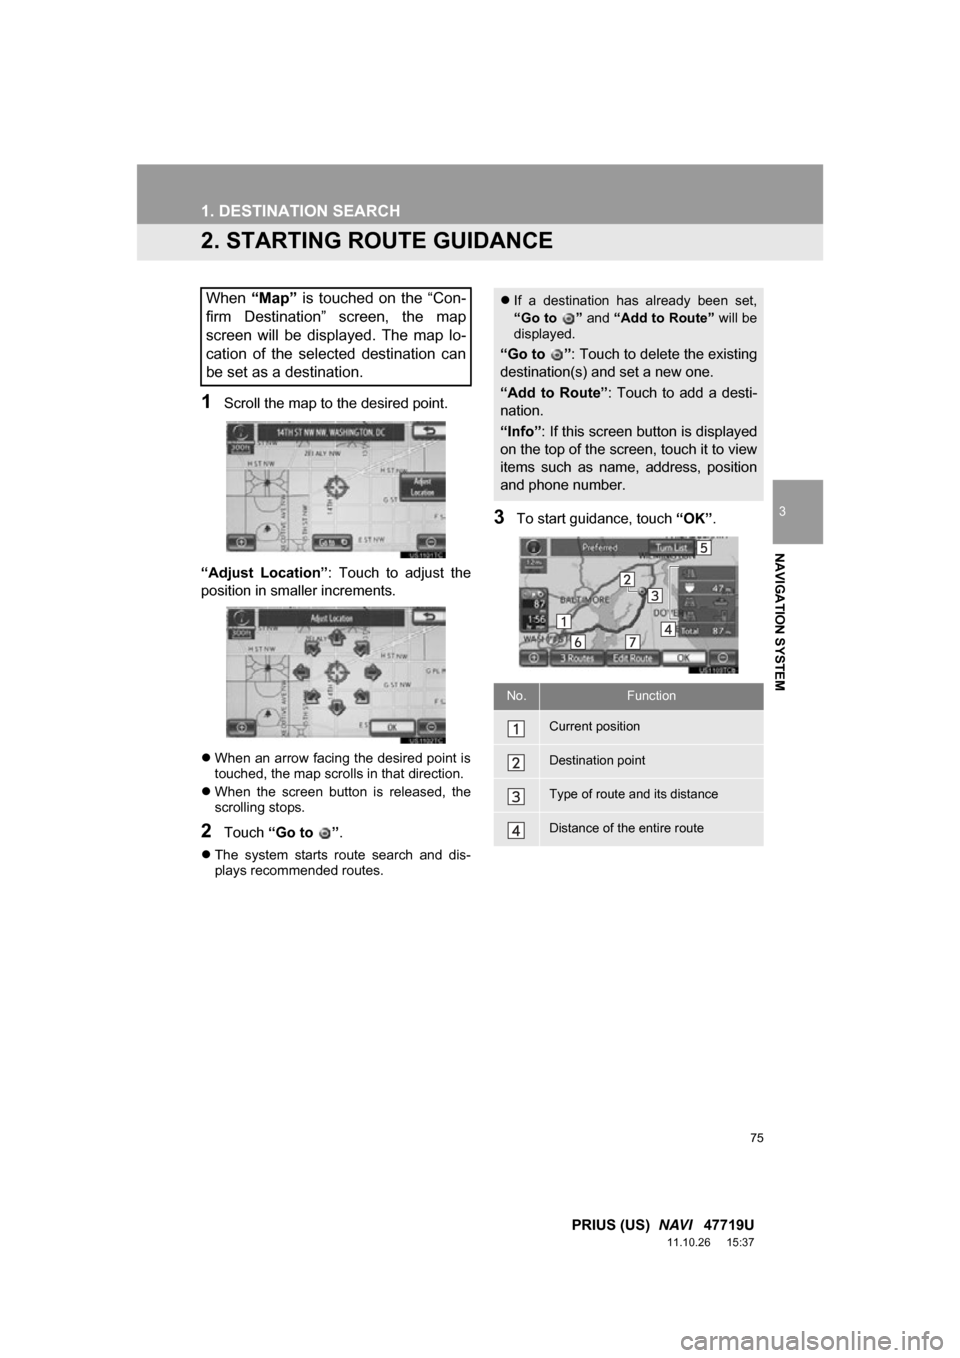
1Scroll the map to the desired point.
“Adjust Location” : Touch to adjust the
position in smaller increments.
When an arrow facing the desired point is
touched, the map scrolls in that direction.
When the screen button is released, the
scrolling stops.
2Touch “Go to ” .
The system starts route search and dis-
plays recommended routes.
3To start guidance, touch “OK”.
When “Map” is touched on the “Con-
firm Destination” screen, the map
screen will be displayed. The map lo-
cation of the selected destination can
be set as a destination. If a destination has already been set,
“Go to ” and “Add to Route” will be
displayed.
“Go to ” : Touch to delete the existing
destination(s) and set a new one.
“Add to Route” : Touch to add a desti-
nation.
“Info” : If this screen button is displayed
on the top of the screen, touch it to view
items such as name, address, position
and phone number.
No.Function
Current position
Destination point
Type of route and its distance
Distance of the entire route
Page 154 of 357

154
1. PHONE OPERATION
PRIUS (US) NAVI 47719U
11.10.26 15:37
7. Bluetooth® PHONE MESSAGE FUNCTION
1Press the button or the switch
on the steering wheel.
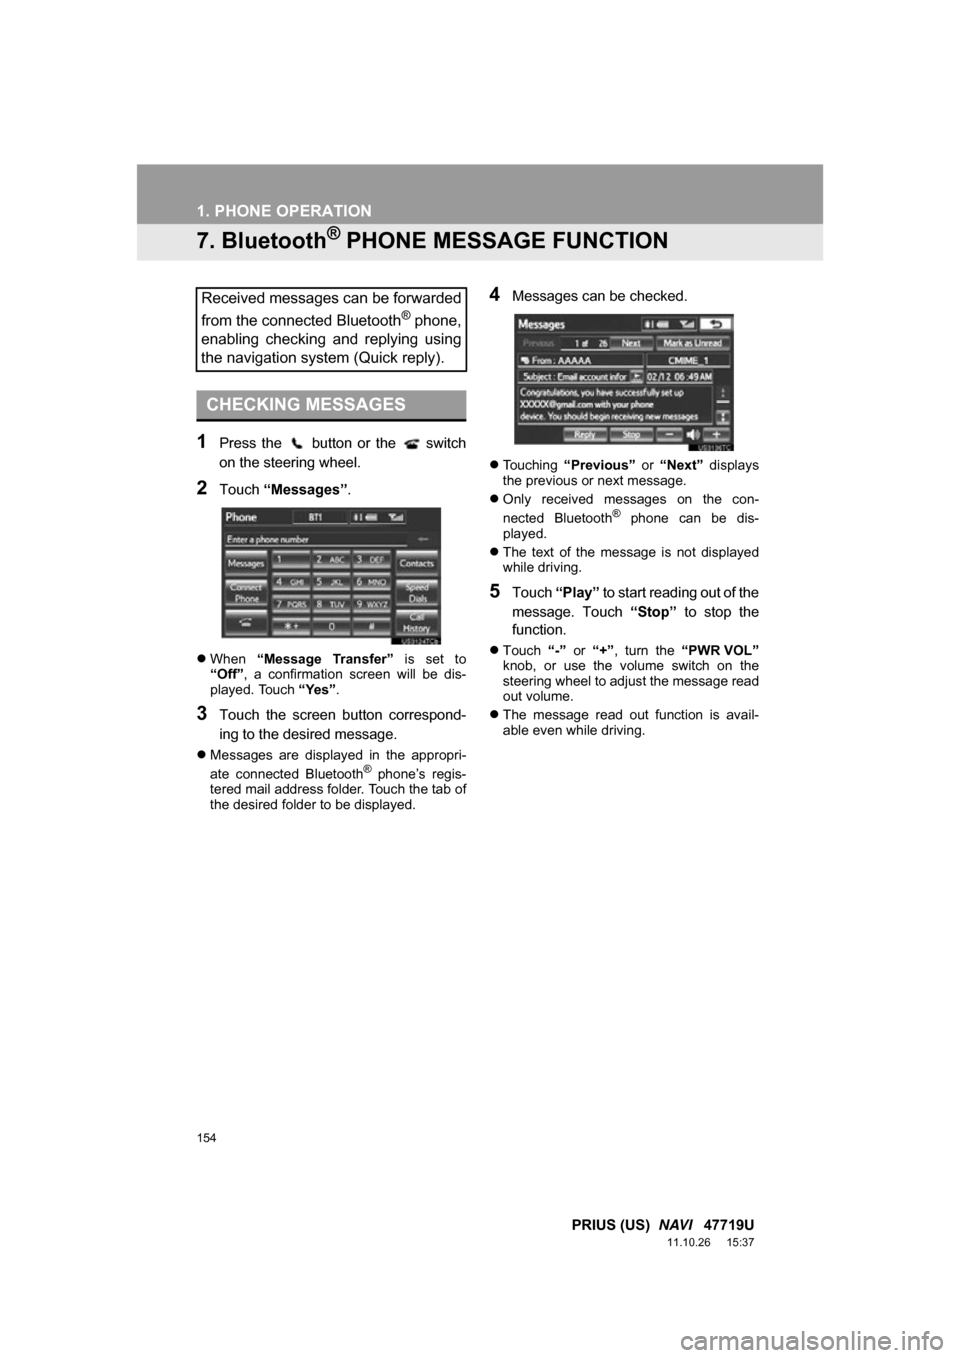
2Touch “Messages” .
When “Message Transfer” is set to
“Off” , a confirmation screen will be dis-
played. Touch “Yes”.
3Touch the screen button correspond-
ing to the desired message.
Messages are displayed in the appropri-
ate connected Bluetooth® phone’s regis-
tered mail address folder. Touch the tab of
the desired folder to be displayed.
4Messages can be checked.
Touching “Previous” or “Next” displays
the previous or next message.
Only received messages on the con-
nected Bluetooth
® phone can be dis-
played.
The text of the message is not displayed
while driving.
5Touch “Play” to start reading out of the
message. Touch “Stop” to stop the
function.
Touch “-” or “+”, turn the “PWR VOL”
knob, or use the volume switch on the
steering wheel to adjust the message read
out volume.
The message read out function is avail-
able even while driving.
Received messages can be forwarded
from the connected Bluetooth
® phone,
enabling checking and replying using
the navigation system (Quick reply).
CHECKING MESSAGES