Page 212 of 636
212
2-3. Operating the lights and wipers
Rear window wiper and washer
Ty p e AIntermittent window wiper
operation
Normal window wiper oper-
ation
Washer/wiper dual opera-
tion
Washer/wiper dual opera-
tion
Page 213 of 636
213
2-3. Operating the lights and wipers
2
When driving
Ty p e B
Intermittent window wiper
operation
Normal window wiper oper-
ation
Washer/wiper dual opera-
tion
Washer/wiper dual opera-
tion
Page 214 of 636
214 2-3. Operating the lights and wipers
■The rear window wiper and w asher can be operated when
Vehicles without smart key system
The engine switch is in
the “ON” position.
Vehicles with smart key system
The “ENGINE START STOP” switch is in IGNITION ON mode.
NOTICE
■ When the rear window is dry
Do not use the wipers, as they may damage the rear window.
Page 220 of 636
220 2-4. Using other driving systems
■Displayed area
■ Rear view monitor system camera
The area covered by the camera is lim-
ited. Objects that are close to either
corner of the bumper or under the
bumper cannot be seen on the screen.
The area displayed on the screen may
vary according to vehicle orientation or
road conditions.
Corners of bumper
In the following cases, it may become
difficult to see the images on the
screen, even when the system is func-
tioning correctly.
●The vehicle is in a dark area, such
as at night.
● The temperature near the lens is
extremely high or low.
● Water droplets are on the camera
lens or humidity is high, such as
when it rains.
● Foreign matter, such as snow or
mud, adheres to the camera lens.
● When the camera has scratches or
dirt on it.
● The sun or headlights are shining
directly into the camera lens.
Page 221 of 636

221
2-4. Using other
driving systems
2
When driving
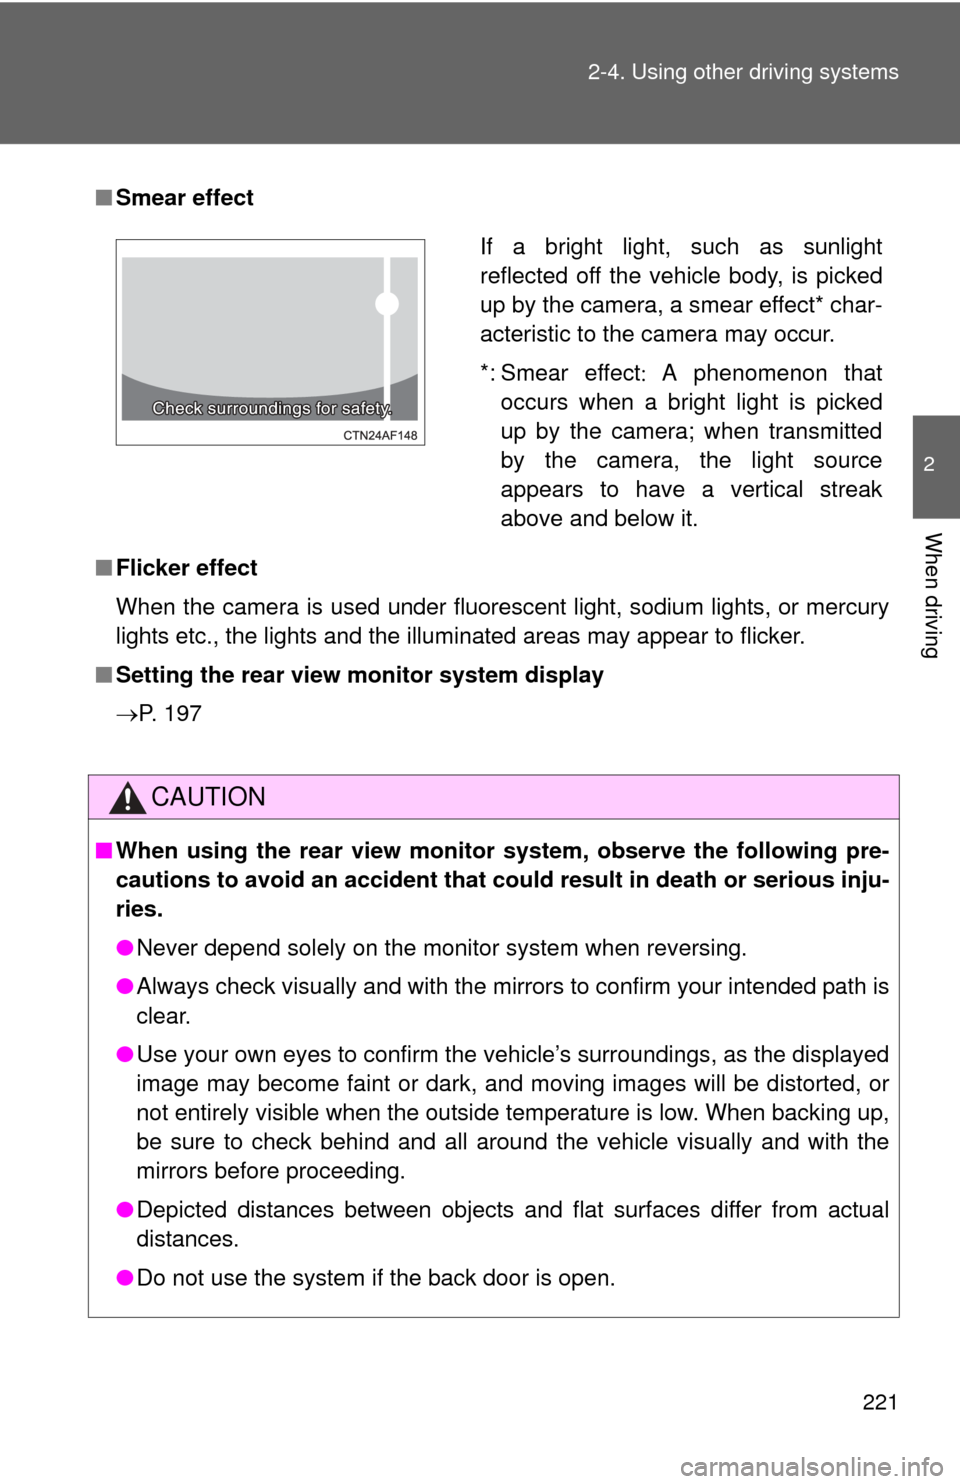
■Smear effect
■ Flicker effect
When the camera is used under fluorescent light, sodium lights, or mercury
lights etc., the lights and the illuminated areas may appear to flicker.
■ Setting the rear view monitor system display
P. 197
CAUTION
■ When using the rear view monito r system, observe the following pre-
cautions to avoid an accident that coul d result in death or serious inju-
ries.
● Never depend solely on the monitor system when reversing.
● Always check visually and with the mirrors to confirm your intended path is
clear.
● Use your own eyes to confirm the vehicle’s surroundings, as the displayed
image may become faint or dark, and moving images will be distorted, or
not entirely visible when the outside temperature is low. When backing up,
be sure to check behind and all around the vehicle visually and with the
mirrors before proceeding.
● Depicted distances between objects and flat surfaces differ from actual
distances.
● Do not use the system if the back door is open.
If a bright light, such as sunlight
reflected off the vehicle body, is picked
up by the camera, a smear effect* char-
acteristic to the camera may occur.
*: Smear effect A phenomenon that
occurs when a bright light is picked
up by the camera; when transmitted
by the camera, the light source
appears to have a vertical streak
above and below it.
Page 228 of 636

228
2-4. Using other driving systems
Hill-start assist control
■Hill-start assist control operating conditions
The system operates in the following situations:
• The shift lever is in a position other than P.
• The parking brake is not applied.
• The accelerator pedal is not depressed.
■ Hill-start assist control
●While hill-start assist control is operating, the brakes remain automati-
cally applied after the driver releases the brake pedal. The stop lights and
the high mounted stoplight turn on.
● Hill-start assist control operates for about 2 seconds after the brake pedal
is released.
● If the slip indicator does not flash and the buzzer does not sound when
the brake pedal is further depressed, slightly reduce the pressure on the
brake pedal (do not allow the vehicl e to roll backward) and then firmly
depress it again. If the system still does not operate, check that the oper-
ating conditions explained above have been met.
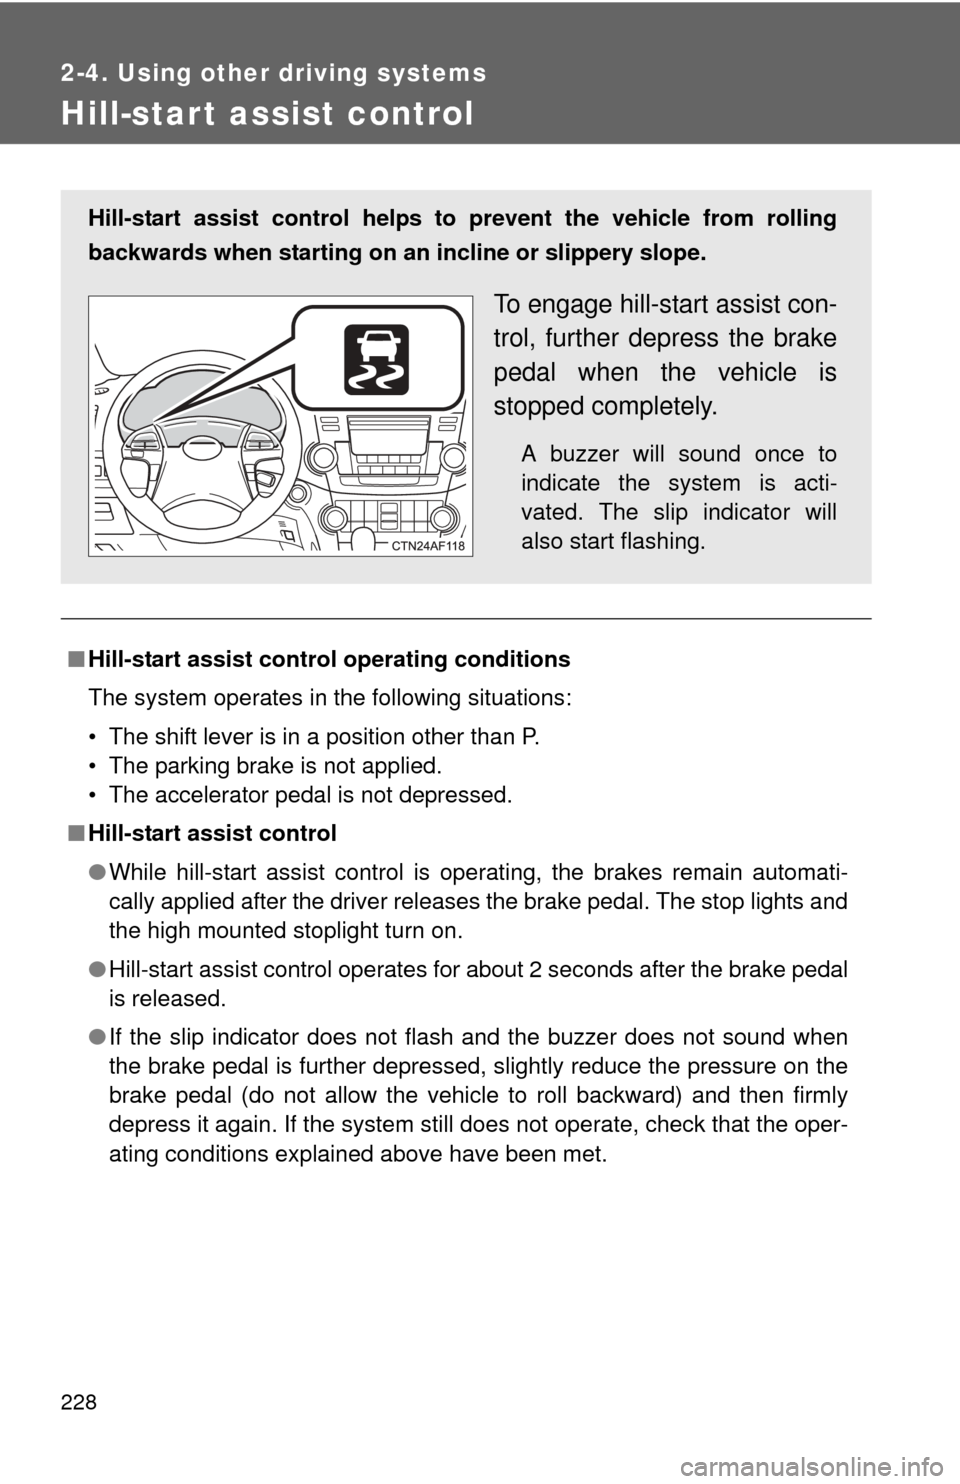
Hill-start assist control helps to prevent the vehicle from rolling
backwards when starting on an incline or slippery slope.
To engage hill-start assist con-
trol, further depress the brake
pedal when the vehicle is
stopped completely.
A buzzer will sound once to
indicate the system is acti-
vated. The slip indicator will
also start flashing.
Page 230 of 636
230
2-4. Using other driving systems
Downhill assist control system (4WD models)
While the downhill assist control system is operating
The slip indicator will flash to
indicate that the downhill assist
control system is operating, and
the stop lights and high mounted
stoplight will turn on.
With the downhill assist control system, the vehicle is able to
descend a steep hill, maintaining a constant low speed of about 3
mph (5 km/h) without brake pedal operation.
■Activating the downhill assist control system
Press the “DAC” switch.
The downhill assist control sys-
tem indicator will come on to
indicate that the downhill assist
control system is activated.
Pressing the switch again turns
the system off.
Page 255 of 636
255
2-5. Driving information
2
When driving
Positions for towing hitch
receiver and hitch ball
Weight carrying ball position:
48.1 in. (1221 mm)
Connecting trailer lights Use the wire harness stored in
the rear end under body.