2012 SUBARU IMPREZA WRX display
[x] Cancel search: displayPage 199 of 416

5-18Audio
!Loading all the magazine (full disc
loading mode)
1. If you press and hold the
button,
the player will produce beep sound and
will enter the full disc loading mode.
2. When the disc number indicator
flashes and “ALL LOAD ”indicator illumi-
nates, insert a disc within 15 seconds. If a
disc is successfully loaded during this
period, the disc number indicator will stop
blinking and will steadily light.
3. When the loading of a disc is com-
plete, the next disc number indicator will
blink. Then repeat step 2.
4. When the magazine is filled with discs
by repeating steps 2 and 3, the player will
start playback of the discs, beginning with
the one inserted first.
If you fail to insert any disc during each 15
seconds interval, the full disc loading
mode will be canceled, and the player will
start playback of the disc inserted first.
& How to insert a CD (type B)
Hold the disc with a finger in the center
hole while gripping the edge of the disc,
then insert it into the slot (with the label
side up) and the player will automatically
pull the disc into position. NOTE
DO NOT INSERT TWO DISCS INTO THE
DISC INSERTION SLOT AT THE SAMETIME. &
How to play back a CD
! When there is no CD inserted
Properly insert a CD. Refer to “How to
insert a CD(s) (type A) ”F 5-17/ “How to
insert a CD (type B) ”F 5-18.
When a CD is loaded, the player will start
playback of the CD, beginning with the
first track. ! When there are CDs loaded (type A)
Press the preferred disc select button (from
to). If a disc is loaded
in any slot, the corresponding disc number
indicator will be constantly illuminated.
The player will then start playback of the
selected CD, beginning with the first track.
If a disc that the player cannot read has
been loaded, the player will display themessage “CHECK DISC ”.
! When CD is in the player (type B)
Each brief press of the
button
changes the modes in the following sequence.
When the CD mode is selected, the player
will start playback. & To select a track from the beginning
Type A audio
Type B audio
Turn the “TUNE/TRACK/CH ”dial clock-
wise to skip to the beginning of the next
track/file. Each time the dial is turned, the
indicated track/file number will increase.
Turn the “TUNE/TRACK/CH ”dial counter-
clockwise to skip to the beginning of the
current track/file. Each time the dial is
turned, the indicated track/file number will decrease.
Page 202 of 416
resumed. To cancel the scan mode, press the“SCAN ”button again.
NOTE
The scan mode will be cancelled if you
perform any of the following steps. . Press the “RPT/RDM ”button
. Turn the “TUNE/TRACK/CH ”dial
. Press the “
”or “”side of the
“ FOLDER/PTY/CAT ”button
. Press the “
”button
. Press the disc select button (type A
audio) . Select the radio or AUX mode
. Press the “LOAD ”button when
there is free space in the CD magazine
(type A audio). Press the “PTY/CAT ”button
. Turn off the power of the audio
equipment. Turn the ignition switch to the
“ LOCK ”position
& Display selection
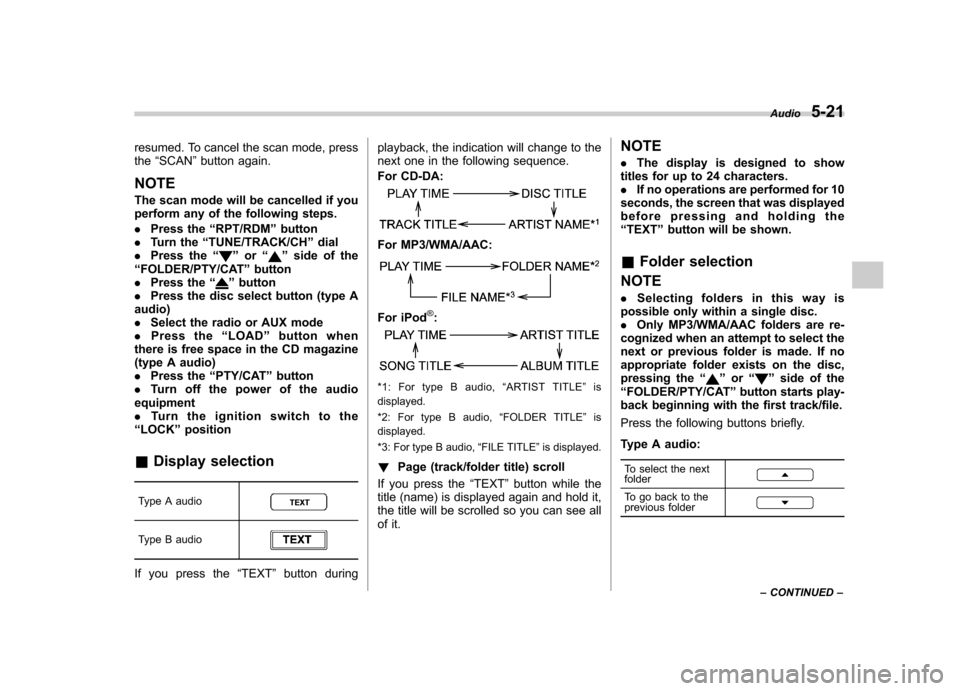
Type A audio
Type B audio
If you press the “TEXT ”button during playback, the indication will change to the
next one in the following sequence.
For CD-DA:
For MP3/WMA/AAC:
For iPod®:
*1: For type B audio,
“ARTIST TITLE ”is
displayed.
*2: For type B audio, “FOLDER TITLE ”is
displayed.
*3: For type B audio, “FILE TITLE ”is displayed.
! Page (track/folder title) scroll
If you press the “TEXT ”button while the
title (name) is displayed again and hold it,
the title will be scrolled so you can see all
of it. NOTE .
The display is designed to show
titles for up to 24 characters. . If no operations are performed for 10
seconds, the screen that was displayed
before pressing and holding the“ TEXT ”button will be shown.
& Folder selection
NOTE . Selecting folders in this way is
possible only within a single disc. . Only MP3/WMA/AAC folders are re-
cognized when an attempt to select the
next or previous folder is made. If no
appropriate folder exists on the disc,
pressing the “”or “”side of the
“ FOLDER/PTY/CAT ”button starts play-
back beginning with the first track/file.
Press the following buttons briefly.
Type A audio:
To select the next folder
To go back to the
previous folder
Audio 5-21
– CONTINUED –
Page 203 of 416
5-22Audio
Type B audio:
To select the next folder
To go back to the
previous folder
& How to eject CDs from the
player (type A)
! Ejecting a CD from the player
Of the discs loaded, you can select and
remove only one disc.
1. Press the disc select button (from
to) to select the disc to be
ejected.
2. Briefly press the
button. The
selected disc will be ejected. The disc
number indicator will flash at this time.
When you remove the ejected disc, the
disc number indicator will turn off.
To remove more discs in succession,
repeat steps 1 and 2. ! Ejecting all discs from the player
(all disc ejection mode)
1. If you press and hold the
button,
the player will produce beep sound and
will enter the all disc ejection mode. At this
time, the disc number indicator and “ALL
EJECT ”indicator will flash.
2. Remove the disc that has been ejected. The other discs loaded will then
be ejected one after another. If you do not
remove the disc that has been ejected, the“
All disc ejection mode ”will be canceled.
NOTE . Avoid driving the vehicle with a CD
sticking out. The CD may fall out due to vibration.. If you press the
button while
the player is in all disc ejection mode,
the mode will be cancelled following
ejection of the disc that is currently
being ejected.. If you press the
button orbutton while the player is in all disc
ejection mode, the player will draw in
the discs that have been ejected and
play them. & How to eject a CD from the
player (type B)
When a disc is being played back or when
a disc is in the player, press the
button. The disc will be ejected. NOTE . Avoid driving the vehicle with a CD
sticking out. The CD may fall out due to vibration.. If the disc is left ejected for more
than approximately 15 seconds, a disc protection function will operate, auto-
matically reloading the disc. In this
case, the disc is not played. &
When the following mes-
sages are displayed
If one of the following messages is
displayed while operating the CD player,
determine the cause based on the follow-
ing information. If you cannot clear those
messages, please contact your SUBARU
dealer. ! When “PUSH EJECT ”is displayed
Press the
button to eject the disc.
Check the disc for damage or deforma-
tion, and also check that the correct disc is
inserted. Do not try to eject the disc
forcibly. Single CDs (i.e., 8 cm/3 inch
CDs) are not supported, and if inserted,
they will be immediately ejected and this
message will be displayed. If the disc
cannot be ejected or this message re-
mains displayed, please contact your
SUBARU dealer. ! When “CHECK DISC ”is displayed
Press the
button to eject the discs.
Check that the disc is not damaged or
scratched, and also check that the disc is
inserted correctly. This message may
appear when using some CD-RW discs.
Page 204 of 416
Check that the disc type (i.e., 8 cm/3 inch
CDs are not supported) and data format
are correct. This player can only play
MP3, WMA and AAC (type B audio) data
formats. If the disc cannot be ejected or
this message remains displayed, please
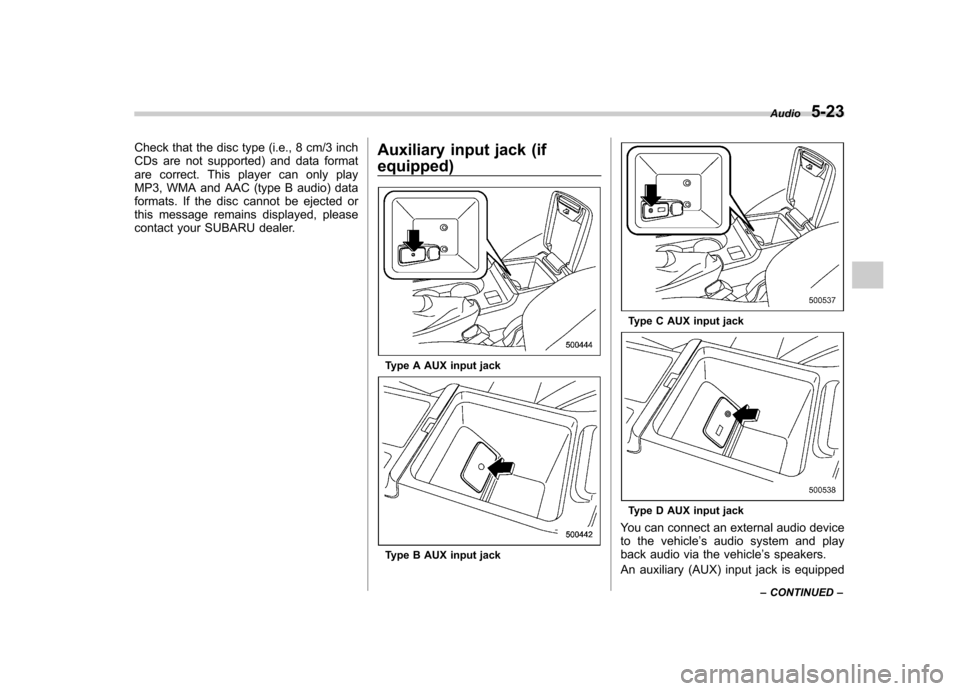
contact your SUBARU dealer.Auxiliary input jack (if equipped)
Type A AUX input jack
Type B AUX input jack
Type C AUX input jack
Type D AUX input jack
You can connect an external audio device
to the vehicle ’s audio system and play
back audio via the vehicle ’s speakers.
An auxiliary (AUX) input jack is equipped Audio
5-23
– CONTINUED –
Page 209 of 416
5-28Audio
iPod
®cannot be operated using the
click wheel on the iPod®(except some
models). . When using an iPod
®by connecting
it to in-vehicle equipment, the order of
the list items displayed on the in-
vehicle equipment may be different
from that on the iPod
®. However, this
does not indicate a malfunction.. An iPod
®battery that is connected
to in-vehicle equipment will be charged
when the ignition switch is in the “ON ”
or “Acc ”position. However, activation
of the iPod
®may be delayed if the
battery charge of the iPod®is low.
. If an iPod®does not activate after
operation, disconnect the connection
cable from the iPod
®and reset it. For
the resetting procedure, see the User ’s
Guide of the iPod
®.
. If an iPod®and the connection cable
are connected improperly, the iPod®
cannot be powered on or will not be
recognized by in-vehicle equipment. In
this case, disconnect the connection
cable from the iPod
®, and then connect
it again.
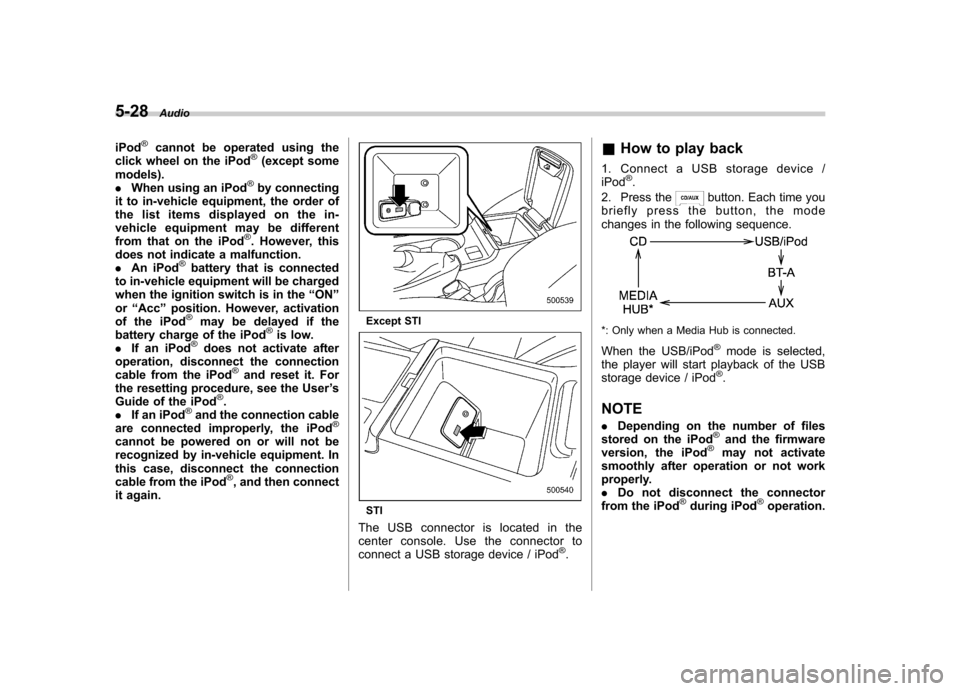
Except STI
STI
The USB connector is located in the
center console. Use the connector to
connect a USB storage device / iPod
®. &
How to play back
1. Connect a USB storage device /iPod
®.
2. Press the
button. Each time you
briefly press the button, the mode
changes in the following sequence.
*: Only when a Media Hub is connected.
When the USB/iPod
®mode is selected,
the player will start playback of the USB
storage device / iPod
®.
NOTE . Depending on the number of files
stored on the iPod
®and the firmware
version, the iPod®may not activate
smoothly after operation or not work
properly.. Do not disconnect the connector
from the iPod
®during iPod®operation.
Page 211 of 416
5-30Audio
iPod
®. It randomly repeats all of the
tracks on the iPod®.
. When an iPod®is connected, the
files are played back at random by the
shuffle function of the iPod
®. There-
fore, iPod®operation may be different
depending on the model of the con-
nected iPod
®.
. When an audiobook or a podcast is
playing, the mode does not change
even if you press and hold the
button.
To cancel the random playback mode,
press and hold the
button and select
CANCEL. The “RDM ”indication will turn
off, and the normal playback mode will resume. & SCAN (only when connecting
USB storage device)
Scan is operated in the same way as for a
CD. For details, refer to “Scan ”F 5-20.
NOTE
When an iPod
®is connected, you
cannot select the SCAN mode.
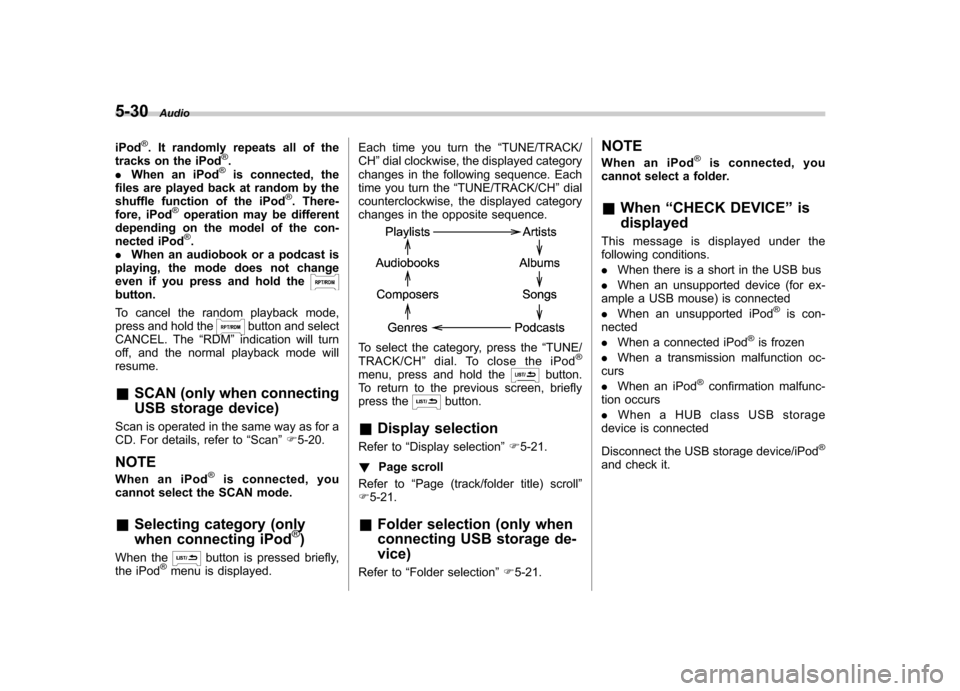
& Selecting category (only
when connecting iPod
®)
When the
button is pressed briefly,
the iPod®menu is displayed. Each time you turn the
“TUNE/TRACK/
CH ”dial clockwise, the displayed category
changes in the following sequence. Each
time you turn the “TUNE/TRACK/CH ”dial
counterclockwise, the displayed category
changes in the opposite sequence.
To select the category, press the “TUNE/
TRACK/CH ”dial. To close the iPod®
menu, press and hold thebutton.
To return to the previous screen, briefly
press the
button.
& Display selection
Refer to “Display selection ”F 5-21.
! Page scroll
Refer to “Page (track/folder title) scroll ”
F 5-21.
& Folder selection (only when
connecting USB storage de- vice)
Refer to “Folder selection ”F 5-21. NOTE
When an iPod
®is connected, you
cannot select a folder. & When “CHECK DEVICE ”is
displayed
This message is displayed under the
following conditions. . When there is a short in the USB bus
. When an unsupported device (for ex-
ample a USB mouse) is connected. When an unsupported iPod
®is con-
nected . When a connected iPod
®is frozen
. When a transmission malfunction oc-
curs . When an iPod
®confirmation malfunc-
tion occurs. When a HUB class USB storage
device is connected
Disconnect the USB storage device/iPod
®
and check it.
Page 212 of 416
Audio control buttons
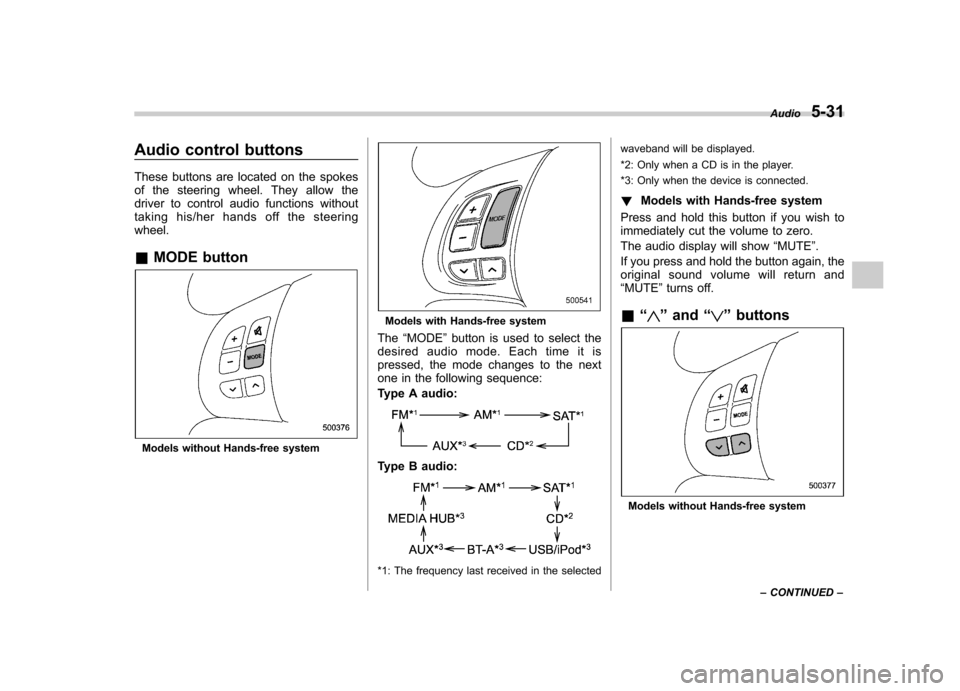
These buttons are located on the spokes
of the steering wheel. They allow the
driver to control audio functions without
taking his/her hands off the steeringwheel. &MODE button
Models without Hands-free system
Models with Hands-free system
The “MODE ”button is used to select the
desired audio mode. Each time it is
pressed, the mode changes to the next
one in the following sequence:
Type A audio:
Type B audio:
*1: The frequency last received in the selected waveband will be displayed.
*2: Only when a CD is in the player.
*3: Only when the device is connected.
! Models with Hands-free system
Press and hold this button if you wish to
immediately cut the volume to zero.
The audio display will show “MUTE ”.
If you press and hold the button again, the
original sound volume will return and “ MUTE ”turns off.
& “
”and “”buttons
Models without Hands-free system Audio
5-31
– CONTINUED –
Page 213 of 416
5-32Audio
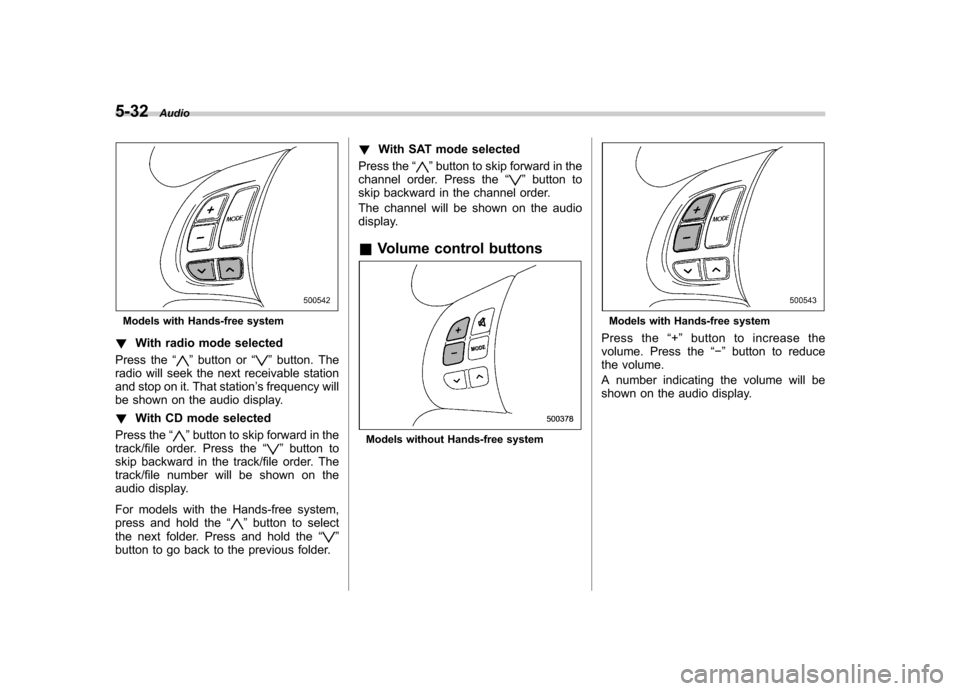
Models with Hands-free system
! With radio mode selected
Press the “
”button or “”button. The
radio will seek the next receivable station
and stop on it. That station ’s frequency will
be shown on the audio display. ! With CD mode selected
Press the “
”button to skip forward in the
track/file order. Press the “”button to
skip backward in the track/file order. The
track/file number will be shown on the
audio display.
For models with the Hands-free system,
press and hold the “
”button to select
the next folder. Press and hold the “”
button to go back to the previous folder. !
With SAT mode selected
Press the “
”button to skip forward in the
channel order. Press the “”button to
skip backward in the channel order.
The channel will be shown on the audio
display.
& Volume control buttons
Models without Hands-free system
Models with Hands-free system
Press the “+ ” button to increase the
volume. Press the “� ” button to reduce
the volume.
A number indicating the volume will be
shown on the audio display.