Page 12 of 112

11
Introduction
If the vehicle battery has been disconnected, switch on the ignition before
re-connecting the unit.
Adjusting the base volume
FunctionActionIncrease the vol-
ume.Turn the sound control knob ⇒ Fig. 1 to the right, or
press the button on the multifunction steering wheel
⇒ Booklet Owner's Manual.
Lower the vol-
ume.Turn the volume control anti-clockwise
or press the button on the multifunction steering
wheel.
Changes to the volume are indicated by a “bar” on the screen. During this
time the unit cannot be operated.
At “0” the unit is muted (display: ) and the current Media source is stop-
ped.
It is possible to preset certain volume settings and adjustments
⇒ page 99.
WARNING
Your attention may be distracted from the traffic if you use the radio and
navigation system while driving, resulting in accident.
● You should always drive with due care and attention.
● Select volume settings that allow you to easily hear signals from out-
side the vehicle at all times (e.g. emergency service sirens).
● If the volume is too high, you could damage your hearing. Even if the
volume is too loud for a short period only.
CAUTION
If the volume is too high or the sound is distorted, the vehicle speakers may
be damaged.
Note
If the base volume has been turned up high to play an audio source
(e.g. due to very quiet audio output from an external audio source), lower
the volume again before switching audio source.
Additional information and display options
The text displayed on the screen may vary depending on the settings and
may not match the illustrations shown here.
All displays appear only after the radio-navigation system has completed
start-up.
Depending on the vehicle, the changes to the air conditioning settings or
the texts relating to driver assistance systems fitted at the factory are dis-
played. These displays disappear automatically when they are no longer re-
quired.
Page 44 of 112

43
Audio mode
Data medium connection adapter
Use the adapter, supplied in accessories and specific to the vehicle, to con-
nect the external data medium to the MEDIA-IN multimedia interface.
For further information, please see the SEAT web page.
Notes and requirements
Compatible data mediaLegible files and formatsData media compliant with the
USB 2.0 specification.
Data media with the FAT file sys-
tem FAT16 (< < 2 GB) or FAT32 (> 2
GB).
iPods ®
and iPhones ®
of various
generations a)
.
MTP players with the “PlaysFor-
Sure” or “ReadyForVista” logo.- Audio files in MP3, WMA, OGG-Vorbis
and AAC format.
Playlists in PLS, B4S, ASX and WPL for-
mat.
Please read and observe the external data medium operating instructions.a) iPod ®
and iPhone ®
are protected registered trademarks of Apple Inc.
Notes and restrictions
Only audio files that can be read via the MEDIA-IN multimedia interface can
be displayed, played and controlled on the radio and navigation system.
In the case of MTP players and depending on the battery charge and the
quantity of data, it may take a few minutes for them to be ready for use.
If an external data medium is divided into several partitions, only the first
partition with compatible audio files will be played.
Please observe the additional instructions and restrictions regarding the re-
quirements for multimedia sources ⇒ page 29. Connecting and operating
Fig. 41 MEDIA main
menu: MDI multimedia
source (MEDIA-IN multi-
media interface).
Fig. 42 Selection menu
for a connected iPod.
Before connecting or playing an external data medium, turn down the vol-
ume on the radio-navigation system ⇒ page 11.
Page 86 of 112

85
Telephone control (Phone)
Instrument panel display
Telephone information display
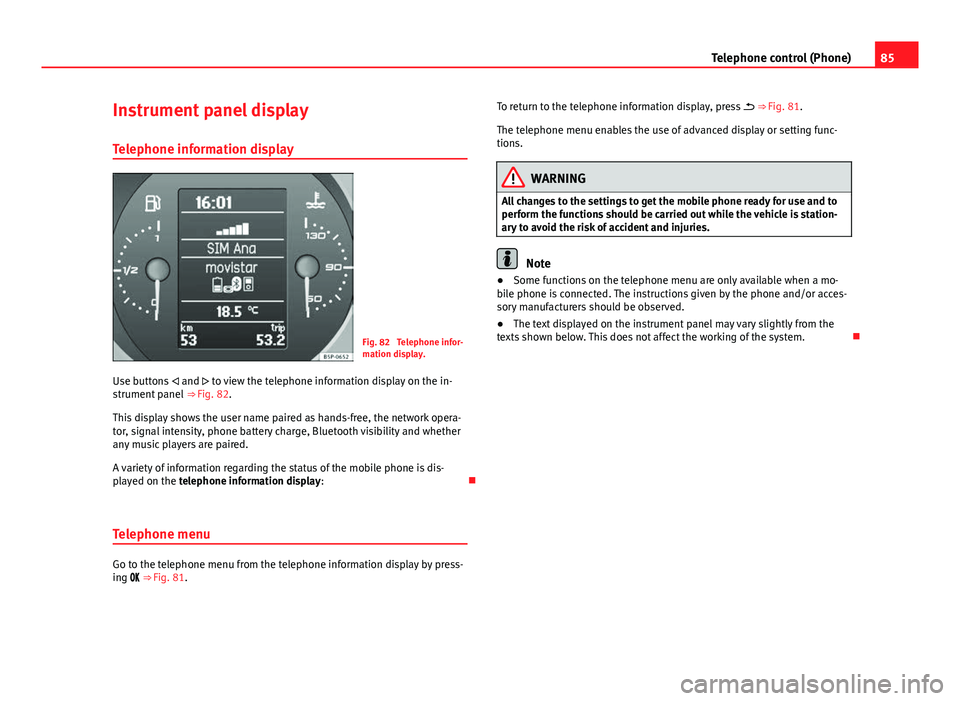
Fig. 82 Telephone infor-
mation display.
Use buttons and to view the telephone information display on the in-
strument panel ⇒ Fig. 82.
This display shows the user name paired as hands-free, the network opera-
tor, signal intensity, phone battery charge, Bluetooth visibility and whether
any music players are paired.
A variety of information regarding the status of the mobile phone is dis-
played on the telephone information display:
Telephone menu
Go to the telephone menu from the telephone information display by press-
ing ⇒ Fig. 81. To return to the telephone information display, press
⇒ Fig. 81.
The telephone menu enables the use of advanced display or setting func-
tions.
WARNING
All changes to the settings to get the mobile phone ready for use and to
perform the functions should be carried out while the vehicle is station-
ary to avoid the risk of accident and injuries.
Note
● Some functions on the telephone menu are only available when a mo-
bile phone is connected. The instructions given by the phone and/or acces-
sory manufacturers should be observed.
● The text displayed on the instrument panel may vary slightly from the
texts shown below. This does not affect the working of the system.