Page 117 of 280

115
Seats and storage compartments
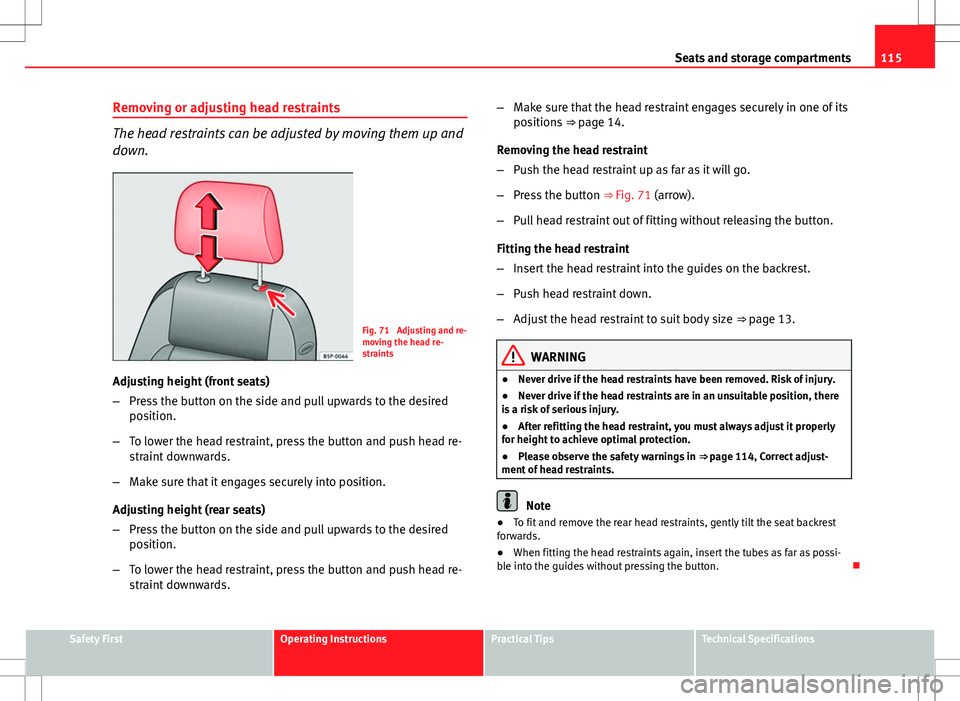
Removing or adjusting head restraints
The head restraints can be adjusted by moving them up and
down.
Fig. 71 Adjusting and re-
moving the head re-
straints
Adjusting height (front seats)
– Press the button on the side and pull upwards to the desired
position.
– To lower the head restraint, press the button and push head re-
straint downwards.
– Make sure that it engages securely into position.
Adjusting height (rear seats)
– Press the button on the side and pull upwards to the desired
position.
– To lower the head restraint, press the button and push head re-
straint downwards. –
Make sure that the head restraint engages securely in one of its
positions ⇒ page 14.
Removing the head restraint
– Push the head restraint up as far as it will go.
– Press the button ⇒ Fig. 71 (arrow).
– Pull head restraint out of fitting without releasing the button.
Fitting the head restraint
– Insert the head restraint into the guides on the backrest.
– Push head restraint down.
– Adjust the head restraint to suit body size ⇒ page 13.
WARNING
● Never drive if the head restraints have been removed. Risk of injury.
● Never drive if the head restraints are in an unsuitable position, there
is a risk of serious injury.
● After refitting the head restraint, you must always adjust it properly
for height to achieve optimal protection.
● Please observe the safety warnings in ⇒ page 114, Correct adjust-
ment of head restraints.
Note
● To fit and remove the rear head restraints, gently tilt the seat backrest
forwards.
● When fitting the head restraints again, insert the tubes as far as possi-
ble into the guides without pressing the button.
Safety FirstOperating InstructionsPractical TipsTechnical Specifications
Page 119 of 280
117
Seats and storage compartments
Heated seats*
The front seat cushions and backrests can be heated electri-
cally.
Fig. 73 Front seats heat-
ing switch
– Press the corresponding switch ⇒ Fig. 73 to switch on the seat
heating.
– Press once to connect the heating at a maximum force. Two
LEDs will light up ⇒ Fig. 73. After 15 min. of high intensity, the
upper LED goes out, the system is deactivated for 2 min. and is
then reactivated at low intensity (lower LED remains on perma-
nently).
– Press the switch again to set the heating to minimum force.
(The lower LED lights up).
– To disconnect the heating, press the switch again.
CAUTION
To avoid damaging the heating elements, please do not kneel on the seat or
apply sharp pressure at a single point to the seat cushion and backrest.
Note
The seats are only heated electrically when the engine is running.
Safety FirstOperating InstructionsPractical TipsTechnical Specifications
Page 121 of 280
119
Seats and storage compartments
On split rear seats 1)
the backrest and cushion can be lowered and raised re-
spectively in two sections.
WARNING
● Please be careful when folding back the backrest! Injuries can be
caused if the seat height is adjusted without due care and attention.
● Do no trap or damage seat belts when raising the backrest.
● After raising the backrest, check it has engaged properly in position.
Do this by pulling on the central seat belt or directly on the backrest and
check that the position lever is in the neutral position.
● The three point automatic seat belt only works correctly when the
backrest of the central seat is correctly engaged.
1) Optional equipment
Safety FirstOperating InstructionsPractical TipsTechnical Specifications
Page 123 of 280
121
Seats and storage compartments
Navigator mount on dash panel*
Your vehicle can be equipped with a portable navigator
mounting bracket.
Fig. 79 Mounting brack-
et for navigator on dash
panel.
Fig. 80 Bracket with
open cover for placing
the navigator. It is necessary to use a specific adapter for each navigator, so consult your
Technical Service. This bracket supplies power to the portable navigator.
Storage compartment under front seats*
Fig. 81 Storage com-
partment under the front
passenger seat
To open
– The compartment is opened by pulling on the lever and assist-
ing it with your hand.
To close
– Press the cover inwards until the closed drawer clicks into posi-
tion.
Note
The storage drawer will hold a maximum weight of 1.5 kg.
Safety FirstOperating InstructionsPractical TipsTechnical Specifications
Page 125 of 280
123
Seats and storage compartments
Rear drink holder*
Fig. 84 Drink holder in
the centre console
On the rear part of the centre console, behind the handbrake, there is a
drink holder* installed ⇒ Fig. 84.
This drink holder has a capacity of a bottle of up to 1 litre. Ashtrays, cigarette lighter and power socket
Front ashtray*
Fig. 85 Front ashtray
Opening and closing the ashtray
– To open the ashtray, lift the cover ⇒ Fig. 85.
– To close, push the cover down.
Emptying the ashtray
– Extract the ashtray and empty it.
WARNING
Never put paper in the ashtray. Hot ash could ignite the paper in the ash-
tray and cause a fire.
Safety FirstOperating InstructionsPractical TipsTechnical Specifications
Page 127 of 280

125
Seats and storage compartments
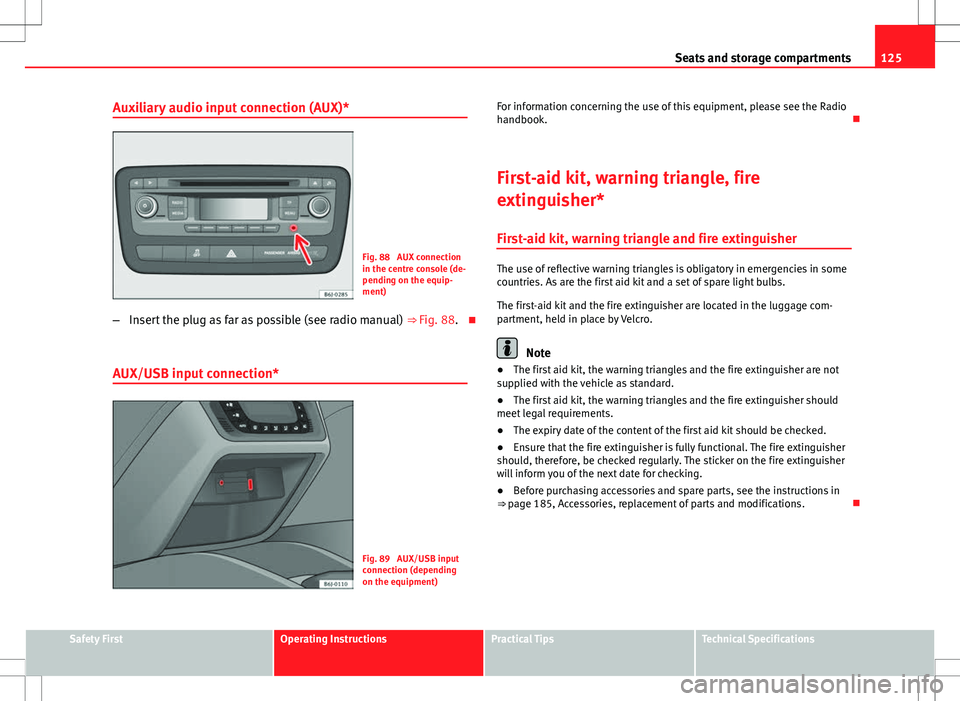
Auxiliary audio input connection (AUX)*
Fig. 88 AUX connection
in the centre console (de-
pending on the equip-
ment)
– Insert the plug as far as possible (see radio manual) ⇒ Fig. 88.
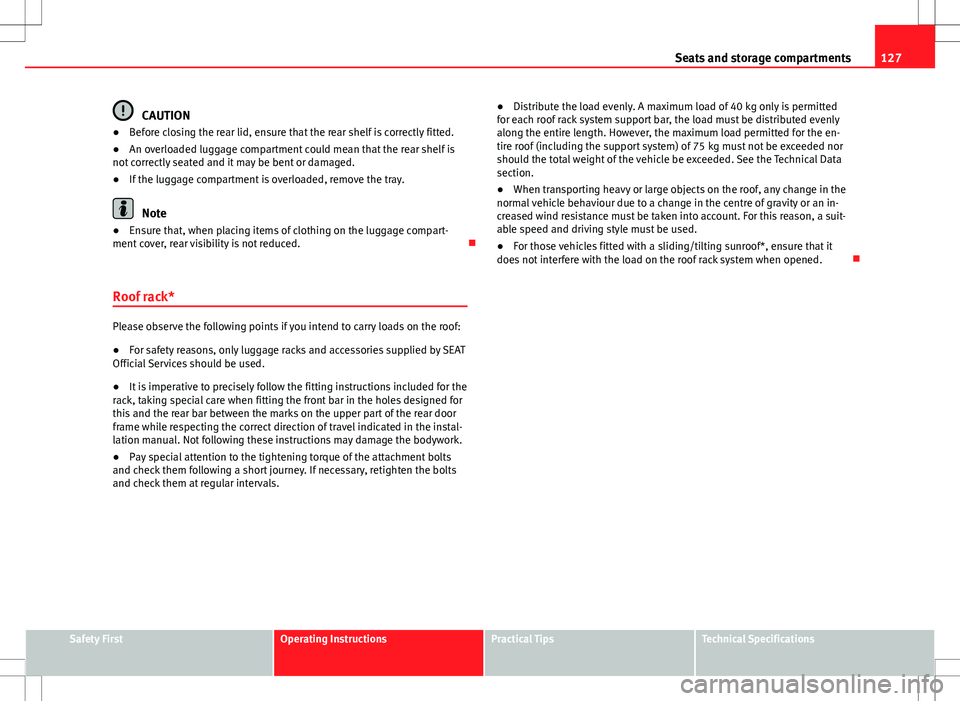
AUX/USB input connection*
Fig. 89 AUX/USB input
connection (depending
on the equipment) For information concerning the use of this equipment, please see the Radio
handbook.
First-aid kit, warning triangle, fire
extinguisher* First-aid kit, warning triangle and fire extinguisher
The use of reflective warning triangles is obligatory in emergencies in some
countries. As are the first aid kit and a set of spare light bulbs.
The first-aid kit and the fire extinguisher are located in the luggage com-
partment, held in place by Velcro.
Note
● The first aid kit, the warning triangles and the fire extinguisher are not
supplied with the vehicle as standard.
● The first aid kit, the warning triangles and the fire extinguisher should
meet legal requirements.
● The expiry date of the content of the first aid kit should be checked.
● Ensure that the fire extinguisher is fully functional. The fire extinguisher
should, therefore, be checked regularly. The sticker on the fire extinguisher
will inform you of the next date for checking.
● Before purchasing accessories and spare parts, see the instructions in
⇒ page 185, Accessories, replacement of parts and modifications.
Safety FirstOperating InstructionsPractical TipsTechnical Specifications
Page 129 of 280

127
Seats and storage compartments
CAUTION
● Before closing the rear lid, ensure that the rear shelf is correctly fitted.
● An overloaded luggage compartment could mean that the rear shelf is
not correctly seated and it may be bent or damaged.
● If the luggage compartment is overloaded, remove the tray.
Note
● Ensure that, when placing items of clothing on the luggage compart-
ment cover, rear visibility is not reduced.
Roof rack*
Please observe the following points if you intend to carry loads on the roof:
● For safety reasons, only luggage racks and accessories supplied by SEAT
Official Services should be used.
● It is imperative to precisely follow the fitting instructions included for the
rack, taking special care when fitting the front bar in the holes designed for
this and the rear bar between the marks on the upper part of the rear door
frame while respecting the correct direction of travel indicated in the instal-
lation manual. Not following these instructions may damage the bodywork.
● Pay special attention to the tightening torque of the attachment bolts
and check them following a short journey. If necessary, retighten the bolts
and check them at regular intervals. ●
Distribute the load evenly. A maximum load of 40 kg only is permitted
for each roof rack system support bar, the load must be distributed evenly
along the entire length. However, the maximum load permitted for the en-
tire roof (including the support system) of 75 kg must not be exceeded nor
should the total weight of the vehicle be exceeded. See the Technical Data
section.
● When transporting heavy or large objects on the roof, any change in the
normal vehicle behaviour due to a change in the centre of gravity or an in-
creased wind resistance must be taken into account. For this reason, a suit-
able speed and driving style must be used.
● For those vehicles fitted with a sliding/tilting sunroof*, ensure that it
does not interfere with the load on the roof rack system when opened.
Safety FirstOperating InstructionsPractical TipsTechnical Specifications
Page 131 of 280

129
Air conditioning
WARNING
● For your safety, the windows should never be fogged up or covered
with snow or ice. This is essential to ensure good visibility. Please famili-
arise yourself with the correct operation of the heating and ventilation
system, including the demist/defrost functions for the windows.
● In air recirculation mode, no cold air from the outside enters the vehi-
cle interior. The windows can quickly fog over if the heating is switched
off. Therefore, never leave the air recirculation mode switched on for a
long time (risk of accident).
Note
● Please consider the general notes ⇒ page 136.
Vehicle ventilation or heating
Fig. 92 Heating controls
on the dash panel Ventilating the vehicle interior
–
Turn the temperature selector ⇒ Fig. 92 A
anticlockwise.
– Turn blower switch B
to any of the head settings 1 -4.
– Set the airflow to the desired direction using air distribution
control C
.
– Open the relevant air outlets.
Interior heating
– Turn the temperature selector ⇒ Fig. 92 A
clockwise to select
the desired temperature.
– Turn blower switch B
to any of the head settings 1 -4.
– Set the airflow to the desired direction using air distribution
control C
.
– Open the relevant air outlets.
Defrosting the windscreen
– Turn the temperature selector ⇒ Fig. 92 A
clockwise to reach
the maximum temperature.
– Turn the blower switch B
to setting 4.
– Turn air distribution control to .
– Close outlet 3
.
– Open and turn outlet 4
towards side windows
Keeping the windscreen and the side windows demisted
– Turn the temperature selector ⇒ Fig. 92 A
to the heating area.
Safety FirstOperating InstructionsPractical TipsTechnical Specifications