2012 Seat Ibiza 5D stop start
[x] Cancel search: stop startPage 174 of 280

172Driving and the environment
Avoid short journeys
To reduce the consumption and emission of polluting exhaust gases, the
engine and the exhaust gas filtration systems should reach the optimum
service temperature.
With the engine cold, fuel consumption is proportionally higher. The engine
does not warm up and fuel consumption does not normalise until having
driven approximately four kilometres (2.5 miles). This is why we recommend
avoiding short trips whenever possible.
Maintain the correct tyre pressures
Bear in mind that keeping the tyres at an adequate pressure saves fuel. If
the tyre pressure is just one bar too low, fuel consumption can increase by
as much as 5%. Due to the greater rolling resistance, under-inflation also
increases tyre wear and impairs handling.
The tyre pressures should always be checked when the tyres are cold.
Do not use winter tyres all year round as they increase fuel consumption by
up to 10%.
Avoid unnecessary weight
Given that every kilo of extra weight will increase the fuel consumption, it is
advisable to always check the luggage compartment to make sure that no
unnecessary loads are being transported.
A roof rack is often left in place for the sake of convenience, even when it is
no longer needed. At a speed of 100-120 km/h (60-75 mph) your vehicle
will use about 12% more fuel as a result of the extra wind resistance caused
by the roof rack even when it is not in use.
Save electricity
The engine activates the alternator, which produces electricity. With the
need for electricity, fuel consumption is also increased. Because of this, al-
ways turn off electrical components when you do not need them. Examples
of components that use a lot of electricity are: the fan at high speeds, the
rear window heating or the seat heaters*.
Note
● If you vehicle has Start-Stop, it is not recommended to switch this func-
tion off.
● It is recommended to close the windows when driving at more than
60 km/h (40 mph)
● Do not drive with your foot resting on the clutch pedal, as the pressure
can make the plate spin, more fuel will be used and it can burn the clutch
plate lining, causing a serious fault.
● Do not hold the vehicle on a hill with the clutch, use the foot brake or
hand brake, using the latter to start. The fuel consumption will be lower and
you will prevent the clutch plate from being damaged.
● On descents, use the engine brake, changing to the gear that is more
suitable for the slope. The fuel consumption will be lower and the brakes
will not suffer.
Environmental friendliness
Environmental protection is a top priority in the design, choice of materials
and production of your new SEAT.
Design measures for economical recycling
● Joints and connections designed for easy dismantling
● Modular construction to facilitate dismantling
● Increased use of single-grade materials
● Plastic parts and elastomers are marked in accordance with ISO 1043,
ISO 11469 and ISO 1629
Choice of materials
● Nearly all materials used can be recycled
● Similar types of plastics grouped together for easy recycling
● Recycled materials used in manufacture
Page 183 of 280

181
Vehicle maintenance and cleaning
CAUTION
To prevent scratching chrome surfaces:
● Never use an abrasive cleaning product on chrome.
● Do not clean or polish chrome parts in a sandy or dusty environment.
Steel wheel rims
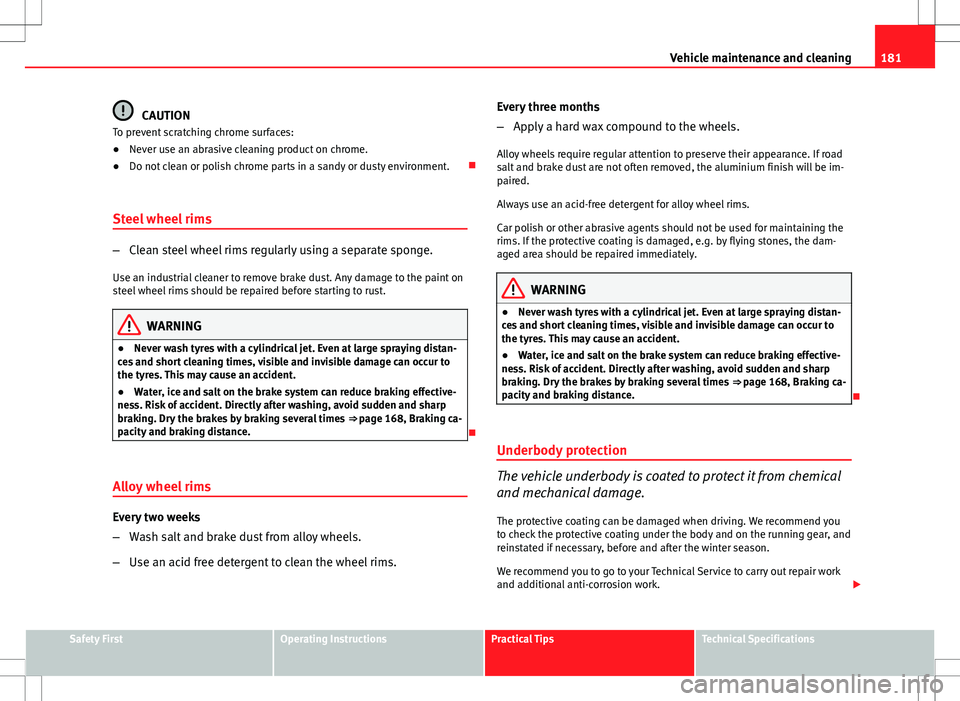
– Clean steel wheel rims regularly using a separate sponge.
Use an industrial cleaner to remove brake dust. Any damage to the paint on
steel wheel rims should be repaired before starting to rust.
WARNING
● Never wash tyres with a cylindrical jet. Even at large spraying distan-
ces and short cleaning times, visible and invisible damage can occur to
the tyres. This may cause an accident.
● Water, ice and salt on the brake system can reduce braking effective-
ness. Risk of accident. Directly after washing, avoid sudden and sharp
braking. Dry the brakes by braking several times ⇒ page 168, Braking ca-
pacity and braking distance.
Alloy wheel rims
Every two weeks
– Wash salt and brake dust from alloy wheels.
– Use an acid free detergent to clean the wheel rims. Every three months
–
Apply a hard wax compound to the wheels.
Alloy wheels require regular attention to preserve their appearance. If road
salt and brake dust are not often removed, the aluminium finish will be im-
paired.
Always use an acid-free detergent for alloy wheel rims.
Car polish or other abrasive agents should not be used for maintaining the
rims. If the protective coating is damaged, e.g. by flying stones, the dam-
aged area should be repaired immediately.
WARNING
● Never wash tyres with a cylindrical jet. Even at large spraying distan-
ces and short cleaning times, visible and invisible damage can occur to
the tyres. This may cause an accident.
● Water, ice and salt on the brake system can reduce braking effective-
ness. Risk of accident. Directly after washing, avoid sudden and sharp
braking. Dry the brakes by braking several times ⇒ page 168, Braking ca-
pacity and braking distance.
Underbody protection
The vehicle underbody is coated to protect it from chemical
and mechanical damage.
The protective coating can be damaged when driving. We recommend you
to check the protective coating under the body and on the running gear, and
reinstated if necessary, before and after the winter season.
We recommend you to go to your Technical Service to carry out repair work
and additional anti-corrosion work.
Safety FirstOperating InstructionsPractical TipsTechnical Specifications
Page 197 of 280

195
Checking and refilling levels
Winter driving
Diesel can thicken in winter.
Winter-grade diesel
When using “summer-grade diesel fuel”, difficulties may be experienced at
temperatures below 0 °C because the fuel thickens due to wax separation.
Therefore, “winter-grade diesel fuel” is available in some countries during
the cold months. It can be used at temperatures as low as -22 °C.
In countries with different climatic conditions the diesel fuel generally sold
has different temperature characteristics. Check with the Technical Services
or filling stations in the country concerned regarding the type of diesel fuels
available.
Filter pre-heater
Your vehicle is fitted with a fuel filter glow plug system, making it well
equipped for operation in winter. This ensures that the fuel system remains
operational to approx. -24 °C, provided you use winter-grade diesel which is
safe to -15 °C.
However, if the fuel has waxed to such an extent that the engine will not
start at temperatures of under -24 °C, simply place the vehicle in a warm
place for a while.
CAUTION
Do not mix fuel additives (thinners or similar products) with diesel fuel. Working in the engine compartment
Safety instructions on working in the engine compartment
Any work carried out in the engine compartment or on the
engine must be carried out cautiously.
Before starting any work on the engine or in the engine compart-
ment:
1. Switch off the engine and remove the key from the ignition.
2. Apply the handbrake.
3. Move the gear lever to neutral or the selector lever to position P.
4. Wait for the engine to cool down.
5. Keep children away from the vehicle.
6. Raise the bonnet ⇒ page 197.
You should not do any work in the engine compartment unless you know ex-
actly how to carry out the jobs and have the correct tools! Have the work car-
ried out by a specialised workshop if you are uncertain.
All service fluids and consumables, e.g. coolant, engine oil, spark plugs
and batteries, are under constant development. SEAT provides a constant
flow of information to the Technical Services concerning modifications. For
this reason, we recommend you to have service fluids and consumables re-
placed by a Technical Service. Please observe the relevant instructions
⇒ page 185. The engine compartment of the vehicle is a hazardous area
⇒
.
Safety FirstOperating InstructionsPractical TipsTechnical Specifications
Page 202 of 280

200Checking and refilling levels
Checking the engine oil level
The engine oil dipstick indicates the level of the oil.
Fig. 125 Engine oil dip-
stick
Checking oil level
– Park the vehicle in a horizontal position.
– Briefly run the engine at idle speed until the operating tempera-
ture is reached and then stop.
– Wait two minutes.
– Pull out the dipstick. Wipe the dipstick with a clean cloth and
insert it again, pushing it in as far as it will go.
– Then pull it out once more and check the oil level ⇒ Fig. 125.
Top up with engine oil if necessary.
Oil level in area A
Do not add oil
⇒ .
– Oil level in area
B
You can add oil, but keep the level in this zone.
Oil level in area C
Oil
must be added. Afterwards, the oil level should be in the lined area
B.
Depending on how you drive and the conditions in which the vehicle is
used, oil consumption can be up to 0.5 l/1000 km. Oil consumption is likely
to be higher for the first 5000 km (3000 miles). For this reason the engine
oil level must be checked at regular intervals, preferably when filling the
tank and before a journey.
WARNING
Any work carried out in the engine compartment or on the engine must
be carried out cautiously.
● When working in the engine compartment, always observe the safety
warnings ⇒ page 195.
CAUTION
If the oil level is above the area A do not start the engine. This could result
in damage to the engine and catalytic converter. Contact a Technical Serv-
ice.
–
–
Page 203 of 280

201
Checking and refilling levels
Topping up engine oil
Top up gradually with small quantities of engine oil.
Fig. 126 In the engine
compartment: Engine oil
filler cap
Before opening the bonnet, read and observe the warnings ⇒
in
Safety instructions on working in the engine compartment on
page 195.
– Unscrew cap from engine oil filler opening ⇒ Fig. 126.
– Top-up oil in small amounts, using the correct oil.
– To avoid over-filling with engine oil, you should top-up using
small quantities, wait a while and check the oil level before
adding any more oil.
– As soon as the oil level is in area B
, carefully close the cap.
The position of the oil filler opening is shown in the corresponding engine
compartment illustration ⇒ page 253.
Engine oil specification ⇒ page 199.
WARNING
Oil is highly inflammable! Ensure that no oil comes into contact with hot
engine components when topping up.
CAUTION
If the oil level is above the area A do not start the engine. This could result
in damage to the engine and catalytic converter. Contact a specialised work-
shop.
For the sake of the environment
The oil level must never be above area A. Otherwise oil can be drawn in
through the crankcase breather and escape into the atmosphere via the ex-
haust system.
Changing engine oil
The engine oil must be changed at the intervals given in the
service schedule. We recommend that you have the engine oil changed by a Technical Serv-
ice.
The oil change intervals are shown in the Maintenance Programme.
Safety FirstOperating InstructionsPractical TipsTechnical Specifications
Page 213 of 280

211
Checking and refilling levels
There are two different colours:
● Black: correct charge status.
● Transparent/clear yellow: the battery must be replaced. Contact a speci-
alised workshop.
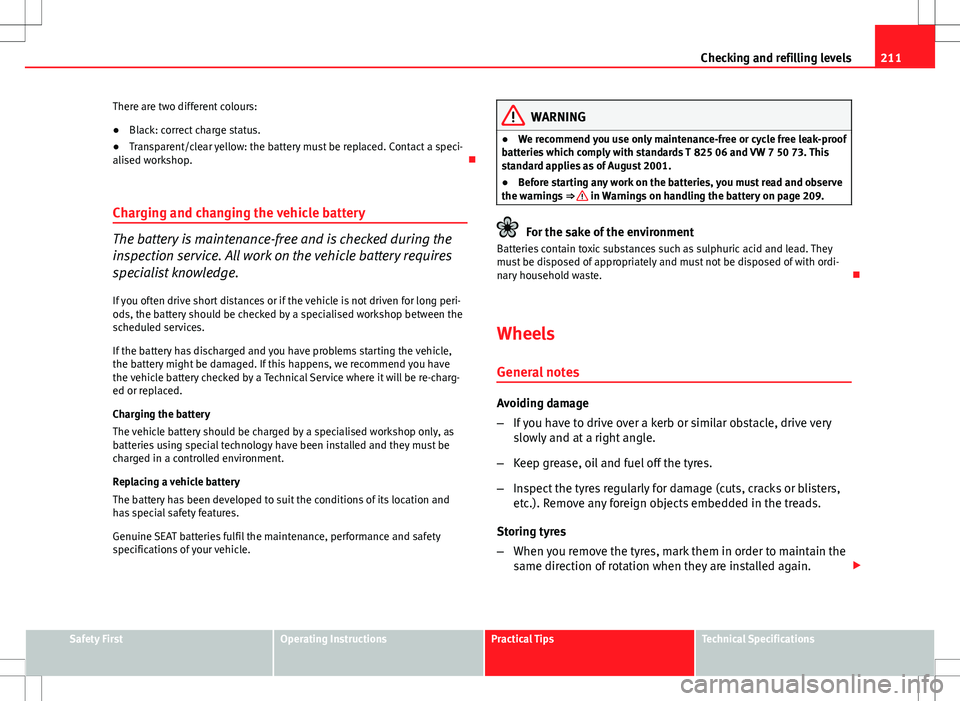
Charging and changing the vehicle battery
The battery is maintenance-free and is checked during the
inspection service. All work on the vehicle battery requires
specialist knowledge.
If you often drive short distances or if the vehicle is not driven for long peri-
ods, the battery should be checked by a specialised workshop between the
scheduled services.
If the battery has discharged and you have problems starting the vehicle,
the battery might be damaged. If this happens, we recommend you have
the vehicle battery checked by a Technical Service where it will be re-charg-
ed or replaced.
Charging the battery
The vehicle battery should be charged by a specialised workshop only, as
batteries using special technology have been installed and they must be
charged in a controlled environment.
Replacing a vehicle battery
The battery has been developed to suit the conditions of its location and
has special safety features.
Genuine SEAT batteries fulfil the maintenance, performance and safety
specifications of your vehicle.
WARNING
● We recommend you use only maintenance-free or cycle free leak-proof
batteries which comply with standards T 825 06 and VW 7 50 73. This
standard applies as of August 2001.
● Before starting any work on the batteries, you must read and observe
the warnings ⇒
in Warnings on handling the battery on page 209.
For the sake of the environment
Batteries contain toxic substances such as sulphuric acid and lead. They
must be disposed of appropriately and must not be disposed of with ordi-
nary household waste.
Wheels
General notes
Avoiding damage
– If you have to drive over a kerb or similar obstacle, drive very
slowly and at a right angle.
– Keep grease, oil and fuel off the tyres.
– Inspect the tyres regularly for damage (cuts, cracks or blisters,
etc.). Remove any foreign objects embedded in the treads.
Storing tyres
– When you remove the tyres, mark them in order to maintain the
same direction of rotation when they are installed again.
Safety FirstOperating InstructionsPractical TipsTechnical Specifications
Page 214 of 280

212Checking and refilling levels
–When removed, the wheels and/or tyres should be stored in a
cool, dry and preferably dark location.
– Store tyres in a vertical position if they are not fitted on wheel
rims.
New tyres
New tyres must be run in ⇒ page 168.
The tread depth of new tyres may vary, according to the type and make of
tyre and the tread pattern.
Concealed damage
Damage to tyres and rims is often not readily visible. If you notice unusual
vibrations or the vehicle pulling to one side, this may indicate that one of
the tyres is damaged. The tyres should be checked immediately by a Techni-
cal Service.
Tyres with directional tread pattern
An arrow on the tyre sidewall indicates the direction of rotation on tyres with
directional tread. Always observe the direction of rotation indicated when
fitting the wheel. This guarantees optimum grip and helps to avoid aqua-
planing, excessive noise and wear.
WARNING
● New tyres do not have maximum grip during the first 500 km (300
miles). Drive particularly carefully to avoid possible accidents.
● Never drive with damaged tyres. This may cause an accident.
● If you notice unusual vibrations or if the vehicle pulls to one side
when driving, stop the vehicle immediately and check the tyres for dam-
age.
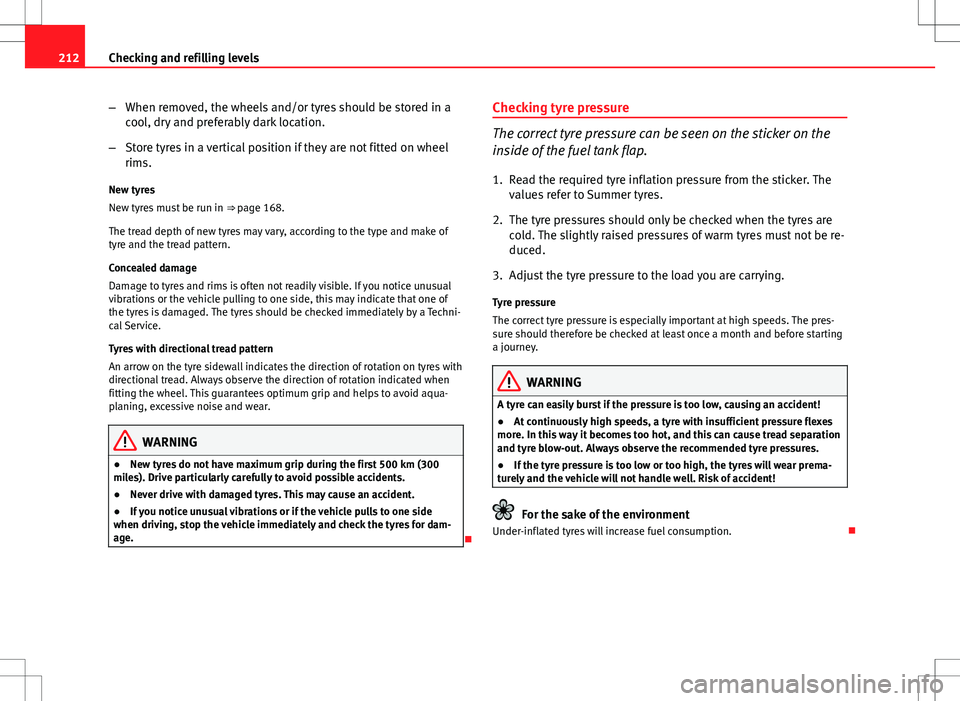
Checking tyre pressure
The correct tyre pressure can be seen on the sticker on the
inside of the fuel tank flap.
1. Read the required tyre inflation pressure from the sticker. The values refer to Summer tyres.
2. The tyre pressures should only be checked when the tyres are cold. The slightly raised pressures of warm tyres must not be re-
duced.
3. Adjust the tyre pressure to the load you are carrying.
Tyre pressure
The correct tyre pressure is especially important at high speeds. The pres-
sure should therefore be checked at least once a month and before starting
a journey.
WARNING
A tyre can easily burst if the pressure is too low, causing an accident!
● At continuously high speeds, a tyre with insufficient pressure flexes
more. In this way it becomes too hot, and this can cause tread separation
and tyre blow-out. Always observe the recommended tyre pressures.
● If the tyre pressure is too low or too high, the tyres will wear prema-
turely and the vehicle will not handle well. Risk of accident!
For the sake of the environment
Under-inflated tyres will increase fuel consumption.
Page 229 of 280

227
If and when
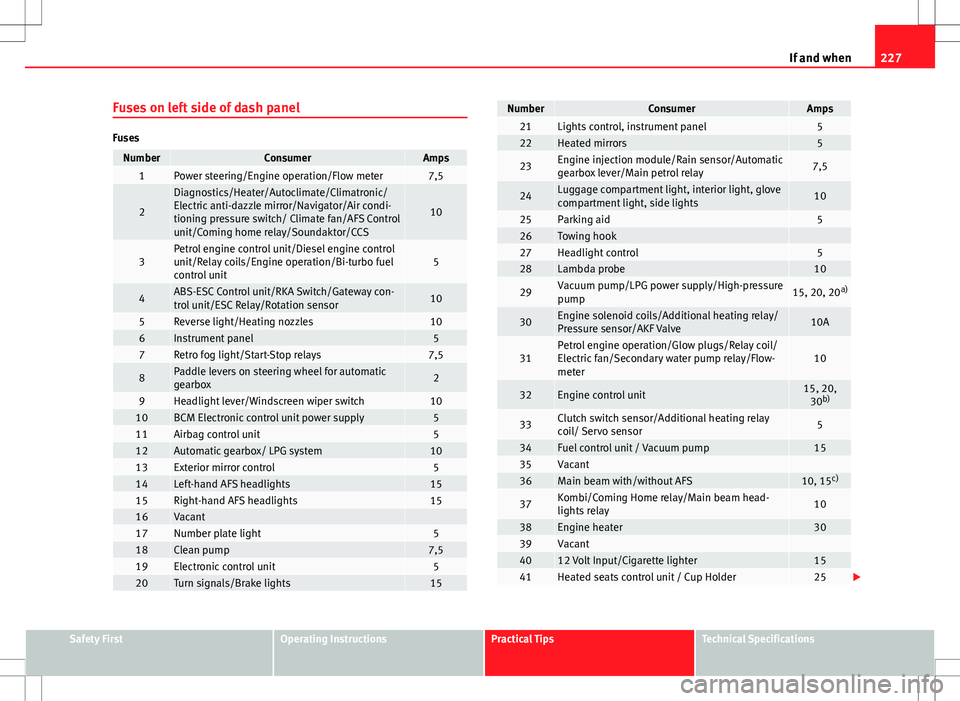
Fuses on left side of dash panel
Fuses
NumberConsumerAmps1Power steering/Engine operation/Flow meter7,5
2
Diagnostics/Heater/Autoclimate/Climatronic/
Electric anti-dazzle mirror/Navigator/Air condi-
tioning pressure switch/ Climate fan/AFS Control
unit/Coming home relay/Soundaktor/CCS
10
3Petrol engine control unit/Diesel engine control
unit/Relay coils/Engine operation/Bi-turbo fuel
control unit5
4ABS-ESC Control unit/RKA Switch/Gateway con-
trol unit/ESC Relay/Rotation sensor10
5Reverse light/Heating nozzles106Instrument panel57Retro fog light/Start-Stop relays7,5
8Paddle levers on steering wheel for automatic
gearbox2
9Headlight lever/Windscreen wiper switch1010BCM Electronic control unit power supply511Airbag control unit512Automatic gearbox/ LPG system1013Exterior mirror control514Left-hand AFS headlights1515Right-hand AFS headlights1516Vacant 17Number plate light518Clean pump7,519Electronic control unit520Turn signals/Brake lights15
NumberConsumerAmps21Lights control, instrument panel522Heated mirrors5
23Engine injection module/Rain sensor/Automatic
gearbox lever/Main petrol relay7,5
24Luggage compartment light, interior light, glove
compartment light, side lights10
25Parking aid526Towing hook 27Headlight control528Lambda probe10
29Vacuum pump/LPG power supply/High-pressure
pump15, 20, 20 a)
30Engine solenoid coils/Additional heating relay/
Pressure sensor/AKF Valve10A
31Petrol engine operation/Glow plugs/Relay coil/
Electric fan/Secondary water pump relay/Flow-
meter10
32Engine control unit15, 20,
30 b)
33Clutch switch sensor/Additional heating relay
coil/ Servo sensor5
34Fuel control unit / Vacuum pump1535Vacant 36Main beam with/without AFS10, 15 c)
37Kombi/Coming Home relay/Main beam head-
lights relay10
38Engine heater3039Vacant 4012 Volt Input/Cigarette lighter1541Heated seats control unit / Cup Holder25
Safety FirstOperating InstructionsPractical TipsTechnical Specifications