2012 Seat Exeo buttons
[x] Cancel search: buttonsPage 43 of 167

RADIO
42The sound and tuning settings and the brightness of the display can be
altered using the control buttons ⇒page 153.
Note
We recommend that you enter these settings when the vehicle is stationary.
Please note ⇒ page 6, “Notes on road safety”.Traffic programme
Use the traffic programme option to switch the function on
and off as desired.
– Starting from any one of the radio menus, press the
⇒page 9 button.
– Select the Traffic programme (on ⇒ fig. 45) function to switch
this function on.If the traffic programme function is switched on ( on), the traffic announce-
ments will also cut in when you are listening to a CD or using the navigation
system*. In addition, if the TP memo timer function ⇒page 148 is activated,
traffic reports are automatically recorded up to 2 hours after the navigation
system has been switched off. These recorded reports can be called up via the
TP memo function ⇒page 146.
Radio stations on MW and LW frequency bands ⇒page 36 do not transmit
traffic news.
If you have selected a station that does not broadcast a traffic programme,
the system will tune into another traffic programme station in the back-
ground. When a traffic report is then broadcast, the system will automatically
switch to that station for the duration of the announcement and the volume
will be adjusted to the value preset for traffic reports ⇒page 61.
The traffic news station is selected on the basis of the following criteria:
Fig. 45 Radio settings:
Traffic information
Fig. 46 Display: TP
symbol highlighted
SETUP
media_systemE_EN.book Seite 42 Montag, 21. September 2009 1:48 13
Page 50 of 167

MEDIA49
Operating
RADIO, MEDIA (audiovisual
systems)
NAME, TEL
NAV, INFO
CAR, SETUP
– Press the control button with the Source function.
–Select audio CD.
– Press one of the control buttons ⇒page 9 ( to ⇒page 48,
fig. 53 ) to move to the appropriate submenus.The CD Menu has the following options:
Selecting the MP3 function– Insert a memory card or MP3 CD into the appropriate drive
⇒page 22.
– Press the function button ⇒ page 9. A main audio menu
⇒ fig. 54 or the previously active function menu appears on the
display.
– Press the control button with the Source function.
– Select the corresponding source.
– Press one of the control buttons ⇒page 9 ( to ⇒ fig. 54)
to move to the appropriate submenus.
Co n tro l but to n
functions
⇒ page 48, fig. 53
CD submenus
Source
a)
a)When inserting a source, the display will show the name of the data media used (e.g.,
if the memory card has been named “SD Thomas”, the display will show this name).
Memory card 1
Memory card 2
Audio CD
iPod/USB
AUX*
Sound ⇒ page 59
Balance
Fader
Treble
Bass
DSP
Volume settings
Co n tro l
Forward
Reverse
Next track
Previous
Random
Scan
Repeat options
A1
A3
A1A2A3
Fig. 54 Display: Main
MP3 menu (example of a
track list)
MEDIA
A1
A3
media_systemE_EN.book Seite 49 Montag, 21. September 2009 1:48 13
Page 51 of 167

MEDIA
50The MP3 menu has the following options: The following submenus are available in the MP3 Setup function:
Source control buttonSelecting an audio source– Press the function button.
– Press the control button with the Source function.
– Select the corresponding source.Depending on vehicle equipment, the following options are available:
MP3 functions
⇒ page 49, fig. 54
MP3 setup submenus
Source
a)
a)When inserting a source, the display will show the name of the data media used (e.g.,
if the memory card has been named “SD Thomas”, the display will show this name).
Memory card 1
Memory card 2
MP3 CD
iPod / USB*
AUX*
Sound ⇒ page 59
Balance
Fader
Treble
Bass
DSP
Volume settings
Control
Forward
Reverse
Next track
Back
Random
Scan
Info (name)
Repeat options
A1A2A3
MP3 setup submenus
Press the
function button in the
MP3 function
⇒page 57
track info
List info
SETUP
Fig. 55 MEDIA: List of
available audio sources
Media
media_systemE_EN.book Seite 50 Montag, 21. September 2009 1:48 13
Page 59 of 167

MEDIA
58The sound and tuning settings and the brightness of the display can be
altered using the control buttons ⇒page 153.
Note
We recommend that you enter these settings when the vehicle is stationary.
In this way you can be sure that you will not be unnecessarily distracted from
the traffic when reading the messages on the display. Please note ⇒page 6,
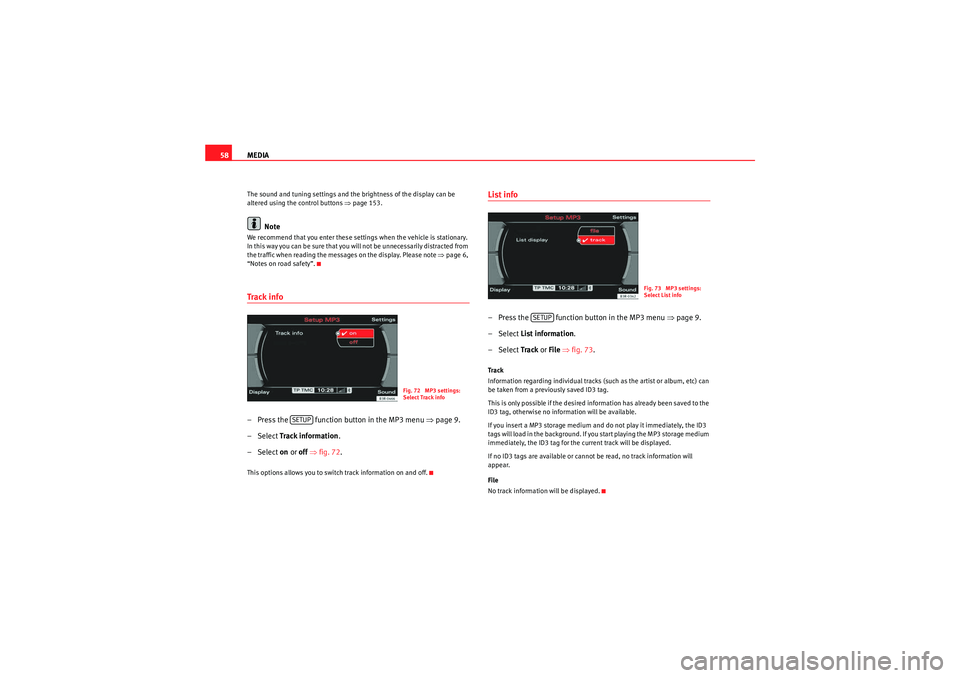
“Notes on road safety”.Track info– Press the function button in the MP3 menu ⇒ page 9.
– Select Track information .
– Select on or off ⇒ fig. 72.This options allows you to switch track information on and off.
List info– Press the function button in the MP3 menu ⇒page 9.
– Select List information .
– Select Track or File ⇒ fig. 73 .Track
Information regarding individual tracks (such as the artist or album, etc) can
be taken from a previously saved ID3 tag.
This is only possible if the desired information has already been saved to the
ID3 tag, otherwise no information will be available.
If you insert a MP3 storage medium and do not play it immediately, the ID3
tags will load in the background. If you start playing the MP3 storage medium
immediately, the ID3 tag for the current track will be displayed.
If no ID3 tags are available or cannot be read, no track information will
appear.
File
No track information will be displayed.
Fig. 72 MP3 settings:
Select Track info
SETUP
Fig. 73 MP3 settings:
Select List info
SETUP
media_systemE_EN.book Seite 58 Montag, 21. September 2009 1:48 13
Page 84 of 167

Mobile phone system*83
Operating
RADIO, MEDIA (audiovisual
systems)
NAME, TEL
NAV, INFO
CAR, SETUP
Phone numbers can be stored in different categories in the mobile phone
directory. These categories are displayed as follows:
P Private phone number
W Work phone number
M Mobile phone number
Scroll the left thumbwheel downwards to scroll down the list of stored names
from
A to Z . Scroll the left thumbwheel upwards to scroll up the list of stored
names from Z to A. If you "flick" the left thumbwheel you can jump to the next
letter of the alphabet.
Note
The information shown on the instrument panel display depends on the type
of mobile phone used.
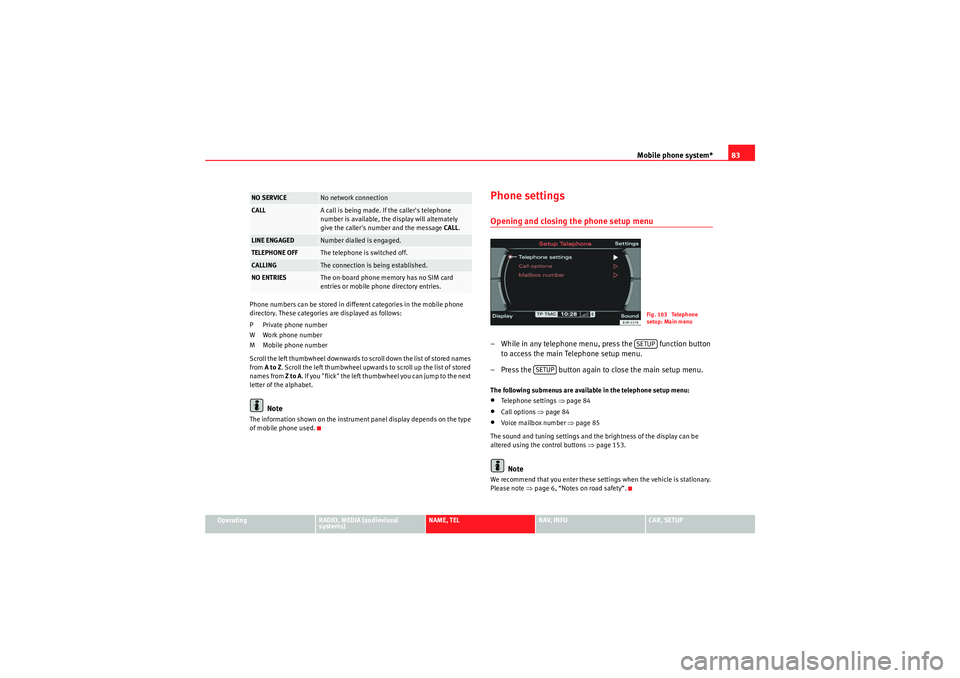
Phone settingsOpening and closing the phone setup menu– While in any telephone menu, press the function button to access the main Telephone setup menu.
– Press the button again to close the main setup menu.The following submenus are available in the telephone setup menu:•Telephone settings ⇒page 84•Call options ⇒page 84•Voice mailbox number ⇒ page 85
The sound and tuning settings and the brightness of the display can be
altered using the control buttons ⇒page 153.Note
We recommend that you enter these settings when the vehicle is stationary.
Please note ⇒ page 6, “Notes on road safety”.
NO SERVICE
No network connection
CALL
A call is being made. If the caller's telephone
number is available, the display will alternately
give the caller's number and the message CALL.
LINE ENGAGED
Number dialled is engaged.
TELEPHONE OFF
The telephone is switched off.
CALLING
The connection is being established.
NO ENTRIES
The on-board phone memory has no SIM card
entries or mobile phone directory entries.
Fig. 103 Telephone
setup: Main menuSETUP
SETUP
media_systemE_EN.book Seite 83 Montag, 21. September 2009 1:48 13
Page 103 of 167

Navigation (NAV)*
102If you are approaching a turn-off, an arrow will indicate the direction of the
turn-off. The name of the street onto which you must turn-off will also appear
under the arrow. The bar graph (countdown) ⇒page 101, fig. 119 on the
right in the display corresponds to the distance up to the turn-off.
If a change of lanes (e.g. on the motorway) is necessary before the turn-off,
you will be informed accordingly beforehand ⇒page 99, fig. 116 . Route guidance on the instrument panel display remains visible during navi-
gation even when you have selected other functions (e.g. radio).
Note
To switch from the route guidance display to the on-board computer* display,
press the Reset* button for the on-board computer. Press the Reset* button
repeatedly to return to the route guidance screen. For detailed information
regarding the on-board computer*, please refer to your Owner's Manual.Switching on the navigation system
The navigation functions can be selected with the func-
tion button.– Press the function button ⇒
page 9. The main navigation
menu ⇒fig. 120 , the route plan ⇒ page 120, fig. 143 or the
previous active navigation function menu will appear on the
display.
– Press one of the control buttons ⇒page 9 ( to ⇒ fig. 120)
to move to the appropriate submenus.
Display
DescriptionRemaining distance to next turn-off.Indication of whether TMC radio stations are being received
and whether the dynamic navigation function is switched
on or off ⇒page 146.Estimated time of arrival at destination or stopover.Motorway, major road and street names displayed accord-
ing to the vehicle location.
A turn-off arrow ahead of these names indicates the road
onto which you should turn-off.Total miles to destination or stopover.Directional arrowBar graph (countdown): the bars decrease in size to indi-
cate how the distance to the immediate turn-off point is
decreasing. The bar graph is not shown until a change of
direction arrow is displayed.If there is another side street before the turn-off point that
is not part of current guidance, this side street is repre-
sented by a side-street symbol on the instrument panel dis-
play. The side-street symbol will disappear as soon as there
are no more before the turn-off point.
A1A2A3A4A5A6A7A8
NAV
Fig. 120 Display: Main
navigation system menu
NAV
A1
A4
media_systemE_EN.book Seite 102 Montag, 21. September 2009 1:48 13
Page 132 of 167

Navigation (NAV)*131
Operating
RADIO, MEDIA (audiovisual
systems)
NAME, TEL
NAV, INFO
CAR, SETUP
Navigation settingsOpening and closing navigation settings menu– In a Navigation menu, press the function button to open
the main navigation setup menu ⇒fig. 160 .
– Press the button again to close the main setup menu.The following settings are possible in navigation setup menu:•Map scheme ⇒ page 132
•Orientation ⇒page 132•Map type ⇒ page 133•Voice information ⇒ page 134•Map contents ⇒page 134•Delete last destinations ⇒page 135•Turn list ⇒page 135•Motorway info ⇒ page 136•Intersection map ⇒page 137•Auto intersection zoom ⇒page 137•Compass ⇒page 138•Version information ⇒page 138•Demo mode ⇒page 139•Set position/direction ⇒page 139
The sound and tuning settings and the brightness of the display can be
altered using the control buttons ⇒page 153.Note
We recommend that you enter these settings when the vehicle is stationary.
Please note ⇒ page 6, “Notes on road safety”.
Fig. 160 Navigation
settings: Main menu
(page 1)Fig. 161 Navigation
settings: Main menu
(page 2)
SETUP
SETUP
media_systemE_EN.book Seite 131 Montag, 21. September 2009 1:48 13
Page 143 of 167

INFO (Traffic information)
142
Note•You can select a preferred station for TMC reports* ⇒page 147.•When the dynamic navigation* ⇒page 121 is switched on, the route
guidance will automatically avoid any obstructions.Selecting traffic information
TMC traffic announcements* are displayed in the main menu;
recorded traffic announcements can be called up via “TP
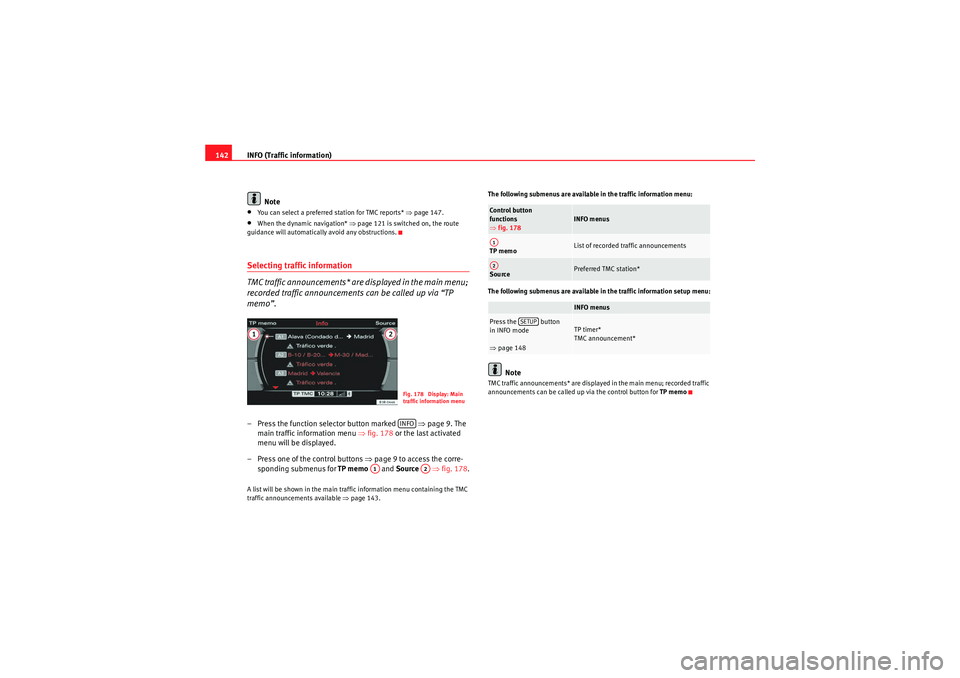
memo”.– Press the function selector button marked ⇒ page 9. The
main traffic information menu ⇒fig. 178 or the last activated
menu will be displayed.
– Press one of the control buttons ⇒page 9 to access the corre-
sponding submenus for TP memo and Source ⇒fig. 178 .A list will be shown in the main traffic information menu containing the TMC
traffic announcements available ⇒page 143. The following submenus are available in the traffic information menu:
The following submenus are available in the traffic information setup menu:
Note
TMC traffic announcements* are displayed in the main menu; recorded traffic
announcements can be called up via the control button for
TP memo
Fig. 178 Display: Main
traffic information menuINFO
A1
A2
Control button
functions
⇒fig. 178
INFO menus
TP memo
List of recorded traffic announcements
Source
Preferred TMC station*INFO menus
Press the button
in INFO mode
⇒page 148
TP timer*
TMC announcement*
A1A2
SETUP
media_systemE_EN.book Seite 142 Montag, 21. September 2009 1:48 13