Page 329 of 388

327
If and when
Vehicle fuses
Fig. 201 On the driver-
side dashboard: fuse box
cover.
Fig. 202 In the engine
compartment: fuse box
cover.
Only replace fuses with a fuse of the same amperage (same colour and
markings) and size. Identifying fuses by colours
ColourAmp ratingpurple3light brown5Brown7,5Red10Blue15Yellow20White or transparent25Green30orange40
To open the dashboard fuse box
●
To remove the cover, move the activation lever in the lower part to the
right ⇒ fig. 201.
● For right-hand drive vehicles, move the lever to the left.
To open the engine compartment fuse box
● Open the bonnet ⇒ page 279.
● Move the attachment tabs forwards, in the direction indicated by the ar-
row to release the fuse box cover ⇒ fig. 202.
● Then lift the cover out.
● To fit the cover, place it on the fuse box. Push the attachment tabs back,
in the opposite direction indicated by the arrow until they click audibly into
place.
In is possible that there are more fuses behind a cover in the lower left-hand
side of the luggage compartment.
Safety FirstOperating instructionsPractical tipsTechnical Specifications
Page 330 of 388

328If and when
CAUTION
● Always carefully remove the fuse box covers and refit them correctly to
avoid problems with your vehicle.
● Protect the fuse boxes when open to avoid the entry of dust or humidity.
Dirt and humidity inside fuse boxes can cause damage to the electrical sys-
tem.
Note
In the vehicle, there are more fuses than those indicated in this chapter.
These should only be changed by a specialised workshop.
Replacing a blown fuse
Fig. 203 Image of a
blown fuse.
Fig. 204 Removing or fit-
ting a fuse.
Preparation
● Switch off the ignition, lights and all electrical equipment.
● Open the corresponding fuse box ⇒ page 327
Identifying a blown fuse
A fuse is blown if its metal strip is ruptured ⇒ fig. 203.
Point a lamp at the fuse. This will make it easier to see if the fuse is blown.
To replace a fuse
● If necessary, remove the plastic pincers from the fuse box cover.
● For small fuses, insert the pincers from above ⇒ fig. 204 A
.
● For larger fuses , insert the pincers from one side of the fuse B.
● Remove the relevant fuse.
● Replace the blown fuse by one with an identical amperage rating (same
colour and markings) and identical size ⇒
.
● Replace the cover.
Page 331 of 388
329
If and when
CAUTION
If you replace a fuse with higher-rating fuse, you could cause damage to an-
other part of the electrical system.
Safety FirstOperating instructionsPractical tipsTechnical Specifications
Page 332 of 388

330If and when
Changing bulbs
Introduction
Changing bulbs requires a certain amount of manual skill. If you are unsure,
SEAT recommends that you consult an Technical Service or request assis-
tance from a specialist. In general, a specialist is required if other vehicle
components must be removed or if the discharge lamps must be replaced.
You should store spare light bulbs in the vehicle for safety-relevant lights.
Spare bulbs may be obtained from the Technical Services. In some coun-
tries, it is a legal requirement to carry spare bulbs in the vehicle.
Driving with faults and blown bulbs on the vehicle exterior lighting is
against the law.
Additional bulb specifications
The specifications of some headlamp bulbs and bulbs for the tail lamps fit-
ted at the factory may be different to those of conventional bulbs. Bulb in-
formation is displayed on the bulb socket or on the bulb itself.
Additional information and warnings:
● Lights and visibility ⇒ page 95
● Working in the engine compartment ⇒ page 279
● Vehicle tools ⇒ page 324
● Fuses ⇒ page 326
WARNING
If the road is not well-lit and the vehicle is not clearly visible to other
drivers, there is a risk of accident.
WARNING
Failure to replace bulbs correctly may cause serious accidents.
● Before carrying out any work in the engine compartment please read
and observe the warnings ⇒ page 279. In any vehicle, the engine com-
partment is a hazardous area and could cause severe injury.
● Discharge lamps work with high-voltage and can cause serious or fa-
tal injury if handled incorrectly.
● H7 and discharge lamps are highly pressurised and could explode
when being changed.
● Only replace the bulbs concerned when they have cooled.
● Never replace bulbs alone if you are not familiar with the operations
necessary. If you are not sure about procedures then visit a Technical
Service to carry out the necessary work.
● Never touch the bulb glass directly. Fingerprints will be evaporated by
the heat of the operating bulb thus “fogging” up the reflector.
● The headlamp frameworks in the engine compartment and the tail
lamps contain sharp elements. Always protect your hands when chang-
ing bulbs.
CAUTION
After changing a bulb, if the rubber covers and plastic caps are not replaced
correctly on the headlamp framework, the electrical installation may be
damaged, especially if water is allowed to enter.
Indicator
lights upPossible causeSolution
A vehicle exterior lighting
bulb is not working.Replace the faulty bulb.
Page 333 of 388

331
If and when
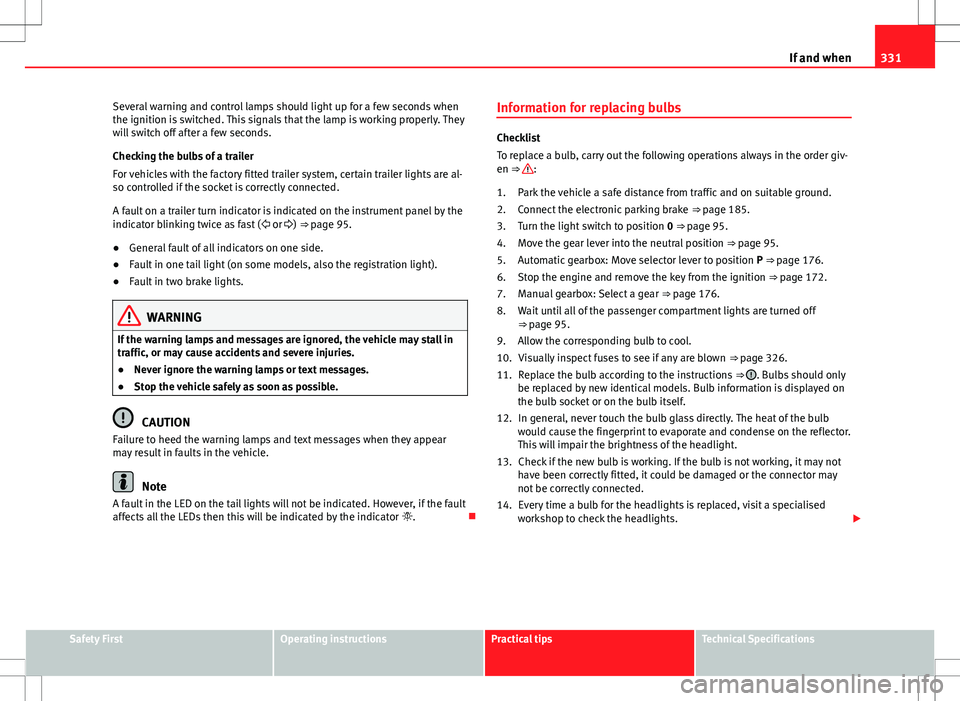
Several warning and control lamps should light up for a few seconds when
the ignition is switched. This signals that the lamp is working properly. They
will switch off after a few seconds.
Checking the bulbs of a trailer
For vehicles with the factory fitted trailer system, certain trailer lights are al-
so controlled if the socket is correctly connected.
A fault on a trailer turn indicator is indicated on the instrument panel by the
indicator blinking twice as fast ( or ) ⇒ page 95.
● General fault of all indicators on one side.
● Fault in one tail light (on some models, also the registration light).
● Fault in two brake lights.
WARNING
If the warning lamps and messages are ignored, the vehicle may stall in
traffic, or may cause accidents and severe injuries.
● Never ignore the warning lamps or text messages.
● Stop the vehicle safely as soon as possible.
CAUTION
Failure to heed the warning lamps and text messages when they appear
may result in faults in the vehicle.
Note
A fault in the LED on the tail lights will not be indicated. However, if the fault
affects all the LEDs then this will be indicated by the indicator . Information for replacing bulbs
Checklist
To replace a bulb, carry out the following operations always in the order giv-
en ⇒
:
Park the vehicle a safe distance from traffic and on suitable ground.
Connect the electronic parking brake ⇒ page 185.
Turn the light switch to position 0 ⇒ page 95.
Move the gear lever into the neutral position ⇒ page 95.
Automatic gearbox: Move selector lever to position P ⇒ page 176.
Stop the engine and remove the key from the ignition ⇒ page 172.
Manual gearbox: Select a gear ⇒ page 176.
Wait until all of the passenger compartment lights are turned off
⇒ page 95.
Allow the corresponding bulb to cool. Visually inspect fuses to see if any are blown ⇒ page 326.
Replace the bulb according to the instructions ⇒
. Bulbs should only
be replaced by new identical models. Bulb information is displayed on
the bulb socket or on the bulb itself.
In general, never touch the bulb glass directly. The heat of the bulb
would cause the fingerprint to evaporate and condense on the reflector.
This will impair the brightness of the headlight.
Check if the new bulb is working. If the bulb is not working, it may not
have been correctly fitted, it could be damaged or the connector may
not be correctly connected.
Every time a bulb for the headlights is replaced, visit a specialised
workshop to check the headlights.
1.
2.
3.
4.
5.
6.
7.
8.
9.
10.
11.
12.
13.
14.
Safety FirstOperating instructionsPractical tipsTechnical Specifications
Page 334 of 388
332If and when
WARNING
Failure to follow the checklist prepared for your own safety could lead to
accidents and severe injuries.
● Always complete the operations given in the checklist and observe
the general rules of safety.CAUTION
Always remove and fit headlights carefully to avoid damage to the paint-
work and other vehicle parts.
To replace halogen headlight bulbs
Fig. 205 In the engine
compartment: Left-hand
side headlight lining. A
dipped beam headlights,
B daytime driving lights
and C main beam head-
lights and side lights.Fig. 206 Left headlight
There is no need to remove the headlight to replace bulbs.
Complete operations only in the sequence given:
fig. 205, fig. 206 ABCIndicators (small lamp holder)Dipped beam head-lightsDaytime driving lightMain beam headlightsSide lights
1.Always take the checklist into account and take the necessary actions ⇒ page 331.2.Open the bonnet ⇒ page 279.
Page 335 of 388

333
If and when
fig. 205,
fig. 206 ABCIndicators (small lamp holder)Dipped beam head-lightsDaytime driving lightMain beam headlightsSide lights
3. Remove the rubber cover on the rear of the headlight.
4.
Rotate the lamp holder1 to the left all the way
and pull it out back-
wards with the bulb.Rotate the lamp holder to the left all the way and pull it out backwards with the bulb.Press the wire clip down-wards and pull the lamp holder 2
out with the
bulb.
Pull the lamp holder 3out backwards with the
bulb.
5.Depending on the model, the bulb is removed directly from the lamp holder or it may need to be rotated and then removed.6.Replace the faulty bulb by a new identical bulb.
7.Place the bulb holder in the headlight and rotate to the right all the way.
Place the lamp holder in
the headlight and pull the
wire clip upwards until it
clicks into place.Place the lamp holder inthe headlight and insert completely.
8. Insert the rubber cover.
Note
The images show the left hand headlight from behind. The structure of the
right hand side headlight is symmetric.
Safety FirstOperating instructionsPractical tipsTechnical Specifications
Page 336 of 388

334If and when
To replace the xenon headlights bulb
Fig. 207 In the engine
compartment: Turn signal
cover.
Fig. 208 Turn signal in-
dicator lamp holder 1
and turning light 2.
There is no need to remove the headlight to replace bulbs.
Complete operations only in the sequence given:
Turn signal indicators 1Turning lights 2
1.Always take the checklist into account and take the necessary ac-
tions ⇒ page 331.
2.Open the bonnet ⇒ page 279.
3.Rotate the cover ⇒ fig. 207 in the direction of the arrow and remove
it.
4.
Rotate the lamp holder 1⇒ fig. 208 to the left all the way
and pull it out backwards with
the bulb.Press the wire clip downwards
and pull the lamp holder 2
⇒ fig. 208 out with the bulb.
5.Depending on the model, the bulb is removed directly from the
lamp holder or it may need to be rotated and then removed.
6.Replace the faulty bulb by a new identical bulb.
7.Place the bulb holder in the
headlight and rotate to the right
all the way.Place the lamp holder in the
headlight and pull the wire clip
upwards until it clicks into place.
8.Rotate the cover ⇒ fig. 207 in the opposite direction to the arrow as
far as it will go.
Always seek the help of a specialist when changing the Xenon dipped beam
and full beam headlamps ⇒ in Introduction on page 330.
Note
The illustrations show the left hand headlight. The structure of the right
hand side headlight is symmetric.