Page 3 of 128
1
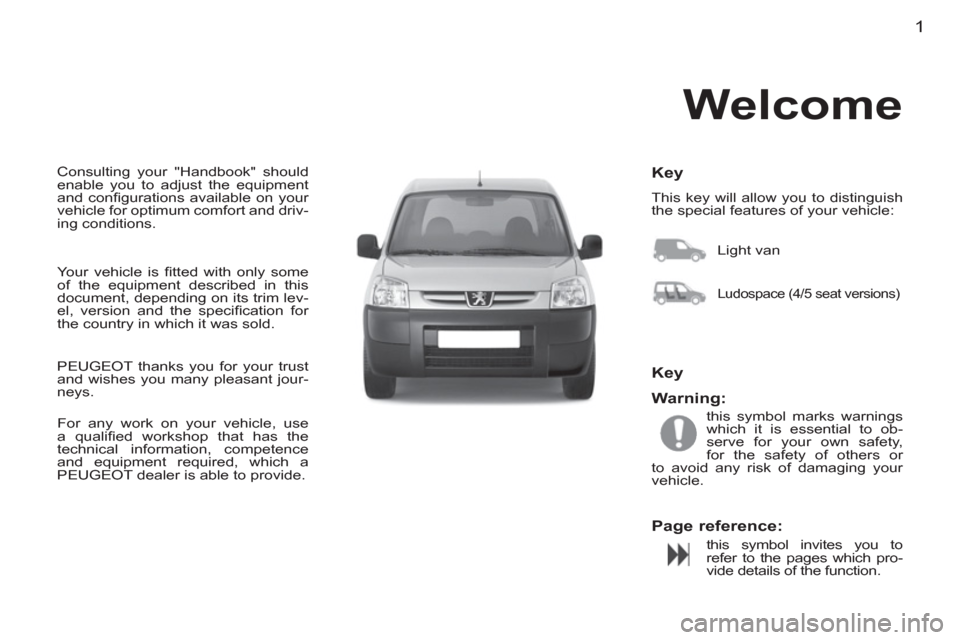
Consulting your "Handbook" should
enable you to adjust the equipment
and confi gurations available on your
vehicle for optimum comfort and driv-
ing conditions.
Key
This key will allow you to distinguish
the special features of your vehicle:
Key
this symbol marks warnings
which it is essential to ob-
serve for your own safety,
for the safety of others or
to avoid any risk of damaging your
vehicle.
this symbol invites you to
refer to the pages which pro-
vide details of the function.
Welcome
PEUGEOT thanks you for your trust
and wishes you many pleasant jour-
neys. Light van
Ludospace (4/5 seat versions)
Your vehicle is fi tted with only some
of the equipment described in this
document, depending on its trim lev-
el, version and the specifi cation for
the country in which it was sold.
Warning:
Page reference:
For any work on your vehicle, use
a qualifi ed workshop that has the
technical information, competence
and equipment required, which a
PEUGEOT dealer is able to provide.
Page 4 of 128
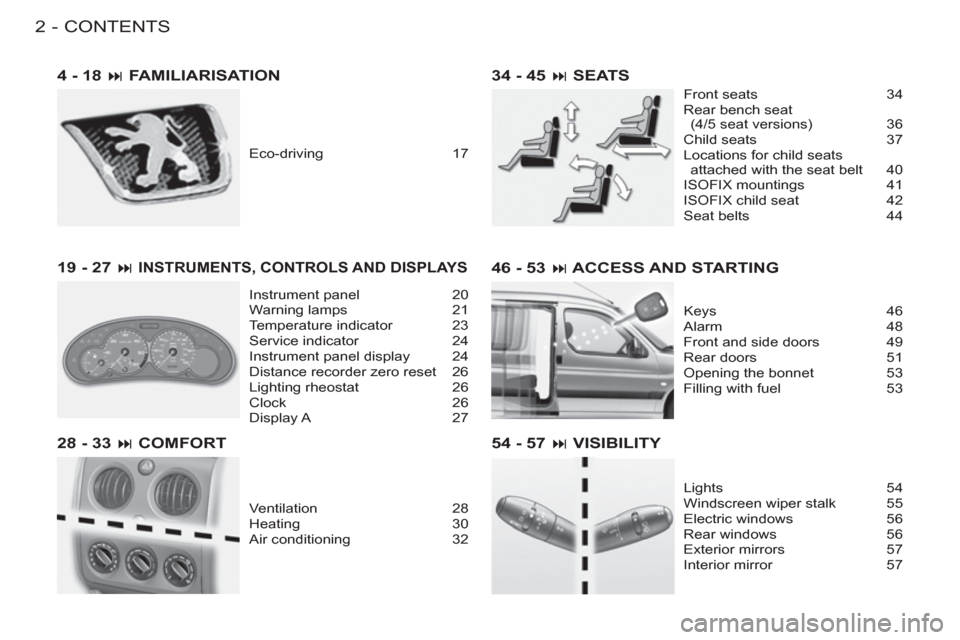
CONTENTS
2-
54 - 57 � VISIBILITY
Lights 54
Windscreen wiper stalk 55
Electric windows 56
Rear windows 56
Exterior mirrors 57
Interior mirror 57
34 - 45 � SEATS
Front seats 34
Rear bench seat
(4/5 seat versions) 36
Child seats 37
Locations for child seats
attached with the seat belt 40
ISOFIX mountings 41
ISOFIX child seat 42
Seat belts 44
46 - 53 � ACCESS AND STARTING
Keys 46
Alarm 48
Front and side doors 49
Rear doors 51
Opening the bonnet 53
Filling with fuel 53
4 - 18 � FAMILIARISATION
19 - 27 �
INSTRUMENTS, CONTROLS AND DISPLAYS
Instrument panel 20
Warning lamps 21
Temperature indicator 23
Service indicator 24
Instrument panel display 24
Distance recorder zero reset 26
Lighting rheostat 26
Clock 26
Display A 27
28 - 33 � COMFORT
Ventilation 28
Heating 30
Air conditioning 32 Eco-driving 17
Page 5 of 128
3CONTENTS
-
98 - 109 � TECHNICAL DATA
Dimensions 98
Engines 102
Light van weights and loads 105
Ludospace weights
and loads 107
Identifi cation features 109
118 - 122 � VISUAL INDEX 58 - 63 � COMFORT AND SAFETY
Front fi ttings 58
Courtesy lamps 59
Headlamp adjustment 60
Steering wheel adjustment 60
Lashing rings 61
Rear fi ttings 62
64 - 71 � DRIVING
Handbrake 64
ABS and EBFD systems 64
Speed limiter 65
Cruise control 67
Airbags 69
72 - 97 � PRACTICAL INFORMATIONUnder the bonnet 72
Levels 77
Checks 78
Changing a wheel 79
Changing a bulb 82
Changing a fuse 88
Battery 92
Energy economy mode 92
Fitting audio equipment, speakers 93
Snow screen 94
Towing 95
Towing a trailer 96
Accessories 97
110 - 117 � AUDIO EQUIPMENT
RD3 audio system 110
Page 7 of 128

5 FAMILIARISATION
-
INSTRUMENTS AND CONTROLS
11 .
Driver’s airbag.
Horn.
12.
Wiper/screenwash controls.
13.
Audio system steering mounted
controls.
14.
Steering lock and ignition.
15.
Fusebox.
16.
Passenger’s airbag deactivation
switch.
17.
Alarm.
18.
Steering wheel adjustment
control.
19.
Passenger’s electric mirror
control.
20.
Headlamp height adjustment.
21.
Heated seats control.
22.
Parking brake.
23.
Cigarette lighter.
24.
Portable ashtray.
25.
Gear lever.
26.
Storage compartment.
27.
Heating/air conditioning controls.
28.
Audio system.
29.
Lower glove box.
30.
Upper glove box or passenger’s
airbag.
31.
Bonnet release lever.
32.
Side adjustable heating/
ventilation vents.
33.
Door window demisting vents.
1.
Speaker (tweeter).
2.
Windscreen demisting vents.
3.
Controls:
- Electric windows.
- Rear door windows demisting.
- Air conditioning.
4.
Central locking button.
5.
Multifunction screen or clock.
6.
Hazard warning lamps switch.
7.
Central adjustable heating/
ventilation vents.
8.
Lighting and direction indicator
control stalk.
9.
Speed limiter/cruise control
switches.
10.
Instrument panel.
Page 8 of 128

FAMILIARISATION6-
KEYS
The keys allow you to switch on the
ignition and operate the passenger’s
airbag deactivation switch, as well as
to independently operate the locks
on the doors and the fuel fi ller cap.
Remote control
Central locking
From the front doors, the keys allow
you to lock and unlock the doors and
tailgate.
If one of the doors or the tailgate is
open, the central locking does not
operate.
The remote control performs the
same functions at a distance.
Unlocking
Press button B
to unlock the vehicle.
This is confi rmed by rapid fl ashing of
the direction indicators.
Locating the vehicle
To locate your vehicle, previously
locked, in a car park:
)
press button A
, the courtesy
lamps come on and the direction
indicators fl ash for a few sec-
onds.
�
46
Locking
Press button A
to lock the vehicle.
This is confi rmed by fi xed lighting of
the direction indicators for approxi-
mately two seconds.
STOP position (S):
The ignition is off.
To release the steering, turn the
steering wheel slightly while turning
the key, without forcing it.
Accessories position (A):
The ignition is off but various sys-
tems can be used.
On position (M):
The ignition is on.
Starting position (D):
Operates the starter.
Release the key when the engine
has started. Never operate the start-
er while the engine is running.
STARTING
Page 9 of 128
7 FAMILIARISATION
-
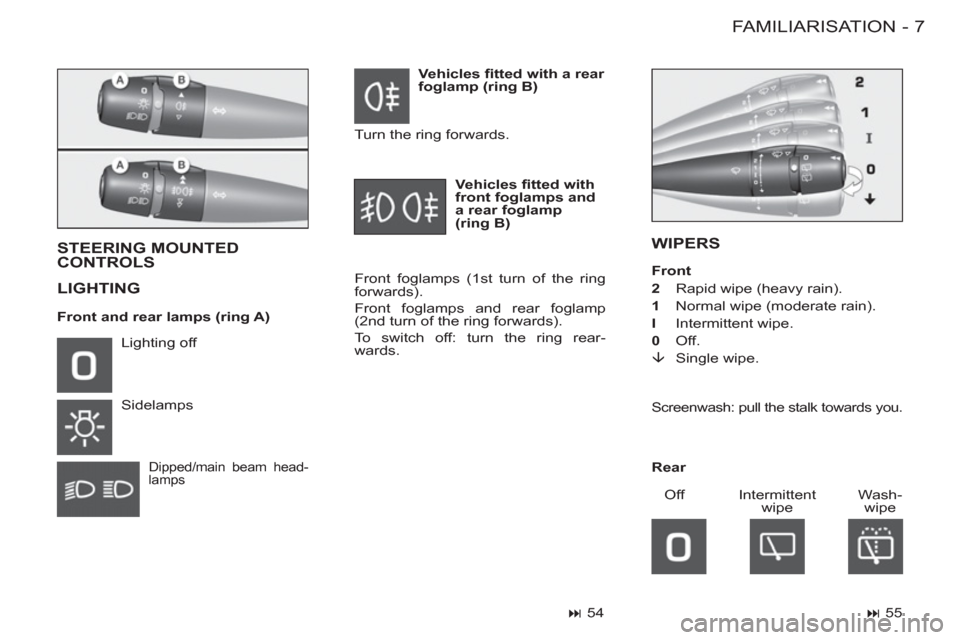
WIPERS
STEERING MOUNTED
CONTROLS
LIGHTING
Front foglamps (1st turn of the ring
forwards).
Front foglamps and rear foglamp
(2nd turn of the ring forwards).
To switch off: turn the ring rear-
wards. Lighting off
Sidelamps
Dipped/main beam head-
lamps
Vehicles fi tted with a rear
foglamp (ring B)
Turn the ring forwards.
Vehicles fi tted with
front foglamps and
a rear foglamp
(ring B)
Off Wash-
wipe Intermittent
wipe
Rear
�
54
�
55
Front and rear lamps (ring A)
Front
2
Rapid wipe (heavy rain).
1
Normal wipe (moderate rain).
I
Intermittent wipe.
0
Off.
È
Single wipe.
Screenwash: pull the stalk towards you.
Page 16 of 128
FAMILIARISATION14 -
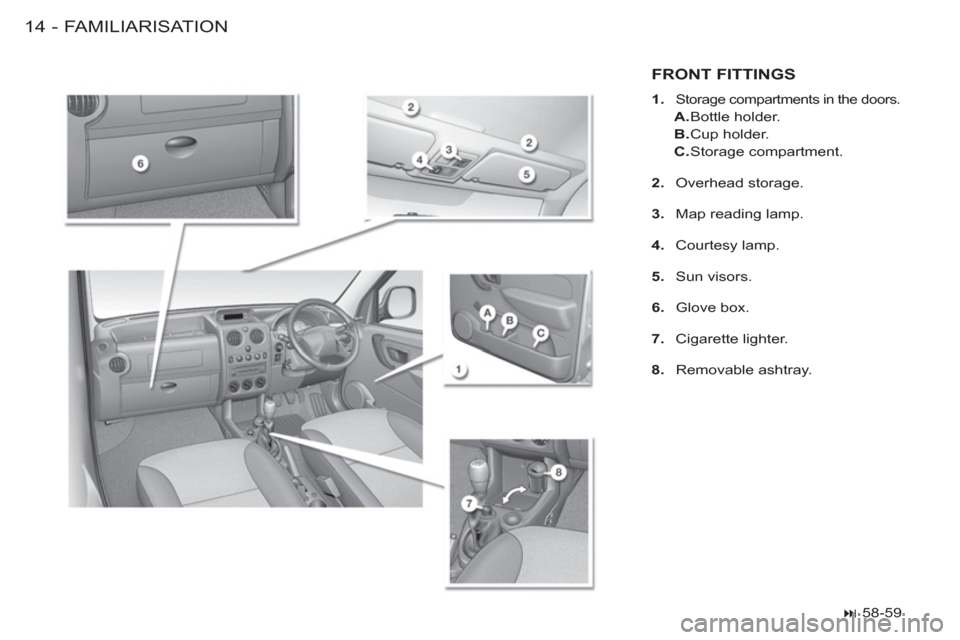
FRONT FITTINGS
1.
Storage compartments in the doors.
A.
Bottle holder.
B.
Cup holder.
C.
Storage compartment.
2.
Overhead storage.
3.
Map reading lamp.
4.
Courtesy lamp.
5.
Sun visors.
6.
Glove box.
7.
Cigarette lighter.
8.
Removable ashtray.
�
58-59
Page 18 of 128
FAMILIARISATION16 -
This operation must be carried out
with the engine switched off
.
)
Insert the key then turn it to the
left.
)
Remove the fi ller cap.
A label indicates which type of fuel to
use.
When you fi ll your tank, do not con-
tinue after the third cut-off of the
pump. This could cause engine mal-
functions.
The capacity of the tank is approx-
imately 55 litres for petrol engines
and 60 litres for Diesel engines.
From the time this light comes on,
you have enough fuel left to cover
approximately 30 miles (50 km)
.
Note:
the right-hand sliding side door
cannot be opened while the fuel fi ller
cap is removed.
Outside the vehicle:
Lift the safety
catch, raise the bonnet and secure
the stay to hold the bonnet open.
Inside the vehicle:
Pull the lever on
the left-hand side, under the dash-
board.
Low fuel level
warning lamp
�
53
�
53
REFUELLING