2012 Peugeot Expert Tepee Set time
[x] Cancel search: Set timePage 45 of 276

43
Gearboxes and steering wheel
READY TO SET OFF
2
Manual mode
Manual sequential gear changing.
- Select gear lever position M
,
- push the gear lever towards the + sign
to change up, from 1 through to 6,
- conversely, push the gear lever towards
the - sign to change down.
You can change from position D
(automatic mode) to position M
(manual mode) at any time.
In manual mode, it is only possible to
change from one gear to another if the
vehicle speed and engine speed permit.
If they do not, the vehicle will operate
temporarily in automatic mode.
When the vehicle is stationary or moving
very slowly, the gearbox automatically
selects first gear.
Good practice
Never select position N
when the vehicle is
moving.
Never select positions P
or R
unless the
vehicle is stationary.
Never change between positions to optimise
braking on a slippery surface.
There is a risk of damage to the gearbox:
- if you press the accelerator and brake
pedals at the same time,
- if you force the gear lever from position P
to another position in the event of a battery
failure.
When the engine is at idle, brakes not
applied, if position R
, D
or M
is selected the
vehicle moves even without the accelerator
being pressed.
For this reason, do not leave children
unsupervised inside the vehicle, with the
engine running
.
Operating fault
Any operating fault is indicated by an
audible signal, accompanied by the
message "Automatic gear fault"
in the
screen.
In this situation the gearbox operates in
downgrade mode (locked in 3rd gear). You
may feel a substantial knock when changing
from P
to R
and from N
to R
(this will not
cause any damage to the gearbox).
Do not exceed 60 mph (100 km/h), keeping
within the limit of local speed restrictions.
Contact a PEUGEOT dealer or a qualified
workshop as soon as possible.
Page 49 of 276

47
Steering mounted controls
EASE OF USE and COMFOR
T
3
Automatic illumination of headlamps
Activation
Turn the ring to the AUTO
position. The
activation of this function is accompanied
by a message in the screen.
If the sunshine sensor does not
function correctly
, the lighting comes on
accompanied by the service warning lamp,
an audible signal and a message in the
screen.
Contact a PEUGEOT dealer or a qualified
workshop.
HEADLAMP BEAM
Depending on the load in your vehicle,
the beam setting must be adjusted.
0
- 1 or 2 people in the front seats.
1
- 5 people.
2
- 6 to 9 people.
3
- Driver + maximum authorised loads. Do not cover the sunshine sensor
located on the windscreen, behind
the mirror. It is used for the automatic
illumination of headlamps and for the
automatic rain sensitive wipers.
The sidelamps and dipped
beam headlamps switch
on automatically if the light
is poor, or during operation
of the windscreen wipers. They switch off as
soon as the light becomes bright enough or
the windscreen wipers stop.
This function is not compatible with the
daytime running lamps.
Deactivation
Turn the ring forwards or rearwards. The
deactivation of this function is accompanied
by a message in the screen.
The function is deactivated temporarily when
you use the manual lighting control stalk.
Initial setting is position 0. In foggy weather or in snow, the
sunshine sensor may detect sufficient
light. As a consequence, the lighting will not
come on automatically. If necessary, you
must switch on the dipped beam headlamps
manually.
Page 61 of 276

59
Ventilation
EASE OF USE and COMFOR
T
3
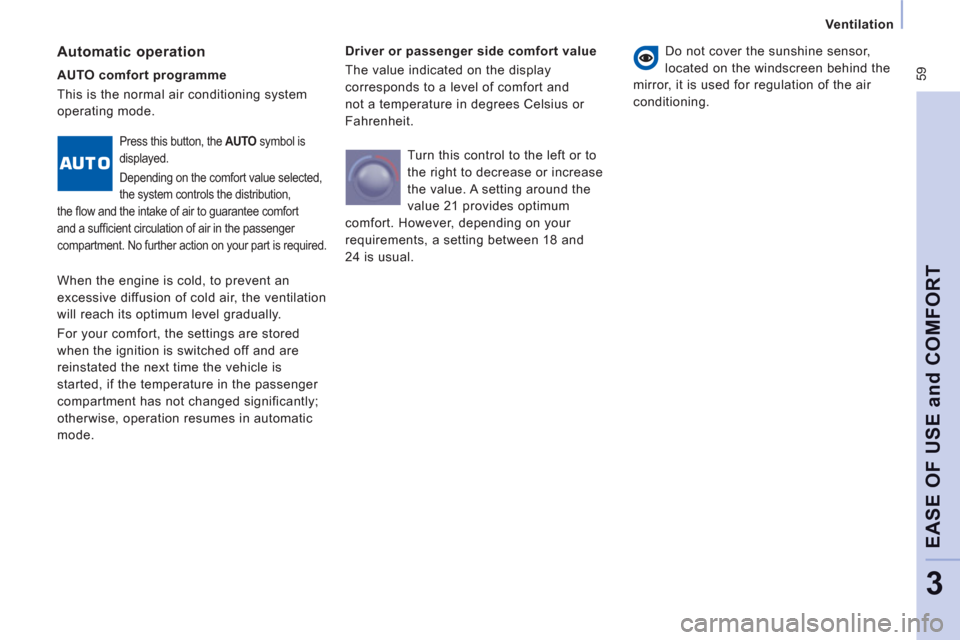
Driver or passenger side comfort value
The value indicated on the display
corresponds to a level of comfort and
not a temperature in degrees Celsius or
Fahrenheit. Automatic operation
Do not cover the sunshine sensor,
located on the windscreen behind the
mirror, it is used for regulation of the air
conditioning.
AUTO comfort programme
This is the normal air conditioning system
operating mode.
Press this button, the AUTO
symbol is
displayed.
Depending on the comfort value selected,
the system controls the distribution,
the fl ow and the intake of air to guarantee comfort
and a suffi cient circulation of air in the passenger
compartment. No further action on your part is required.
When the engine is cold, to prevent an
excessive diffusion of cold air, the ventilation
will reach its optimum level gradually.
For your comfort, the settings are stored
when the ignition is switched off and are
reinstated the next time the vehicle is
started, if the temperature in the passenger
compartment has not changed significantly;
otherwise, operation resumes in automatic
mode. Turn this control to the left or to
the right to decrease or increase
the value. A setting around the
value 21 provides optimum
comfort. However, depending on your
requirements, a setting between 18 and
24 is usual.
Page 62 of 276

60
Ventilation
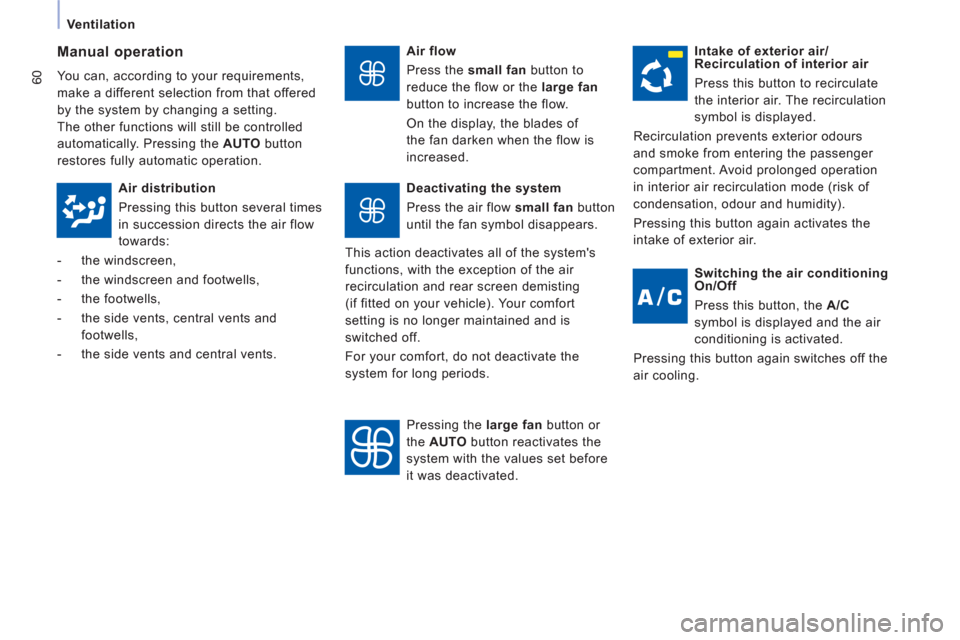
Air flow
Press the small fan
button to
reduce the flow or the large fan
button to increase the flow.
On the display, the blades of
the fan darken when the flow is
increased.
Manual operation
You can, according to your requirements,
make a different selection from that offered
by the system by changing a setting.
The other functions will still be controlled
automatically. Pressing the AUTO
button
restores fully automatic operation.
Intake of exterior air/
Recirculation of interior air
Press this button to recirculate
the interior air. The recirculation
symbol is displayed.
Recirculation prevents exterior odours
and smoke from entering the passenger
compartment. Avoid prolonged operation
in interior air recirculation mode (risk of
condensation, odour and humidity).
Pressing this button again activates the
intake of exterior air.
Air distribution
Pressing this button several times
in succession directs the air flow
towards:
- the windscreen,
- the windscreen and footwells,
- the footwells,
- the side vents, central vents and
footwells,
- the side vents and central vents.
Deactivating the system
Press the air flow small fan
button
until the fan symbol disappears.
This action deactivates all of the system's
functions, with the exception of the air
recirculation and rear screen demisting
(if fitted on your vehicle). Your comfort
setting is no longer maintained and is
switched off.
For your comfort, do not deactivate the
system for long periods.
Pressing the large fan
button or
the AUTO
button reactivates the
system with the values set before
it was deactivated.
Switching the air conditioning
On/Off
Press this button, the A/C
symbol is displayed and the air
conditioning is activated.
Pressing this button again switches off the
air cooling.
Page 71 of 276

69
Seats
EASE OF USE and COMFOR
T
3
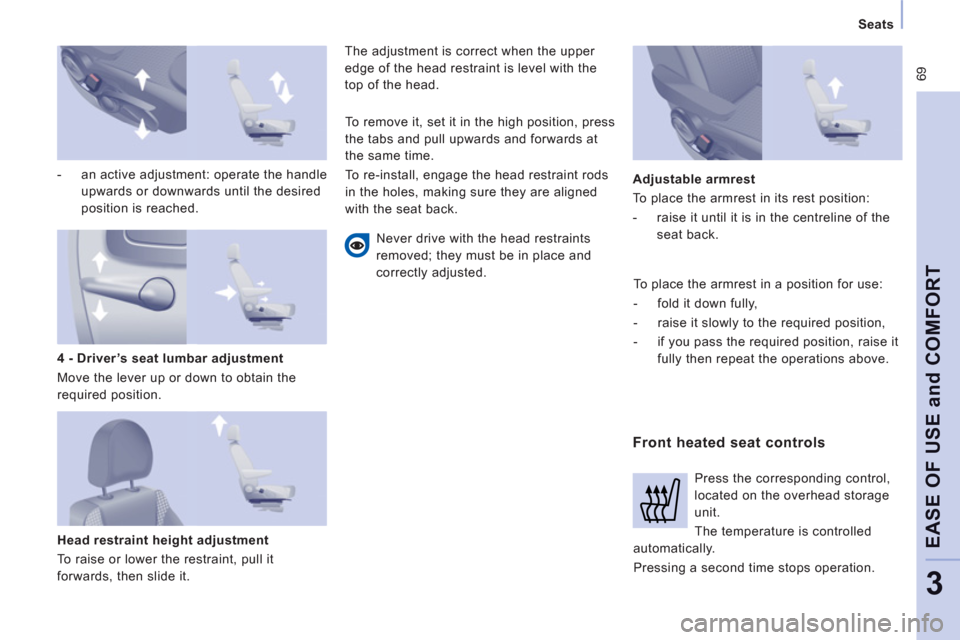
- an active adjustment: operate the handle
upwards or downwards until the desired
position is reached.
Head restraint height adjustment
To raise or lower the restraint, pull it
forwards, then slide it. The adjustment is correct when the upper
edge of the head restraint is level with the
top of the head.
Never drive with the head restraints
removed; they must be in place and
correctly adjusted.
Front heated seat controls
Adjustable armrest
To place the armrest in its rest position:
- raise it until it is in the centreline of the
seat back.
4 - Driver’s seat lumbar adjustment
Move the lever up or down to obtain the
required position. To remove it, set it in the high position, press
the tabs and pull upwards and forwards at
the same time.
To re-install, engage the head restraint rods
in the holes, making sure they are aligned
with the seat back.
To place the armrest in a position for use:
- fold it down fully,
- raise it slowly to the required position,
- if you pass the required position, raise it
fully then repeat the operations above.
Press the corresponding control,
located on the overhead storage
unit.
The temperature is controlled
automatically.
Pressing a second time stops operation.
Page 184 of 276

9.26
06
1
2
MP3 CD
The MP3 format, an abbreviation of MPEG 1.2 & 2.5 Audio
Layer 3, is an audio compression standard which permits
the recording of several tens of music fi les on a single disc. Empt
y CDs are not recognised and may damage the system.
It is advisable to restrict
fi le names to 20 characters without usingspecial characters (e.g. " ? ; ˘) to avoid any playing or displaying problems. The audio s
ystem will only play fi les with the extension ".mp3" with
a sampling rate of 22.05 KHz or 44.1 KHz. No other type of fi le(.wma, .mp4, .m3u...) can be played.
If the pla
yer already contains a disc, press the SOURCE button several
times in succession and select CD to listen to it.
Insert circular compact discs onl
y. Some anti-piratingsystems, on original discs or CDs copied usinga personal recorder, may generate malfunctionsregardless of the quality of the original player.
Insert an audio
CD or an MP3 compilation in the player,play begins automatically.
The pla
y and display of an MP3 compilation may depend on the
disc burning software and/or the settings used. We recommend use of the ISO 9660 fi le system format.
Pr
ess one of the buttons to select atrack on the CD.
Press the LI
ST button to display the list
of tracks on the CD or of the folders of
the MP3 compilation.
CD
PLAYING A CD OR AN MP3 COMPILATION INFORMATION AND ADVICE
In order to be able to pla
y a recorded CDR or CDRW, when recording, the ISO 9660 level 1.2 or Joliet fi le format isrecommended.
I
f the disc is recorded in another format, it may not be playedcorrectly.
It is recommended that the same recordin
g format is always used
for an individual disc, with as low a speed as possible
(4x maximum) for optimum sound quality.
In the particular case o
f a multi-session CD, the Joliet format is recommended.
Page 191 of 276

9.33
06
1
2
4
3
7
5
6
AUDIO / VIDEO
VIDEO MENU
Turn the dial and select the "Video"
function.
After connecting the video equipment,press the MENU button.
Pr
ess the dial to confi rm the selection.
T
urn the dial and select the "Activatevideo mode" function to activate/deactivate the video.
Pr
ess the dial to confi rm the selection.
T
urn the dial and select the "Video parameters" function to set the displayformat, the brightness, the contrast and the colours.
Videos can only be displayed when stationary.
Pressin
g the DARK button disconnects display of the video.
You can connect video equipment
(camcorder, digital camera,DVD player...) to the three audio/video sockets, located in the glove box.
Pressin
g the SOURCE button several times in succession permits
the selection of an audio source other than that of the video.
Pr
ess the dial to confi rm the selection.
Activate video mode
Video parameters
Page 198 of 276

9.40
09
1
2
3
4
5
6
7
8
CONFIGURATION
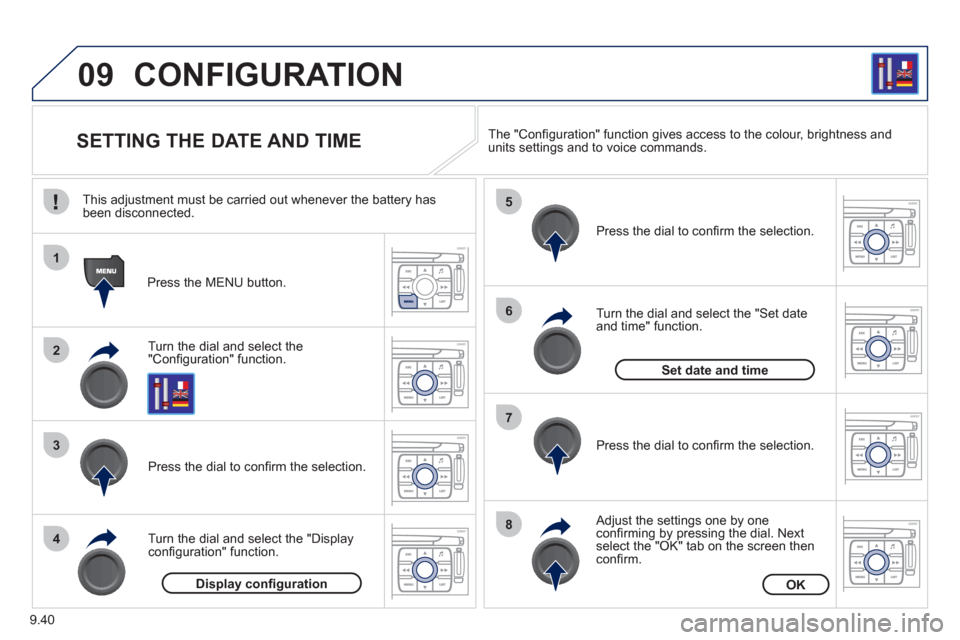
SETTING THE DATE AND TIME
Turn the dial and select the"Confi guration" function.
Press the MENU button.
Pr
ess the dial to confi rm the selection.
Turn the dial and select the "Displa
yconfi guration" function.
Pr
ess the dial to confi rm the selection.
Turn the dial and select the "
Set dateand time" function.
Adjust the settings one by oneconfi rming by pressing the dial. Next select the "OK" tab on the screen then confi rm.
Pr
ess the dial to confi rm the selection. The "
Confi guration" function gives access to the colour, brightness and units settings and to voice commands.
Display confi gurationOK
Set date and time
This adjustment must be carried out whenever the battery has been disconnected.