Page 4 of 164

2
Contents
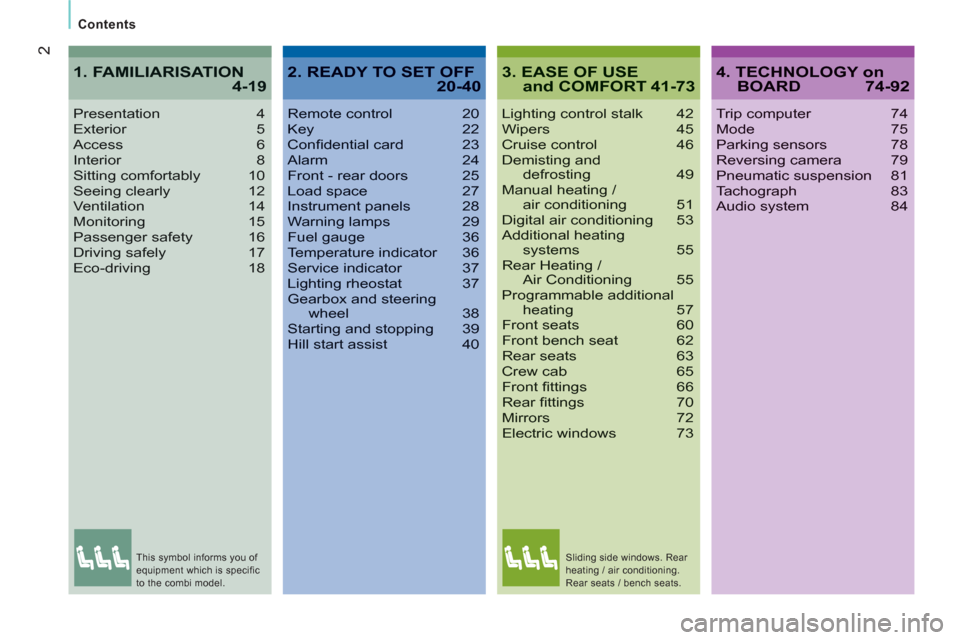
3. EASE OF USEand COMFORT 41-73
Lighting control stalk 42Wipers 45Cruise control 46Demisting anddefrosting 49Manual heating / air conditioning 51Digital air conditioning 53Additional heatingsystems 55Rear Heating /Air Conditioning 55Programmable additionalheating 57Front seats 60Front bench seat 62Rear seats 63Crew cab 65Front fi ttings 66Rear fi ttings 70Mirrors 72Electric windows 73
Presentation4Exterior 5Access6Interior 8Sitting comfortably 10Seeing clearly 12Ventilation 14Monitoring 15Passenger safety 16Driving safely 17Eco-driving 18
1. FAMILIARISATION4-194. TECHNOLOGY onBOARD 74-92
Trip computer 74Mode 75Parking sensors 78Reversing camera 79Pneumatic suspension 81Tachograph 83Audio system 84
2. READY TO SET OFF20-40
Remote control 20Key 22Confi dential card 23Alarm 24Front - rear doors 25Load space 27Instrument panels 28Warning lamps 29Fuel gauge 36Temperature indicator 36Service indicator 37Lighting rheostat 37Gearbox and steeringwheel 38Starting and stopping 39Hill start assist 40
This symbol informs you of
equipment which is specific
to the combi model. Sliding side windows. Rear
heating / air conditioning.
Rear seats / bench seats.
Page 29 of 164

27
2
Access
READY TO SET OFF
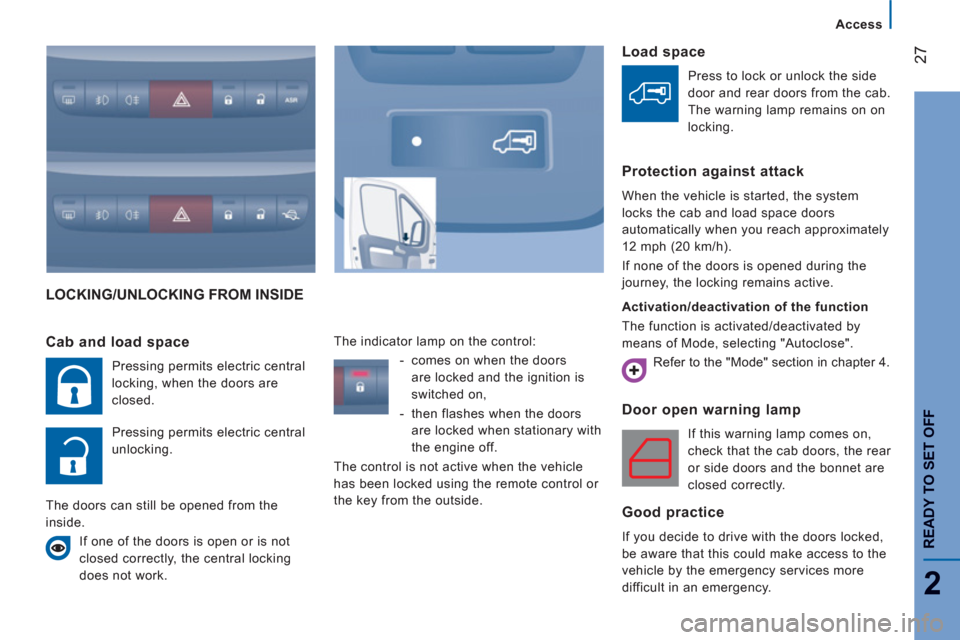
LOCKING/UNLOCKING FROM INSIDE
Door open warnin
g lamp
If this warning lamp comes on,
check that the cab doors, the rear
or side doors and the bonnet are
closed correctly.
Good practice
If you decide to drive with the doors locked,
be aware that this could make access to the
vehicle by the emergency services more
difficult in an emergency.
Cab and load space
Pressing permits electric central
locking, when the doors are
closed.
Pressing permits electric central
unlocking.
The doors can still be opened from the
inside.
If one of the doors is open or is not
closed correctly, the central locking
does not work. The indicator lamp on the control:
- comes on when the doors
are locked and the ignition is
switched on,
- then flashes when the doors
are locked when stationary with
the engine off.
The control is not active when the vehicle
has been locked using the remote control or
the key from the outside.
Load space
Press to lock or unlock the side
door and rear doors from the cab.
The warning lamp remains on on
locking.
Protection against attack
When the vehicle is started, the system
locks the cab and load space doors
automatically when you reach approximately
12 mph (20 km/h).
If none of the doors is opened during the
journey, the locking remains active.
Activation/deactivation of the function
The function is activated/deactivated by
means of Mode, selecting "Autoclose".
Refer to the "Mode" section in chapter 4.
Page 30 of 164
28
Instruments and controls
INSTRUMENT PANEL
1.
Distance recorder in miles/kilometres.
2.
Screen.
3.
Dials and gauges.
4.
Rev counter.
INSTRUMENTS AND CONTROLS
Instrument panel screen 1
- Time,
- Miles/Kilometres travelled,
- Range,
- Fuel consumption,
- Average speed,
- Headlamp beam height,
- Programmable overspeed warning via
MODE,
- Service indicator.
Instrument panel screen 2
- Time,
- Date,
- Ambient temperature,
- Miles/Kilometres travelled,
- Range,
- Fuel consumption,
- Average speed,
- Headlamp beam height,
- Programmable overspeed warning via
MODE,
- Service indicator,
- Warning messages displayed in the top
section,
- Radio (frequency of the current station).
Page 39 of 164

37
2
READY TO SET OFF
Instruments and controls
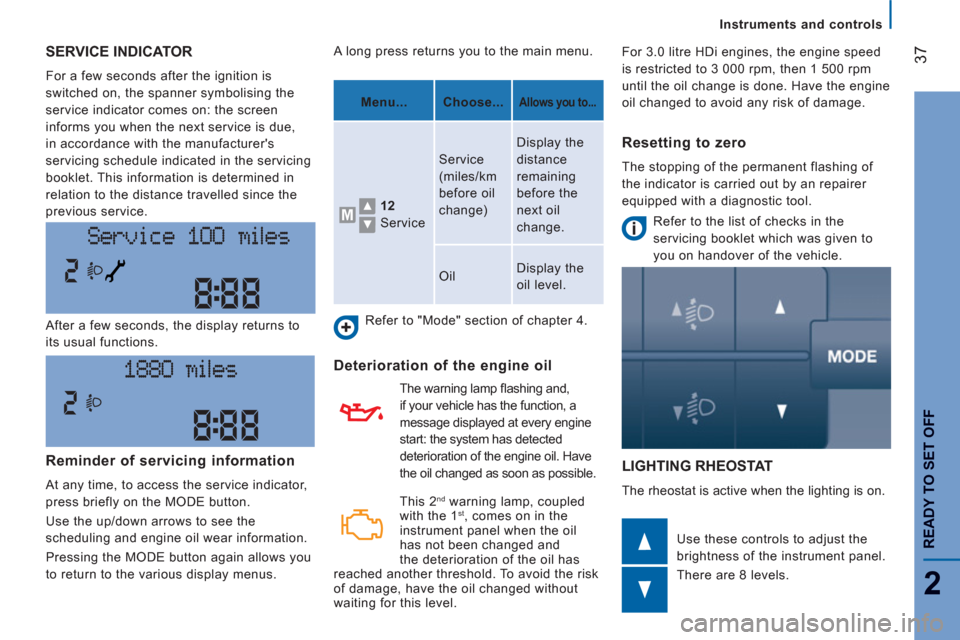
SERVICE INDICATOR
For a few seconds after the ignition is
switched on, the spanner symbolising the
service indicator comes on: the screen
informs you when the next service is due,
in accordance with the manufacturer's
servicing schedule indicated in the servicing
booklet. This information is determined in
relation to the distance travelled since the
previous service.
LIGHTING RHEOSTAT
The rheostat is active when the lighting is on. After a few seconds, the display returns to
its usual functions.
Use these controls to adjust the
brightness of the instrument panel.
There are 8 levels. A long press returns you to the main menu.
Refer to "Mode" section of chapter 4.
Deterioration of the engine oil
Refer to the list of checks in the
servicing booklet which was given to
you on handover of the vehicle.
Reminder of servicing information
At any time, to access the service indicator,
press briefly on the MODE button.
Use the up/down arrows to see the
scheduling and engine oil wear information.
Pressing the MODE button again allows you
to return to the various display menus.
Menu...
Choose...
Allows you to...
12
Service Service
(miles/km
before oil
change) Display the
distance
remaining
before the
next oil
change.
Oil Display the
oil level.
Resetting to zero
The stopping of the permanent flashing of
the indicator is carried out by an repairer
equipped with a diagnostic tool.
This 2
nd
warning lamp, coupled
with the 1 st , comes on in the
instrument panel when the oil
has not been changed and
the deterioration of the oil has
reached another threshold. To avoid the risk
of damage, have the oil changed without
waiting for this level. The warning lamp fl ashing and,
if your vehicle has the function, a
message displayed at every engine
start: the system has detected
deterioration of the engine oil. Have
the oil changed as soon as possible. For 3.0 litre HDi engines, the engine speed
is restricted to 3 000 rpm, then 1 500 rpm
until the oil change is done. Have the engine
oil changed to avoid any risk of damage.