Page 165 of 304

6
163
Child safety
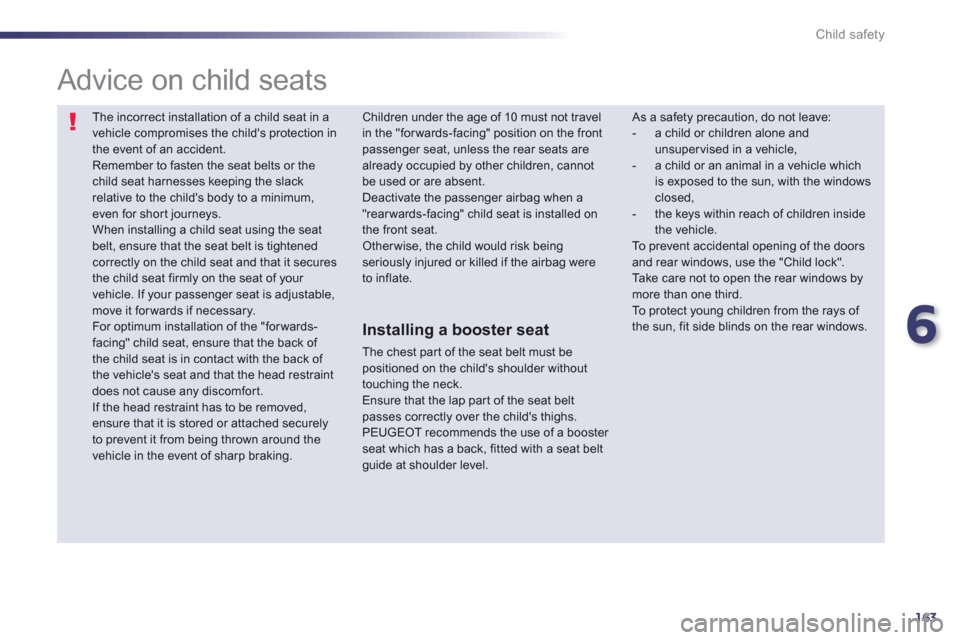
The incorrect installation of a child seat in avehicle compromises the child's protection in the event of an accident.
Remember to fasten the seat belts or the child seat harnesses keeping the slack relative to the child's body to a minimum, even for shor t journeys.
When installing a child seat using the seat belt, ensure that the seat belt is tightenedcorrectly on the child seat and that it secures the child seat firmly on the seat of your vehicle. If your passenger seat is adjustable, move it for wards if necessary.
For optimum installation of the "forwards-facing" child seat, ensure that the back of the child seat is in contact with the back of the vehicle's seat and that the head restraint does not cause any discomfort.
If the head restraint has to be removed, ensure that it is stored or attached securely to prevent it from being thrown around the vehicle in the event of sharp braking.
Advice on child seats
As a safety precaution, do not leave: - a child or children alone and unsupervised in a vehicle, - a child or an animal in a vehicle whichis exposed to the sun, with the windows closed, - the keys within reach of children inside the vehicle. To prevent accidental opening of the doors and rear windows, use the "Child lock". Take care not to open the rear windows bymore than one third.To protect young children from the rays of the sun, fit side blinds on the rear windows.
Children under the age of 10 must not travel in the "forwards-facing" position on the front passenger seat, unless the rear seats are already occupied by other children, cannot be used or are absent.
Deactivate the passenger airbag when a "rearwards-facing" child seat is installed on the front seat.
Other wise, the child would risk beingseriously injured or killed if the airbag were to inflate.
Installing a booster seat
The chest par t of the seat belt must be positioned on the child's shoulder without touching the neck.
Ensure that the lap part of the seat belt passes correctly over the child's thighs.
PEUGEOT recommends the use of a booster seat which has a back, fitted with a seat belt guide at shoulder level.
Page 166 of 304

164
Child safety
Your vehicle has been approved in accordance
with the latest ISOFIX regulations .
The seats, represented below, are fitted with
regulation ISOFIX mountings.
"ISOFIX" mountings
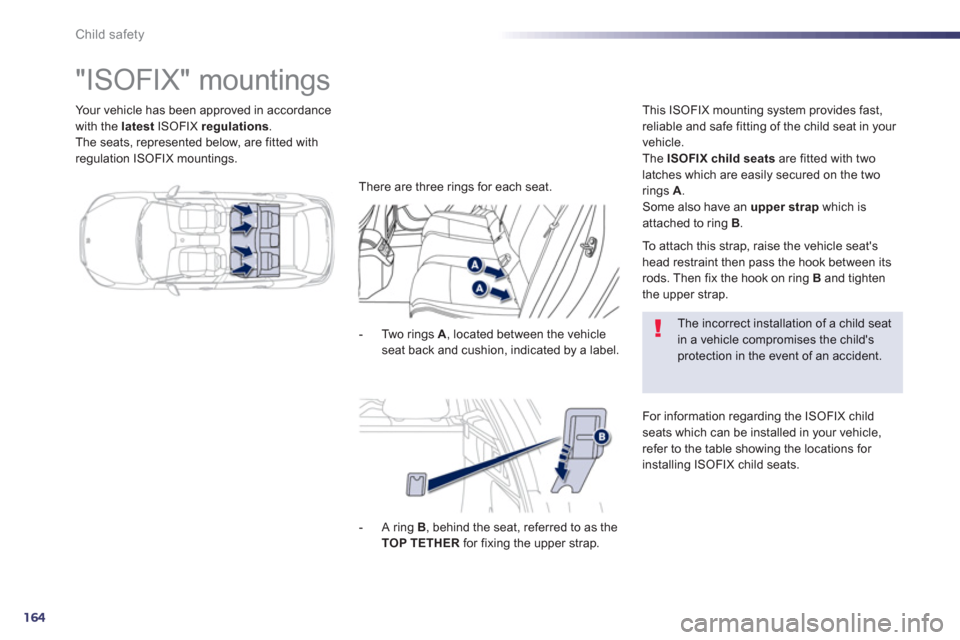
- Two rings A
, located between the vehicleseat back and cushion, indicated by a label.
This IS
OFIX mounting system provides fast,
reliable and safe fitting of the child seat in your
vehicle.
The ISOFIX child seatsare fitted with two latches which are easily secured on the two
rings A. Some also have an upper strapwhich isattached to ring B.
The incorrect installation of a child seat in a vehicle compromises the child'sprotection in the event of an accident.
For information re
garding the ISOFIX childseats which can be installed in your vehicle,
refer to the table showing the locations for
installing ISOFIX child seats.
- A rin
g B, behind the seat, referred to as the TOP TETHER
for fixing the upper strap.
To attach this strap, raise the vehicle seat's
head restraint then pass the hook between its
rods. Then fix the hook on ring Band tighten
the upper strap.
There are three rin
gs for each seat.
Page 167 of 304
6
165
Child safety
ISOFIX child seat
This child seat can also be used on seats which are not fitted with ISOFIX mountings. In this case, it must be attached to the vehicle seat using the three point seat belt.Follow the instructions for fitting the child seat given in the seat manufacturer's installation guide.
Recommended by PEUGEOT and approved for your vehicle
RÖMERDuo Plus ISOFIX
(size category B1 )
Group 1: from 9 to 18 kg
Installed only in the forwards-facing position.
Fitted with an upper strap to be secured on the upper ring B, referred to as the TOP TETHER.
Three seat body angles: sitting, reclining, lying. Adjust the front seat of the vehicle so that the child's feet do not touch the back of the seat.
Page 168 of 304

166
Child safety
Locations for installing ISOFIX child seats
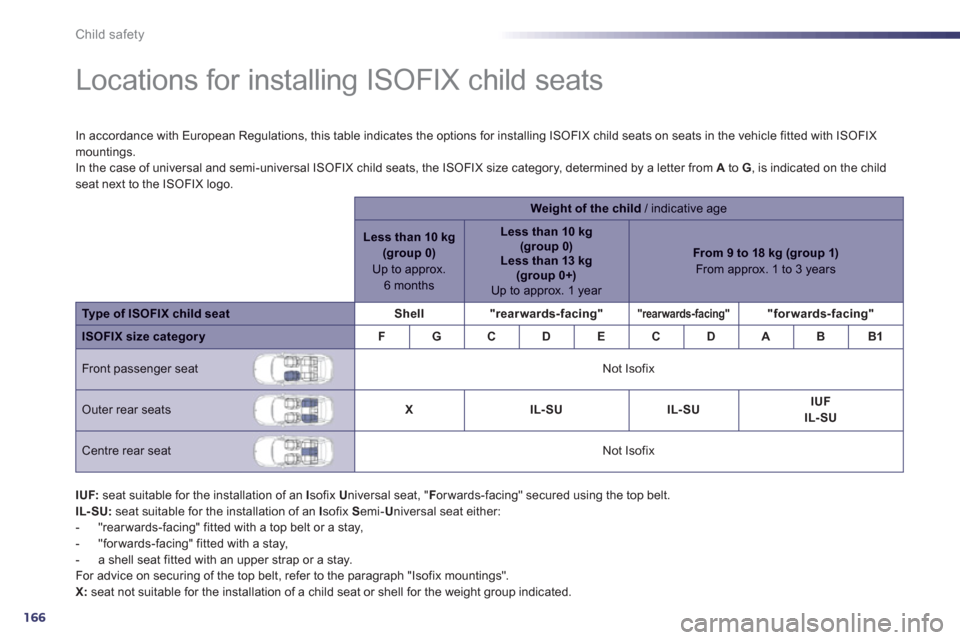
In accordance with European Regulations, this table indicates the options for installing ISOFIX child seats on seats in the vehicle fitted with ISOFIXmountings.
In the case of universal and semi-universal ISOFIX child seats, the ISOFIX size category, determined by a letter from Ato G , is indicated on the childseat next to the ISOFIX logo.
Weight of the child/ indicative age
Less than 10 kg(group 0)Up to approx. 6 months
Less than 10 kg(group 0)
Less than 13 kg(group 0+)Up to approx. 1 year
From 9 to 18 kg (group 1)From approx. 1 to 3 years
Type of ISOFIX child seatShell"rearwards-facing""rearwards-facing""forwards-facing"
ISOFIX size categoryFGCDECDABB1
Front passenger seat
Not Isofix
Outer rear seatsXIL-SUIL-SUIUFIL- SU
Centre rear seat
Not Isofix
IUF:seat suitable for the installation of an I sofix U
niversal seat, "F
orwards-facing" secured using the top belt.IL- SU:
seat suitable for the installation of an I sofix S emi-U
niversal seat either:
- "rearwards-facing" fitted with a top belt or a stay,
- "forwards-facing" fitted with a stay,
- a shell seat fitted with an upper strap or a stay.
For advice on securing of the top belt, refer to the paragraph "Isofix mountings".
X: seat not suitable for the installation of a child seat or shell for the weight group indicated.
Page 175 of 304
7
173
Safety
Seat belts
Front seat belts Rear seat belts
The rear seats are each fitted with a seat belt,
three-point anchorages with iner tia reel and
force limiter (except for the centre rear seat).
Fastening
�) Pull the strap, then inser t the tongue in the buckle.�)
Check that the seat belt is fastenedcorrectly by pulling the strap.
Unfastening
�)
Press the red button on the buckle.�)
Guide the seat belt as it reels in.
Th
e front seat belts are fitted with apretensioning and force limiting system.
This system improves safety in the frontseats in the event of a front or side impact.
Depending on the severity of the impact, thepretensioning system instantly tightens the seat
belts against the body of the occupants.
The pretensioning seat belts are active when
the i
gnition is on.
The force limiter reduces the pressure of the
seat belt on the chest of the occupant, so
improving their protection.
Page 181 of 304

7
179
Safety
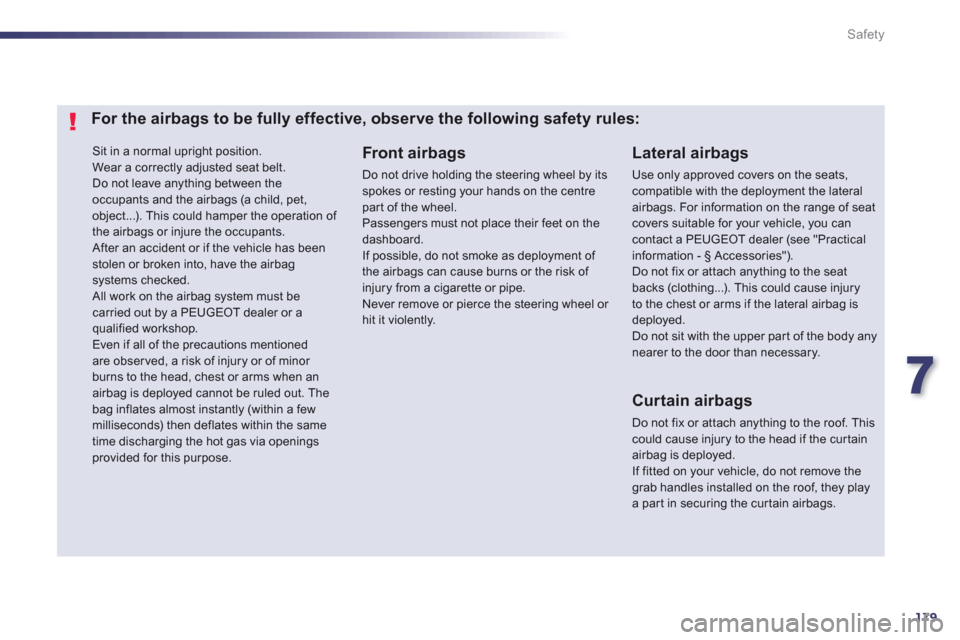
Sit in a normal upright position. Wear a correctly adjusted seat belt.
Do not leave anything between theoccupants and the airbags (a child, pet, object...). This could hamper the operation of the airbags or injure the occupants. After an accident or if the vehicle has beenstolen or broken into, have the airbagsystems checked. All work on the airbag system must be carried out by a PEUGEOT dealer or a qualified workshop.
Even if all of the precautions mentionedare obser ved, a risk of injury or of minor burns to the head, chest or arms when an airbag is deployed cannot be ruled out. Thebag inflates almost instantly (within a fewmilliseconds) then deflates within the same
time discharging the hot gas via openings provided for this purpose.
Lateral airbags
Use only approved covers on the seats, compatible with the deployment the lateralairbags. For information on the range of seatcovers suitable for your vehicle, you can contact a PEUGEOT dealer (see "Practical information - § Accessories"). Do not fix or attach anything to the seatbacks (clothing...). This could cause injuryto the chest or arms if the lateral airbag isdeployed.Do not sit with the upper par t of the body anynearer to the door than necessary.
Front airbags
Do not drive holding the steering wheel by itsspokes or resting your hands on the centre part of the wheel.
Passengers must not place their feet on thedashboard.
If possible, do not smoke as deployment of the airbags can cause burns or the risk of injury from a cigarette or pipe.
Never remove or pierce the steering wheel or hit it violently.
Curtain airbags
Do not fix or attach anything to the roof. This
could cause injury to the head if the cur tain airbag is deployed.If fitted on your vehicle, do not remove thegrab handles installed on the roof, they play a part in securing the cur tain airbags.
For the airbags to be fully effective, observe the following safety rules:
Page 188 of 304

186
Practical information
Changing a wheel Procedure for changing a faulty wheel for the spare wheel using the tools provided with the vehicle.
The tools are located in the boot, behind the
rear seats.
Access to the tools
List of tools *
3."Bolt cover" tool.
For removing the bolt protectors
(covers)
on alloy wheels.4. Socket for the security bolts (located in the glove box).
For adapting the wheelbrace to the special
"security" bolts.
5. One wheel chock for immobilising the
vehicle.
6.Towing eye.
See "Towing the vehicle".
Before doing any work on your vehicle, switch off the ignition (Readylamp off) to avoid any risk of injury resulting from automatic operation of the engine.
When using lifting equipment (a jackfor example), take care to use the
jacking points provided, so as to avoiddamaging the high voltage cables.
All o
f these tools are specific to your vehicle andcan vary according to the level of equipment. Do not use them for other purposes.
1.Wheelbrace.
For removing the wheel trim and removing
the wheel bolts.
2. Jack with integral handle.
For raising the vehicle.
*
Dependin
g on country of sale.
Page 202 of 304
200
Practical information
Dashboard fuses
The fusebox is placed in the lower dashboard (right-hand side).
Access to the fuses
�)Open the folding panel then apply pressure
to bypass the stops.
Fuse N°Rating (A)Functions
F
315 Driver's electric window panel, 12 V socket for rear seats.
F
415 12 V socket in boot.
F530 One-touch rear window.
F
630 One-touch front window.
F1
120
Trailer unit.
F12 20
Audio am
plifier.
F1
520
Panoramic sunroof blind (SW).
F1
65 Driver's electric window switch panel.