Page 49 of 81

�1Longitude
�2Latitude
�3Name
�4Location/Folder to save
�5File name
POI data can be downloaded from the Internet
or created in a simple text editor in")
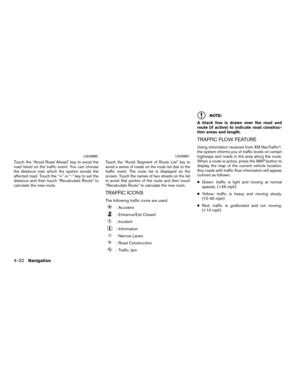
Creating user-defined points of inter-
est (POIs)
�1Longitude
�2Latitude
�3Name
�4Location/Folder to save
�5File name
POI data can be downloaded from the Internet
or created in a simple text editor in CSV (Comma
Separated Variable) file format.
There are two kinds of POI data supported by
the system:
● User POIs – user-defined points of interest
(POI) that can later be set as a destination
and found using route guidance.
● POI-warnings – user-supplied areas such as
hazard spots that the system displays in a
pop-up window when the vehicle is ap-
proaching the designated area. Perform the following procedure to create your
own User POIs:
1. Connect a USB mass storage device to your personal computer.
2. Use a standard software program to create a list of POIs. Make sure the software can
support the CSV file format.
3. In the first column, enter the longitude value of the position of the POI.
4. In the second column, enter the latitude value of the position of the POI.
5. In the third column, enter the name of the POI. Information entered in the fourth
column, such as address or phone number,
will be appended to the name of the POI.
6. Add more rows if necessary.
7. Save the file with the extension .csv (for example, myplacesfile.csv) .
LNV1017
4-22Navigation
Page 50 of 81

NOTE:
The name of the .CSV file will be used to
create a My Places category in the system.
Create separate .CSV files with different
names to create other My Places
categories. 8. Make sure to select the USB mass storage device as the location to save, using the ex-
act folder name “/myPOIs” for User POIs or
“/myPOIs/myPOIwarnings”
for POI-warnings. For example, if the USB
mass storage device’s root folder is repre-
sented by f:/, save the file to the folder
“f:/myPOIs” for User POIs or to the folder
“f:/myPOIs/myPOIwarnings”
for POI-warnings.
9. Connect the USB mass storage device to the vehicle’s USB port. For more informa-
tion about the USB port, see your vehicle’s
owner’s manual.
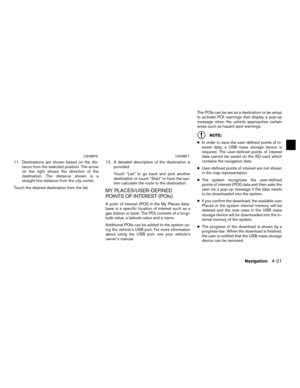
Adding user-defined points of interest
(POIs)
Perform the following procedure to add your
User POIs to the system:
1. Press the NAV button.
2. Touch “Destination”.
3. Touch “My Places”. 4. If a USB mass storage device with the new
POI data is connected, the system will auto-
matically ask if you want to transfer the POI
data. Touch “Download” to begin the trans-
fer or “Cancel” to cancel the procedure.
NOTE:
New POI data will overwrite POI data al-
ready in the internal memory.
LNV0948LNV1001
Navigation4-23
Page 51 of 81
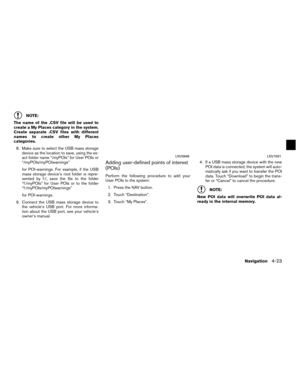
5. The POI data on the USB mass storage de-vice is transferred to the vehicle.
NOTE:
A maximum of 8 MB of POI data can be
added to the system. 6. Once the download process is complete,
the available POIs are displayed in a list on
the screen.
7. Touch the name of a POI on the list to set it as the destination. 8. Touch “Start” to calculate the route.
LNV1002LNV1003LNV0958
4-24Navigation
Page 52 of 81
A user-defined POI in the My Places database
can also be set as the destination by following
the procedure below:1. Press the NAV button.
2. Touch “Destination”.
3. Touch “My Places”. 4. Touch “ MyPOI”.
5. Touch the name of the user-defined POI to
set that entry as a destination.Deleting user-defined points of inter-
est (POIs)
Perform the following procedure to delete the
user-defined POIs stored in the My Places
memory:
1. Press the SETUP button.
2. Touch “Navigation”.
3. Scroll to the bottom of the list and touch “Remove User Places From System”.
LNV0948LNV1004LNV1006
Navigation4-25
Page 53 of 81
4. A pop-up is displayed to confirm that youwant to delete all User POIs (My Places)
from the system. Touch “Yes” to delete the
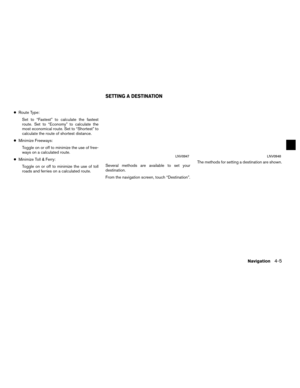
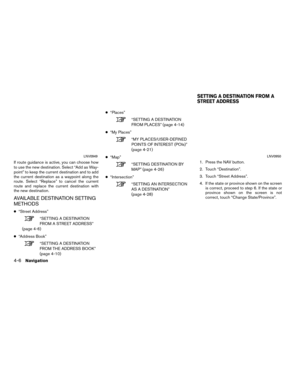
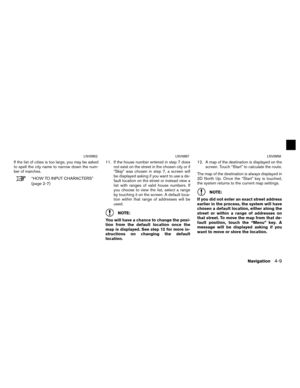
User POIs or “No” to cancel. This method allows you to search for a destina-
tion by scrolling the map, then have the system
calculate a route to the destination or store the
position in the Address book.
1. Press the NAV button.
2. Touch “Destination”.
3. Touch “Map”.
The system is automatically set to the 2D, North
Up setting. 4. Scroll the map and touch the screen at the
preferred location.
LNV1005LNV1018
SETTING DESTINATION BY MAP
4-26Navigation
Page 54 of 81
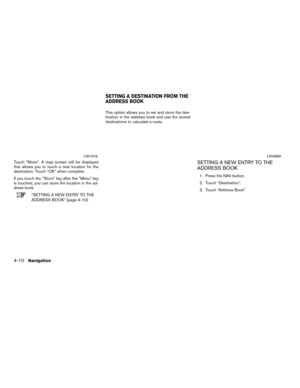
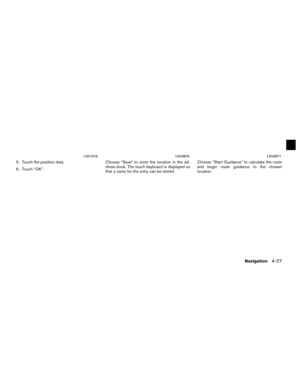
5. Touch the position data.
6. Touch “OK”.Choose “Save” to store the location in the ad-
dress book. The touch keyboard is displayed so
that a name for the entry can be stored. Choose “Start Guidance” to calculate the route
and begin route guidance to the chosen
location.
LNV1016LNV0978LNV0977
Navigation4-27
Page 55 of 81
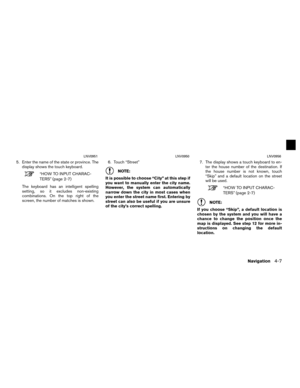
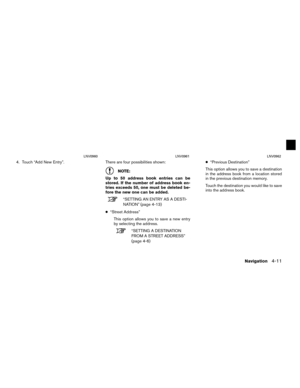
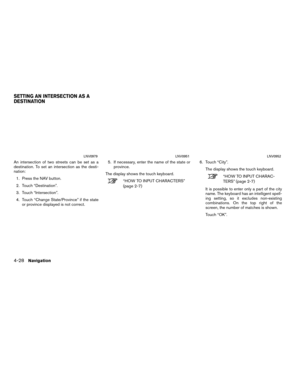
An intersection of two streets can be set as a
destination. To set an intersection as the desti-
nation:1. Press the NAV button.
2. Touch “Destination”.
3. Touch “Intersection”.
4. Touch “Change State/Province” if the state or province displayed is not correct. 5. If necessary, enter the name of the state or
province.
The display shows the touch keyboard.
“HOW TO INPUT CHARACTERS”
(page 2-7) 6. Touch “City”.
The display shows the touch keyboard.“HOW TO INPUT CHARAC-
TERS” (page 2-7)
It is possible to enter only a part of the city
name. The keyboard has an intelligent spell-
ing setting, so it excludes non-existing
combinations. On the top right of the
screen, the number of matches is shown.
Touch “OK”.
LNV0979LNV0951LNV0952
SETTING AN INTERSECTION AS A
DESTINATION
4-28Navigation
Page 56 of 81
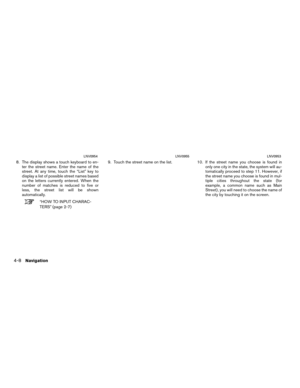
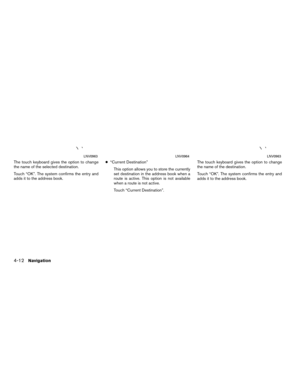
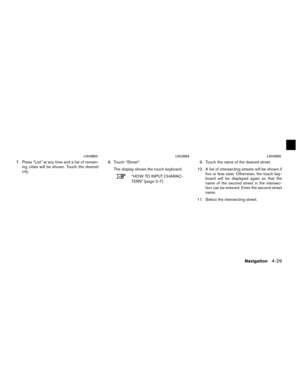
7. Press “List” at any time and a list of remain-ing cities will be shown. Touch the desired
city. 8. Touch “Street”.
The display shows the touch keyboard.
“HOW TO INPUT CHARAC-
TERS” (page 2-7) 9. Touch the name of the desired street.
10. A list of intersecting streets will be shown if five or less exist. Otherwise, the touch key-
board will be displayed again so that the
name of the second street in the intersec-
tion can be entered. Enter the second street
name.
11. Select the intersecting street.
LNV0953LNV0954LNV0955
Navigation4-29


from the system. Touch “Yes” to delete the
User POIs or “No” to cancel. This method allows you to search fo")


