Page 347 of 453
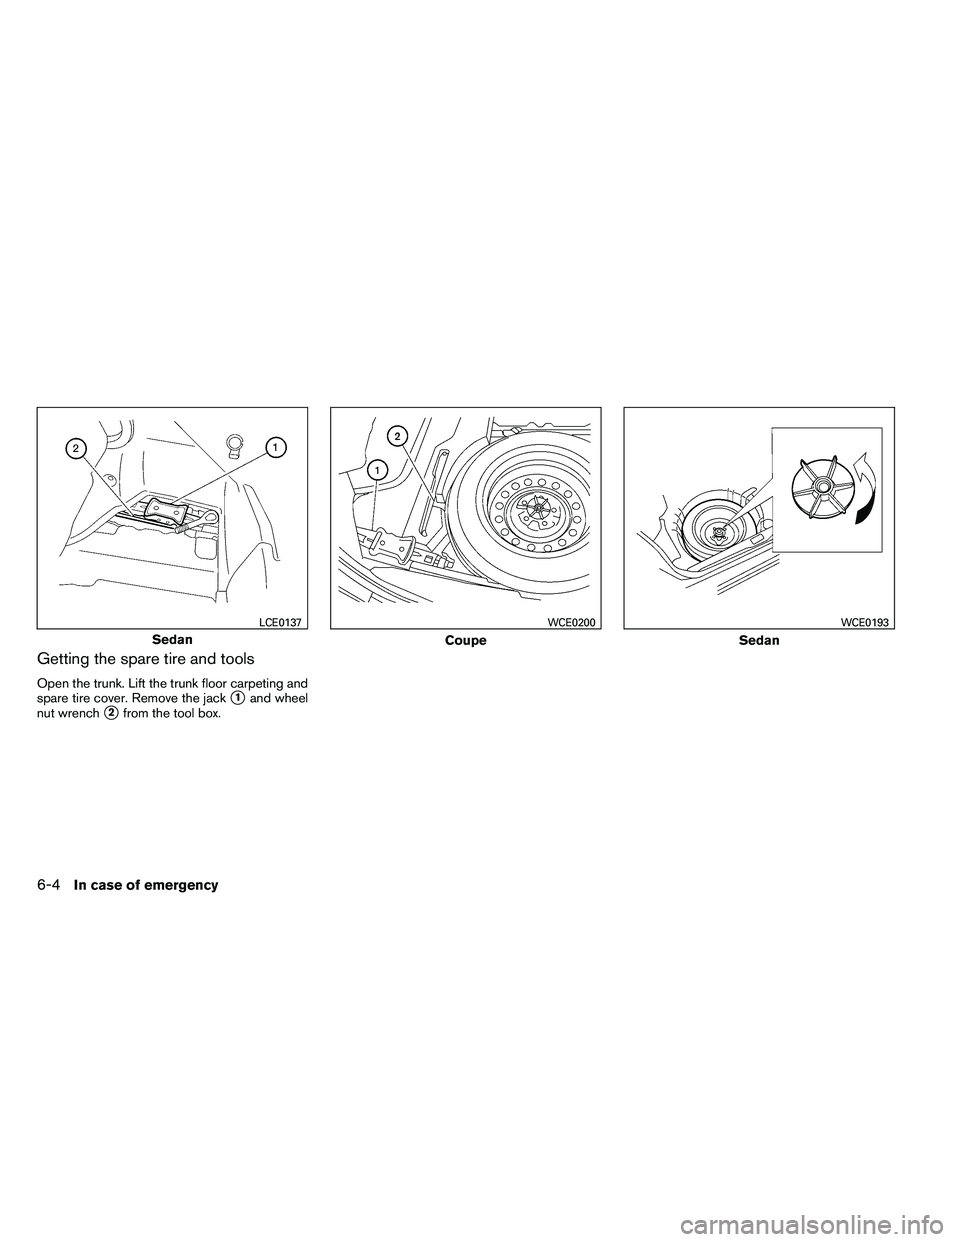
Getting the spare tire and tools
Open the trunk. Lift the trunk floor carpeting and
spare tire cover. Remove the jack
�1and wheel
nut wrench
�2from the tool box.
Page 348 of 453
Turn the clamp to remove the spare tire. Remove
the spare tire.Removing the bolt-on wheel cover (if
so equipped)
Page 350 of 453

Always refer to the proper illustrations for the
correct placement and jack-up points for your
specific vehicle model and jack type.
Carefully read the caution label attached to
the jack body and the following instruc-
tions.1. Loosen each wheel nut one or two turns by turning counterclockwise with the wheel nut
wrench. Do not remove the wheel nuts
until the tire is off the ground.
2. Place the jack directly under the jack-up point as illustrated so the top of the jack
contacts the vehicle at the jack-up point.
Align the jack head between the two notches in the front or the rear as shown.
Also fit the groove of the jack head between
the notches as shown.
The jack should be used on firm and
level ground.
3. To lift the vehicle, securely hold the jack lever and rod with both hands. Carefully raise the
vehicle until the tire clears the ground. Re-
move the wheel nuts, and then remove the
tire.Installing the spare tire
The spare tire is designed for emergency
use. See specific instructions under the
heading “Wheels and tires” in the “Mainte-
nance and do-it-yourself” section of this
manual.
1. Clean any mud or dirt from the surface be- tween the wheel and hub.
2. Carefully put the spare tire on and tighten the wheel nuts finger tight.
3. With the wheel nut wrench, tighten wheel nuts alternately and evenly as illustrated until
they are tight.
Page 351 of 453
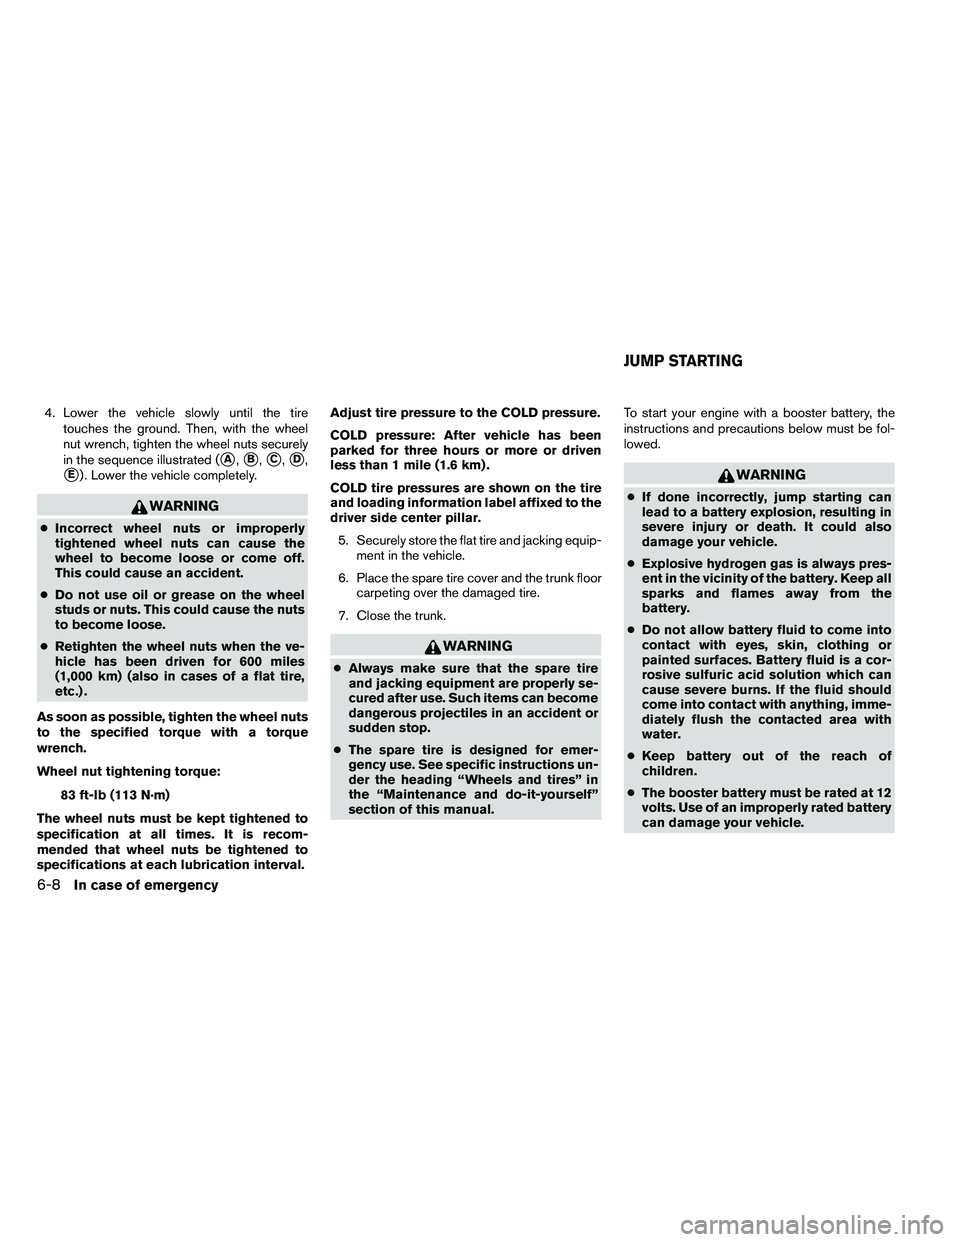
4. Lower the vehicle slowly until the tiretouches the ground. Then, with the wheel
nut wrench, tighten the wheel nuts securely
in the sequence illustrated (
�A,�B,�C,�D,
�E) . Lower the vehicle completely.
Page 355 of 453
For information about towing your vehicle behind
a recreational vehicle (RV) , refer to “Flat towing”
in the “Technical and consumer information” sec-
tion of this manual.TOWING RECOMMENDED BY
NISSAN
NISSAN recommends that your vehicle be towed
with the driving (front) wheels off the ground or
place the vehicle on a flat bed truck as illustrated.
Page 356 of 453
 models with the front
wheels on the ground or four wheels on
the ground (forward or backward) , as
this may cause serious and expensive")
CAUTION
●Never tow Continuously Variable Trans-
mission (CVT) models with the front
wheels on the ground or four wheels on
the ground (forward or backward) , as
this may cause serious and expensive
damage to the transmission. If it is nec-
essary to tow the vehicle with the rear
wheels raised always use towing dollies
under the front wheels.
● When towing Continuously Variable
Transmission (CVT) models with the
front wheels on towing dollies, or when
towing manual transmission (M/T)
models with the front wheels on the
ground:
– Place the ignition switch in the OFF position, and secure the steering
wheel in a straight-ahead position
with a rope or similar device.
– Move the shift selector to the N (Neu- tral) position.
● When towing Continuously Variable
Transmission (CVT) or manual trans-
mission models (M/T) with the rear
wheels on the ground (if you do not use
towing dollies): Always release the
parking brake. ●
Observe the following restricted towing
speeds and distances for manual trans-
missions (M/T) only:
– Speed: Below 50 MPH (80 km/h)
– Distance: Less than 50 miles (80 km)
Page 361 of 453

●Do not apply wheel cleaners to the
wheels when they are hot. The wheel
temperature should be the same as am-
bient temperature.
● Rinse the wheel to completely remove
the cleaner within 15 minutes after the
cleaner is applied.
CHROME PARTS
Clean all chrome parts regularly with a non-
abrasive chrome polish to maintain the finish.
TIRE DRESSINGS
NISSAN does not recommend the use of tire
dressings. Tire manufacturers apply a coating to
the tires to help reduce discoloration of the rub-
ber. If a tire dressing is applied to the tires, it may
react with the coating and form a compound. This
compound may come off the tire while driving and
stain the vehicle paint.
If you choose to use a tire dressing, take the
following precautions:
● Use a water-based tire dressing. The coat-
ing on the tire dissolves more easily than
with an oil-based tire dressing. ●
Apply a light coat of tire dressing to help
prevent it from entering the tire
tread/grooves (where it would be difficult to
remove) .
● Wipe off excess tire dressing using a dry
towel. Make sure the tire dressing is com-
pletely removed from the tire tread/grooves.
● Allow the tire dressing to dry as recom-
mended by the tire dressing manufacturer. Occasionally remove loose dust from the interior
trim, plastic parts and seats using a vacuum
cleaner or soft bristled brush. Wipe the vinyl and
leather surfaces with a clean, soft cloth damp-
ened in mild soap solution, then wipe clean with a
dry, soft cloth.
Regular care and cleaning is required in order to
maintain the appearance of the leather.
Before using any fabric protector, read the manu-
facturer’s recommendations. Some fabric pro-
tectors contain chemicals that may stain or
bleach the seat material.
Use a cloth dampened only with water to clean
the meter and gauge lens.
Page 368 of 453

When driving in areas using road salt or other
corrosive materials, check lubrication frequently.
Lights*Clean the headlights on a regular basis.
Make sure that the headlights, stop lights, tail
lights, turn signal lights, and other lights are all
operating properly and installed securely. Also
check headlight aim.
Road wheel nuts (lug nuts)* When checking
the tires, make sure no wheel nuts are missing,
and check for any loose wheel nuts. Tighten if
necessary.
Tire rotation* Tires should be rotated every
7,500 miles (12,000 km) .
Tires* Check the pressure with a gauge often
and always prior to long distance trips. If neces-
sary, adjust the pressure in all tires, including the
spare, to the pressure specified. Check carefully
for damage, cuts or excessive wear.
Tire Pressure Monitoring System (TPMS)
transmitter components Replace the TPMS
transmitter grommet seal, valve core and cap
when the tires are replaced due to wear or age.
Wheel alignment and balance If the vehicle
should pull to either side while driving on a
straight and level road, or if you detect uneven or
abnormal tire wear, there may be a need for wheel alignment. If the steering wheel or seat vibrates at
normal highway speeds, wheel balancing may be
needed.
● For additional information regarding tires,
refer to “Important Tire Safety Information”
(US) or “Tire Safety Information” (Canada) in
the Warranty Information Booklet.
Windshield Clean the windshield on a regular
basis. Check the windshield at least every six
months for cracks or other damage. Have a dam-
aged windshield repaired by a qualified repair
facility.
Windshield wiper blades* Check for cracks or
wear if they do not wipe properly.
Inside the vehicle
The maintenance items listed here should be
checked on a regular basis, such as when per-
forming periodic maintenance, cleaning the ve-
hicle, etc.
Additional information on the following
items with an “*” is found later in this sec-
tion.
Accelerator pedal Check the pedal for smooth
operation and make sure the pedal does not bind
or require uneven effort. Keep the floor mat away
from the pedal. Brake pedal
Check the pedal for smooth opera-
tion. If the brake pedal suddenly goes down fur-
ther than normal, the pedal feels spongy or the
vehicle seems to take longer to stop, see a
NISSAN dealer immediately. Keep the floor mat
away from the pedal.
Brakes Check that the brakes do not pull the
vehicle to one side when applied.
Continuously Variable Transmission (CVT)
P (Park) position mechanism On a fairly
steep hill, check that the vehicle is held securely
with the shift selector in the P (Park) position
without applying any brakes.
Parking brake Check the parking brake opera-
tion regularly. The vehicle should be securely held
on a fairly steep hill with only the parking brake
applied. If the parking brake needs adjustment,
see a NISSAN dealer.
Seats Check seat position controls such as seat
adjusters, seatback recliner, etc., to ensure they
operate smoothly and all latches lock securely in
every position. Check that the head restraints
move up and down smoothly and the lock knobs
(if so equipped) hold securely in all latched posi-
tions.
Seat belts Check that all parts of the seat belt
system (for example, buckles, anchors, adjusters
and retractors) operate properly and smoothly,
Maintenance and do-it-yourself8-3
")
 , refer to “Flat towing”
in the “Technical and consumer information” sec-
tion of this manual.TOWING RECOMMENDED BY")