Page 111 of 453
CAUTION
Even though the battery saver feature au-
tomatically turns off the headlights after a
period of time, you should turn the head-
light switch to the OFF position when the
engine is not running to avoid discharging
the vehicle battery.
DAYTIME RUNNING LIGHT SYSTEM
(Canada only)
The headlights automatically illuminate at a re-
duced intensity when the engine is started with
the parking brake released. The daytime running
lights operate with the headlight switch in the
OFF position or in the
Page 115 of 453
●Only certain power outlets are designed
for use with a cigarette lighter unit. Do
not use any other power outlet for an
accessory lighter. See your NISSAN
dealer for additional information.
● Do not use with accessories that ex-
ceed a 12 volt, 120W (10A) power draw.
Do not use double adapters or more
than one electrical accessory.
● Use power outlets with the engine run-
ning to avoid discharging the vehicle
battery.
● Avoid using power outlets when the air
conditioner, headlights or rear window
defroster is on.
● Before inserting or disconnecting a
plug, be sure the electrical accessory
being used is turned OFF.
● Push the plug in as far as it will go. If
good contact is not made, the plug may
overheat or the internal temperature
fuse may open.
● When not in use, be sure to close the
cap. Do not allow water or any other
liquid to contact the outlet. Open the lower half of the console box to access
the power outlet. Refer to “Console box” in this
section.
MAP POCKETS
Page 192 of 453

OPERATING TIPS
●When the engine coolant temperature and
outside air temperature are low, the air flow
from the foot outlets may not operate for a
maximum of 150 seconds. However, this is
not a malfunction. After the coolant tempera-
ture warms up, air flow from the foot outlets
will operate normally.
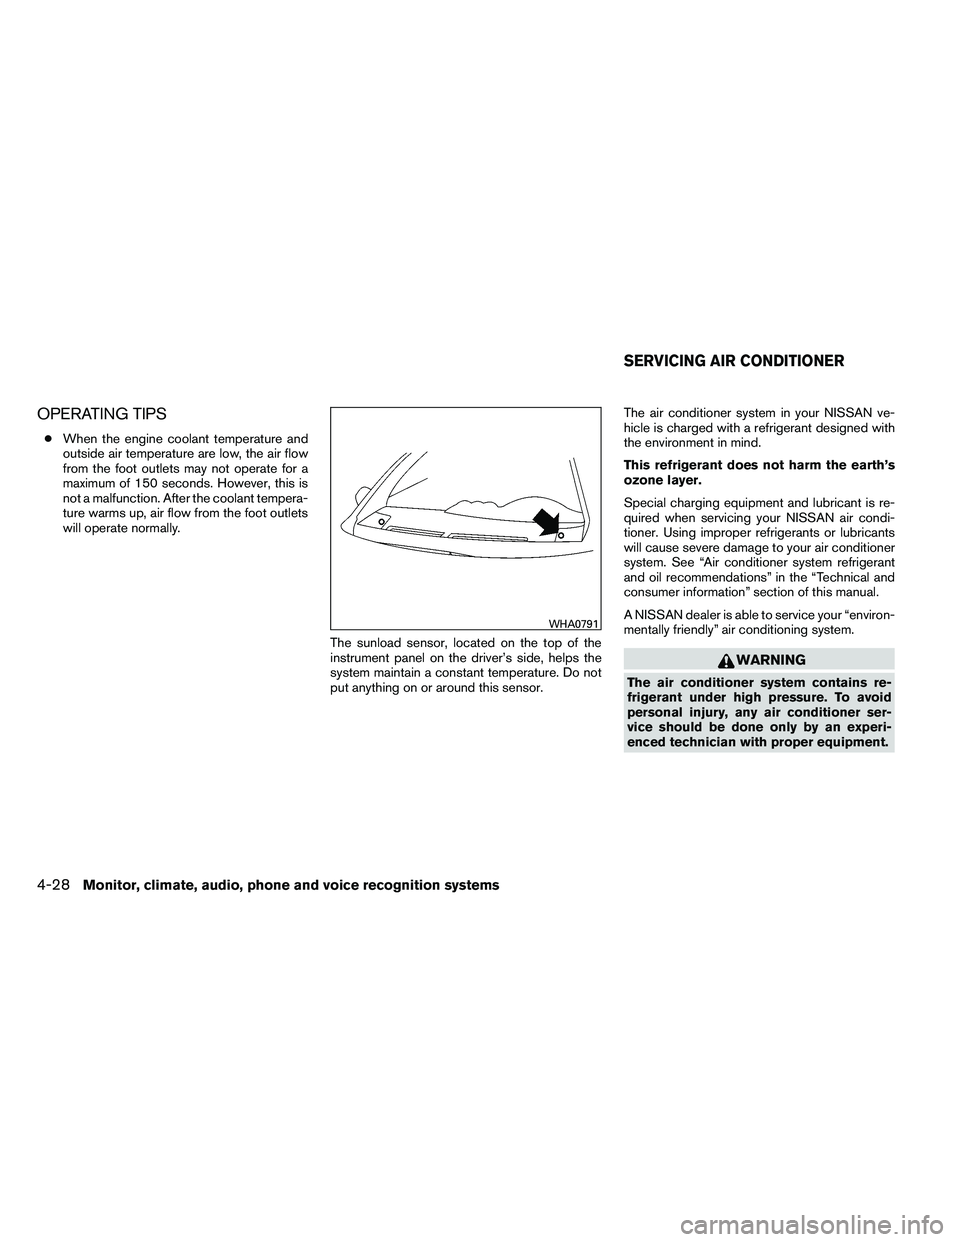
The sunload sensor, located on the top of the
instrument panel on the driver’s side, helps the
system maintain a constant temperature. Do not
put anything on or around this sensor. The air conditioner system in your NISSAN ve-
hicle is charged with a refrigerant designed with
the environment in mind.
This refrigerant does not harm the earth’s
ozone layer.
Special charging equipment and lubricant is re-
quired when servicing your NISSAN air condi-
tioner. Using improper refrigerants or lubricants
will cause severe damage to your air conditioner
system. See “Air conditioner system refrigerant
and oil recommendations” in the “Technical and
consumer information” section of this manual.
A NISSAN dealer is able to service your “environ-
mentally friendly” air conditioning system.
Page 245 of 453

●10 Key Search
Select the “10 Key Search” key to open the
number entry screen. Input the number you
want to search for and the specified file or
folder will be played.
● Display
Adjust the image quality of the screen.
● DRC
DRC (Dynamic Range Compression) auto-
matically adjusts the soundtrack volume
level to maintain a more even sound to the
speakers.
● Audio
Choose the preferred language of the audio.
● Subtitle
Choose the preferred language of the sub-
titles.
● Display Mode
Choose between the “Normal”, “Wide”,
“Cinema” or “Full” display modes.
iPod�* PLAYER OPERATION
WITHOUT NAVIGATION SYSTEM (if
so equipped)
Connecting iPod�
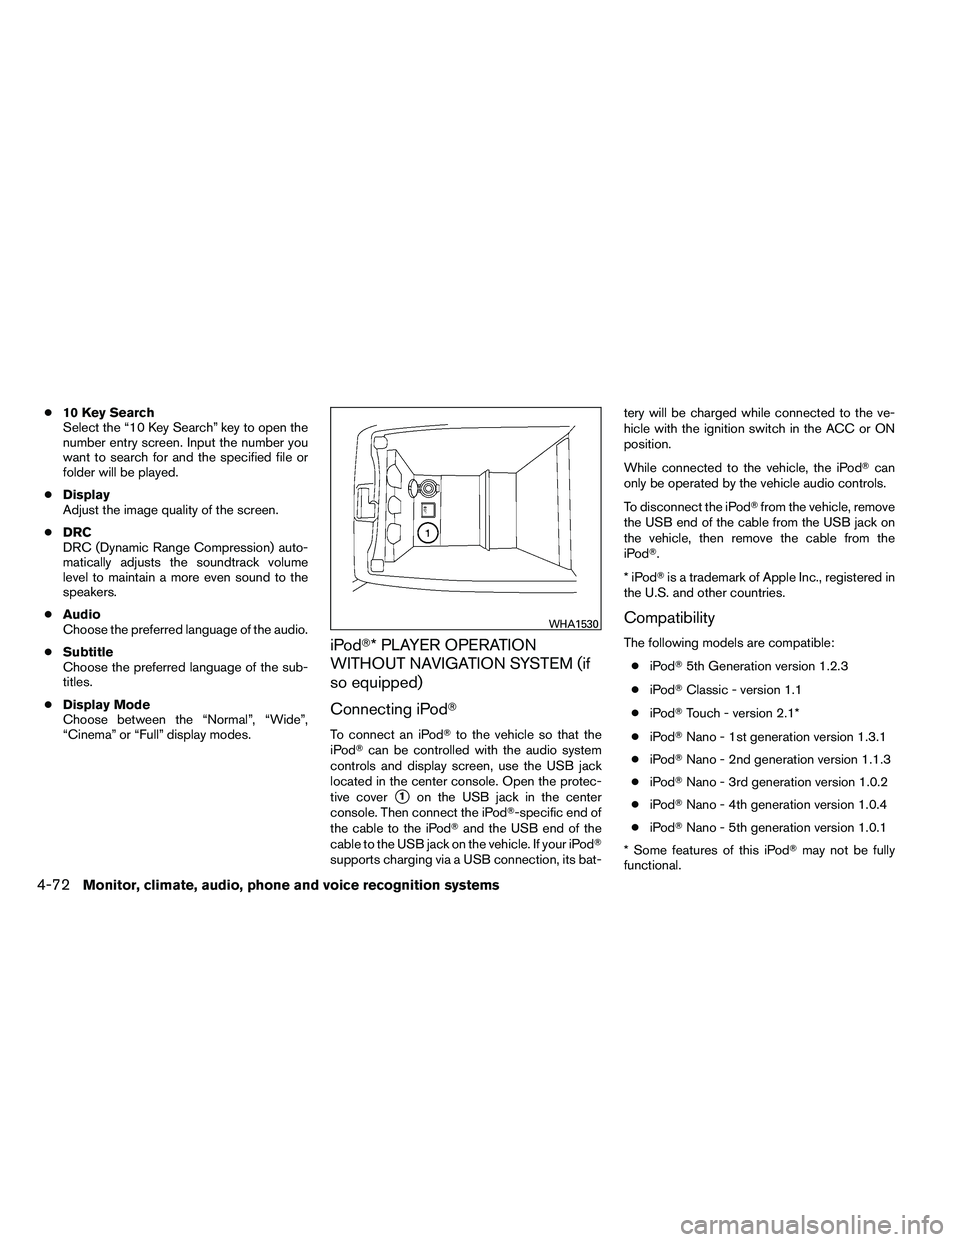
To connect an iPod� to the vehicle so that the
iPod� can be controlled with the audio system
controls and display screen, use the USB jack
located in the center console. Open the protec-
tive cover
�1on the USB jack in the center
console. Then connect the iPod�-specific end of
the cable to the iPod� and the USB end of the
cable to the USB jack on the vehicle. If your iPod�
supports charging via a USB connection, its bat- tery will be charged while connected to the ve-
hicle with the ignition switch in the ACC or ON
position.
While connected to the vehicle, the iPod�
can
only be operated by the vehicle audio controls.
To disconnect the iPod� from the vehicle, remove
the USB end of the cable from the USB jack on
the vehicle, then remove the cable from the
iPod�.
*iPod �is a trademark of Apple Inc., registered in
the U.S. and other countries.
Compatibility
The following models are compatible:
● iPod� 5th Generation version 1.2.3
● iPod� Classic - version 1.1
● iPod� Touch - version 2.1*
● iPod� Nano - 1st generation version 1.3.1
● iPod� Nano - 2nd generation version 1.1.3
● iPod� Nano - 3rd generation version 1.0.2
● iPod� Nano - 4th generation version 1.0.4
● iPod� Nano - 5th generation version 1.0.1
* Some features of this iPod� may not be fully
functional.
Page 247 of 453

iPod�* PLAYER OPERATION WITH
NAVIGATION SYSTEM (if so
equipped)
Connecting iPod�
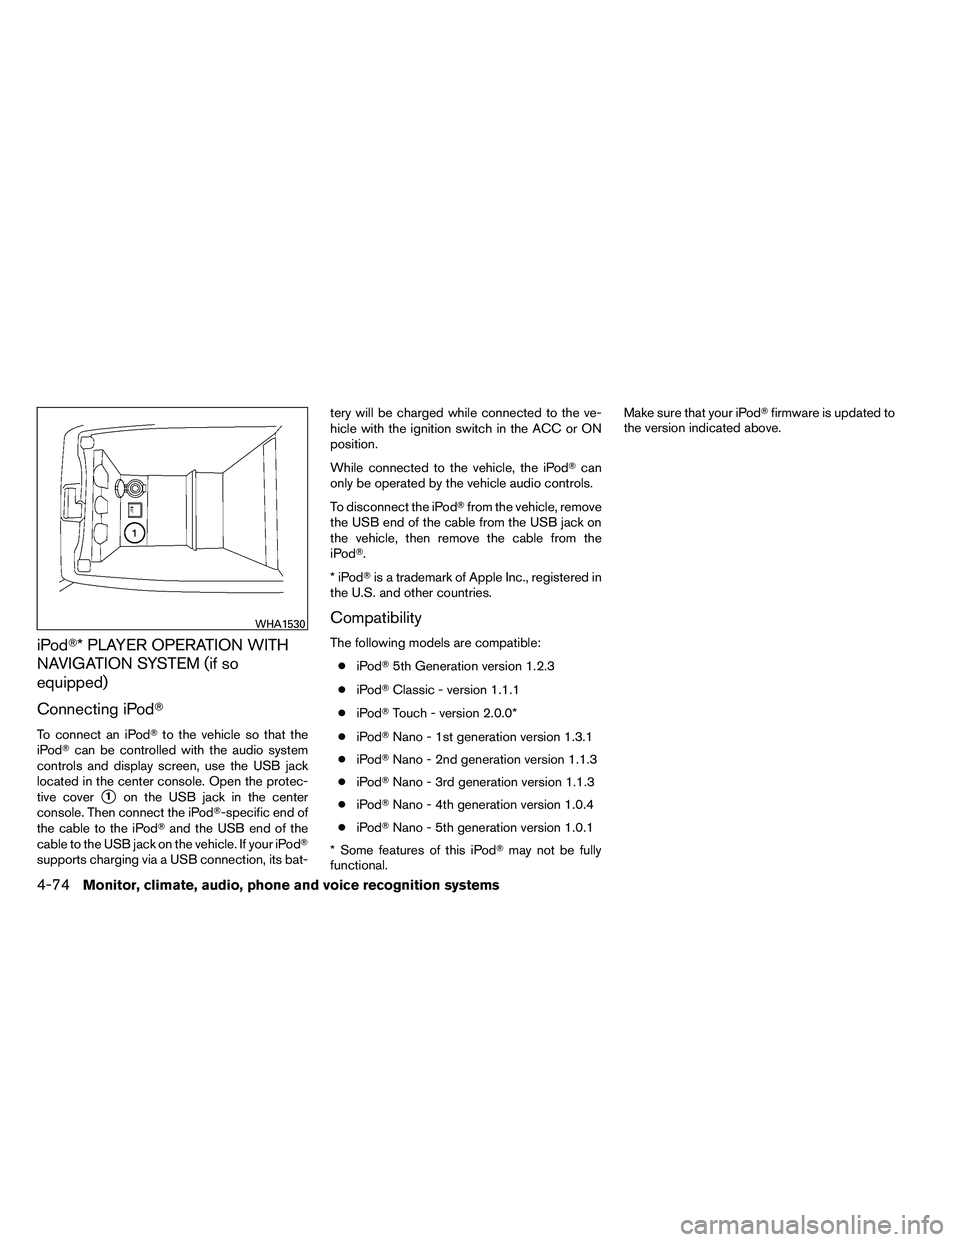
To connect an iPod�to the vehicle so that the
iPod� can be controlled with the audio system
controls and display screen, use the USB jack
located in the center console. Open the protec-
tive cover
�1on the USB jack in the center
console. Then connect the iPod�-specific end of
the cable to the iPod� and the USB end of the
cable to the USB jack on the vehicle. If your iPod�
supports charging via a USB connection, its bat- tery will be charged while connected to the ve-
hicle with the ignition switch in the ACC or ON
position.
While connected to the vehicle, the iPod�
can
only be operated by the vehicle audio controls.
To disconnect the iPod� from the vehicle, remove
the USB end of the cable from the USB jack on
the vehicle, then remove the cable from the
iPod�.
*iPod �is a trademark of Apple Inc., registered in
the U.S. and other countries.
Compatibility
The following models are compatible:
● iPod� 5th Generation version 1.2.3
● iPod� Classic - version 1.1.1
● iPod� Touch - version 2.0.0*
● iPod� Nano - 1st generation version 1.3.1
● iPod� Nano - 2nd generation version 1.1.3
● iPod� Nano - 3rd generation version 1.1.3
● iPod� Nano - 4th generation version 1.0.4
● iPod� Nano - 5th generation version 1.0.1
* Some features of this iPod� may not be fully
functional. Make sure that your iPod�
firmware is updated to
the version indicated above.
Page 383 of 453
CAUTION
●Do not ground accessories directly to
the battery terminal. Doing so will by-
pass the variable voltage control sys-
tem and the vehicle battery may not
charge completely.
● Use electrical accessories with the en-
gine running to avoid discharging the
vehicle battery.
Your vehicle is equipped with a variable voltage
control system. This system measures the
amount of electrical discharge from the battery
and controls voltage generated by the generator.
The current sensor
�Ais located near the battery
along the negative battery cable. If you add elec-
trical accessories to your vehicle, be sure to
ground them to a suitable body ground such as
the frame or engine block area.1. Power steering fluid pump pulley
2. Water pump pulley
3. Generator
4. Air conditioner
5. Crankshaft pulley
6. Drive belt Automatic tensioner