2012 MERCEDES-BENZ SLS AMG COUPE set clock
[x] Cancel search: set clockPage 109 of 288
Condensation may drip from the underside of
the vehicle when it is in cooling mode.
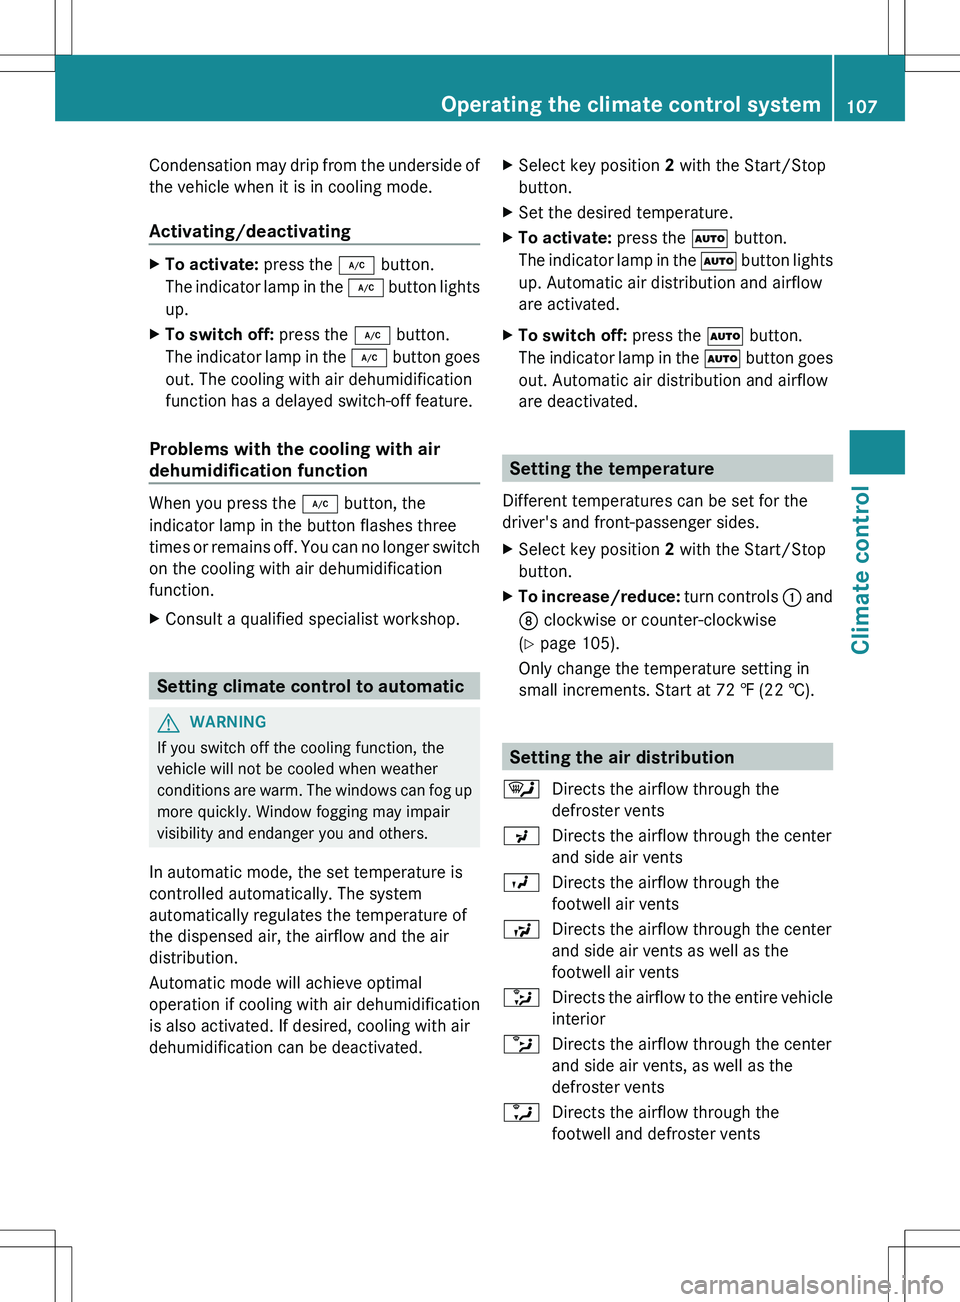
Activating/deactivatingXTo activate: press the ¿ button.
The indicator lamp in the ¿ button lights
up.XTo switch off: press the ¿ button.
The indicator lamp in the ¿ button goes
out. The cooling with air dehumidification
function has a delayed switch-off feature.
Problems with the cooling with air
dehumidification function
When you press the ¿ button, the
indicator lamp in the button flashes three
times or remains off. You can no longer switch
on the cooling with air dehumidification
function.
XConsult a qualified specialist workshop.
Setting climate control to automatic
GWARNING
If you switch off the cooling function, the
vehicle will not be cooled when weather
conditions are warm. The windows can fog up
more quickly. Window fogging may impair
visibility and endanger you and others.
In automatic mode, the set temperature is
controlled automatically. The system
automatically regulates the temperature of
the dispensed air, the airflow and the air
distribution.
Automatic mode will achieve optimal
operation if cooling with air dehumidification
is also activated. If desired, cooling with air
dehumidification can be deactivated.
XSelect key position 2 with the Start/Stop
button.XSet the desired temperature.XTo activate: press the à button.
The indicator lamp in the à button lights
up. Automatic air distribution and airflow
are activated.XTo switch off: press the à button.
The indicator lamp in the à button goes
out. Automatic air distribution and airflow
are deactivated.
Setting the temperature
Different temperatures can be set for the
driver's and front-passenger sides.
XSelect key position 2 with the Start/Stop
button.XTo increase/reduce: turn controls : and
D clockwise or counter-clockwise
( Y page 105).
Only change the temperature setting in
small increments. Start at 72 ‡ (22 †).
Setting the air distribution
¯Directs the airflow through the
defroster ventsPDirects the airflow through the center
and side air ventsODirects the airflow through the
footwell air ventsSDirects the airflow through the center
and side air vents as well as the
footwell air vents_Directs the airflow to the entire vehicle
interiorbDirects the airflow through the center
and side air vents, as well as the
defroster ventsaDirects the airflow through the
footwell and defroster ventsOperating the climate control system107Climate controlZ
Page 110 of 288
XSelect key position 2 with the Start/Stop
button.XPress the _ button repeatedly until the
desired symbol appears in the display.
The indicator lamp in the à button goes
out. Automatic control is deactivated and
the air distribution is controlled according
to the selected setting.
Setting the airflow
XSelect key position 2 with the Start/Stop
button.XTo increase/reduce: press the K or
I button.
Switching the mono function on/off
The MONO function is only available in
vehicles for Canada.
You can use the MONO function to adopt the
temperature and air distribution settings on
the driver's side for the front-passenger side.
XPress the º button.
The indicator lamp in the º button lights
up or goes out.
Defrosting the windshield
i You should only select the defrosting
function until the windshield is clear again.
XSelect key position 2 with the Start/Stop
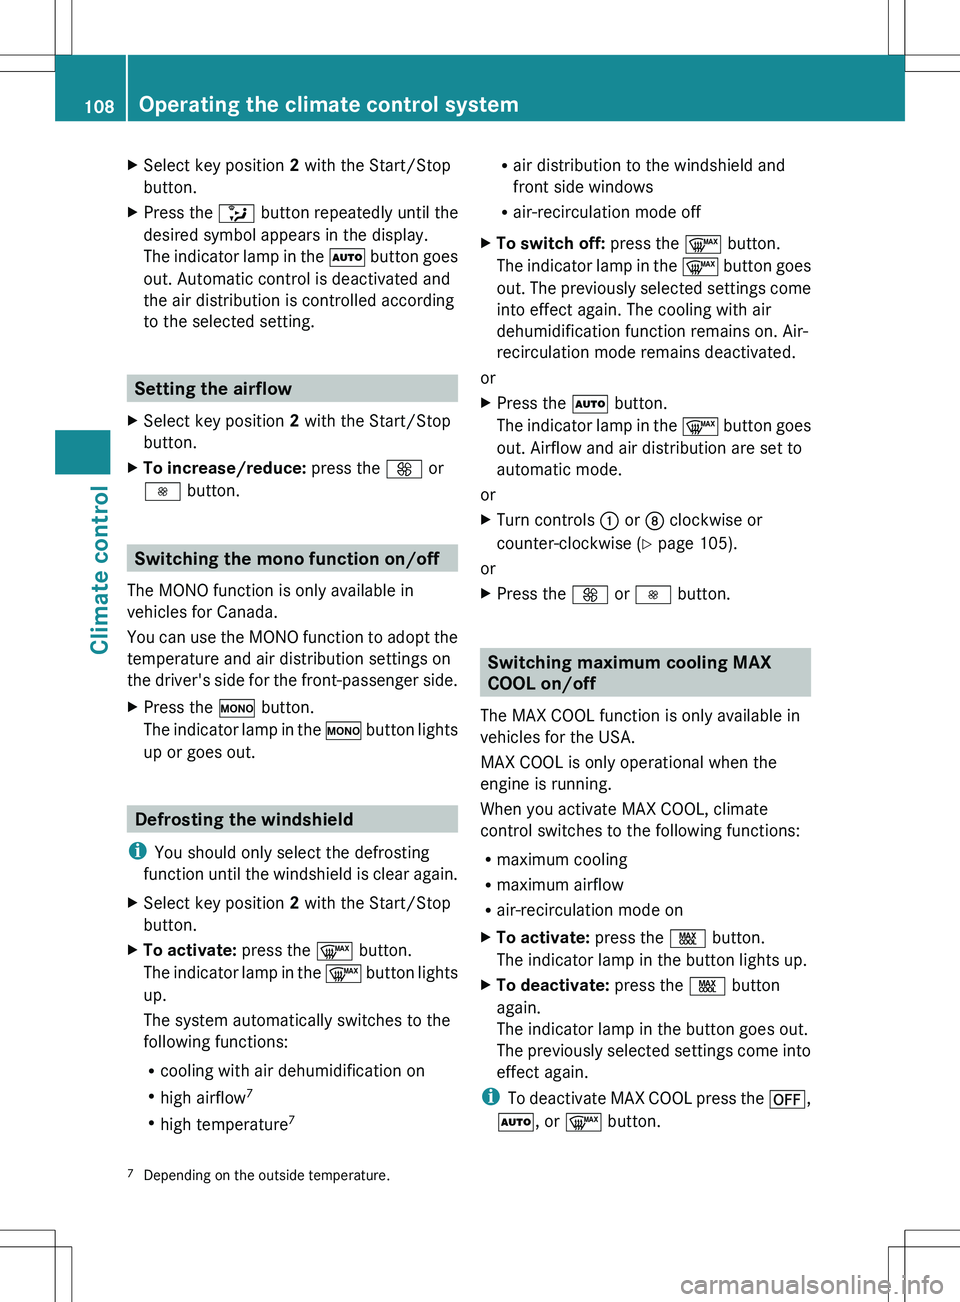
button.XTo activate: press the ¬ button.
The indicator lamp in the ¬ button lights
up.
The system automatically switches to the
following functions:
R cooling with air dehumidification on
R high airflow 7
R high temperature 7R
air distribution to the windshield and
front side windows
R air-recirculation mode offXTo switch off: press the ¬ button.
The indicator lamp in the ¬ button goes
out. The previously selected settings come
into effect again. The cooling with air
dehumidification function remains on. Air-
recirculation mode remains deactivated.
or
XPress the à button.
The indicator lamp in the ¬ button goes
out. Airflow and air distribution are set to
automatic mode.
or
XTurn controls : or D clockwise or
counter-clockwise ( Y page 105).
or
XPress the K or I button.
Switching maximum cooling MAX
COOL on/off
The MAX COOL function is only available in
vehicles for the USA.
MAX COOL is only operational when the
engine is running.
When you activate MAX COOL, climate
control switches to the following functions:
R maximum cooling
R maximum airflow
R air-recirculation mode on
XTo activate: press the Ù button.
The indicator lamp in the button lights up.XTo deactivate: press the Ù button
again.
The indicator lamp in the button goes out.
The previously selected settings come into
effect again.
i To deactivate MAX COOL press the ^,
à , or ¬ button.
7
Depending on the outside temperature.108Operating the climate control systemClimate control
Page 126 of 288
Rthe vehicle is stationary and the brake
pedal is depressed (left foot).
R the transmission is set to D.
Activating RACE STARTXDepress the brake pedal with your left foot
and keep it depressed.XTurn the drive program selector switch
clockwise ( Y page 122) until the RS
indicator on the switch lights up in red.
The RACE START Confirm: Paddle UP
Cancel: Paddle DOWN message appears
in the multifunction display.
i If the conditions for activation are not
fulfilled, RACE START is canceled. The
RACE START Not Possible message
appears in the multifunction display.
XTo cancel: pull the left-hand steering wheel
paddle shifter (DOWN) ( Y page 123).
The multifunction display shows the RACE
START Canceled message.XTo confirm: pull the right-hand steering
wheel paddle shifter (UP) ( Y page 123).
The RACE START Available Depress
gas pedal message appears in the
multifunction display.
i If you do not depress the accelerator
pedal within a few seconds, RACE START is
canceled. The multifunction display shows
the RACE START Canceled message.
XFully depress the accelerator pedal.
The engine speed is increased.
The RACE START Release brake to
start. message appears in the
multifunction display.
i If you do not release the brake pedal
within a few seconds, RACE START is
canceled. The multifunction display shows
the RACE START Canceled message.
XTake your foot off the brake pedal while
keeping the accelerator pedal fully
depressed.
The vehicle pulls away at maximum
acceleration.The RACE START Active message appears
in the multifunction display.
RACE START is deactivated once a speed of
approximately 50 km/h is reached. Drive
program S+ is activated. SPORT handling
mode remains switched on.
RACE START is immediately deactivated if
you take your foot off the accelerator pedal
during RACE START or if the conditions for
activation are no longer met. The RACE
START Not Possible or RACE START
Canceled message appears in the
multifunction display.
i After using it several times in short
succession, RACE START will be
unavailable until a certain distance has
been driven.
Automatic drive program
Drive program C is characterized by the
following:
R comfort-oriented engine and transmission
settings
R optimal fuel consumption resulting from
the transmission shifting up sooner
R the vehicle pulling away more gently in
forward and reverse gears, unless the
accelerator pedal is depressed fully
R increased sensitivity; this improves driving
stability on slippery road surfaces, for
example
R the transmission shifting up sooner; this
results in the vehicle being driven at lower
engine speeds and the wheels being less
likely to spin
Drive programs S and S+ are characterized
by the following:
R sporty engine and transmission settings
R the transmission shifting up later and
shifting down dynamically
124AMG SPEEDSHIFT DCT 7-speed sports transmissionDriving and parking
Page 222 of 288
Adding engine oilHEnvironmental note
When adding oil, take care not to spill any. If
oil enters the soil or waterways, it is harmful
to the environment.
! Use only engine oils and oil filters that
have been approved for vehicles equipped
with a service system. A list of the engine
oils and oil filters tested and approved in
accordance with the Mercedes-Benz
Specifications for Service Products can be
called up by visiting http://
www.mbusa.com (USA only). More
information about tested and approved
engine oils and oil filters is available from
any authorized Mercedes-Benz Center.
Damage to the engine or exhaust system is
caused by the following:
R using engine oils and oil filters which
have not been specifically approved for
the service system.
R replacing the engine oil or oil filter after
the replacement interval required by the
service system has elapsed
R using engine oil additives.
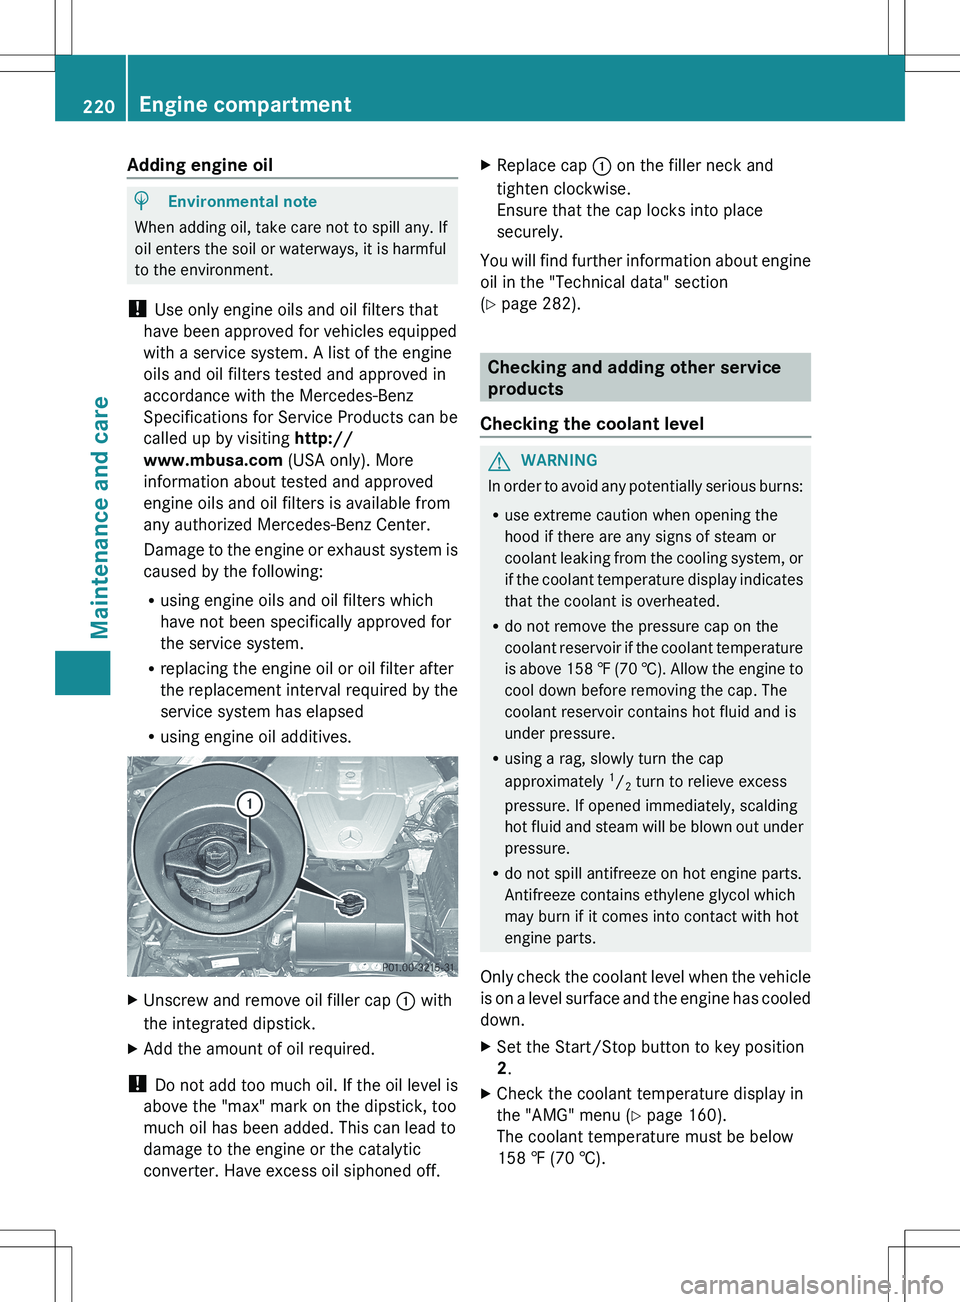
XUnscrew and remove oil filler cap : with
the integrated dipstick.XAdd the amount of oil required.
! Do not add too much oil. If the oil level is
above the "max" mark on the dipstick, too
much oil has been added. This can lead to
damage to the engine or the catalytic
converter. Have excess oil siphoned off.
XReplace cap : on the filler neck and
tighten clockwise.
Ensure that the cap locks into place
securely.
You will find further information about engine
oil in the "Technical data" section
( Y page 282).
Checking and adding other service
products
Checking the coolant level
GWARNING
In order to avoid any potentially serious burns:
R use extreme caution when opening the
hood if there are any signs of steam or
coolant leaking from the cooling system, or
if the coolant temperature display indicates
that the coolant is overheated.
R do not remove the pressure cap on the
coolant reservoir if the coolant temperature
is above 158 ‡ (70 †). Allow the engine to
cool down before removing the cap. The
coolant reservoir contains hot fluid and is
under pressure.
R using a rag, slowly turn the cap
approximately 1
/ 2 turn to relieve excess
pressure. If opened immediately, scalding
hot fluid and steam will be blown out under
pressure.
R do not spill antifreeze on hot engine parts.
Antifreeze contains ethylene glycol which
may burn if it comes into contact with hot
engine parts.
Only check the coolant level when the vehicle
is on a level surface and the engine has cooled
down.
XSet the Start/Stop button to key position
2 .XCheck the coolant temperature display in
the "AMG" menu ( Y page 160).
The coolant temperature must be below
158 ‡ (70 †).220Engine compartmentMaintenance and care
Page 236 of 288
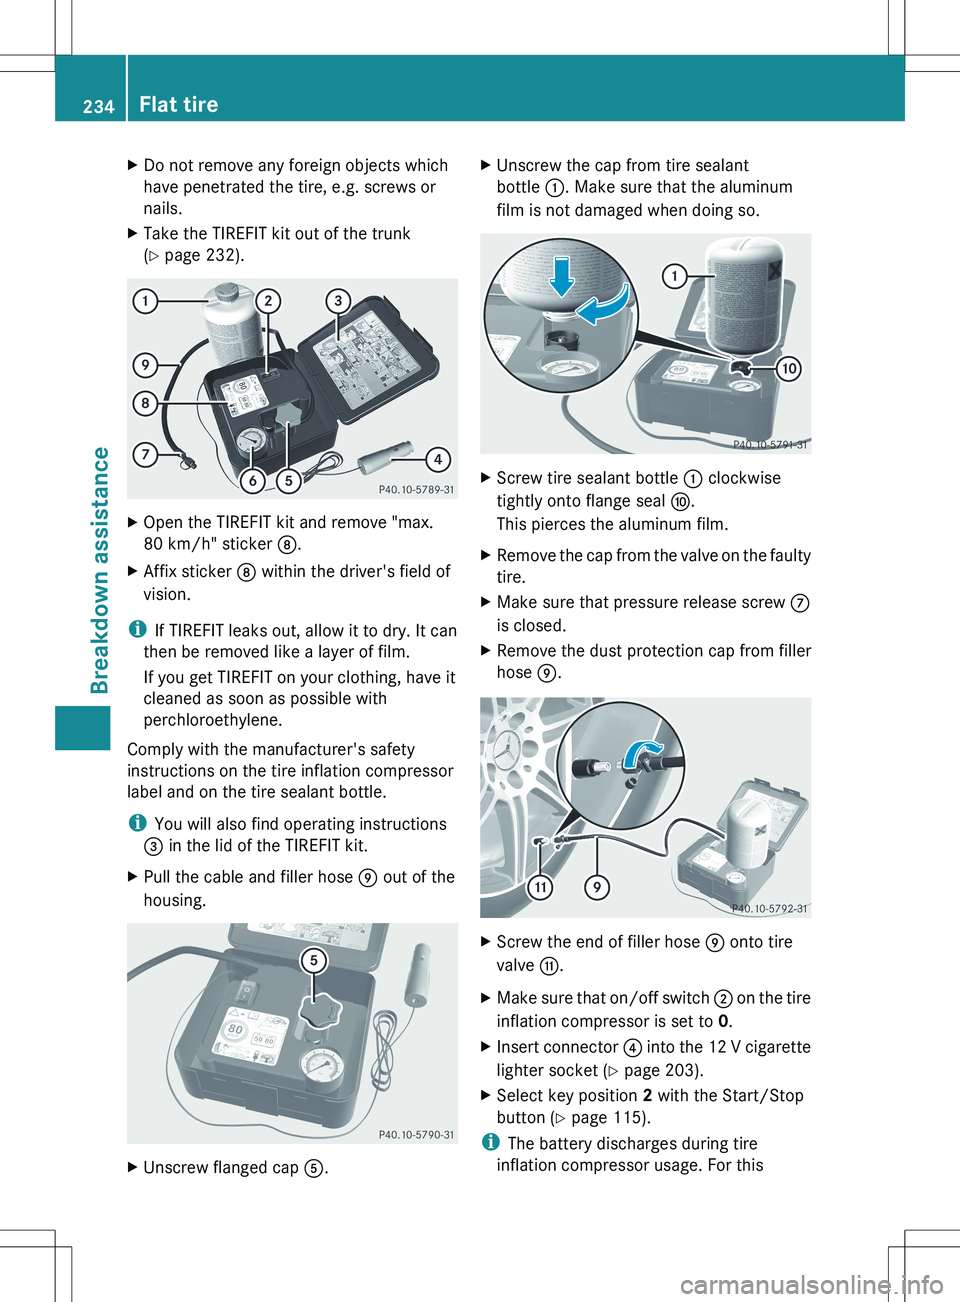
XDo not remove any foreign objects which
have penetrated the tire, e.g. screws or
nails.XTake the TIREFIT kit out of the trunk
( Y page 232).XOpen the TIREFIT kit and remove "max.
80 km/h" sticker D.XAffix sticker D within the driver's field of
vision.
i If TIREFIT leaks out, allow it to dry. It can
then be removed like a layer of film.
If you get TIREFIT on your clothing, have it
cleaned as soon as possible with
perchloroethylene.
Comply with the manufacturer's safety
instructions on the tire inflation compressor
label and on the tire sealant bottle.
i You will also find operating instructions
= in the lid of the TIREFIT kit.
XPull the cable and filler hose E out of the
housing.XUnscrew flanged cap A.XUnscrew the cap from tire sealant
bottle :. Make sure that the aluminum
film is not damaged when doing so.XScrew tire sealant bottle : clockwise
tightly onto flange seal F.
This pierces the aluminum film.XRemove the cap from the valve on the faulty
tire.XMake sure that pressure release screw C
is closed.XRemove the dust protection cap from filler
hose E.XScrew the end of filler hose E onto tire
valve G.XMake sure that on/off switch ; on the tire
inflation compressor is set to 0.XInsert connector ? into the 12 V cigarette
lighter socket ( Y page 203).XSelect key position 2 with the Start/Stop
button ( Y page 115).
i
The battery discharges during tire
inflation compressor usage. For this
234Flat tireBreakdown assistance
Page 248 of 288
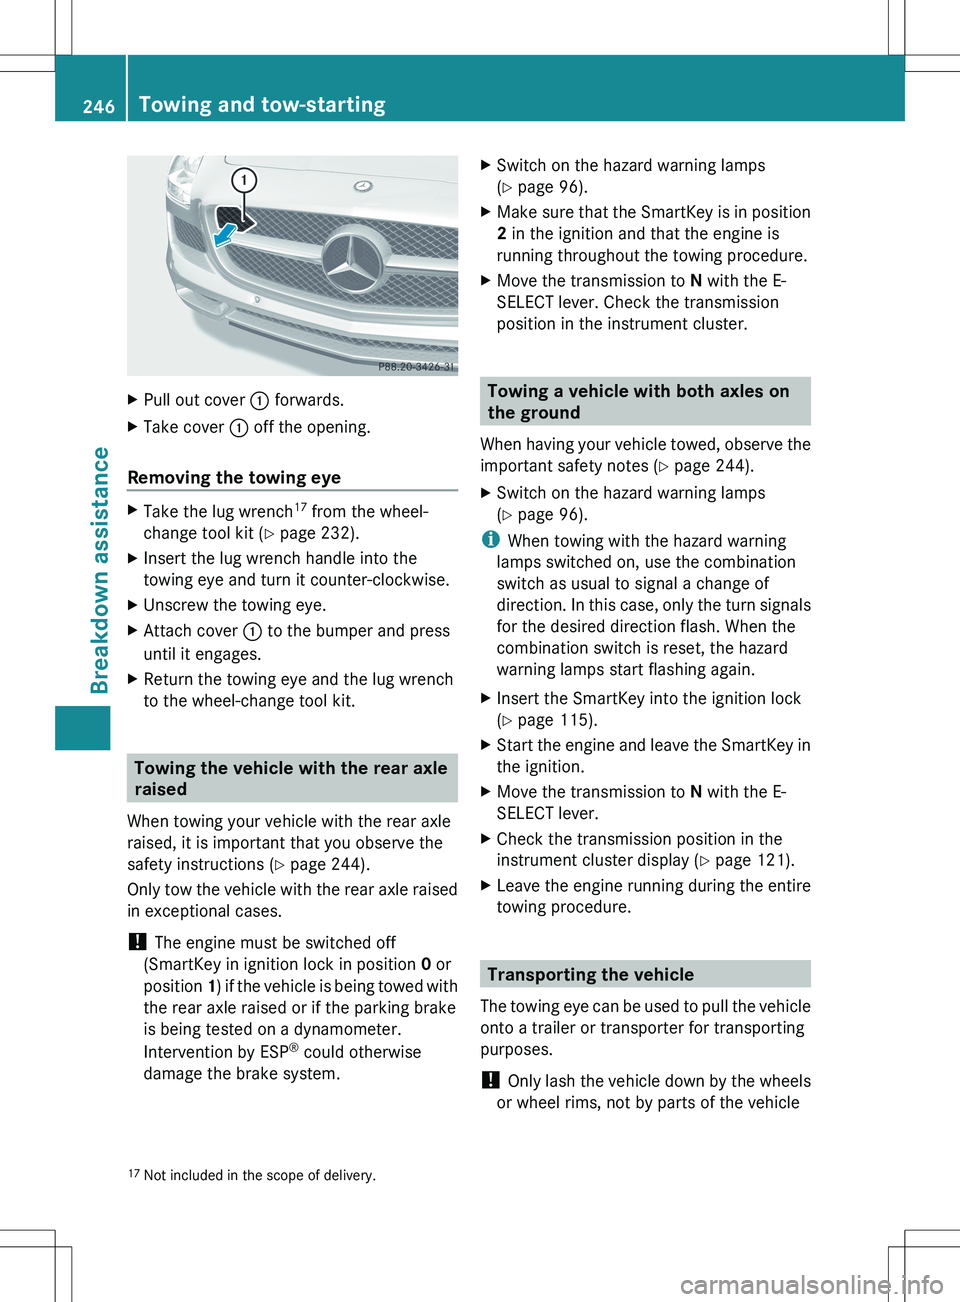
XPull out cover : forwards.XTake cover : off the opening.
Removing the towing eye
XTake the lug wrench 17
from the wheel-
change tool kit ( Y page 232).XInsert the lug wrench handle into the
towing eye and turn it counter-clockwise.XUnscrew the towing eye.XAttach cover : to the bumper and press
until it engages.XReturn the towing eye and the lug wrench
to the wheel-change tool kit.
Towing the vehicle with the rear axle
raised
When towing your vehicle with the rear axle
raised, it is important that you observe the
safety instructions ( Y page 244).
Only tow the vehicle with the rear axle raised
in exceptional cases.
! The engine must be switched off
(SmartKey in ignition lock in position 0 or
position 1) if the vehicle is being towed with
the rear axle raised or if the parking brake
is being tested on a dynamometer.
Intervention by ESP ®
could otherwise
damage the brake system.
XSwitch on the hazard warning lamps
( Y page 96).XMake sure that the SmartKey is in position
2 in the ignition and that the engine is
running throughout the towing procedure.XMove the transmission to N with the E-
SELECT lever. Check the transmission
position in the instrument cluster.
Towing a vehicle with both axles on
the ground
When having your vehicle towed, observe the
important safety notes ( Y page 244).
XSwitch on the hazard warning lamps
( Y page 96).
i
When towing with the hazard warning
lamps switched on, use the combination
switch as usual to signal a change of
direction. In this case, only the turn signals
for the desired direction flash. When the
combination switch is reset, the hazard
warning lamps start flashing again.
XInsert the SmartKey into the ignition lock
( Y page 115).XStart the engine and leave the SmartKey in
the ignition.XMove the transmission to N with the E-
SELECT lever.XCheck the transmission position in the
instrument cluster display ( Y page 121).XLeave the engine running during the entire
towing procedure.
Transporting the vehicle
The towing eye can be used to pull the vehicle
onto a trailer or transporter for transporting
purposes.
! Only lash the vehicle down by the wheels
or wheel rims, not by parts of the vehicle
17 Not included in the scope of delivery.246Towing and tow-startingBreakdown assistance