2012 MERCEDES-BENZ SLK55AMG lights
[x] Cancel search: lightsPage 125 of 334
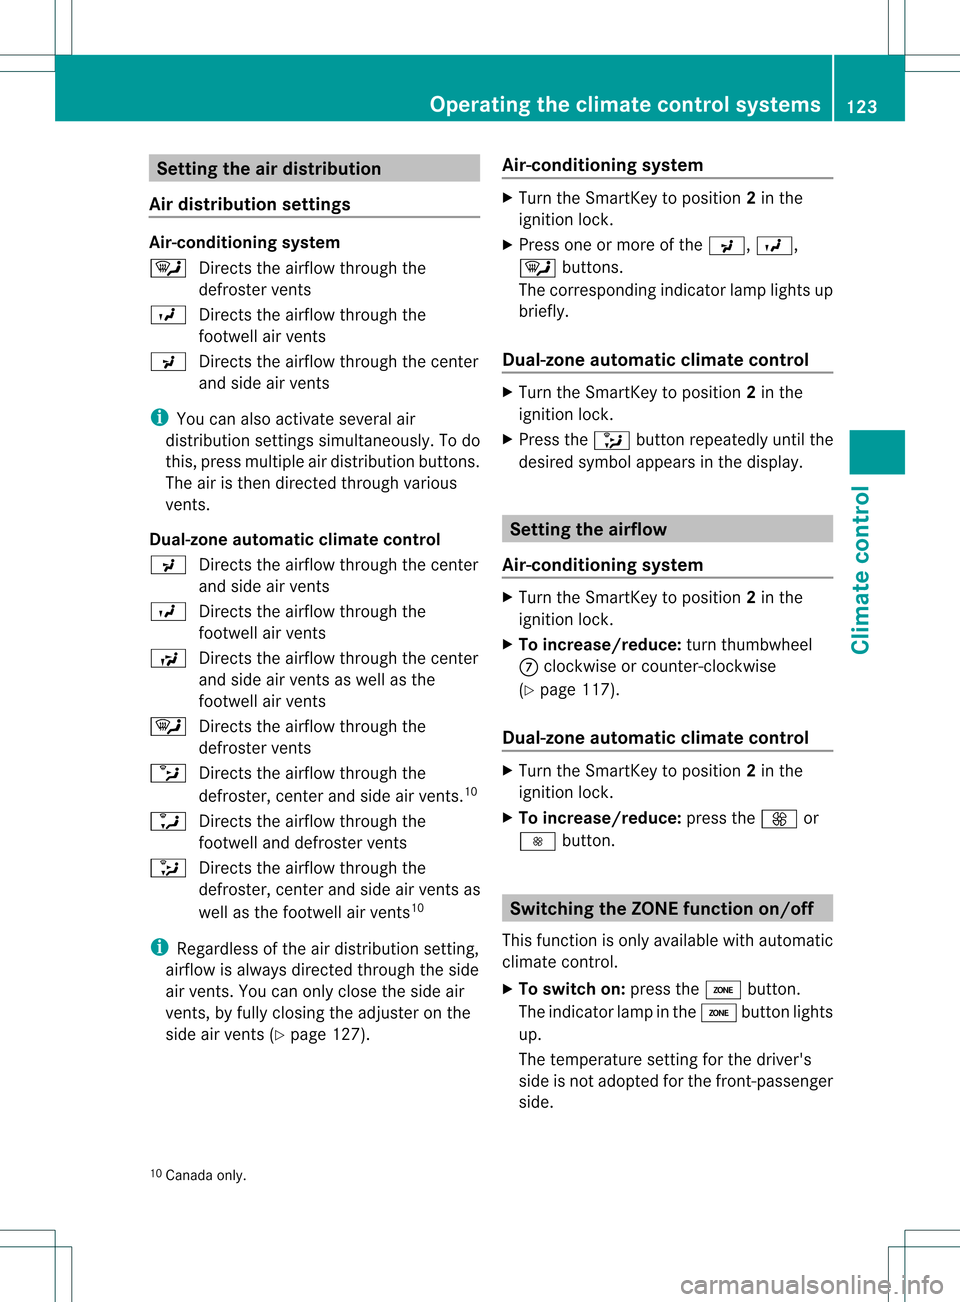
Setting the air distribution
Air distribution settings Air-conditioning system
0007
Directs the airflow through the
defroster vents
0018 Directs the airflow through the
footwell air vents
0019 Directs the airflow through the center
and side air vents
i You can also activate several air
distribution settings simultaneously .To do
this, press multiple air distribution buttons.
The air is then directed through various
vents.
Dual-zone automatic climate control
0019 Directs the airflow through the center
and side air vents
0018 Directs the airflow through the
footwell air vents
001A Directs the airflow through the center
and side air vents as well as the
footwell air vents
0007 Directs the airflow through the
defroster vents
0014 Directs the airflow through the
defroster, center and side air vents. 10
0013 Directs the airflow through the
footwell and defroster vents
0015 Directs the airflow through the
defroster, center and side air vents as
well as the footwell air vents 10
i Regardless of the air distribution setting,
airflow is always directed through the side
air vents. You can only close the side air
vents, by fully closing the adjuster on the
side air vents (Y page 127). Air-conditioning system X
Turn the SmartKey to position 2in the
ignition lock.
X Press one or more of the 0019,0018,
0007 buttons.
The corresponding indicator lamp lights up
briefly.
Dual-zone automatic climate control X
Turn the SmartKey to position 2in the
ignition lock.
X Press the 0015button repeatedly until the
desired symbol appears in the display. Setting the airflow
Air-conditioning system X
Turn the SmartKey to position 2in the
ignition lock.
X To increase/reduce: turn thumbwheel
0014 clockwise or counter-clockwise
(Y page 117).
Dual-zone automatic climate control X
Turn the SmartKey to position 2in the
ignition lock.
X To increase/reduce: press the0017or
0016 button. Switching the ZONE function on/off
This function is only available with automatic
climate control.
X To switch on: press the0003button.
The indicator lamp in the 0003button lights
up.
The temperature setting for the driver's
side is not adopted for the front-passenger
side.
10 Canada only. Operating the climate control systems
123Climate control Z
Page 126 of 334
When the buttons or controls for
temperature, airflow or air distribution are
activated, the temperature setting for the
driver's side is not adopted for the other
climate control zones.
X
To switch off: press the0003button.
The indicato rlamp in the 0003buttongoes
out.
The temperature setting for the driver's
side is adopted for the front-passenger
side. Defrosting the windshield
You can use this function to defrost the
windshield or to defrost the inside of the
windshield and the side windows.
i You should only select the defrosting
function until the windshield is clear again.
X Turn the SmartKey to position 2in the
ignition lock.
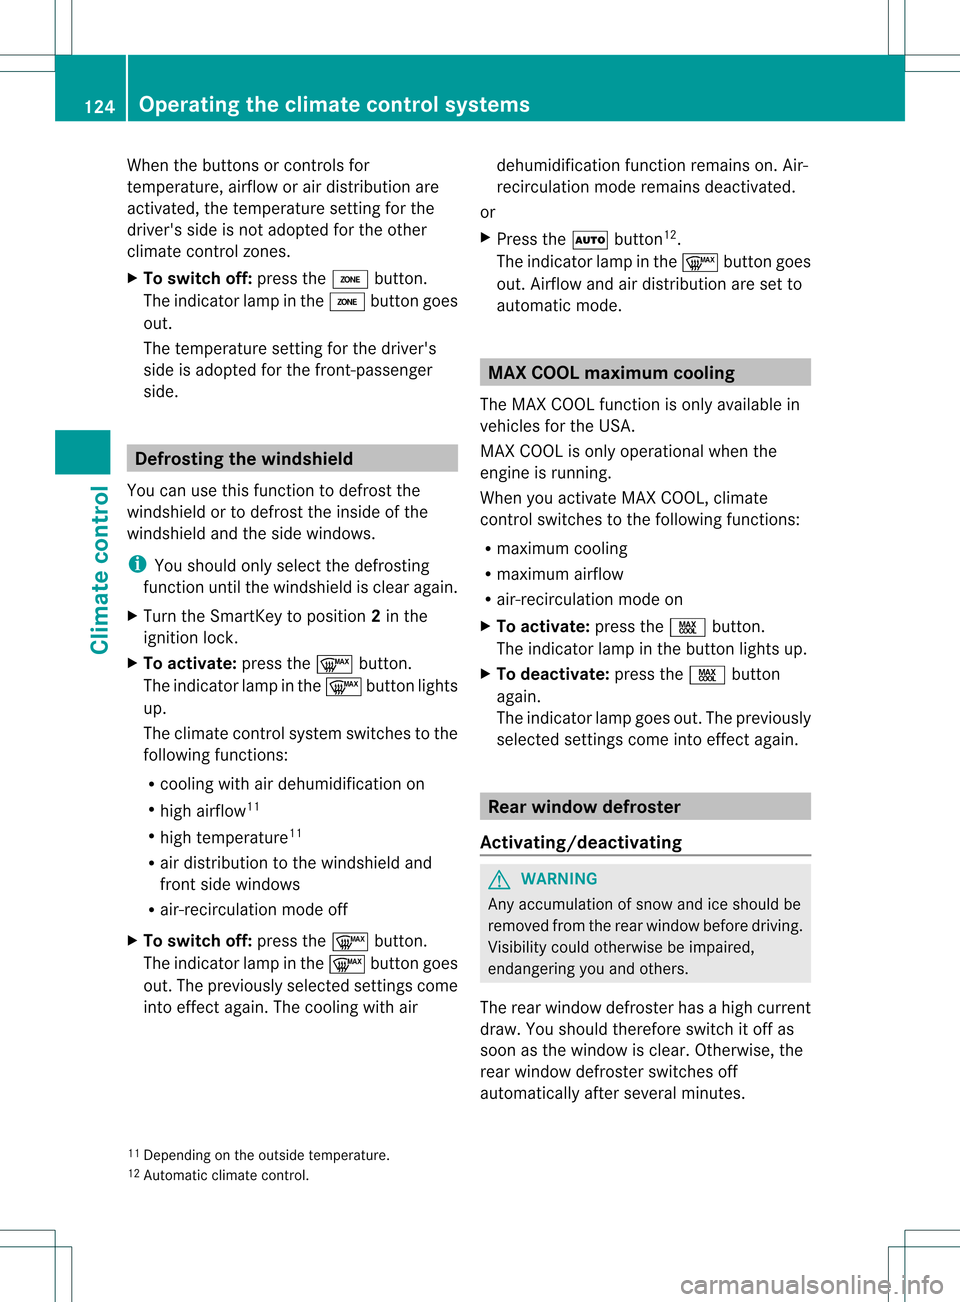
X To activate: press the0008button.
The indicator lamp in the 0008button lights
up.
The climate control system switches to the
following functions:
R cooling with air dehumidification on
R high airflow 11
R high temperature 11
R air distribution to the windshield and
front side windows
R air-recirculation mode off
X To switch off: press the0008button.
The indicator lamp in the 0008button goes
out. The previously selected settings come
into effect again. The cooling with air dehumidification function remains on. Air-
recirculation mode remains deactivated.
or
X Press the 0005button 12
.
The indicator lamp in the 0008button goes
out. Airflow and air distribution are set to
automatic mode. MAX COOL maximum cooling
The MAX COOL function is only available in
vehicles for the USA.
MAX COOL is only operational when the
engine is running.
When you activate MAX COOL, climate
control switches to the following functions:
R maximum cooling
R maximum airflow
R air-recirculation mode on
X To activate: press the0001button.
The indicator lamp in the button lights up.
X To deactivate: press the0001button
again.
The indicator lamp goes out. The previously
selected settings come into effect again. Rear window defroster
Activating/deactivating G
WARNING
Any accumulation of snow and ice should be
removed from the rear window before driving.
Visibility could otherwise be impaired,
endangering you and others.
The rear window defroster has a high current
draw. You should therefore switch it off as
soon as the window is clear. Otherwise, the
rear window defroster switches off
automatically after several minutes.
11 Depending on the outside temperature.
12 Automatic climate control. 124
Operating the climate control systemsClimate control
Page 127 of 334
If the battery voltage is too low, the rear
window defroster may switch off.
X
Turn the SmartKey to position 2in the
ignition lock.
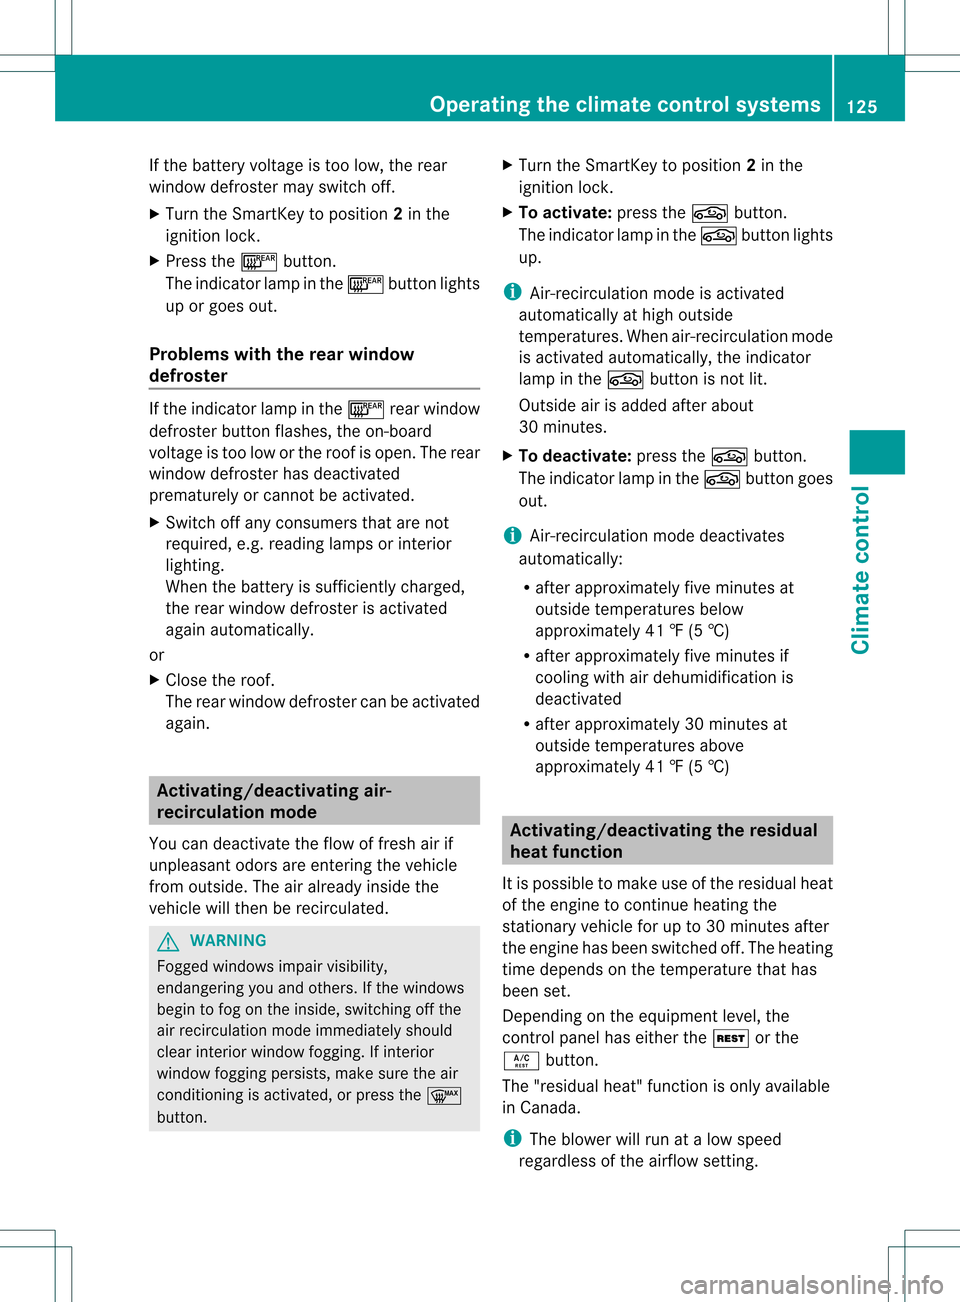
X Press the 000Bbutton.
The indicator lamp in the 000Bbutton lights
up or goes out.
Problems with the rear window
defroster If the indicator lamp in the
000Brear window
defroster button flashes, the on-board
voltage is too low or the roof is open. The rear
window defroster has deactivated
prematurely or cannot be activated.
X Switch off any consumers that are not
required, e.g. reading lamps or interior
lighting.
When the battery is sufficiently charged,
the rear window defroster is activated
again automatically.
or
X Close the roof.
The rear window defroster can be activated
again. Activating/deactivating air-
recirculation mode
You can deactivate the flow of fresh air if
unpleasant odors are entering the vehicle
from outside. The air already inside the
vehicle will then be recirculated. G
WARNING
Fogged windows impair visibility,
endangering you and others. If the windows
begint o fog on the inside, switching off the
air recirculation mode immediately should
clear interior window fogging. If interior
window fogging persists, make sure the air
conditioning is activated, or press the 0008
button. X
Turn the SmartKey to position 2in the
ignition lock.
X To activate: press the0011button.
The indicator lamp in the 0011button lights
up.
i Air-recirculation mode is activated
automatically at high outside
temperatures. When air-recirculation mode
is activated automatically, the indicator
lamp in the 0011button is not lit.
Outside air is added after about
30 minutes.
X To deactivate: press the0011button.
The indicator lamp in the 0011button goes
out.
i Air-recirculation mode deactivates
automatically:
R after approximately five minutes at
outside temperatures below
approximately 41 ‡ (5 †)
R after approximately five minutes if
cooling with air dehumidification is
deactivated
R after approximately 30 minutes at
outside temperatures above
approximately 41 ‡ (5 †) Activating/deactivating the residual
heat function
It is possible to make use of the residual heat
of the engine to continue heating the
stationary vehicle for up to 30 minutes after
the engine has been switched off. The heating
time depends on the temperature that has
been set.
Depending on the equipment level, the
control panel has either the 0002or the
0004 button.
The "residual heat" function is only available
in Canada.
i The blower will run at a low speed
regardless of the airflow setting. Operating the climate control systems
125Climate control Z
Page 134 of 334

Pressing the Start/Stop button several times
in succession corresponds to the different
SmartKey positions in the ignition lock. This
is only the case if you are not depressing the
brake pedal.
If you depress the brake pedal and press the
Start/Stop button, the engine starts
immediately.
The Start/Stop button can be removed from
the ignition lock. Then, you can insert the
SmartKey into the ignition lock.
i
You do not have to remove the Start/Stop
button from the ignition lock when you
leave the vehicle. However, you should
always take the SmartKey with you when
leaving the vehicle. The vehicle can be
started with the Start/Stop button and the
electrical equipment can be operated while
the SmartKey is in the vehicle. 0002
Start/Stop button
0003 Ignition lock
X Insert Start/Stop button 0002into ignition
lock 0003.
i When you insert Start/Stop button 0002
into ignition lock 0003, the system requires a
detection time of approximately
two seconds before you can use Start/
Stop button 0002. Start/Stop button
0023
USA only
0022 Canada only
X Position 0: if Start/Stop button 0002has not
yet been pressed, this corresponds to the
SmartKey being removed from the ignition.
X Position 1: press Start/Stop button 0002.
You can now activate the windshield
wipers, for example.
i If you then open the driver's door when in
this position, the power supply is
deactivated.
X Position 2(ignition): press Start/Stop
button 0002twice.
i If you press Start/Stop button 0002once
when in this position and the driver's door
is open, the power supply is deactivated
again.
As soon as the ignition is switched on, all the
indicator lamps in the instrument cluster light
up. If an indicator lamp does not go out after
the engine is started or if it lights up while the
vehicle is in motion, see (Y page 229). Starting the engine
Important safety notes G
WARNING
Inhalation of exhaust gas is hazardous to your
health. All exhaust gas contains carbon
monoxide (CO), and inhaling it can cause
unconsciousness and possible death. 132
DrivingDriving and parking
Page 138 of 334
the accelerator pedal, the engine starts
automatically and the braking effect of the
HOL
Dfunction is deactivated. Depress the
accelerato rpedal carefully, as the engine
must be started first.
i If you shift the transmission from Rto D,
the ECO start/stop function is available
again once the 000Esymbol reappears in
the multifunction display.
i Automatic engine switch-off can take
place a maximum of three times
consecutively. The automatic engine
switch-off is then available again after the
border of the ECO symbol appears in the
multifunction display.
Automatic engine start The engine starts automatically if:
R
you deactivate the ECO start/stop function
by pressing the ECO button.
R you switch to drive program Sor M.
R you depress the accelerator pedal.
R the vehicle starts to roll.
R the brake system requires this.
R the system detects moisture on the
windshield when the air-conditioning
system is switched on.
R the charge level of the battery is too low.
R the driver's seat belt is removed or the
driver's door is opened.
R you shift the transmission from position D
to R.
R you engage reverse gear R.
R you release the brakes when in
transmission position Dor Nand when the
HOLD function is not active.
R you steer the vehicle.
i Shifting the transmission to position P
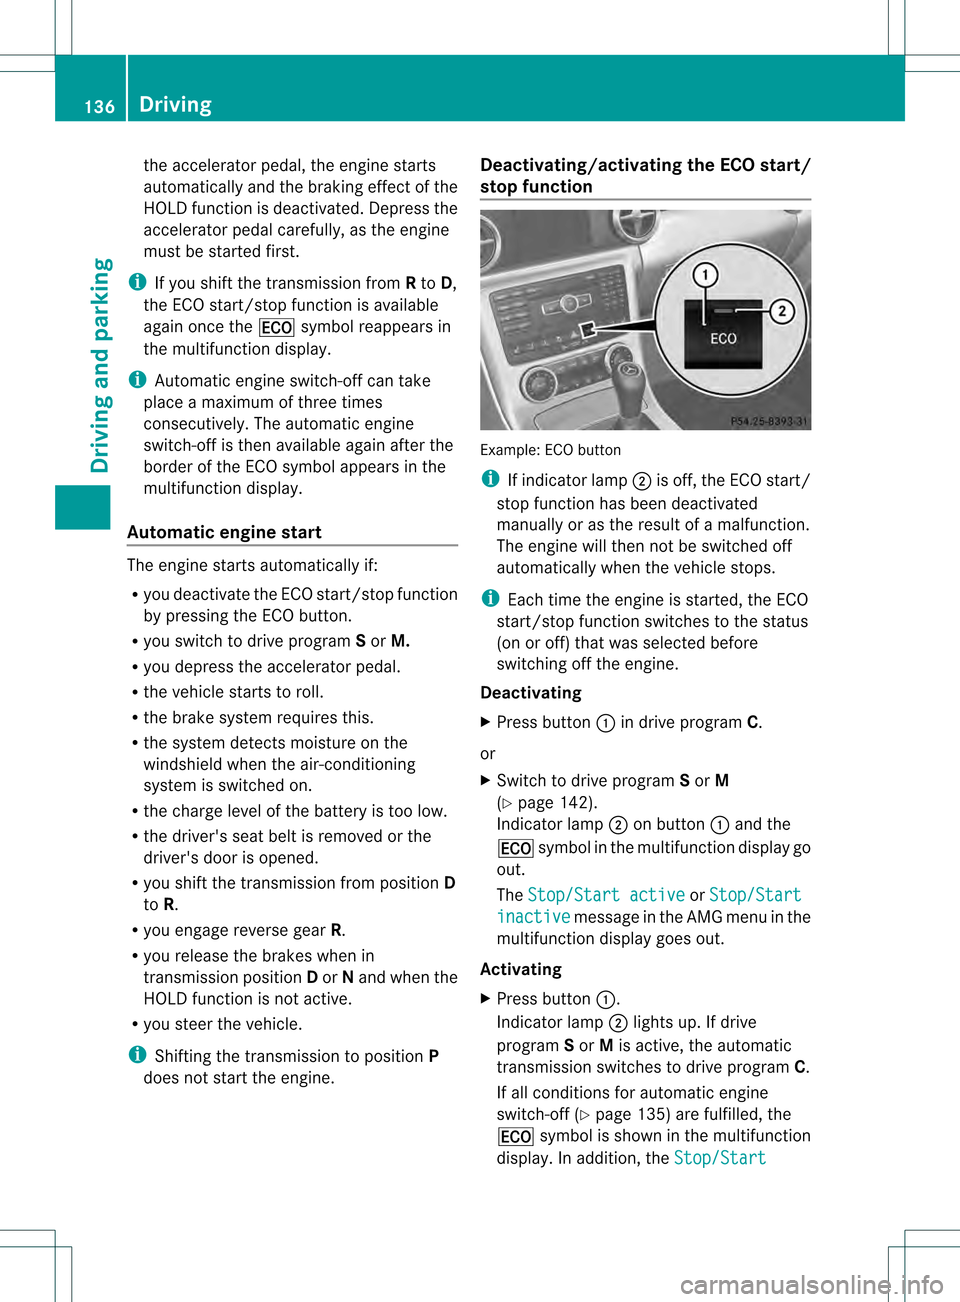
does not start the engine. Deactivating/activating the ECO start/
stop function
Example: ECO button
i
If indicator lamp 0003is off, the ECO start/
stop function has been deactivated
manually or as the result of a malfunction.
The engine will then not be switched off
automatically when the vehicle stops.
i Each time the engine is started, the ECO
start/stop function switches to the status
(on or off) that was selected before
switching off the engine.
Deactivating
X Press button 0002in drive program C.
or
X Switch to drive program Sor M
(Y page 142).
Indicator lamp 0003on button 0002and the
000E symbol in the multifunction display go
out.
The Stop/Start active or
Stop/Start inactive message in the AMG menu in the
multifunction display goes out.
Activating
X Press button 0002.
Indicator lamp 0003lights up. If drive
program Sor Mis active, the automatic
transmission switches to drive program C.
If all conditions for automatic engine
switch-off (Y page 135) are fulfilled, the
000E symbol is shown in the multifunction
display. In addition, the Stop/Start136
DrivingDriving and parking
Page 152 of 334
Switching off the engine
Important safety notes G
WARNING
Do not turn off the engine before the vehicle
has come to a complete stop. With the engine
not running, there is no power assistance for
the brake and steering systems. In this case,
it is important to keep in mind that a
considerably higher degree of effort is
necessary to brake and steer the vehicle.
Vehicles with manual transmission X
Shift to either first gear or reverse gear R.
X Turn the SmartKey to position 0in the
ignition lock and remove it.
The immobilizer is activated.
X Apply the electric parking brake.
Vehicles with automatic transmission X
Apply the electric parking brake.
X Shift the transmission to position P.
Using the SmartKey
X Turn the SmartKey to position 0in the
ignition lock and remove it.
The immobilizer is activated.
i The SmartKey can only be removed if the
transmission is in position P.
Using KEYLESS-GO
X Press the Start/Stop button (Y page 131).
The engine stops and all the indicator
lamps in the instrumen tcluster go out.
i When the driver's door is closed, this
corresponds to SmartKey position 1.When
the driver's door is open, it corresponds to
SmartKey position 0or "SmartKey
removed".
If you attempt to switch off the engine while
the selector lever is in a position other than
P, a message appears in the multifunction
display and you hear a tone. Electric parking brake
General information i
The electric parking brake performs a
function test at regular intervals while the
engine is switched off. The sounds that can
be heard while this is occurring are normal. G
WARNING
When leaving the vehicle, always remove the
SmartKey from the starter switch, take it with
you, and lock the vehicle. Do not leave
children unattended in the vehicle, or with
access to an unlocked vehicle. Children could
release the parking brake and/or shift the
automatic transmission out of park position
P, either of which could result in an accident
and/or serious personal injury. Applying/releasing manually
X
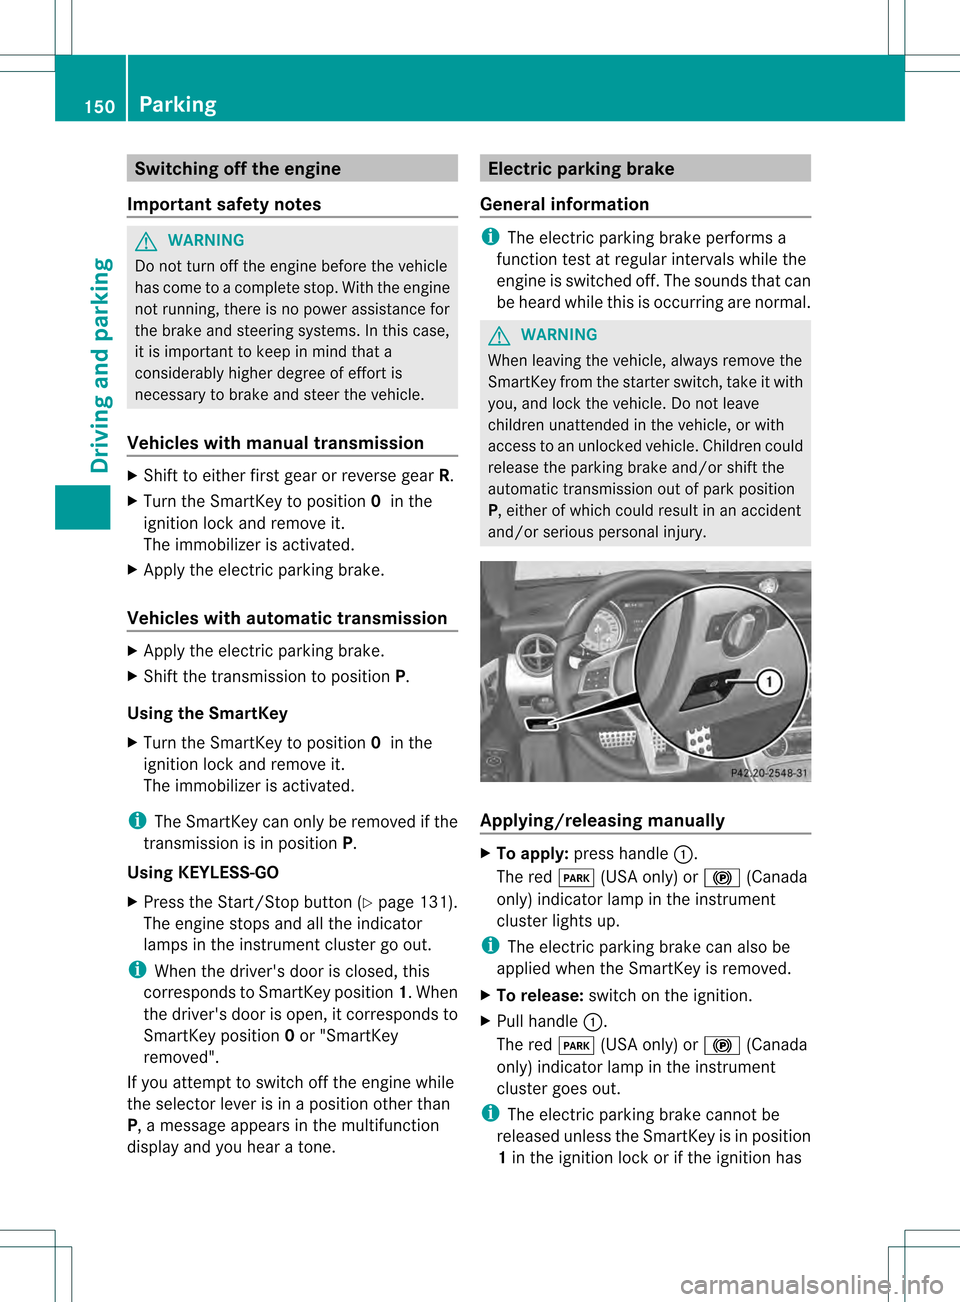
To apply: press handle 0002.
The red 0005(USA only) or 000A(Canada
only) indicator lamp in the instrument
cluster lights up.
i The electric parking brake can also be
applied when the SmartKey is removed.
X To release: switch on the ignition.
X Pull handle 0002.
The red 0005(USA only) or 000A(Canada
only) indicator lamp in the instrument
cluster goes out.
i The electric parking brake cannot be
released unless the SmartKey is in position
1 in the ignition lock or if the ignition has 150
ParkingDriving and parking
Page 153 of 334
been switched on using the Start/Stop
button.
Applying automatically Your vehicle's electric parking brake is
applied automatically if DISTRONIC PLUS
(vehicles with automatic transmission only)
or the HOLD function stops your vehicle or is
keeping your vehicle stationary. In addition,
at least one of the following conditions must
be fulfilled:
R the engine is switched off.
R the driver's door is open and the seat belt
is not fastened.
R the vehicle is stationary for a lengthy
period.
The red 0005(USA only) or 000A(Canada
only) indicator lamp in the instrument cluster
lights up.
Releasing automatically i
The electric parking brake can only be
released automatically on vehicles with
automatic transmission.
Your vehicle's electric parking brake is
automatically released if all of the following
conditions are met:
R the engine is running.
R the transmission is in position Dor R.
R the seat belt has been fastened.
R you depress the accelerator pedal.
If the transmission is in position R, the trunk
lid must be closed.
If your seat belt is not fastened, the following
conditions must be fulfilled to automatically
release the electric parkin gbrake:
R the driver's door is closed.
R you have shifted out of position Por you
have previously drive nfaster than 2mph
(3km/h). Emergency braking The vehicle can also be braked during an
emergency by using the electric parking
brake.
X
While driving, push handle 0002of the electric
parking brake (Y page 150).
i The vehicle is braked as long as you keep
the handle of the electric parking brake
pressed. The longer the electric parking
brake handle is depressed, the greater the
braking force.
During braking:
R a warning tone sounds.
R the Please Release Parking Brake message appears.
R the red 0005(USA only) or 000A(Canada
only) indicator lamp in the instrument
cluster flashes.
When the vehicle has been braked to a
standstill, the electric parking brake is
engaged. Parking the vehicle for
along period
If you leave the vehicle parked for longer than
four weeks, the battery may be damaged by
exhaustive discharge.
X Connect a trickle charger.
i You can obtain information about trickle
chargers from a qualified specialist
workshop.
If you leave the vehicle parked for longer than
six weeks, the vehicle may suffer damage as
a result of lack of use.
X Visit a qualified specialist workshop and
seek advice. Parking
151Driving and parking Z
Page 156 of 334
Limited braking performance on salt-
treated roads
G
WARNING
The layer of salt on th ebrake discs and the
brake pads/linings may caus eadelay in the
braking effect, resulting in a significantly
longer braking distance, which could lead to
an accident.
To avoid this danger, you should:
R occasionally brake carefully, without
putting other road users at risk, when you
are driving on salted roads. This helps to
remove any salt that may have started to
build up on the brake discs and the brake
pads/linings.
R maintain a greater distanc eto the vehicle
ahead and drive with particular care.
R carefully apply the brakes at the end of a
trip and immediately after commencing a
new trip, so that salt residues are removed
from the brake discs.
Servicing the brakes !
If the red brake warning lamp lights up in
the instrument cluster and you hear a
warning tone while the engine is running,
the brake fluid level may be too low.
Observe additional warning messages in
the multifunction display.
The brake fluid level may be too low due to
brake pad wear or leaking brake lines.
Have the brake system checked
immediately. This work should be carried
out at a qualified specialist workshop.
All checks and maintenance work on the
brake system must be carried out at a
qualified specialist workshop. Consult a
qualified specialist workshop to arrange this.
Have brake pads installed and brake fluid
replaced at a qualified specialist workshop. G
WARNING
If brake pads or brake fluid other than those
recommended are used, the braking properties of the vehicle can be degraded to
an extentt
hat safe braking is substantially
impaired. This could result in an accident.
! As the ESP ®
system operates
automatically, the engine and the ignition
must be switched off (SmartKey in position
0 or 1in the ignition lock) if the electric
parking brake is being tested on a brake
dynamometer (maximum 10 seconds).
Braking triggered automatically by ESP ®
may seriously damage the brake system.
If the brake system has only been subject to
moderate loads, you should test the
functionality of your brakes at regular
intervals. To do so, press firmly on the brake
pedal when driving at a high speed. This
improves the grip of the brake pads. G
WARNING
Make sure that you do not endanger other
road users when you apply the brakes.
You can find a description of Brake Assist
(BAS) on (Y page 57).
High-performance brake system for
AMG vehicles The high-performance brake system is
installed only on the SLK 55 AMG.
G
WARNING
New vehicle brake pads and discs, and
replacement brake pads and discs may take
several hundred miles of driving until they
provide optimum braking efficiency. Until that
time, you may need to use increased brake
pedal pressure while braking. Please be aware
of this and adjust your driving and braking
accordingly during this break-in period.
Excessive high-demand braking will cause
correspondingly high brake wear. Please be
attentive to the brake warning lamp in the
instrument cluster and brake condition
messages in the multifunction display.
Especially for high performance driving, it is 154
Driving tipsDriving and parking