2012 MERCEDES-BENZ SLK55AMG warning light
[x] Cancel search: warning lightPage 270 of 334
Cleaning the windows
G
WARNING
Before cleaning the windshield or wiper
blades, switch off the windshield wipers and
remove the SmartKey from the ignition lock.
On vehicles with KEYLESS-GO, press the
Start/Stop butto nrepeatedly until all
indicator lamps in the instrument cluster have
gone out. The windshield wipers could
otherwise move and injure you. G
WARNING
Do not clean the rear window with the
reatractable hardtop (vario-roof) in a position
other than the fully raised and closed position.
Otherwise, the retractable hardtop may move
unexpectedly which may result in personal
injury to you or others.
X Clean the inside and outside of the
windows with a damp cloth and a cleaning
agent that is recommended and approved
by Mercedes-Benz.
! Do not use dry cloths, abrasive products,
solvents or cleaning agents containing
solvents to clean the inside of the windows.
Do not touch the insides of the windows
with hard objects, e.g. an ice scraper or
ring. There is otherwise a risk of damaging
the windows.
! Clean the water drainage channels of the
windshield and the rear window at regular
intervals. Deposits such as leaves, petals
and pollen may under certain
circumstances prevent water from draining
away .This can lead to corrosion damage
and damage to electronic components.
Cleaning the wiper blades G
WARNING
Before cleaning the windshield or wiper
blades, switch off the windshield wipers and
remove the SmartKey from the ignition lock.
On vehicles with KEYLESS-GO, press the Start/Stop button repeatedly until all
indicator lamps in the instrumentc
luster have
gone out. The windshield wipers could
otherwise move and injure you.
! Do not pull the wiper blade. Otherwise,
the wiper blade could be damaged.
! Do not clean wiper blades too often and
do not rub the mtoo hard. Otherwise, the
graphite coating could be damaged. This
could cause wiper noise.
X Fold the wiper arms away from the
windshield.
X Carefully clean the wiper blades with a
damp cloth.
X Fold the windshield wipers back again
before switching on the ignition.
! Hold the wiper arm securely when folding
back. The windshield could be damaged if
the wiper arm smacks against it suddenly.
Cleaning the exterior lighting !
Only use cleaning agents or cleaning
cloths which are suitable for plastic light
lenses. Unsuitable cleaning agents or
cleaning cloths could scratch or damage
the plastic light lenses.
X Clean the plastic lenses of the exterior
lighting using a wet sponge and a mild
cleaning agent, e.g. Mercedes-Benz car
shampoo. Or clean the exterior lighting
with cleaning cloths.
Cleaning the mirror turns ignals !
Only use cleaning agents or cleaning
cloths that are suitable for plastic lenses.
Unsuitable cleaning agents or cleaning
cloths could scratch or damage the plastic
lenses of the mirror turn signals.
X Clean the plastic lenses of the mirror turn
signals using a wet sponge and a mild
cleaning agent, e.g. Mercedes-Ben zcar 268
CareMaintenance and care
Page 272 of 334
X
Wipe the plastic trim with a damp, lint-free
cloth, e.g. a microfiber cloth.
X Heavy soiling: use car care and cleaning
products recommended and approved by
Mercedes-Benz.
The surface may change color temporarily.
Wait until the surface is dry again.
Cleaning the steering wheel and gear or
selector lever X
Thoroughly wipe with a damp cloth or use
leather care agents that have been
recommended and approved by Mercedes-
Benz.
Cleaning genuine wood and trim
elements X
Wipe the wooden trim and trim pieces with
a damp, lint-free cloth ,e.g. a microfiber
cloth.
X Heavy soiling: use car care and cleaning
products recommended and approved by
Mercedes-Benz.
! Do not use solvent-based cleaning agents
such as tar remover, whee lcleaners,
polishes or waxes. There is otherwise a risk
of damaging the surface.
! Do not use chrome polish on trim pieces.
The trim pieces have a chrome look but are
mostly made of anodized aluminum and
can lose their shine if chrome polish is
used. Use a damp, lint-free cloth instead
when cleaning the trim pieces.
If the chrome-plated trim pieces are very
dirty, you can use a chrome polish. If you
are unsure as to whether the trim pieces
are chrome-plated or not, consult an
authorized Mercedes-Ben zCenter.
Cleaning the seat covers !
Do not use microfiber cloths to clean
genuine leather, artificial leather or
Alcantara® covers. If used often, these can
damage the cover. !
Observe the following when cleaning:
R clean genuine leather cover scarefully
with a damp cloth and then wipe the
covers down with a dry cloth .Make sure
that the leather does no tbecome
soaked. It may otherwise become rough
and cracked. Only use leather care
agents that have been tested and
approved by Mercedes-Benz. You can
obtain these from a qualified specialist
workshop.
R clean artificial leather covers with a cloth
moistened with a solution containing 1%
detergen t(e.g. dish washing liquid).
R clean cloth covers with a microfiber cloth
moistened with a solution containing 1%
detergen t(e.g. dish washing liquid). Rub
carefully and always wipe entire seat
sections to avoid leaving visible lines.
Leave the seat to dry afterwards.
Cleaning results depend on the type of
dirt and how long it has been there.
R clean Alcantara® covers with a damp
cloth. Make sure that you wipe entire
seat sections to avoid leaving visible
lines.
i Note that regular care is essential to
ensure that the appearance and comfort of
the covers is retained over time.
Cleaning the seat belts X
Use clean, lukewarm water and soap
solution.
! Do not clean the seat belts using chemical
cleaning agents .Do not dry the seat belts
by heating at temperatures above 176 ‡
(80 †) or in direct sunlight. G
WARNING
Do not bleach or dye seat belts as this may
severely weaken them. In a crash, they may
not be able to provide adequate protection. 270
CareMaintenance and care
Page 279 of 334

rolling away, for example when changing a
wheel.
X
Fold both plates upwards 0002.
X Fold out lower plate 0003.
X Guide the lugs on the lower plate fully into
the openings in base plate 0023.Securing the vehicle on level ground
X
On level ground: place chocks or other
suitable items under the front and rear of
the wheel that is diagonally opposite the
wheel you wish to change. Securing the vehicle on slight downhill gradients X
On downhill gradients: place chocks or
other suitable items in front of the wheels
of the front and rear axle.
Raising the vehicle G
WARNING
If you do not position the jack correctly at the
appropriate jacking point of the vehicle, the
jack could tip over with the vehicle raised.
There is a risk of injury.
Only position the jack at the appropriate
jacking point of the vehicle. The base of the
jack must be positioned vertically, directly
under the jacking point of the vehicle.
The following must be observed when raising
the vehicle:
R to raise the vehicle, only use the vehicle-
specific jack that has been tested and
approved by Mercedes-Benz. If used
incorrectly, the jack could tip over with the
vehicle raised.
R the jack is designed only to raise and hold
the vehicle for a short time while a wheel
is being changed .Itis not suited for
performing maintenance work under the
vehicle.
R avoid changing the wheel on uphill and
downhill slopes.
R before raising the vehicle, secure it from
rolling away by applying the parking brake
and inserting wheel chocks. Never
disengage the parking brake while the
vehicle is raised.
R the jack must be placed on a firm, flat and
non-slip surface. On a loose surface, a
large, load-bearing underlay must be used.
On a slippery surface, a non-slip underlay
must be used, e.g. rubber mats.
R do not use wooden blocks or similar
objects as a jack underlay.O therwise, the
jac kw ill not be able to achieve its load-
bearing capacity due to the restricted
height. Flat tire
277Breakdown assistance Z
Page 301 of 334
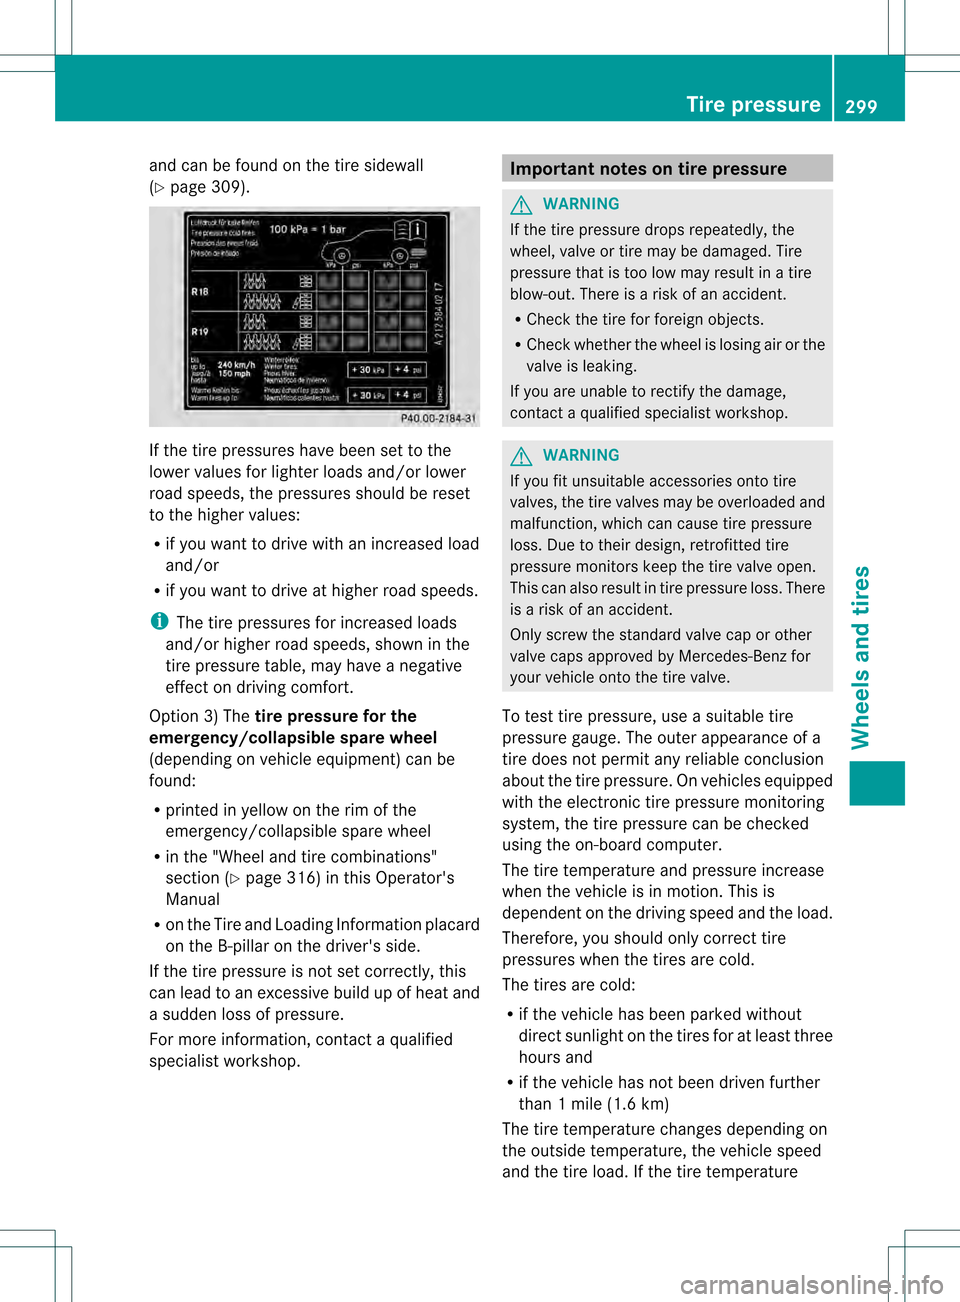
and can be found on th
etire sidewall
(Y page 309). If the tire pressures have been set to the
lower values for lighter loads and/or lower
road speeds, the pressures should be reset
to the higher values:
R if you want to drive with an increased load
and/or
R if you want to drive at higher road speeds.
i The tire pressures for increased loads
and/or higher road speeds, shown in the
tire pressure table, may have a negative
effect on driving comfort.
Option 3) The tire pressure for the
emergency/collapsible spare wheel
(depending on vehicle equipment) can be
found:
R printed in yellow on the rim of the
emergency/collapsible spare wheel
R in the "Wheel and tire combinations"
section (Y page 316) in this Operator's
Manual
R on the Tire and Loading Information placard
on the B-pillar on the driver's side.
If the tire pressure is not set correctly, this
can lead to an excessiv ebuild up of heat and
a sudde nloss of pressure.
For more information, contact a qualified
specialist workshop. Important notes on tire pressure
G
WARNING
If the tire pressure drops repeatedly, the
wheel, valve or tire may be damaged. Tire
pressure that is too low may result in a tire
blow-out. There is a risk of an accident.
R Check the tire for foreign objects.
R Check whether the wheel is losing air or the
valve is leaking.
If you are unable to rectify the damage,
contact a qualified specialist workshop. G
WARNING
If you fit unsuitable accessories onto tire
valves, the tire valves may be overloaded and
malfunction, which can cause tire pressure
loss. Due to their design, retrofitted tire
pressure monitors keep the tire valve open.
This can also result in tire pressure loss. There
is a risk of an accident.
Only screw the standard valve cap or other
valve caps approved by Mercedes-Benz for
your vehicle onto the tire valve.
To test tire pressure, use a suitable tire
pressure gauge. The outer appearance of a
tire does not permit any reliable conclusion
about the tire pressure. On vehicles equipped
with the electronic tire pressure monitoring
system, the tire pressure can be checked
using the on-board computer.
The tire temperature and pressure increase
when the vehicle is in motion .This is
dependent on the driving speed and the load.
Therefore, you should only correct tire
pressures when the tires are cold.
The tires are cold:
R if the vehicle has been parked without
direct sunlight on the tires for at least three
hours and
R if the vehicle has not been driven further
than 1 mile (1.6 km)
The tire temperature changes depending on
the outside temperature, the vehicle speed
and the tire load. If the tire temperature Tire pressure
299Wheels and tires Z
Page 303 of 334
Checking the tire pressures
Important safety notes Observe the "Tire pressure information"
sectio n(Ypage 297).
Information on air pressure for the tires on
your vehicle can be found:
R on the vehicle's Tire and Loading
Information placard on the B-pillar
R on the tire pressure label on the fuel filler
flap
R in the "Tire pressure information" section
Checking tire pressures manually To determine and set the correct tire
pressure, proceed as follows:
X Remove the valve cap of the tire that is to
be checked.
X Press the tire pressure gauge securely onto
the valve.
X Read the tire pressure and compare it with
the recommended value on the Tire and
Loading Information placard on the
B-pillar on the driver's side of your vehicle.
X If necessary, increase the tire pressure to
the recommended value (Y page 297).
X If the tire pressure is too high, release air
by pressing down the metal pin in the valve
using the tip of a pen, for example. Then
chec kthe tire pressure again using the tire
pressure gauge.
X Screw the valve cap onto the valve.
X Repeatt hese steps for the other tires. Tire pressure monitor (USA only)
Important safety notes It is the driver's responsibility to set the tire
pressure to that recommended for cold tires
which is suitable for the operating situation
(Y page 297). Note that the correct tire
pressure for the current operating situation
must first be taught-in to the tire pressure monitor. If there is a substantial loss of
pressure, the warning threshold for the
warning message is aligned to the reference
values taught-in. Restart the tire pressure
monitor after adjusting the pressure of the
cold tires (Y page 303). The current
pressures are saved as new reference values.
As a result, a warning message will appearif
the tire pressure drops significantly.
The tire pressure monitor does not warn you
of an incorrectly set tire pressure. Observe
the notes on the recommended tire pressure
(Y page 297).
The tire pressure monitor is not able to warn
you of a sudden loss of pressure, e.g .ifthe
tire is penetrated by a foreign object. In the
event of a sudden loss of pressure, bring the
vehicle to a halt by braking carefully. Avoid
abrupt steering maneuvers.
If a tire pressure monitor system is installed,
the vehicle's wheels have sensors that
monitor the tire pressures in all four tires. The
tire pressure monitor warns you if the
pressure drops in one or more of the tires. The
tire pressure monitor only functions if the
correct sensors are installed to all wheels.
The tire pressure monitor has a yellow
warning lamp in the instrument cluster for
indicating pressure loss or amalfunction.
Whether the warning lamp flashes or lights up
indicates whether a tire pressure is too low or
the tire pressure monitoring system is
malfunctioning:
R if the warning lamp is lit continuously, the
tire pressure on one or more tires is
significantly too low. The tire pressure
monitor is not malfunctioning.
R if the warning lamp flashes for around a
minute and then remains lit constantly, the
tire pressure monito ris malfunctioning. G
WARNING
Each tire, including the spare (if provided),
should be checked at least once a month
when cold and inflated to the pressure
recommended by the vehicle manufacturer
on the Tire and Loading Information placard Tire pressure
301Wheels and tires
Z
Page 305 of 334
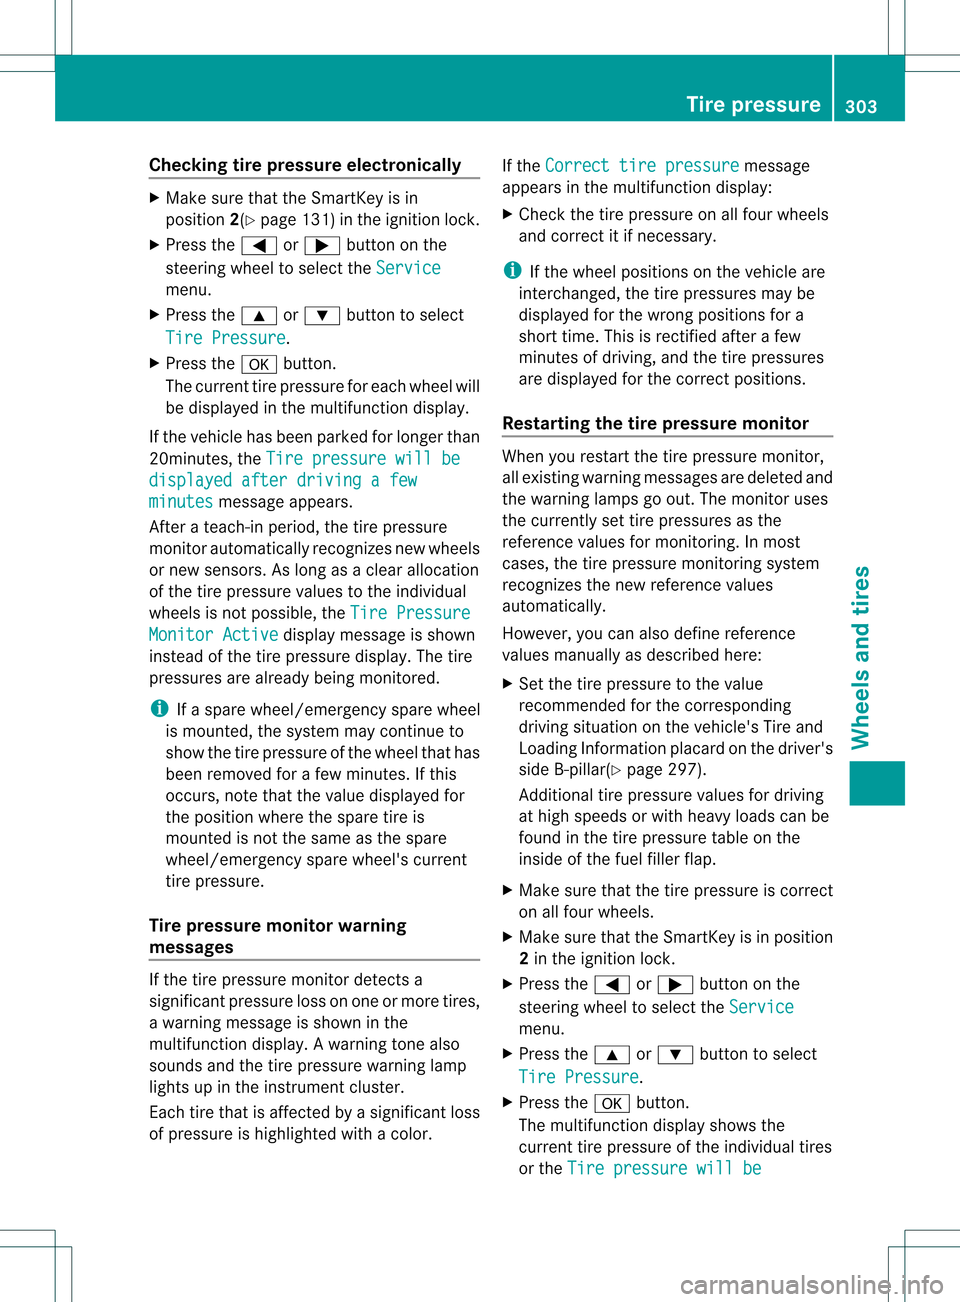
Checking tire pressure electronically
X
Make sure that the SmartKey is in
position 2(Ypage 131) in the ignition lock.
X Press the 0002or0005 button on the
steering wheel to selec tthe Service menu.
X Press the 0003or0004 button to select
Tire Pressure .
X Press the 000Cbutton.
The current tire pressure for each wheel will
be displayed in the multifunction display.
If the vehicle has been parked for longer than
20minutes, the Tire pressure will be displayed after driving a few
minutes message appears.
After a teach-in period, the tire pressure
monitor automatically recognizes new wheels
or new sensors. As long as a clear allocation
of the tire pressure values to the individual
wheels is not possible, the Tire PressureMonitor Active display message is shown
instead of the tire pressure display. The tire
pressures are already being monitored.
i If a spare wheel/emergency spare wheel
is mounted, the system may continue to
show the tire pressure of the wheel that has
been removed for a few minutes. If this
occurs, note that the value displayed for
the position where the spare tire is
mounted is not the same as the spare
wheel/emergency spare wheel's current
tire pressure.
Tire pressure monitor warning
messages If the tire pressure monitor detects a
significant pressure loss on one or more tires,
a warning message is shown in the
multifunction display. Awarning tone also
sounds and the tire pressure warning lamp
lights up in the instrumen tcluster.
Each tire that is affected by a significant loss
of pressure is highlighted with a color. If the
Correct tire pressure message
appears in the multifunction display:
X Check the tire pressure on all four wheels
and correct it if necessary.
i If the wheel positions on the vehicle are
interchanged, the tire pressures may be
displayed for the wrong positions for a
shor ttime. This is rectified after a few
minutes of driving, and the tire pressures
are displayed for the correc tpositions.
Restarting the tire pressure monitor When you restart the tire pressure monitor,
all existing warning messages are deleted and
the warning lamps go out. The monitor uses
the currently set tire pressures as the
reference values for monitoring. In most
cases, the tire pressure monitoring system
recognizes the new reference values
automatically.
However, you can also define reference
values manually as described here:
X
Set the tire pressure to the value
recommended for the corresponding
driving situation on the vehicle's Tire and
Loading Information placard on the driver's
side B-pillar(Y page 297).
Additional tire pressure values for driving
at high speeds or with heavy loads can be
found in the tire pressure table on the
inside of the fuel filler flap.
X Make sure that the tire pressure is correct
on all four wheels.
X Make sure that the SmartKey is in position
2 in the ignition lock.
X Press the 0002or0005 button on the
steering wheel to select the Service menu.
X Press the 0003or0004 button to select
Tire Pressure .
X Press the 000Cbutton.
The multifunction display shows the
current tire pressure of the individual tires
or the Tire pressure will be Tire pressure
303Wheels and tires Z
Page 327 of 334
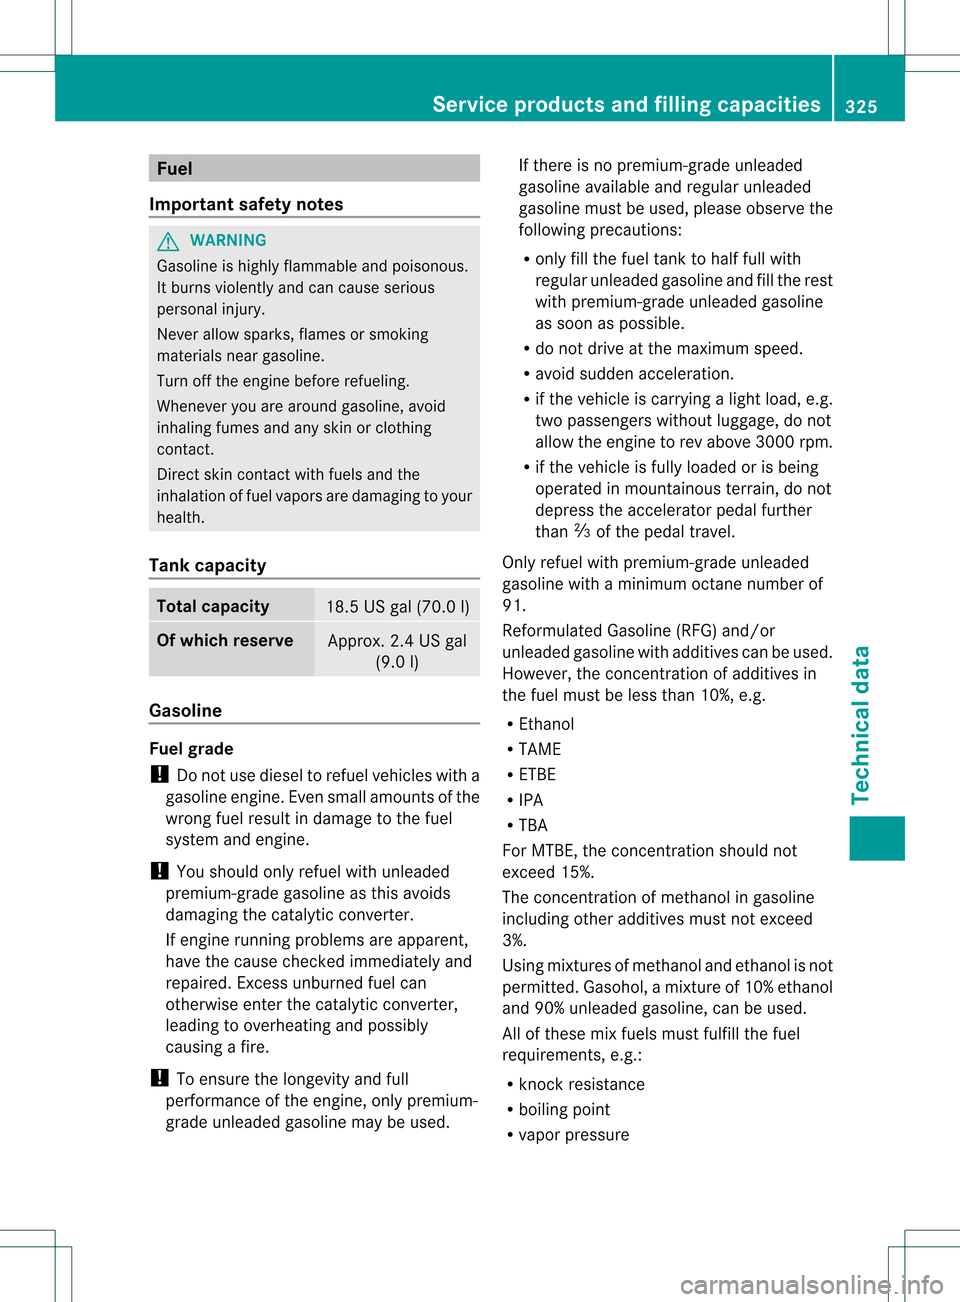
Fuel
Important safety notes G
WARNING
Gasoline is highly flammable and poisonous.
It burns violently and can cause serious
personal injury.
Never allow sparks, flames or smoking
materials near gasoline.
Turn off the engine before refueling.
Wheneve ryou are around gasoline, avoid
inhaling fumes and any skin or clothing
contact.
Direct skin contact with fuels and the
inhalation of fuel vapors are damaging to your
health.
Tank capacity Total capacity
18.5 US gal (70.0 l)
Of which reserve
Approx. 2.4 US gal
(9.0 l) Gasoline
Fuel grade
!
Do not use diesel to refuel vehicles with a
gasoline engine. Even small amounts of the
wrong fuel result in damage to the fuel
system and engine.
! You should only refuel with unleaded
premium-grade gasoline as this avoids
damaging the catalytic converter.
If engine running problems are apparent,
have the cause checked immediately and
repaired. Excess unburned fuel can
otherwise enter the catalytic converter,
leading to overheating and possibly
causing a fire.
! To ensure the longevity and full
performance of the engine, only premium-
grade unleaded gasoline may be used. If there is no premium-grade unleaded
gasoline available and regular unleaded
gasoline must be used, please observe the
following precautions:
R
only fill the fuel tank to half full with
regular unleaded gasoline and fill the rest
with premium-grade unleaded gasoline
as soon as possible.
R do not drive at the maximum speed.
R avoid sudden acceleration.
R if the vehicle is carrying a light load, e.g.
two passengers without luggage, do not
allow the engine to rev above 3000 rpm.
R if the vehicle is fully loaded or is being
operated in mountainous terrain, do not
depress the accelerator pedal further
than 0001of the pedal travel.
Only refuel with premium-grade unleaded
gasoline with a minimum octane number of
91.
Reformulated Gasoline (RFG) and/or
unleaded gasoline with additives can be used.
However, the concentration of additives in
the fuel must be less than 10%, e.g.
R Ethanol
R TAME
R ETBE
R IPA
R TBA
For MTBE, the concentration should not
exceed 15%.
The concentration of methanol in gasoline
including other additives must not exceed
3%.
Using mixtures of methanol and ethanol is not
permitted. Gasohol, a mixture of 10% ethanol
and 90% unleaded gasoline, can be used.
All of these mix fuels must fulfill the fuel
requirements, e.g.:
R knock resistance
R boiling point
R vapor pressure Service products and filling capacities
325Technical data Z