2012 MERCEDES-BENZ SLK350 mirror
[x] Cancel search: mirrorPage 258 of 334

X
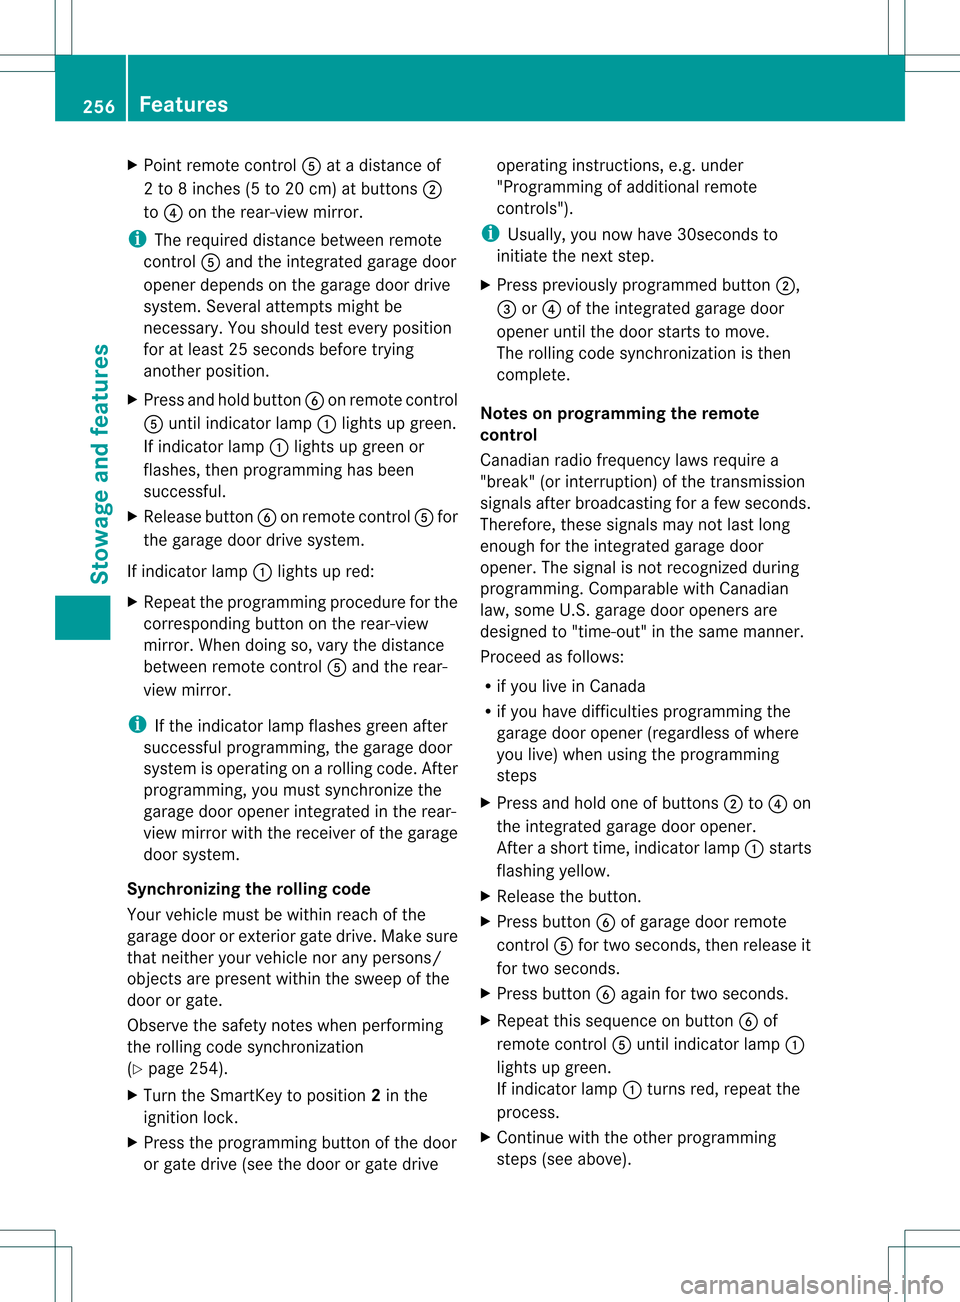
Point remote control 0020at a distance of
2 to 8 inches (5 to 20 cm) at buttons 0003
to 0022 on the rear-view mirror.
i The required distance between remote
control 0020and the integrated garage door
opener depends on the garage door drive
system. Several attempts might be
necessary. You should test every position
for at least 25 seconds before trying
another position.
X Press and hold button 0021on remot econtrol
0020 until indicator lamp 0002lights up green.
If indicator lamp 0002lights up green or
flashes, then programming has been
successful.
X Release button 0021on remote control 0020for
the garage door drive system.
If indicator lamp 0002lights up red:
X Repeat the programming procedure for the
corresponding button on the rear-view
mirror. When doing so, vary the distance
between remote control 0020and the rear-
view mirror.
i If the indicator lamp flashes green after
successful programming, the garage door
system is operating on arolling code. After
programming, you must synchronize the
garage door opener integrated in the rear-
view mirror with the receiver of the garage
door system.
Synchronizing the rolling code
Your vehicle must be within reach of the
garage door or exterior gate drive. Make sure
that neither your vehicle nor any persons/
objects are present within the sweep of the
door or gate.
Observe the safety notes when performing
the rolling code synchronization
(Y page 254).
X Turn the SmartKey to position 2in the
ignition lock.
X Press the programming button of the door
or gate drive (see the door or gate drive operating instructions, e.g. under
"Programming of additional remote
controls").
i Usually, you now have 30seconds to
initiate the next step.
X Press previously programmed button 0003,
0023 or0022 of the integrated garage door
opener until the door starts to move.
The rolling code synchronization is then
complete.
Notes on programming the remote
control
Canadia nradio frequency laws require a
"break" (or interruption) of the transmission
signals after broadcasting for a few seconds.
Therefore, these signals may no tlast long
enough for the integrated garage door
opener. The signal is no trecognized during
programming. Comparable with Canadian
law, some U.S.g arage door openers are
designed to "time-out" in the same manner.
Proceed as follows:
R if you live in Canada
R if you have difficulties programming the
garage door opener (regardless of where
you live) when using the programming
steps
X Press and hold one of buttons 0003to0022 on
the integrated garage door opener.
Afte rashort time, indicator lamp 0002starts
flashing yellow.
X Release the button.
X Press button 0021of garage door remote
control 0020for two seconds, then release it
for two seconds.
X Press button 0021againf or two seconds.
X Repeat this sequence on button 0021of
remote control 0020until indicator lamp 0002
lights up green.
If indicator lamp 0002turns red, repeat the
process.
X Continue with the other programming
steps (see above). 256
FeaturesStowage and features
Page 259 of 334

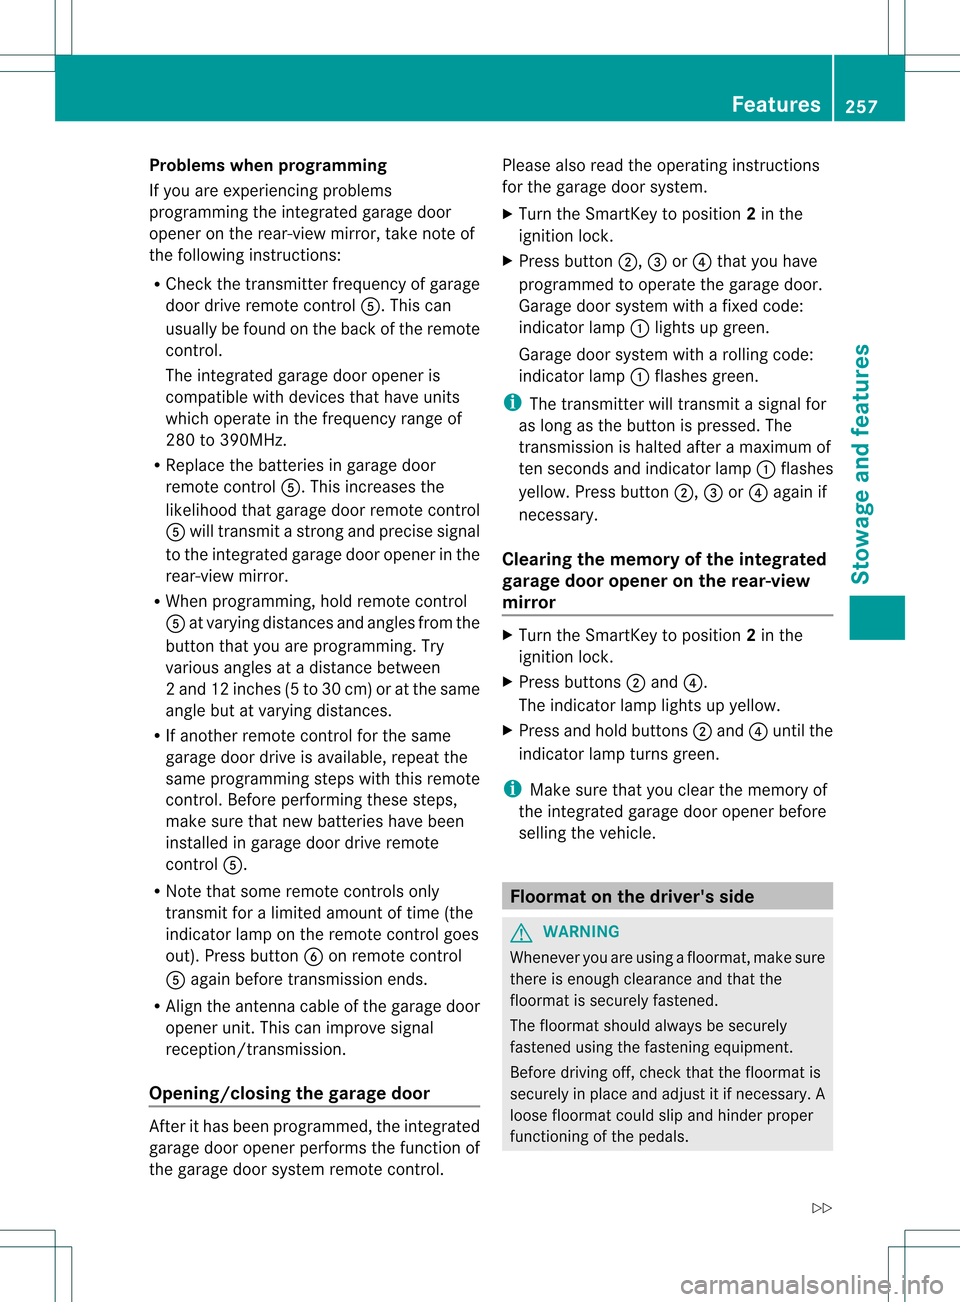
Problems when programming
If you are experiencing problems
programming the integrated garage door
opener on the rear-view mirror, take note of
the following instructions:
R Check the transmitter frequency of garage
door drive remote control 0020.This can
usually be found on the back of the remote
control.
The integrated garage door opener is
compatible with devices that have units
which operate in the frequency range of
280 to 390MHz.
R Replace the batteries in garage door
remote control 0020.This increases the
likelihood that garage door remote control
0020 will transmit a stronga nd precise signal
to the integrated garage door opene rinthe
rear-view mirror.
R When programming, hold remote control
0020 at varying distances and angles from the
button that you are programming. Try
various angles at a distance between
2a nd 12 inches (5 to 30 cm) or at the same
angle bu tatvarying distances.
R If another remote control for the same
garage door drive is available, repeat the
same programming steps with this remote
control. Before performing these steps,
make sure that new batteries have been
installed in garage door driv eremote
control 0020.
R Note that some remote controls only
transmit for a limited amount of time (the
indicator lamp on the remote control goes
out). Press button 0021on remote control
0020 again before transmission ends.
R Align the antenna cable of the garage door
opener unit. This can improve signal
reception/transmission.
Opening/closing the garage door After it has been programmed, the integrated
garage door opener performs the function of
the garage door system remote control. Please also read the operating instructions
for the garage door system.
X
Turn the SmartKey to position 2in the
ignition lock.
X Press button 0003,0023or0022 that you have
programmed to operate the garage door.
Garage door system with a fixed code:
indicator lamp 0002lights up green.
Garage door system with a rolling code:
indicator lamp 0002flashes green.
i The transmitter will transmit a signal for
as long as the button is pressed. The
transmission is halted after a maximum of
ten seconds and indicator lamp 0002flashes
yellow. Press button 0003,0023or0022 again if
necessary.
Clearing the memory of the integrated
garage door opener on the rear-view
mirror X
Turn the SmartKey to position 2in the
ignition lock.
X Press buttons 0003and 0022.
The indicator lamp lights up yellow.
X Press and hold buttons 0003and 0022until the
indicator lamp turns green.
i Make sure that you clear the memory of
the integrated garage door opener before
selling the vehicle. Floormat on the driver's side
G
WARNING
Whenever you are using a floormat, make sure
there is enough clearance and that the
floormat is securely fastened.
The floormat should always be securely
fastened using the fastening equipment.
Before driving off, check that the floormat is
securely in place and adjust it if necessary. A
loose floormat could slip and hinder proper
functioning of the pedals. Features
257Stowage and features
Z
Page 270 of 334

Cleaning the windows
G
WARNING
Before cleaning the windshield or wiper
blades, switch off the windshield wipers and
remove the SmartKey from the ignition lock.
On vehicles with KEYLESS-GO, press the
Start/Stop butto nrepeatedly until all
indicator lamps in the instrument cluster have
gone out. The windshield wipers could
otherwise move and injure you. G
WARNING
Do not clean the rear window with the
reatractable hardtop (vario-roof) in a position
other than the fully raised and closed position.
Otherwise, the retractable hardtop may move
unexpectedly which may result in personal
injury to you or others.
X Clean the inside and outside of the
windows with a damp cloth and a cleaning
agent that is recommended and approved
by Mercedes-Benz.
! Do not use dry cloths, abrasive products,
solvents or cleaning agents containing
solvents to clean the inside of the windows.
Do not touch the insides of the windows
with hard objects, e.g. an ice scraper or
ring. There is otherwise a risk of damaging
the windows.
! Clean the water drainage channels of the
windshield and the rear window at regular
intervals. Deposits such as leaves, petals
and pollen may under certain
circumstances prevent water from draining
away .This can lead to corrosion damage
and damage to electronic components.
Cleaning the wiper blades G
WARNING
Before cleaning the windshield or wiper
blades, switch off the windshield wipers and
remove the SmartKey from the ignition lock.
On vehicles with KEYLESS-GO, press the Start/Stop button repeatedly until all
indicator lamps in the instrumentc
luster have
gone out. The windshield wipers could
otherwise move and injure you.
! Do not pull the wiper blade. Otherwise,
the wiper blade could be damaged.
! Do not clean wiper blades too often and
do not rub the mtoo hard. Otherwise, the
graphite coating could be damaged. This
could cause wiper noise.
X Fold the wiper arms away from the
windshield.
X Carefully clean the wiper blades with a
damp cloth.
X Fold the windshield wipers back again
before switching on the ignition.
! Hold the wiper arm securely when folding
back. The windshield could be damaged if
the wiper arm smacks against it suddenly.
Cleaning the exterior lighting !
Only use cleaning agents or cleaning
cloths which are suitable for plastic light
lenses. Unsuitable cleaning agents or
cleaning cloths could scratch or damage
the plastic light lenses.
X Clean the plastic lenses of the exterior
lighting using a wet sponge and a mild
cleaning agent, e.g. Mercedes-Benz car
shampoo. Or clean the exterior lighting
with cleaning cloths.
Cleaning the mirror turns ignals !
Only use cleaning agents or cleaning
cloths that are suitable for plastic lenses.
Unsuitable cleaning agents or cleaning
cloths could scratch or damage the plastic
lenses of the mirror turn signals.
X Clean the plastic lenses of the mirror turn
signals using a wet sponge and a mild
cleaning agent, e.g. Mercedes-Ben zcar 268
CareMaintenance and care
Page 331 of 334

At temperatures below freezing:
X
Fill the washe rfluid reservoir with a mixture
of water and windshield washer fluid, e.g.
MB WinterFit. Adapt the mixing ratio to the
outside temperature.
X Down to 14 ‡ (002410 †): mix 1 part MB
WinterFit with 2 parts water.
X Down to 00244 ‡ (002420 †): mix 1 part MB
WinterFit with 1 part water.
X Down to 002420.2 ‡ (002429 †): mix 2 parts MB
WinterFit with 1 part water. Model Capacity
All models
3.7 US qt (3.5 l)
i
Add windshield washer fluid, e.g. MB
SummerFit or MB WinterFit, to the washer
fluid all year round. Vehicle data
Please note that for the specified vehicle
data:
R the heights specified may vary as a result
of:
- tires
- load
- conditio nofthe suspension
- optional equipment
R the vehicle length specified includes the
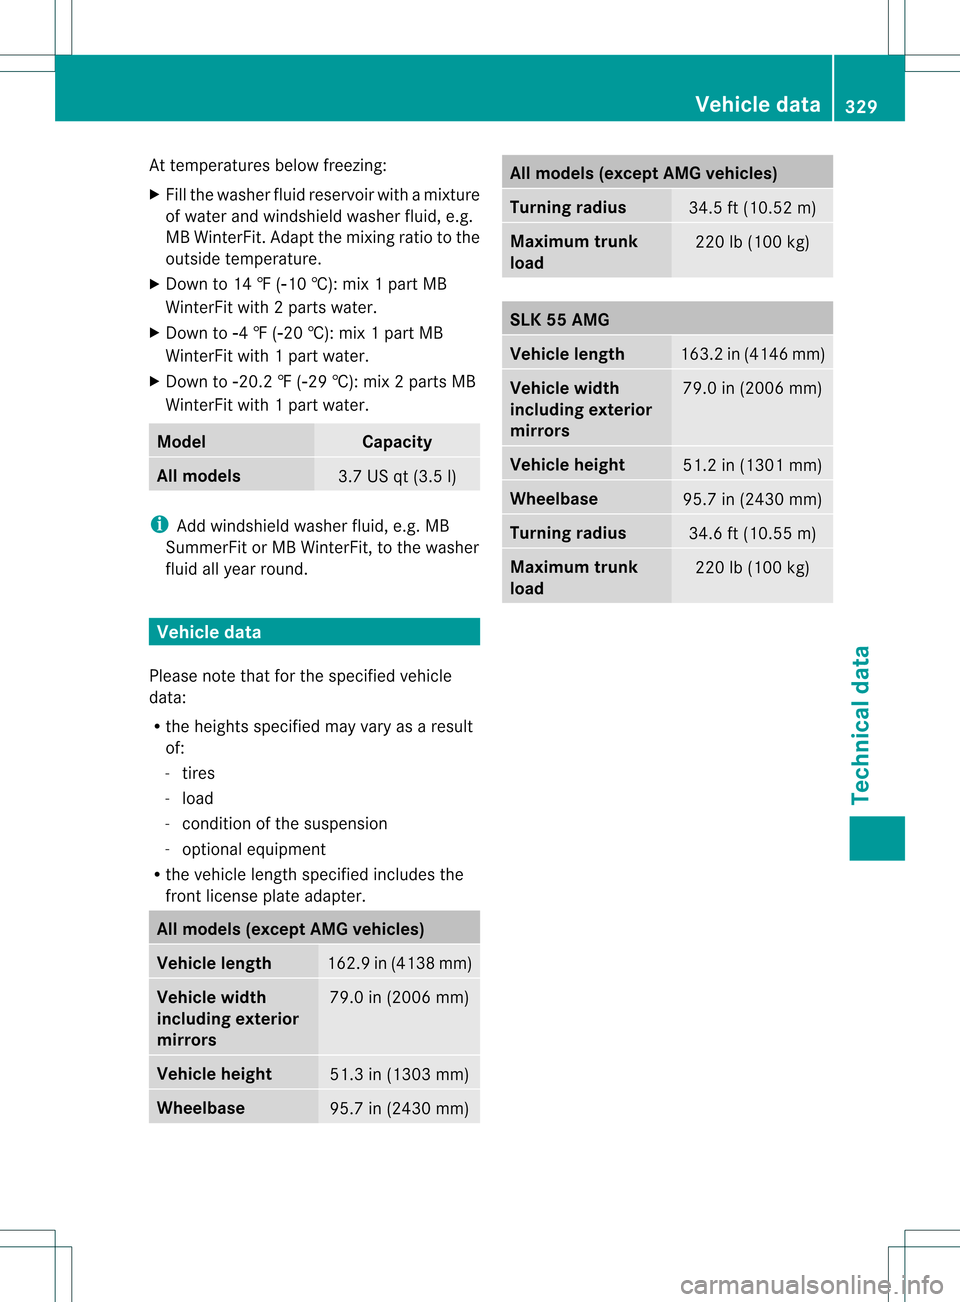
front license plate adapter. All models (except AMG vehicles)
Vehicle length
162.9 in (4138 mm)
Vehicle width
including exterior
mirrors
79.0 in (2006 mm)
Vehicle height
51.3 in (1303 mm)
Wheelbase
95.7 in (2430 mm) All models (except AMG vehicles)
Turning radius
34.5 ft (10.52 m)
Maximum trunk
load
220 lb (100 kg)
SLK 55 AMG
Vehicle length
163.2 in (4146 mm)
Vehicle width
including exterior
mirrors
79.0 in (2006 mm)
Vehicle height
51.2 in (1301 mm)
Wheelbase
95.7 in (2430 mm)
Turning radius
34.6 ft (10.55 m)
Maximum trunk
load
220 lb (100 kg) Vehicle data
329Technical data Z