2012 MAZDA MODEL 6 stop start
[x] Cancel search: stop startPage 45 of 140
45
Before
UseGetting
started
Routing
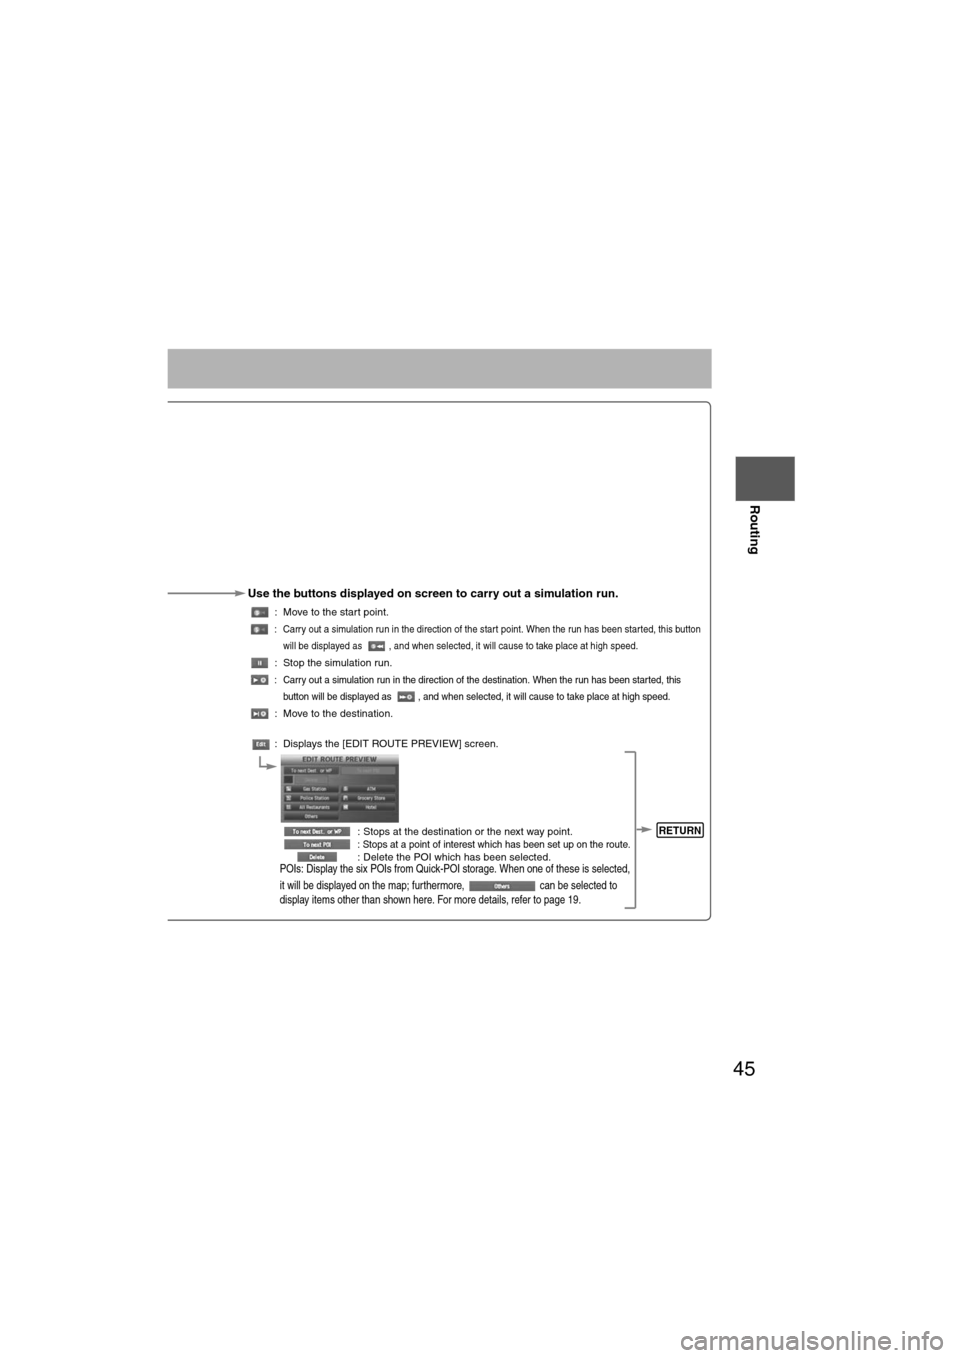
Use the buttons displayed on screen to carry out a simulation run.
: Move to the start point.
: Carry out a simulation run in the direction of the start point. When the run has been started, this button
will be displayed as , and when selected, it will cause to take place at high speed.
: Stop the simulation run.
: Carry out a simulation run in the direction of the destination. When the run has been started, this
button will be displayed as , and when selected, it will cause to take place at high speed.
: Move to the destination.
: Displays the [EDIT ROUTE PREVIEW] screen.
: Stops at the destination or the next way point.
: Stops at a point of interest which has been set up on the route. : Delete the POI which has been selected.POIs: Display the six POIs from Quick-POI storage. When one of these is selected,
it will be displayed on the map; furthermore, can be selected to
display items other than shown here. For more details, refer to page 19.
RETURN
Page 64 of 140
64
Before
UseGetting
started
Routing Address
Book
Voice Recognition
Navigation
Set Up
If necessary
Precautions/System Performance
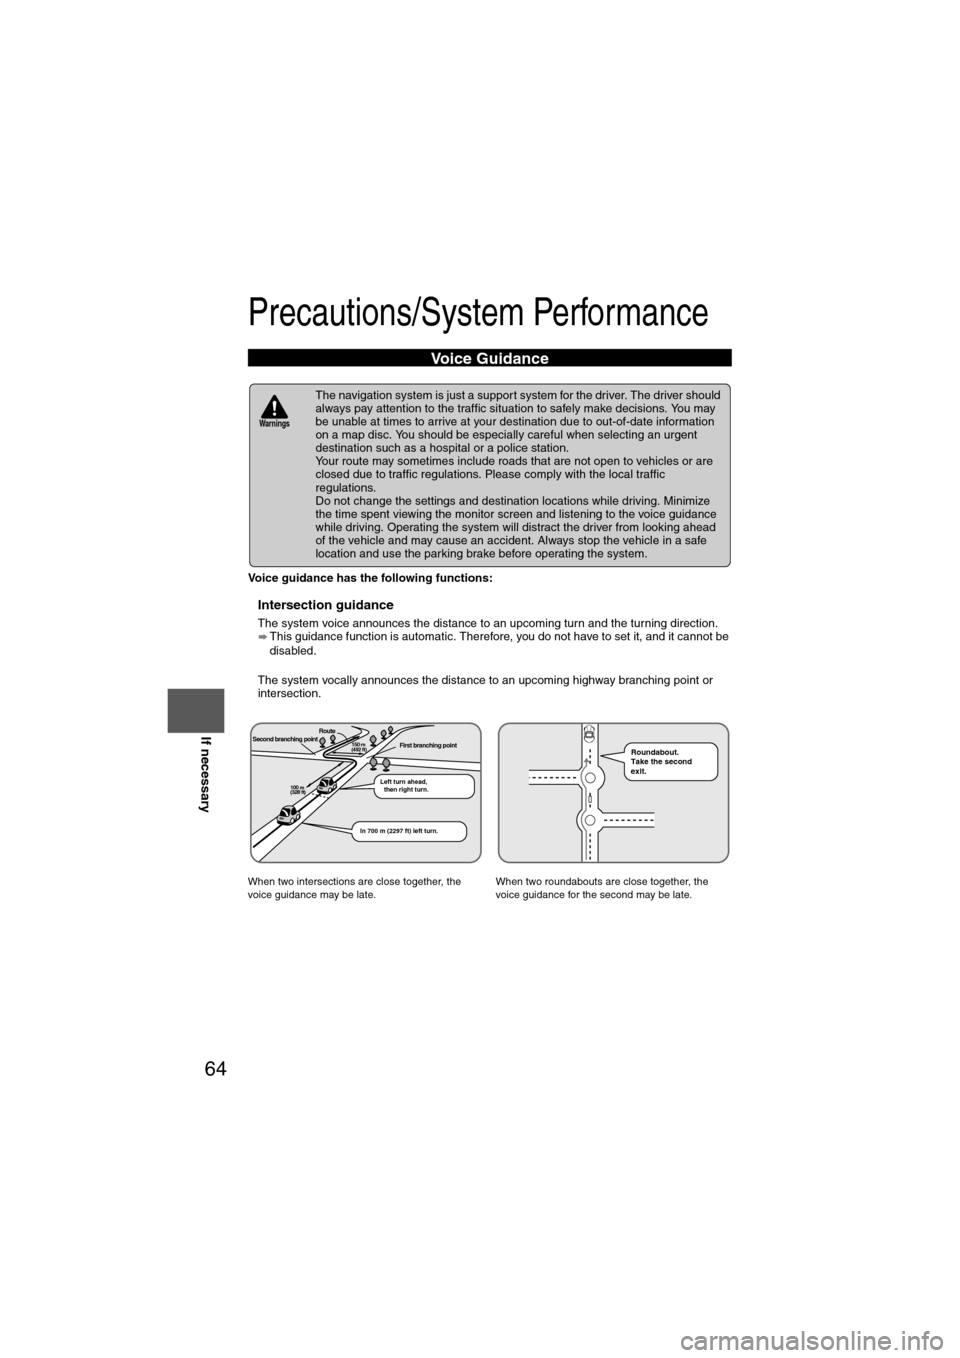
Voice guidance has the following functions:
nIntersection guidance
l
The system voice announces the distance to an upcoming turn and the turning direction.
This guidance function is automatic. Therefore, you do not have to set it, and it cannot be
disabled.
l The system vocally announces the distance to an upcoming highway branching point or
intersection.
Voice Guidance
l The navigation system is just a support system for the driver. The driver should
always pay attention to the traffic situation to safely make decisions. You may
be unable at times to arrive at your destination due to out-of-date information
on a map disc. You should be especially careful when selecting an urgent
destination such as a hospital or a police station.
l Your route may sometimes include roads that are not open to vehicles or are
closed due to traffic regulations. Please comply with the local traffic
regulations.
l Do not change the settings and destination locations while driving. Minimize
the time spent viewing the monitor screen and listening to the voice guidance
while driving. Operating the system will distract the driver from looking ahead
of the vehicle and may cause an accident. Always stop the vehicle in a safe
location and use the parking brake before operating the system.
When two intersections are close together, the
voice guidance may be late. When two roundabouts are close together, the
voice guidance for the second may be late.
Warnings
Second branching pointFirst branching pointRoute
Left turn ahead,
then right turn.
150 m
(492 ft)
100 m
(328 ft)
In 700 m (2297 ft) left turn.
Roundabout.
Take the second
exit.
Page 66 of 140

66
Before
UseGetting
started
Routing Address
Book
Voice Recognition
Navigation
Set Up
If necessary
In the following situations, your vehicle positio
n may not be displayed correctly on the
map. But, as you keep driving, your vehicle position will be automatically corrected
utilizing map matching and GPS data.
Although you may encounter the following problems in route guide, there is nothing
wrong with the system.
Positioning Accuracy
Running on an
elevated road Making a turn after
driving on a long
straight roadRunning on a steep
mountain road
Running on a spiral
roadEntering an intersection
where a road branches
off at a small angle
Running on gridiron
layout of roadsRunning on a
slippery road with
tire chainsSnaking on a wide
road
When your vehicle
is on a turntable
with the ignition
switched offAfter getting off a
ferryboat or vehicle
train
Route Guide
For certain intersection shapes,
the upcoming turn or the name of
the intersection may not be
announced. For certain intersection shapes,
you may be prompted to turn right
or left when you should actually
stay on the same road. Voice guidance for the planned
route may continue even after you
have deviated from that route
such as having turned too early.
Some points where the road
divides on highways or toll roads
may not be displayed or
announced. The Intersection Zoom Map may
not always agree with the actual
shape of the intersection.
The announced distance to an
upcoming turn may differ slightly
from reality.
STOPSTOP
CAR FERRY
Left turn
ahead
In 300 m
(984 ft)
right turn
300m
0m
In 300 m
(984 ft)
right turn
Page 86 of 140
86
Before
UseGetting
started
Routing Address
Book
Vo i c e Recognition
Navigation
Set Up
RDM-TMC
Audio Operation
Navigation
Set Up
Note
If you continue to press and hold the button, the frequency will continue changing without
stopping.
nScan tuning
Press the SCAN button to automatically sample strong stations.
Scanning stops at each station for about 5 seconds. To hold a station, press the SCAN
button again during this interval.
nSwitching between FM1 and FM2
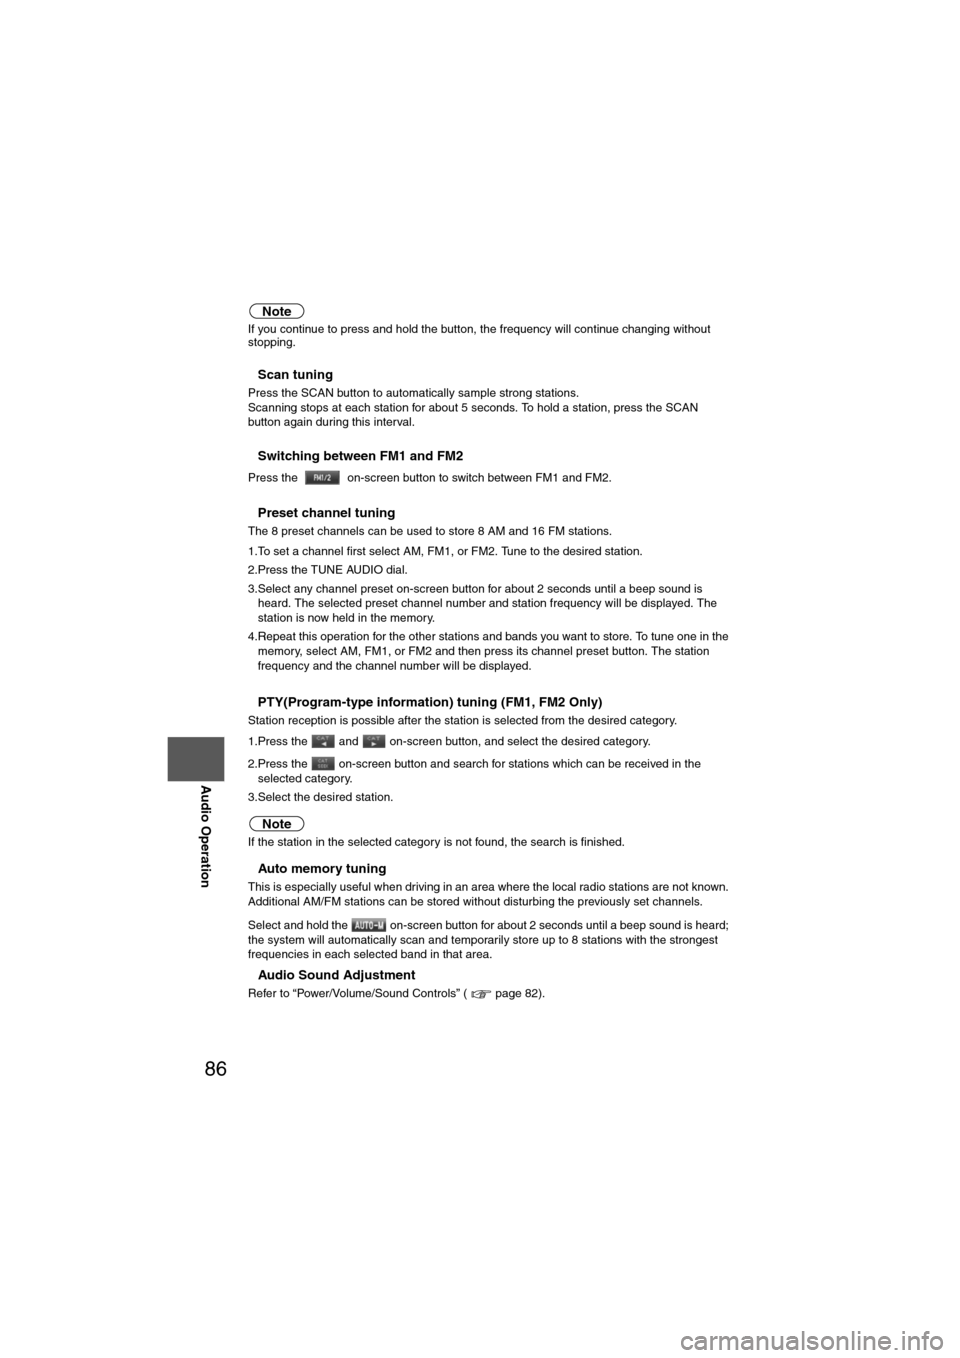
Press the on-screen button to switch between FM1 and FM2.
nPreset channel tuning
The 8 preset channels can be used to store 8 AM and 16 FM stations.
1.To set a channel first select AM, FM1, or FM2. Tune to the desired station.
2.Press the TUNE AUDIO dial.
3.Select any channel preset on-screen button for about 2 seconds until a beep sound is
heard. The selected preset channel number and station frequency will be displayed. The
station is now held in the memory.
4.Repeat this operation for the other stations and bands you want to store. To tune one in the memory, select AM, FM1, or FM2 and then press its channel preset button. The station
frequency and the channel number will be displayed.
nPTY(Program-type information) tuning (FM1, FM2 Only)
Station reception is possible after the station is selected from the desired category.
1.Press the and on-screen button, and select the desired category.
2.Press the on-screen button and search for stations which can be received in the
selected category.
3.Select the desired station.
Note
If the station in the selected category is not found, the search is finished.
nAuto memory tuning
This is especially useful when driving in an area where the local radio stations are not known.
Additional AM/FM stations can be stored without disturbing the previously set channels.
Select and hold the on-screen button for about 2 seconds until a beep sound is heard;
the system will automatically scan and temporarily store up to 8 stations with the strongest
frequencies in each selected band in that area.
nAudio Sound Adjustment
Refer to “Power/Volume/Sound Controls” ( page 82).
Page 95 of 140

95
Audio Operation
nInstant Replay
This function allows you to rewind and replay the program that you were previously or are
currently listening to.
Note
The instant replay mode cannot be cancelled without pressing the on-screen button
even when the display of the song playback time returns to '0:00:00'.
nDisplaying the SIRIUS ID (ESN)
Press the on-screen button.
When the on-screen button is briefly
pressed (about 0.5 seconds), playback starts
from the beginning of the current program.
When the on-screen button is pressed
twice, playback starts from the beginning of the
previous program.
When the on-screen button is pressed
and held, the track rewinds in 5-second intervals
while the button is being pressed. If the
on-screen button is pressed for 10 seconds or
longer, the rewind time intervals change every
10 seconds while the button is being pressed in
increments of 15 seconds, 30 seconds, and 1
minute.
When the on-screen button is briefly
pressed (about 0.5 seconds), playback starts
from the beginning of the next program.
When the on-screen button is pressed
and held, the track is fast-forwarded in 5-second
intervals while the button is being pressed. If the on-screen button is pressed for 10
seconds or longer, the fast-forward time intervals
change every 10 seconds while the button is
being pressed in increments of 15 seconds, 30
seconds, and 1 minute.
When the on-screen button is briefly
pressed, playback is temporarily stopped, or
playback starts if it has been temporarily
stopped.
When the on-screen button is pressed,
the instant replay mode is cancelled and returns
to the current program.
1. Press the on-screen button.
2. A 12-digit Electronic Serial Number (ESN) for
the SIRIUS tuner is displayedSong playback time
Page 100 of 140
100
Before
UseGetting
started
Routing Address
Book
Vo i c e Recognition
Navigation
Set Up
RDM-TMC
Audio Operation
Navigation
Set Up
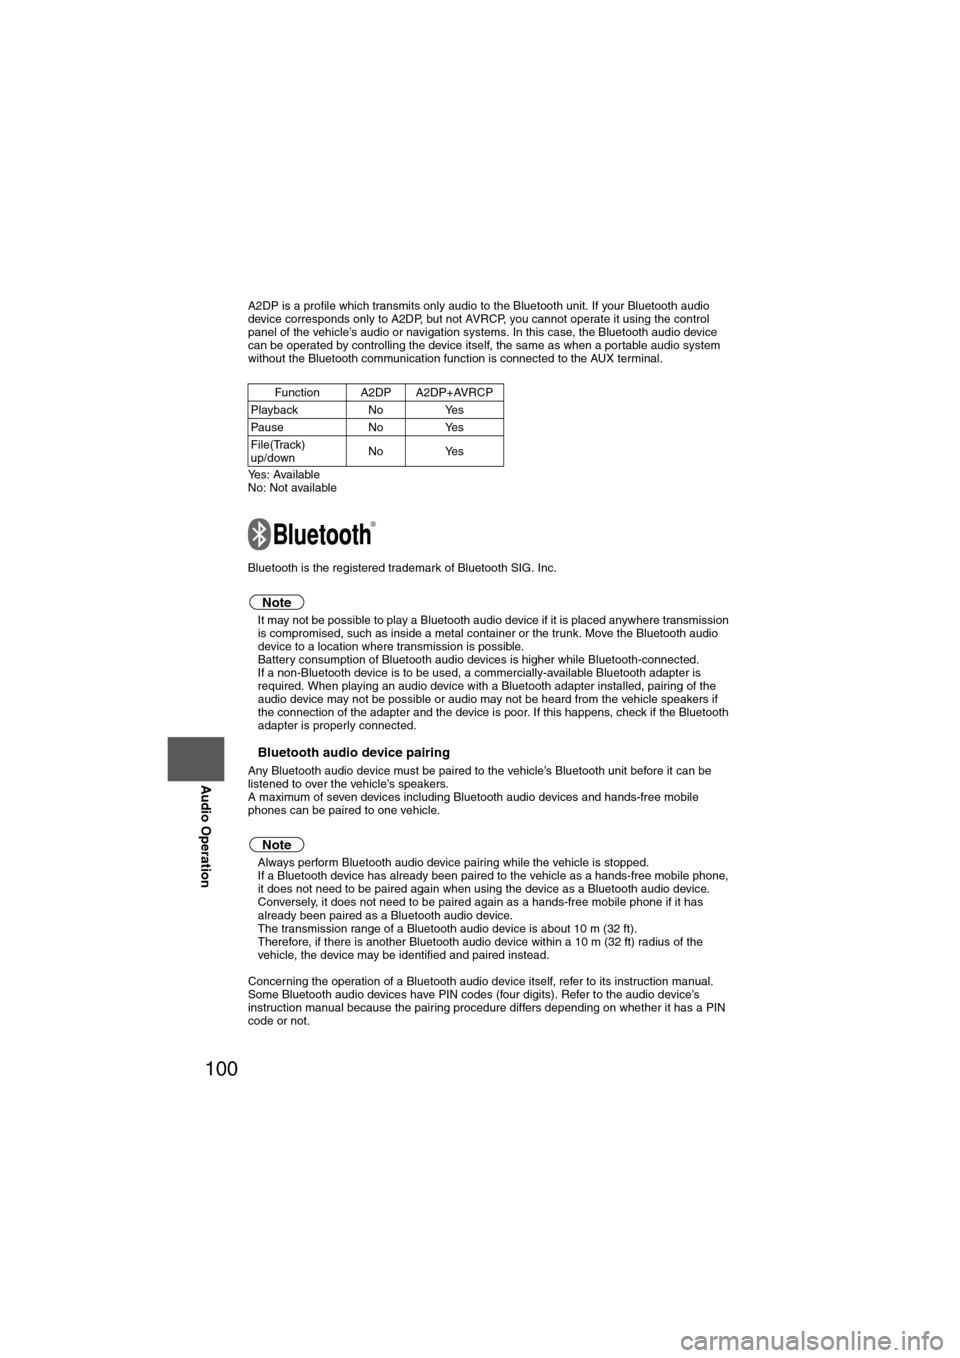
A2DP is a profile which transmits only audio to the Bluetooth unit. If your Bluetooth audio
device corresponds only to A2DP, but not AVRCP, you cannot operate it using the control
panel of the vehicle’s audio or navigation systems. In this case, the Bluetooth audio device
can be operated by controlling the device itself, the same as when a portable audio system
without the Bluetooth communication function is connected to the AUX terminal.
Yes: Available
No: Not available
Bluetooth is the registered trademark of Bluetooth SIG. Inc.
Note
l
It may not be possible to play a Bluetooth audio device if it is placed anywhere transmission
is compromised, such as inside a metal container or the trunk. Move the Bluetooth audio
device to a location where transmission is possible.
l Battery consumption of Bluetooth audio devices is higher while Bluetooth-connected.
l If a non-Bluetooth device is to be used, a commercially-available Bluetooth adapter is
required. When playing an audio device with a Bluetooth adapter installed, pairing of the
audio device may not be possible or audio may not be heard from the vehicle speakers if
the connection of the adapter and the device is poor. If this happens, check if the Bluetooth
adapter is properly connected.
nBluetooth audio device pairing
Any Bluetooth audio device must be paired to the vehicle’s Bluetooth unit before it can be
listened to over the vehicle’s speakers.
A maximum of seven devices including Bluetooth audio devices and hands-free mobile
phones can be paired to one vehicle.
Note
lAlways perform Bluetooth audio device pairing while the vehicle is stopped.
l If a Bluetooth device has already been paired to the vehicle as a hands-free mobile phone,
it does not need to be paired again when using the device as a Bluetooth audio device.
Conversely, it does not need to be paired again as a hands-free mobile phone if it has
already been paired as a Bluetooth audio device.
l The transmission range of a Bluetooth audio device is about 10 m (32 ft).
l Therefore, if there is another Bluetooth audio device within a 10 m (32 ft) radius of the
vehicle, the device may be identified and paired instead.
Concerning the operation of a Bluetooth audio device itself, refer to its instruction manual.
Some Bluetooth audio devices have PIN codes (four digits). Refer to the audio device’s
instruction manual because the pairing procedure differs depending on whether it has a PIN
code or not. Function A2DP A2DP+AVRCP
Playback No Yes
Pause No Yes
File(Track)
up/down No Yes
Page 106 of 140
106
Before
UseGetting
started
Routing Address
Book
Vo i c e Recognition
Navigation
Set Up
RDM-TMC
Audio Operation
Navigation
Set Up
Fast-Forward
Long-press the SEEK/TRACK up button to fast-forward the track. Fast-forward stops when
the button is no longer pressed.
Rewind
Long-press the SEEK/TRACK down button to reverse the track. Reverse stops when the
button is no longer pressed.
Track up
Short-press the SEEK/TRACK up button to select the beginning of the next track.
Track down
Short-press the SEEK/TRACK down button to select the beginning of the current track.
Folder up
Press the on-screen button to select the next folder.
Folder down
Press the on-screen button to select the previous folder.
Scan
Press the SCAN button to select the beginning of the selected track.
Repeat
Press the on-screen button to repeat play. Press the on-screen button to switch
the repeat mode.
RPT: Repeats the selected track.
FOLDER.RPT: Repeats the selected track in the folder.
ALL RPT: Repeats the selected track in the Bluetooth device.
Random
Press the on-screen button to play a track randomly. Press the on-screen button
to switch the random mode.
RDM: Plays the selected track in the Bluetooth device randomly.
FOLDER.RDM: Plays the selected track in the folder randomly.
Note
l
Some functions may not operate or operations may differ depending on the Bluetooth
device.
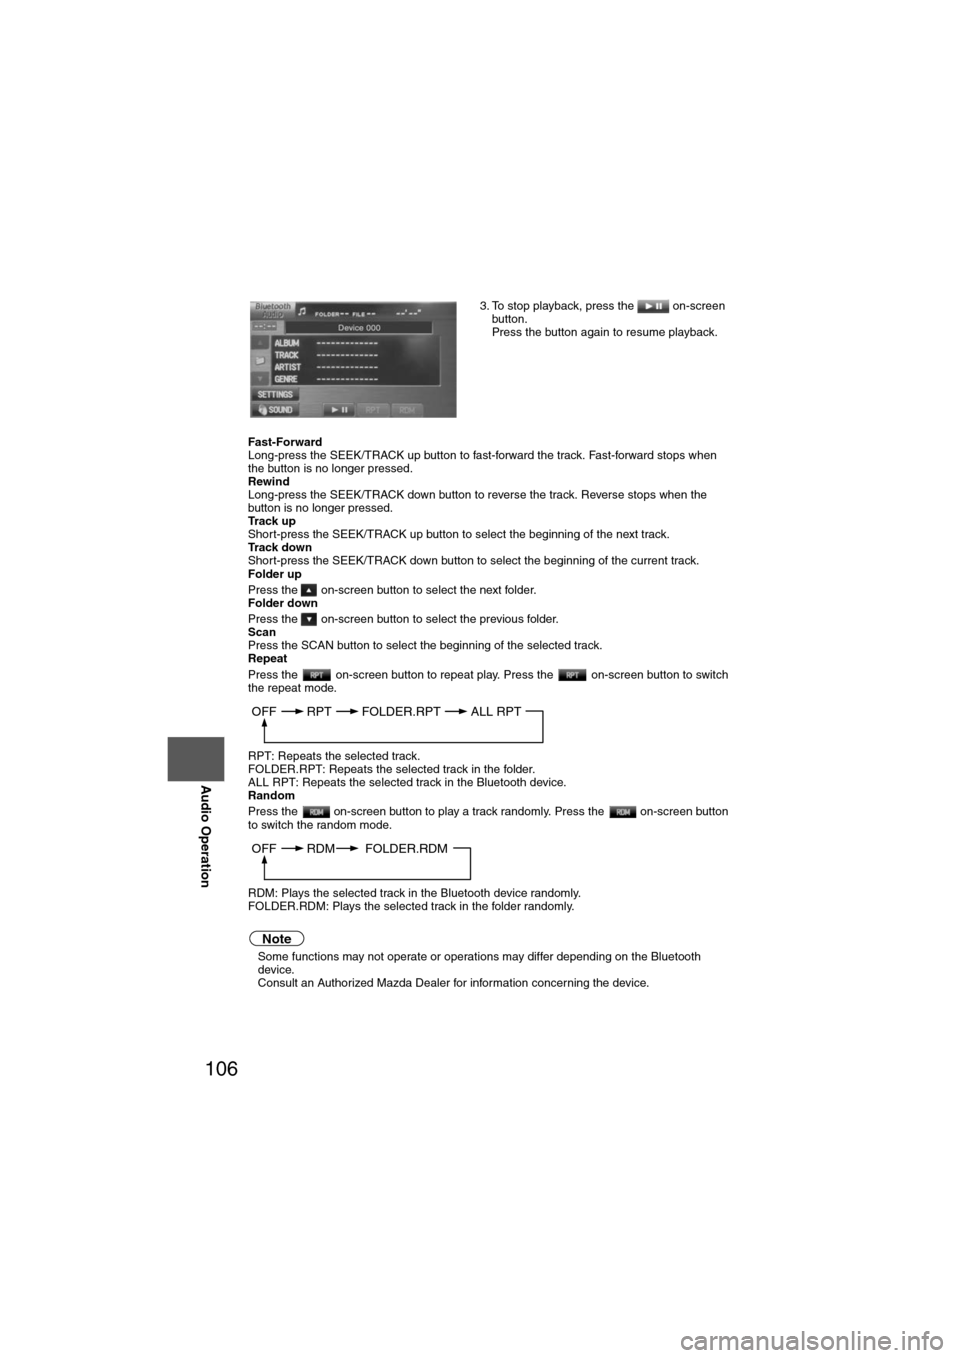
Consult an Authorized Mazda Dealer for information concerning the device. 3. To stop playback, press the on-screen
button.
Press the button again to resume playback.
OFF RPT FOLDER.RPTALL RPT
OFF RDM FOLDER.RDM