2012 LINCOLN MKZ lock
[x] Cancel search: lockPage 134 of 347

Restraint of pregnant women
WARNING:Always ride and drive with your seatback upright and
the safety belt properly fastened. The lap portion of the safety belt
should fit snug and be positioned low across the hips. The shoulder
portion of the safety belt should be positioned across the chest. Pregnant
women should also follow this practice. See figure below.
Pregnant women should always
wear their safety belt. The lap belt
portion of a combination lap and
shoulder belt should be positioned
low across the hips below the belly
and worn as tight as comfort will
allow. The shoulder belt should be
positioned to cross the middle of
the shoulder and the center of the
chest.
Energy management feature — front outboard
•This vehicle has a safety belt system with an energy management
feature at the front seats to help further reduce the risk of injury in
the event of a head-on collision.
•The energy management feature has a retractor assembly that is
designed to extend the safety belt webbing in a controlled manner.
This helps reduce the belt force acting on the user’s chest.
WARNING:Failure to inspect and replace if necessary the belt
and retractor assembly after an accident could increase the risk
of injury in a collision.
Safety belt locking modes
All safety restraints in the vehicle are combination lap and shoulder
belts. The driver safety belt has the first locking mode and the front
outboard passenger and rear seat safety belts have both types of locking
modes described as follows:
Vehicle sensitive mode
This is the normal retractor mode, which allows free shoulder belt length
adjustment to your movements and locking in response to vehicle
movement. For example, if the driver brakes suddenly or turns a corner
Seating and Safety Restraints
134
2012 MKZ(378)
Owners Guide, 1st Printing
USA(fus)
Page 135 of 347

sharply, or the vehicle receives an impact of approximately 5 mph
(8 km/h) or more, the combination safety belts will lock to help reduce
forward movement of the driver and passengers.
In addition, the retractor is designed to lock if the webbing is pulled out
too quickly. If this occurs, let the belt retract slightly and pull webbing
out again in a slow and controlled manner.
Automatic locking mode
In this mode, the shoulder belt is automatically pre-locked. The belt will
still retract to remove any slack in the shoulder belt. The automatic
locking mode is not available on the driver safety belt.
When to use the automatic locking mode
This mode should be usedany timea child safety seat, except a
booster, is installed in passenger front or rear seating positions. Children
12 years old and under should be properly restrained in a rear seating
position whenever possible. Refer toSafety restraints for childrenor
Safety seats for childrenlater in this chapter.
How to use the automatic locking mode
1. Buckle the combination lap and
shoulder belt.
2. Grasp the shoulder portion and
pull downward until the entire belt
is pulled out.
•Allow the belt to retract. As the
belt retracts, you will hear a
clicking sound. This indicates the
safety belt is now in the
automatic locking mode.
How to disengage the automatic locking mode
Disconnect the combination lap/shoulder belt and allow it to retract
completely to disengage the automatic locking mode and activate the
vehicle sensitive (emergency) locking mode.
WARNING:After any vehicle collision, the safety belt system at
all passenger seating positions must be checked by an authorized
dealer to verify that the “automatic locking retractor” feature for child
seats is still functioning properly. In addition, all safety belts should be
checked for proper function.
Seating and Safety Restraints
135
2012 MKZ(378)
Owners Guide, 1st Printing
USA(fus)
Page 136 of 347

WARNING:BELT AND RETRACTOR ASSEMBLY MUST BE
REPLACED if the safety belt assembly “automatic locking
retractor” feature or any other safety belt function is not operating
properly when checked by an authorized dealer. Failure to replace the
belt and retractor assembly could increase the risk of injury in
collisions.
Safety belt height adjustment
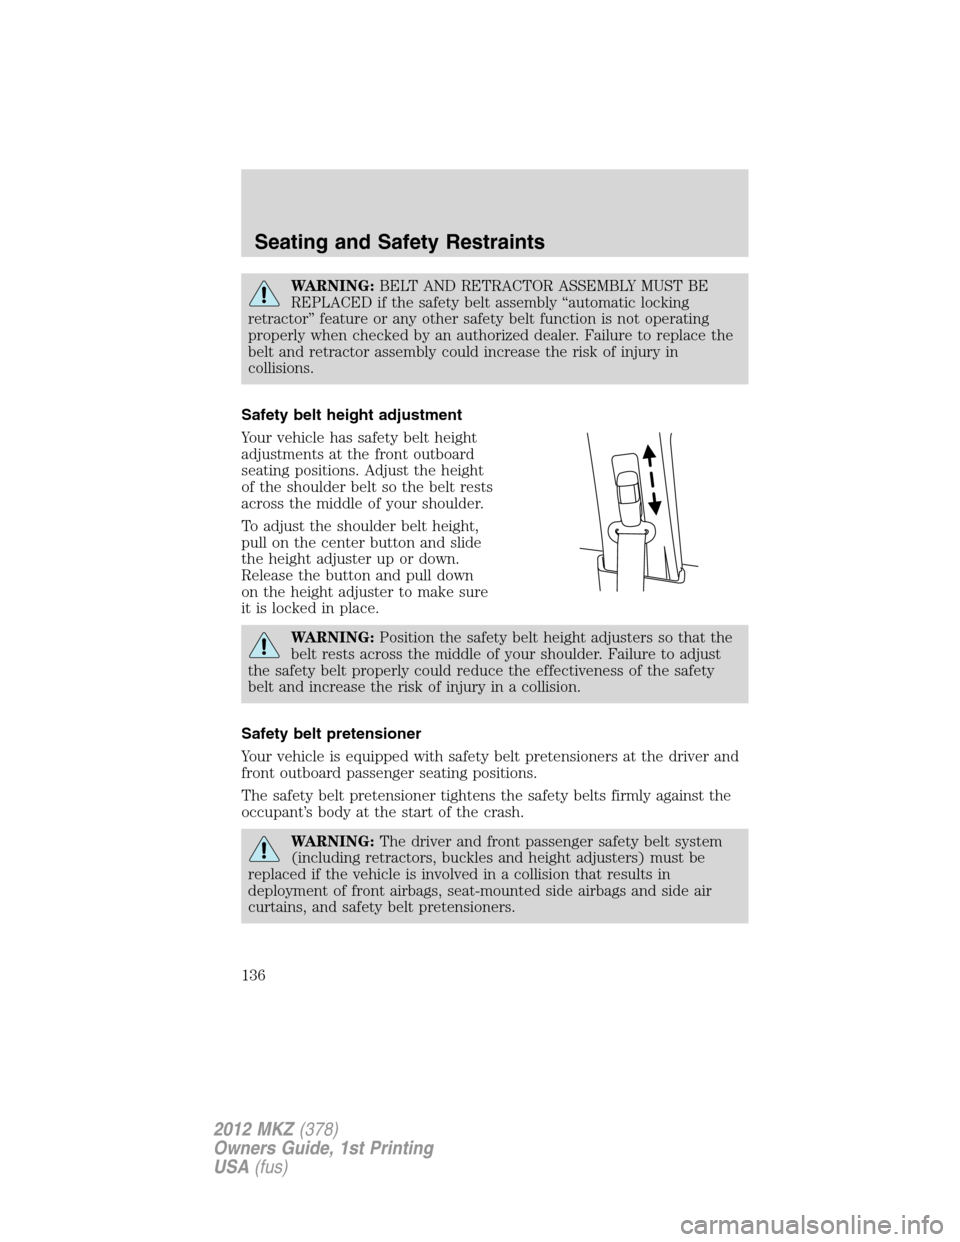
Your vehicle has safety belt height
adjustments at the front outboard
seating positions. Adjust the height
of the shoulder belt so the belt rests
across the middle of your shoulder.
To adjust the shoulder belt height,
pull on the center button and slide
the height adjuster up or down.
Release the button and pull down
on the height adjuster to make sure
it is locked in place.
WARNING:Position the safety belt height adjusters so that the
belt rests across the middle of your shoulder. Failure to adjust
the safety belt properly could reduce the effectiveness of the safety
belt and increase the risk of injury in a collision.
Safety belt pretensioner
Your vehicle is equipped with safety belt pretensioners at the driver and
front outboard passenger seating positions.
The safety belt pretensioner tightens the safety belts firmly against the
occupant’s body at the start of the crash.
WARNING:The driver and front passenger safety belt system
(including retractors, buckles and height adjusters) must be
replaced if the vehicle is involved in a collision that results in
deployment of front airbags, seat-mounted side airbags and side air
curtains, and safety belt pretensioners.
Seating and Safety Restraints
136
2012 MKZ(378)
Owners Guide, 1st Printing
USA(fus)
Page 164 of 347

Installing child safety seats with combination lap and shoulder
belts
Check to make sure the child seat is properly secured before each use.
When installing a child safety seat with combination lap/shoulder belts:
•Use the correct safety belt buckle for that seating position.
•Insert the belt tongue into the proper buckle until you hear a snap
and feel it latch. Make sure the tongue is securely fastened in the
buckle.
•Keep the buckle release button pointing up and away from the safety
seat, with the tongue between the child seat and the release button,
to help prevent accidental unbuckling.
•Place vehicle seat back in upright position.
•Put the safety belt in the automatic locking mode. Refer to Step 5
below. This vehicle does not require the use of a locking clip.
WARNING:Depending on where you secure a child restraint,
and depending on the child restraint design, you may block
access to certain safety belt buckle assemblies and/or LATCH lower
anchors, rendering those features potentially unusable. To avoid risk of
injury, occupants should only use seating positions where they are able
to be properly restrained.
Perform the following steps when installing the child seat with
combination lap/shoulder belts:
Note:Although the child seat illustrated is a forward facing child seat,
the steps are the same for installing a rear facing child seat.
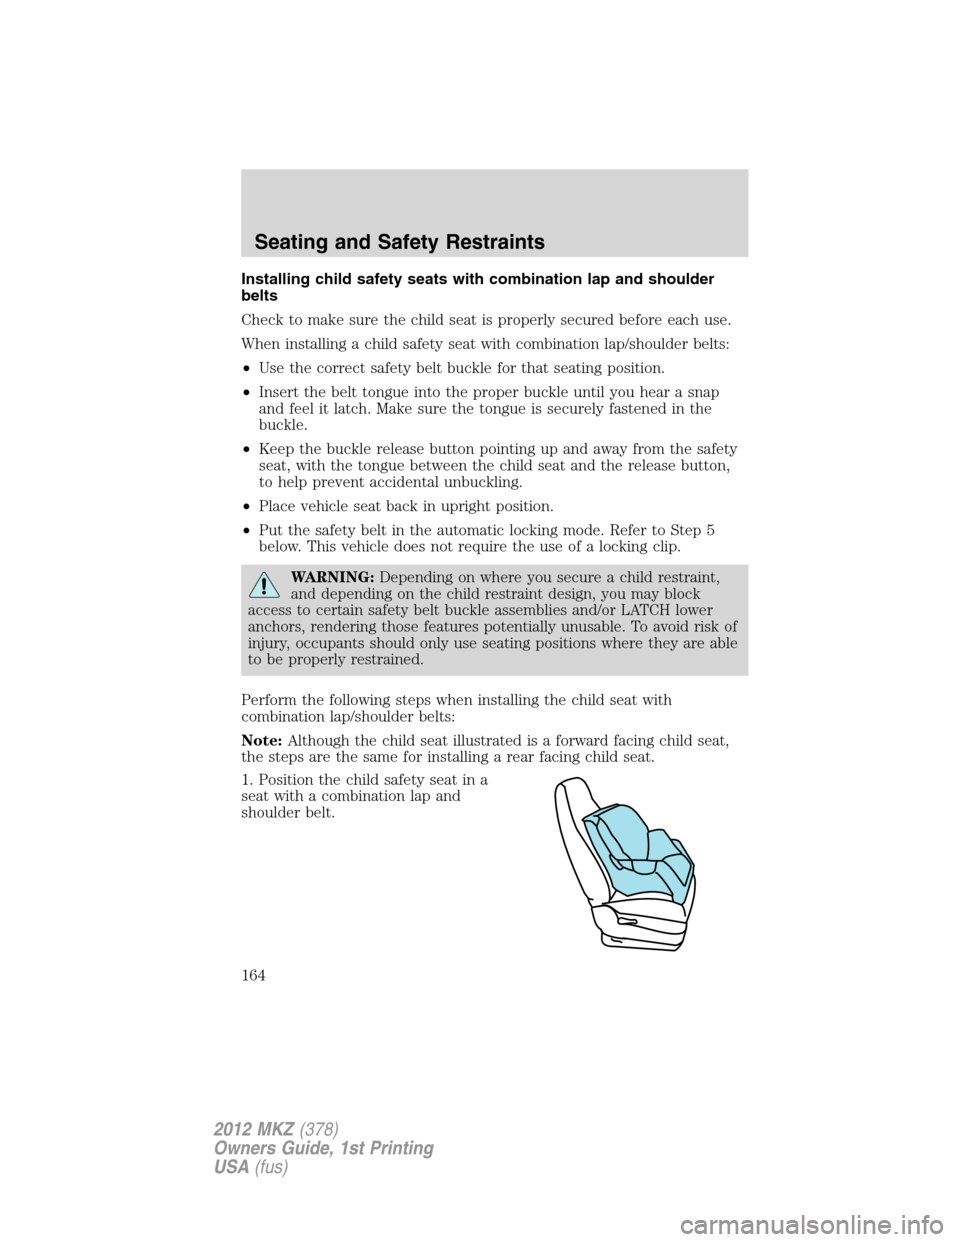
1. Position the child safety seat in a
seat with a combination lap and
shoulder belt.
Seating and Safety Restraints
164
2012 MKZ(378)
Owners Guide, 1st Printing
USA(fus)
Page 166 of 347

5. To put the retractor in the
automatic locking mode, grasp the
shoulder portion of the belt and pull
downward until all of the belt is
pulled out.
6. Allow the belt to retract to remove slack. The belt will click as it
retracts to indicate it is in the automatic locking mode.
7. Try to pull the belt out of the retractor to make sure the retractor is
in the automatic locking mode (you should not be able to pull more belt
out). If the retractor is not locked, repeat Steps 5 and 6.
8. Remove remaining slack from the
belt. Force the seat down with extra
weight, e.g., by pressing down or
kneeling on the child restraint while
pulling up on the shoulder belt in
order to force slack from the belt.
This is necessary to remove the
remaining slack that will exist once
the additional weight of the child is
added to the child restraint. It also
helps to achieve the proper
snugness of the child seat to the
vehicle. Sometimes, a slight lean
towards the buckle will additionally
help to remove remaining slack from the belt.
9. Attach the tether strap (if the child seat is equipped). Refer to
Attaching child safety seats with tether strapslater in this chapter.
Seating and Safety Restraints
166
2012 MKZ(378)
Owners Guide, 1st Printing
USA(fus)
Page 168 of 347

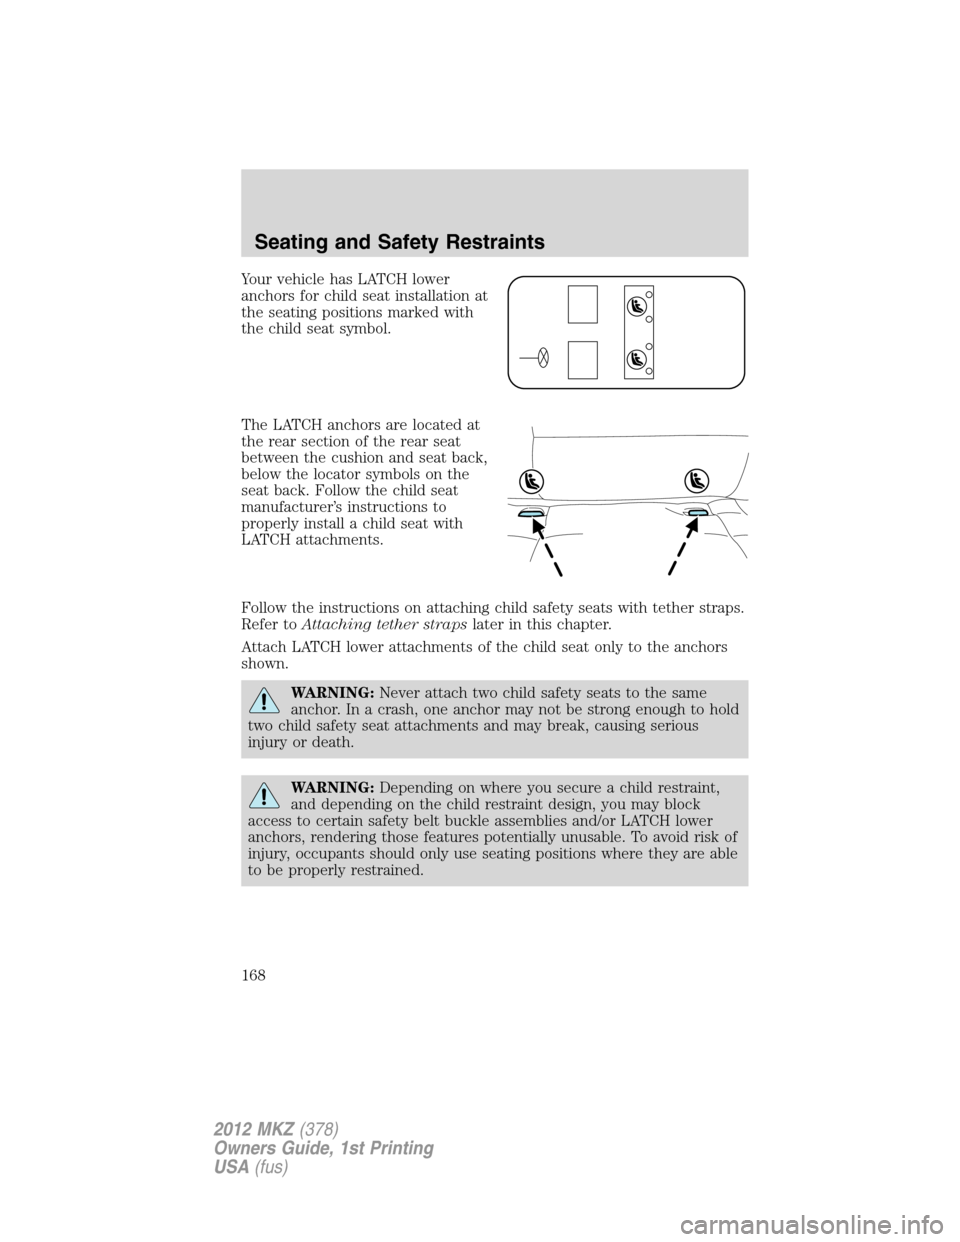
Your vehicle has LATCH lower
anchors for child seat installation at
the seating positions marked with
the child seat symbol.
The LATCH anchors are located at
the rear section of the rear seat
between the cushion and seat back,
below the locator symbols on the
seat back. Follow the child seat
manufacturer’s instructions to
properly install a child seat with
LATCH attachments.
Follow the instructions on attaching child safety seats with tether straps.
Refer toAttaching tether strapslater in this chapter.
Attach LATCH lower attachments of the child seat only to the anchors
shown.
WARNING:Never attach two child safety seats to the same
anchor. In a crash, one anchor may not be strong enough to hold
two child safety seat attachments and may break, causing serious
injury or death.
WARNING:Depending on where you secure a child restraint,
and depending on the child restraint design, you may block
access to certain safety belt buckle assemblies and/or LATCH lower
anchors, rendering those features potentially unusable. To avoid risk of
injury, occupants should only use seating positions where they are able
to be properly restrained.
Seating and Safety Restraints
168
2012 MKZ(378)
Owners Guide, 1st Printing
USA(fus)
Page 203 of 347

STARTING
Positions of the ignition
1. Off— locks the gearshift lever
and allows key removal. This
position also shuts the engine and
all electrical accessories off.Note:
In order to switch off the engine
while the vehicle is in motion, shift
to neutral and use the brakes to
bring the vehicle to a safe stop.
After the vehicle has stopped, turn the engine off and shift into park.
Then, turn the key to the accessory or off position.
2. Accessory— allows the electrical accessories such as the radio to
operate while the engine is not running.
3. On— all electrical circuits operational. Warning lights illuminated. Key
position when driving.
4. Start— cranks the engine. Release the key as soon as the engine
starts.
Starting your vehicle
This system meets all Canadian interference-causing equipment standard
requirements regulating the impulse electrical field strength of radio
noise.
Don’t press the accelerator before or during starting. Only use the
accelerator when you have difficulty starting the engine. For more
information on starting the vehicle, refer toStarting the enginein this
chapter.
To avoid potential transmission damage at extremely cold temperatures
(below -20°F [-30°C]), it is recommended that the vehicle be warmed up
to normal operating temperature before driving at highway speeds above
50 mph (80 km/h). Normal operating temperature is normally reached
after 10 minutes of moderate driving or idling.
WARNING:Extended idling at high engine speeds can produce
very high temperatures in the engine and exhaust system,
creating the risk of fire or other damage.
Driving
203
2012 MKZ(378)
Owners Guide, 1st Printing
USA(fus)
Page 206 of 347

that assists in starting the engine. After releasing the key from the 4
(start) position, the engine may continue cranking for up to 10 seconds
or until the vehicle starts.
Note:Cranking may be stopped at any time by turning the key to the off
position
3. After idling for a few seconds, release the parking brake, apply the
brake, shift into gear and drive.
Note:If the engine does not start on the first try, turn the key to the off
position, wait 10 seconds and try Step 2 again. If the engine still fails to
start, press the accelerator to the floor and try Step 2 again, keeping the
accelerator on the floor until the engine begins to accelerate above
cranking speeds; this will allow the engine to crank with the fuel shut off
in case the engine is flooded with fuel.
Guarding against exhaust fumes
Carbon monoxide is present in exhaust fumes. Take precautions to avoid
its dangerous effects.
WARNING:If you smell exhaust fumes inside your vehicle, have
your dealer inspect your vehicle immediately. Do not drive if you
smell exhaust fumes.
Important ventilating information
If the engine is idling while the vehicle is stopped for a long period of
time, open the windows at least 1 inch (2.5 cm) or adjust the heating or
air conditioning to bring in fresh air.
ENGINE BLOCK HEATER (IF EQUIPPED)
WARNING:Failure to follow engine block heater instructions
could result in property damage or physical injury.
WARNING:To reduce the risk of electrical shock, do not use
your heater with ungrounded electrical systems or two-pronged
(cheater) adapters.
An engine block heater warms the engine coolant which aids in starting
and allows the heater/defroster system to respond quickly. If your vehicle
is equipped with this system, your equipment includes a heater element
Driving
206
2012 MKZ(378)
Owners Guide, 1st Printing
USA(fus)