Page 252 of 420
250
4-3. Do-it-yourself maintenance
Hood
Release the lock from the inside of the vehicle to open the hood.
Pull the hood release lever.
The hood will pop up slightly.
Press the auxiliary catch lever to
the left and lift the hood.
Take out the supporting rod.
STEP1
STEP2
STEP3
Page 253 of 420
251
4-3. Do-it-yourself maintenance
4
Maintenance and care
Insert the supporting rod into the
slot positioned on the side of the
engine compartment.
Be sure that the supporting rod is
fully inserted into the slot.
Insert the supporting rod into the
slot on the hood.
STEP4
STEP5
CAUTION
■Pre-driving check
Check that the hood is fully closed and locked.
If the hood is not locked properly it may open while the vehicle is in motion and
cause an accident, which may result in death or serious injury.
■After inserting the supporting rod
Check to make sure that the supporting rod is properly inserted. Failure to do so
may result in the hood closing by itself and possibly causing an injury.
Page 254 of 420

252
4-3. Do-it-yourself maintenance
CAUTION
■Preventing personal injury
●Turn the ignition switch to the “LOCK” position and wait for a while before open-
ing the hood so as to avoid getting caught in the moving parts of the engine. Fail-
ure to do so may result in serious injury or death.
■When closing the hood
NOTICE
■When closing the hood
●Do not apply excessive weight or force when closing the hood as doing so may
result in damage.
●Be sure that the supporting rod is firmly secured with the clip positioned on the
inside of the hood. Closing the hood with out securing the supporting rod to the
clip may result in damage to the hood , supporting rod or components in the
engine compartment.
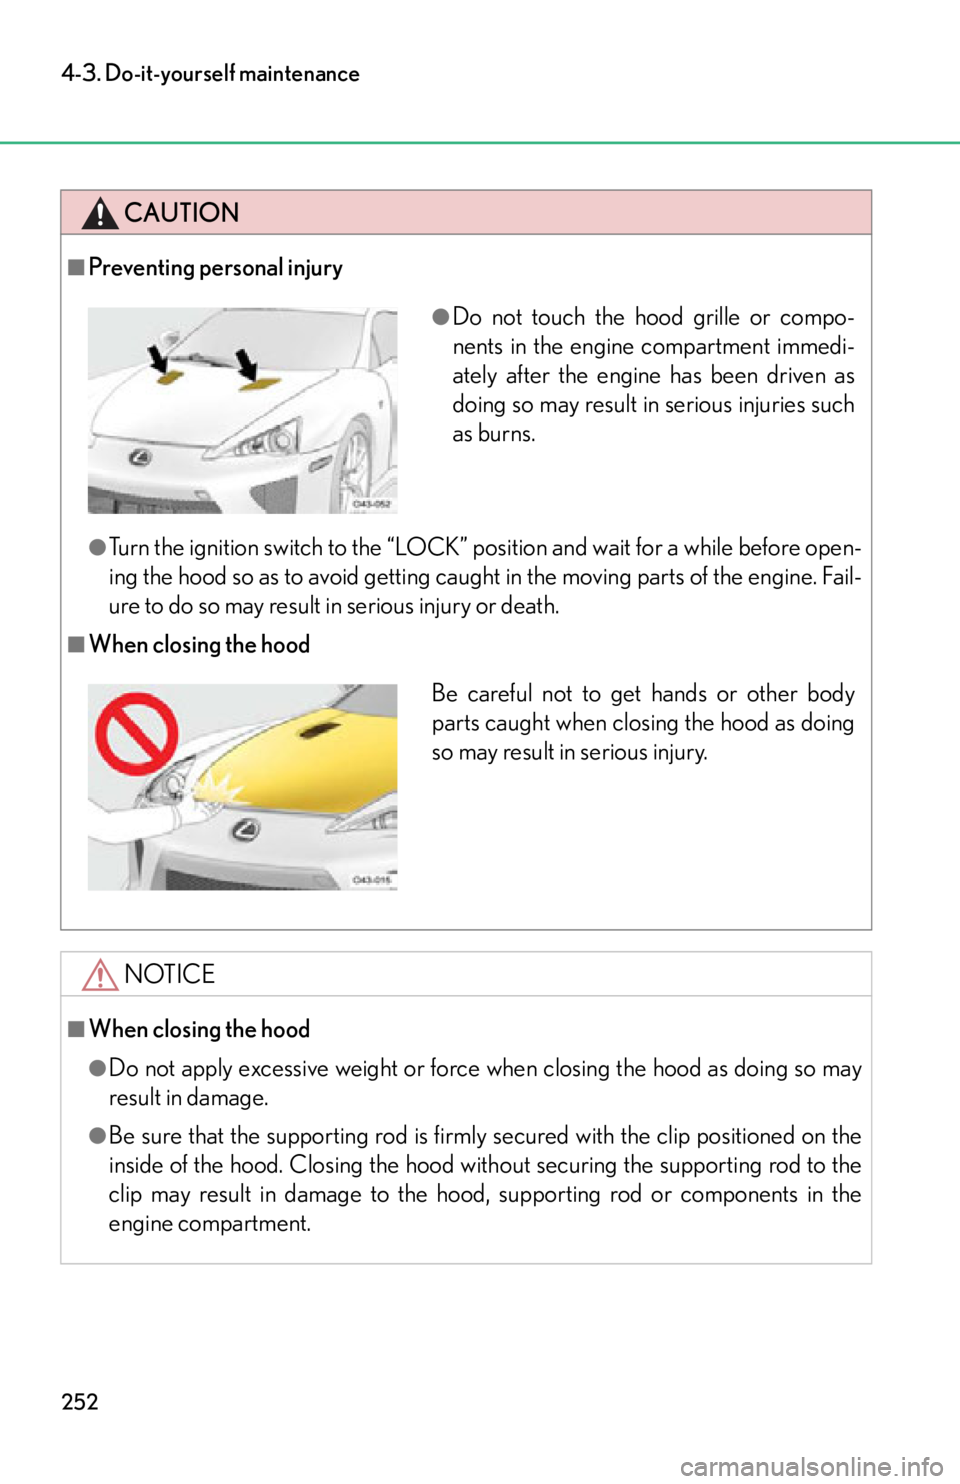
●Do not touch the hood grille or compo-
nents in the engine compartment immedi-
ately after the engine has been driven as
doing so may result in serious injuries such
as burns.
Be careful not to get hands or other body
parts caught when closing the hood as doing
so may result in serious injury.
Page 255 of 420
253
4-3. Do-it-yourself maintenance
4
Maintenance and care
Positioning a floor jack
When raising your vehicle with a floor jack, position the jack correctly.
Improper placement may damage your vehicle or cause injury.
Positioning a floor jack
Positioning an automotive jack stand
Front
Front
Page 256 of 420

254
4-3. Do-it-yourself maintenance
CAUTION
■When raising your vehicle
Make sure to observe the following precautions to reduce the possibility of death or
serious injury:
●When using a floor jack, follow the instructions of the manual provided with the
jack.
●Do not put any part of your body underneath the vehicle when it is supported
only by the floor jack.
●Always use floor jack and/or automotive jack stands on a solid, flat, level surface.
●Do not start the engine while the vehicle is supported by the floor jack.
●Stop the vehicle on level, firm ground, firmly set the parking brake and select
Reverse.
●Make sure to set the floor jack or automotive jack stand properly at the jack point.
Raising the vehicle with an improperly positioned floor jack or automotive jack
stand will damage the vehicle and may cause the vehicle to fall off the floor jack or
automotive jack stand.
●Do not raise the vehicle while someone is in the vehicle.
●When raising the vehicle, do not place any objects on top of or underneath the
floor jack.
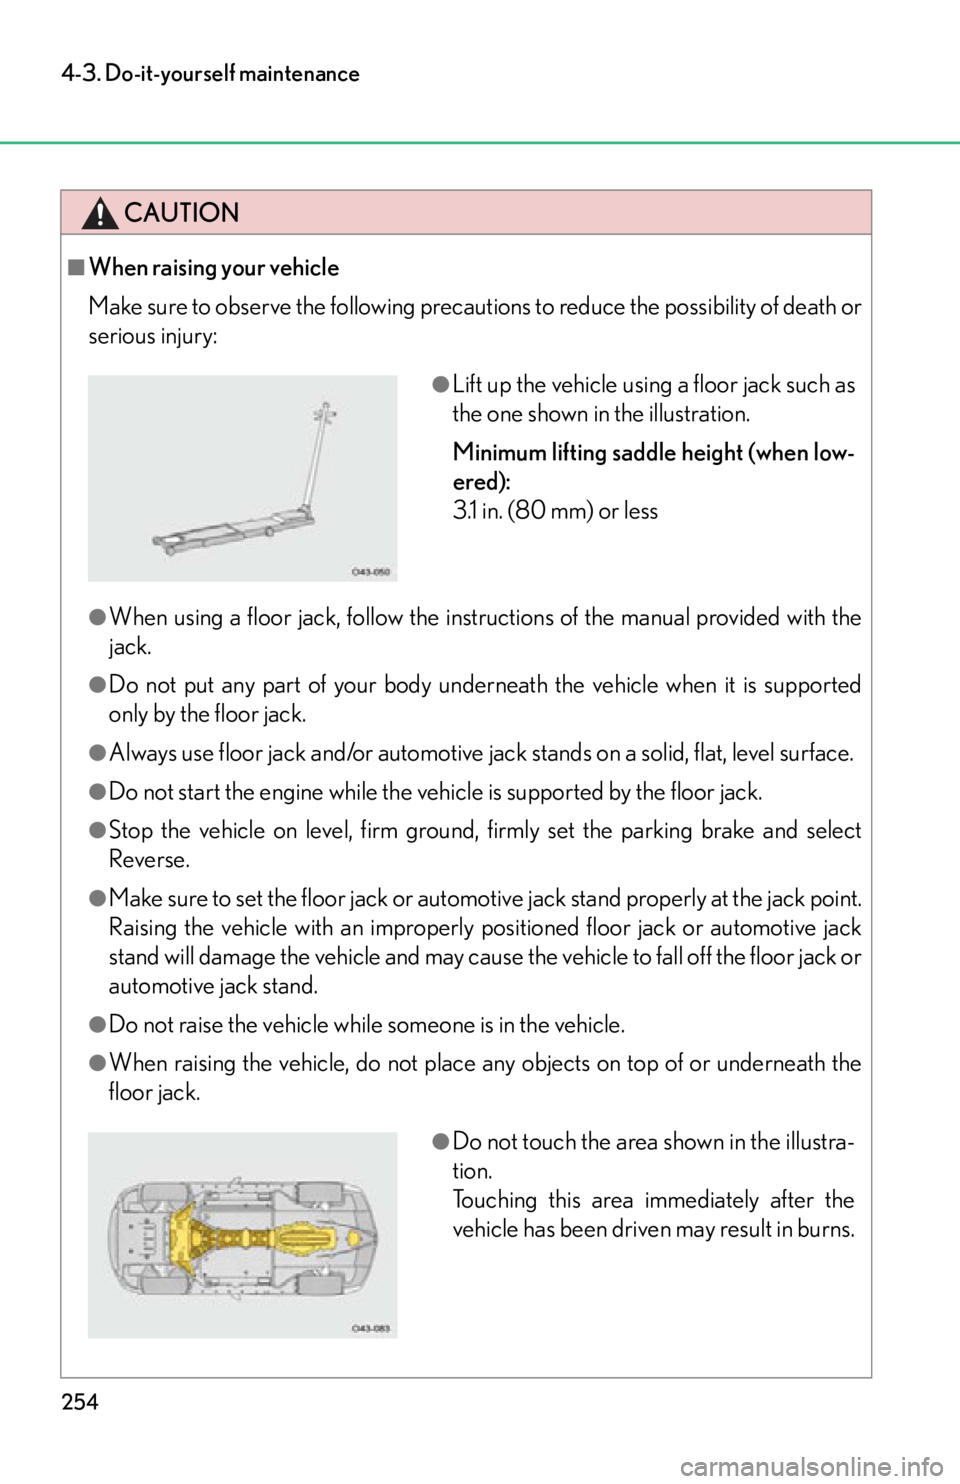
●Lift up the vehicle using a floor jack such as
the one shown in the illustration.
Minimum lifting saddle height (when low-
ered):
3.1 in. (80 mm) or less
●Do not touch the area shown in the illustra-
tion.
Touching this area immediately after the
vehicle has been driven may result in burns.
Page 257 of 420
255
4-3. Do-it-yourself maintenance
4
Maintenance and care
NOTICE
■When using a floor jack
Observe the following precautions to avoid damage to the vehicle's underbody:
●Make sure to position the floor jack correctly.
●If the saddle of the floor jack protrudes out-
wards when the jack is in use, attach a rub-
ber pad or another appropriate spacer.
Page 258 of 420
256
4-3. Do-it-yourself maintenance
Engine compartment
Engine oil filler cap (P. 2 5 7 )
Engine oil level dipstick ( P. 2 5 7 )
Engine coolant reservoir (P. 260) Brake fluid reservoir
(P. 2 6 2 )
Condenser ( P. 2 6 1 )
Electric cooling fan
Fuse box ( P. 2 8 7 )
Page 259 of 420
257
4-3. Do-it-yourself maintenance
4
Maintenance and care
Engine oilDo not use the engine oil level di pstick in the engine compartment when
checking or adding engine oil, as it is only designed to be used for oil
replacement performed by your Lexu s dealer. Make sure to use the
meter for checking and adding engine oil.
■ Checking the engine oil
Check the oil level using the “Oil Level” display on the meter.
( P. 132)
■ Adding engine oil
If the oil level is low, add engine oil.
If unsure of how much oil to add,
contact your Lexus dealer.
Prepare the following item and brand of oil:
*: Measured using the “Oil Level” display on the meter, between the minimumand maximum markings
Check the oil level using the “Oil Level” display on the meter.
( P. 132)
Stop the engine.
Remove the oil filler cap by turning it counterclockwise.
Oil brand “Mobil 1 5W-50”
Oil quantity*
(MIN MAX) Approximately 2.1 qt. (2.0L, 1.8 Imp. qt.)
Item
Clean funnel
STEP1
STEP2
STEP3